

War Thunder VR Review and Setup Guide
Today we’re going to be diving into a really well known PC game, War Thunder, and finding out if playing it in VR makes it any better. War Thunder is a combination Tank fighting, air combat, and ship battle simulator. It’s got a ton of vehicles to drive and realistic damage and penetration models, not to mention a huge community. Most importantly it’s got VR support, and that doesn’t get talked about as often as you’d think with a game this huge. So I couldn’t help but wonder, is War Thunder VR any better than flat screen War Thunder? Let’s find out.
Today we’re going to be diving into a really well known PC game, War Thunder, and finding out if playing it in VR makes it any better. War Thunder is a combination Tank fighting, air combat, and ship battle simulator. It’s got a ton of vehicles to drive and realistic damage and penetration models, not to mention a huge community. Most importantly it’s got VR support, and that doesn’t get talked about as often as you’d think with a game this huge. So I couldn’t help but wonder, is War Thunder VR any better than flat screen War Thunder?
Well it… kind of is. Land Battles are a little better in VR, and sea Battles aren’t enhanced by adding Virtual Reality at all. Air Battles, however, are fantastic in VR. Despite a little jank, Virtual Reality makes fighting in the air much better. If you’re curious on how to set up War Thunder on the PC, or get a few more details on just why VR can make some gamemodes of War Thunder better, read on.

VR Setup
If you want to get to the actual review, skip ahead to the “Land Battles” Section below. Here we’re going to go over how to play War Thunder in VR so that it’s comfortable and looks as nice as we can get it. After that I’ll also talk about a little background on the game in case you’re totally unfamiliar with it. Feel free to come back here if combining War Thunder and VR still sounds interesting after the review and you’d like to set it up for yourself.
First let’s talk a little about how we’re gonna do this. I’m not a massive War Thunder fan. You’ll see from the vehicles that I’ll be using that I’ve played it a little before. I’m not a master War Thunder player by any means, but I’ve played it a bit before on flat screen and know my way around the game.
As for my setup, I’ll be using Meta Air Link to stream the game to my Oculus Quest 2. I’ll also be sitting in a chair right in front of my mouse and keyboard, so a setup using an Oculus Link Cable is just as viable to play War Thunder VR. This setup should work for any VR Headset or HMD that you have.

The first thing I’ll say about VR War Thunder is that you should get rid of any notion of using your VR controllers to play it. It is practically impossible to control your vehicle in land, air, or sea with them. You have to use a mouse and keyboard or joystick to control the game. Not only are there a ton of buttons you’ll need to have access to, way more than there are on any VR controller, but the joysticks are way too sensitive to control your vehicle with. Even after playing with the sensitivity settings I could never get it to feel smooth so that aiming and turning wasn’t extreme pain. Use a mouse and keyboard, trust me.
Making War Thunder VR Look Better
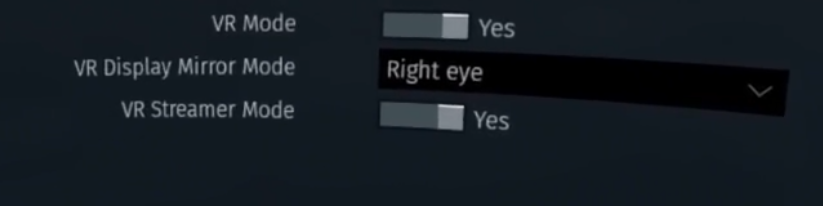
As for graphics, I noticed that the bitrate is a little low when running War Thunder VR through Steam and sometimes there were some frame drops, which is really noticeable and irritating in VR. As an alternative I downloaded the Gaijin client to run War Thunder through, and after setting the “VR Mode” toggle in the settings, it ran on my headset. There is also a setting to turn Camera Shake up or down in VR, which I turned all the way down to avoid nausea (there’ll still be some of that later on in this article). There’s also a slider for “Sense of Flight in VR”. I’m honestly not sure what that does. I didn’t notice any changes with it turned to 100 or 0.
Otherwise my computer was able to run the game on “Maximum” settings, and it looked pretty good and no longer had any framerate drop issues. If you want to get really specific on how to set your graphics settings for VR, check out this forum thread, it helped me a lot. There was still some obvious pixilation on some details, though the general visual experience was not terrible, though not entirely optimized.
Oh and if you were running War Thunder through Steam and want to migrate your steam account to a Gaijin account to not lose your progress on the Gaijin launcher, check out this guide.
War Thunder Gamemodes
I’ll be covering each game in Arcade mode, as that’s the mode that most will play War Thunder in, and also because I’m… well I’m not very good at War Thunder.

With the setup out of the way let’s talk generally about what battles in War Thunder look like. Each gamemode sets a bunch of player controlled vehicles on one team (all of around the same strength based on a ranking system) against an equal amount of vehicles on the enemy team in a variety of maps. They fight over between 1 and 3 capture points around the map in Land or Naval Battles. In Air Battles the objective is to destroy enemy land targets before your opponents destroy yours.
Land Battles (Tanks)
Alright so you’re all caught up, even non War Thunder enthusiasts know what this game is about and how to play it in VR. So how do Tank Battles in War Thunder VR compare to regular War Thunder?
Well it definitely looks cooler. As a VR lover I’m a little biased, but basically everything looks cooler in VR. You feel like you could reach out and touch other tanks that are close to you. Mountains and trees just naturally seem bigger, and so do the other vehicles near you. Small tanks look and feel smaller, and big tanks look and feel bigger.

Everything is more immediate and more impressive. Plane crashing into the ground? The fireball it creates might look cool on the flat screen. In VR it is truly impressive. The immersive nature of VR just takes all the sights and sounds of a giant tank battlefield to another level. With War Thunder’s giant battles, it’s a great way to make the whole experience look more impressive.
What made the whole experience really awesome was the ability to just look in any direction without having to use the freelook key, just by turning your head around. It was downright liberating to freely look around any which way so naturally, even the grass was fun to look at.

This all does come at a price though. Not only do you have to deal with the VR headset on your face, but War Thunder is clearly not supremely optimized for VR. How you interact with the controls is not changed at all, and neither are the HUD elements on your screen. This means you’ll have to turn your entire head to find information that you could get at a glance on the flat screen. An option to tack the minimap, or other HUD elements to your view would have been a nice choice to have.
Instead you need to manually look down and to the right to see your minimap, down to the left to look at your tank’s status, you get the idea. Really this VR mode for War Thunder only replaces your previously flat screen view with a VR camera. While that’s sufficient to get some of the majesty of VR immersion into the game, some VR quality of life features would have been nice.

There’s not a first person VR camera option for your tank, the closest you can get is a view right on top of the turret. You could spend your whole game in the gunner’s view I guess, but either way losing the third person view would be a disadvantage, so no big loss there. First person would have looked very nice though.
Otherwise the VR view can be a bit jarring, it would be nice if there was an option to add blinders with turning or moving your head suddenly for those who might get motion sickness in VR. Mostly it can make it hard to aim. Zooming in to aim makes your view very unstable and shaky. This is a drawback, especially in a game like War Thunder where a precisely aimed shot can be the difference between an enemy destroyed and your round bouncing off harmlessly.
Aviation Battles (Planes)
While VR doesn’t add too much to the land battles, where it really shines is in the air.

Air Battles are INCREDIBLE in War Thunder VR. Out of all the game modes they are by far the most impressive to experience in VR. At this point I don’t even want to play War Thunder’s air battles on a flat screen anymore. That experience just pales in comparison to how great Virtual Reality makes Aviation in War Thunder.
Just like in the Land Battles, looking around the battlefield is definitely more impressive. An enemy plane zooming past you feels like an actual plane zooming past you. There’s a weird claustrophobia to flying low to the ground, whizzing over trees and past anti-aircraft batteries. Glowing tracers look beautiful criss-crossing in the air, and that’s even in third person view. It gets even better.

That’s because what makes War Thunder’s air battles truly immersive in VR is the first person cockpit camera. You’re no longer shackled to a third person or overly restrictive gunner’s view. In your plane you can have the view of the actual pilot in it. Your pilot has a body, and that body moves when you move the plane, actually manipulating the controls.
The control panel of the actual plane you are flying is right there in front of you, with all the gun sights, compasses, and dials that an actual pilot would use. You can use actual gunsights to fire your weapons and it is incredible. Looking out over the massive landscape from your cockpit, looking down at the ground rushing past the wings of your plane practically feels like you’re actually flying, except there’s no wind running through your hair. If you want a fantastic first person flying experience then it is here in War Thunder VR, for free!
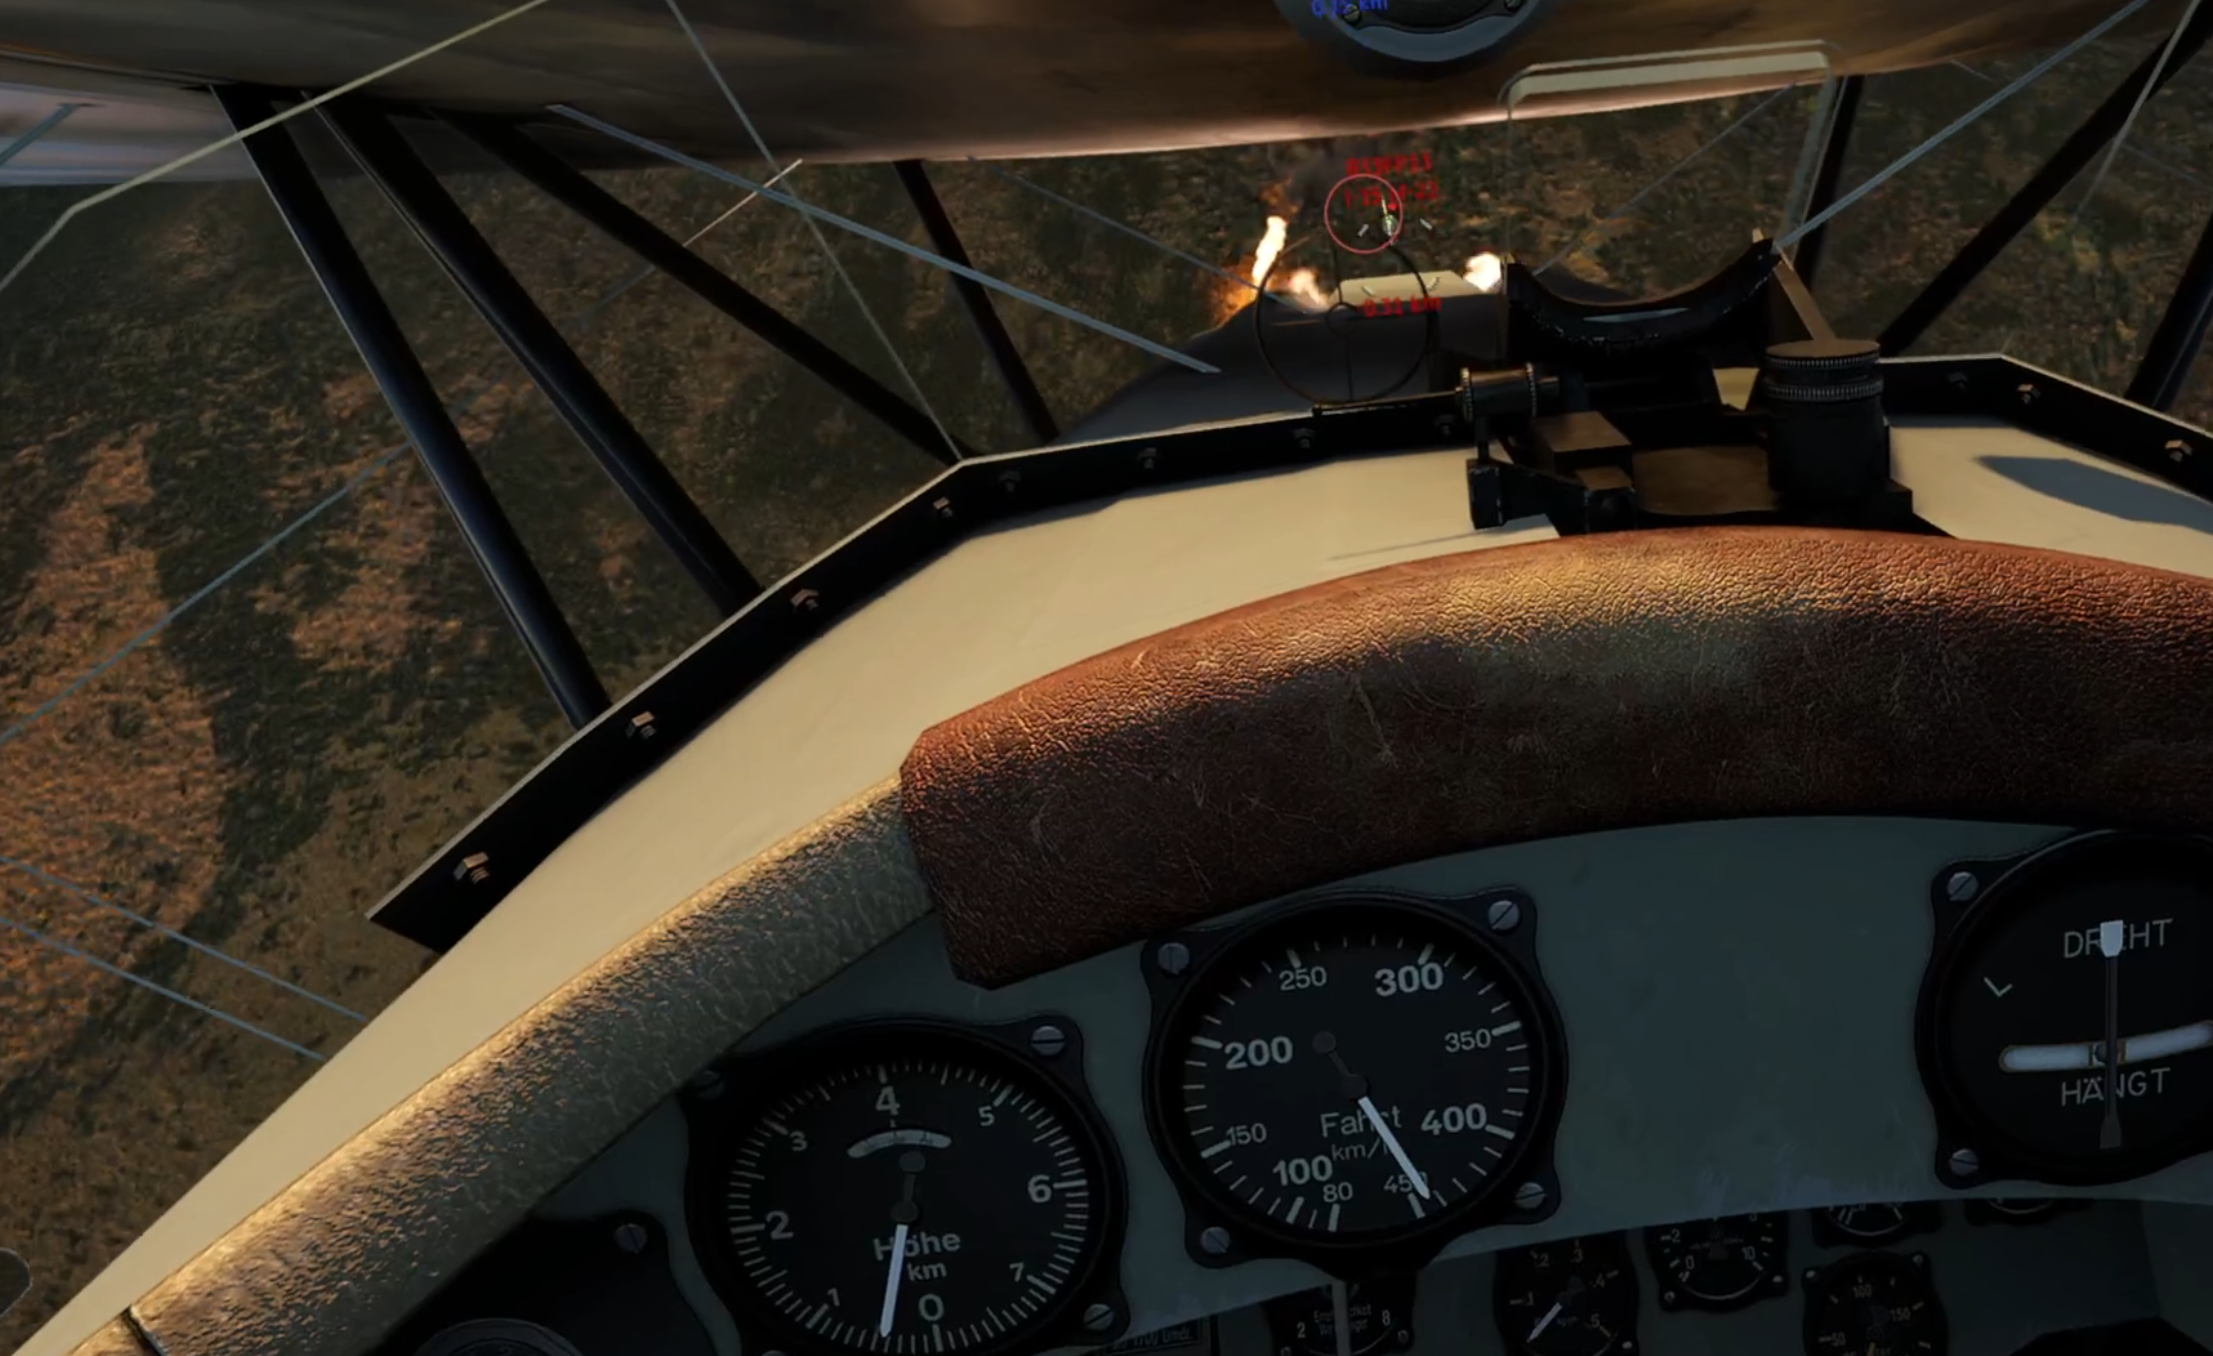
Of course there are a couple of issues here too though. While the first person mode is incredible, otherwise all of the problems that the Tank battles had with the tacked-on nature of the VR support are here as well. You still have to crane your neck to view HUD elements.
While aiming in first person is incredibly immersive, it’s also not the best way to fight or travel in general. I found myself switching between third and first person depending on the situation. Looking around without having the plane itself get in the way so that I could see and get a lead on opponents was just a lot easier in third person. Often staying in first person view just made the game harder, despite how great it felt to play.
Still, first person is better at some things, like shooting at ground targets (more on that later). Oh, and I should mention, there’s also another camera mode that makes your whole plane disappear except for some navigational tools overlaid on your screen, and it’s kind of like flying a disembodied head. If you want to play in first person with fewer drawbacks, then that might be for you.

Still, even the third person mode is really impressive and fun to play, so I didn’t really mind. The one thing I did mind was how difficult the aiming can be, especially when firing at ground targets. Now I know that it’s generally easier to destroy targets on the ground with bombs, but it’s not uncommon to take them down with direct cannon and machine gun fire. Also I consistently ran into a problem where the bomb reticle that is normally overlayed on the ground around where your bombs should land was floating in the air and basically unuseable.
When directly firing at the ground your target is so small and so far away that it’s hard to shoot at it accurately, and you don’t have much time (or ammunition) to take them down before you have to pull up or your gun overheats and jams. You might think, “Well obviously just zoom in so you can get a better look and shoot more accurately.”

Well if you ever do that I hope you don’t vomit easily. Zooming in on a tank that was standing still was a little nauseating, but zooming in while piloting a moving plane? It’s practically a one way ticket to motion sickness city.
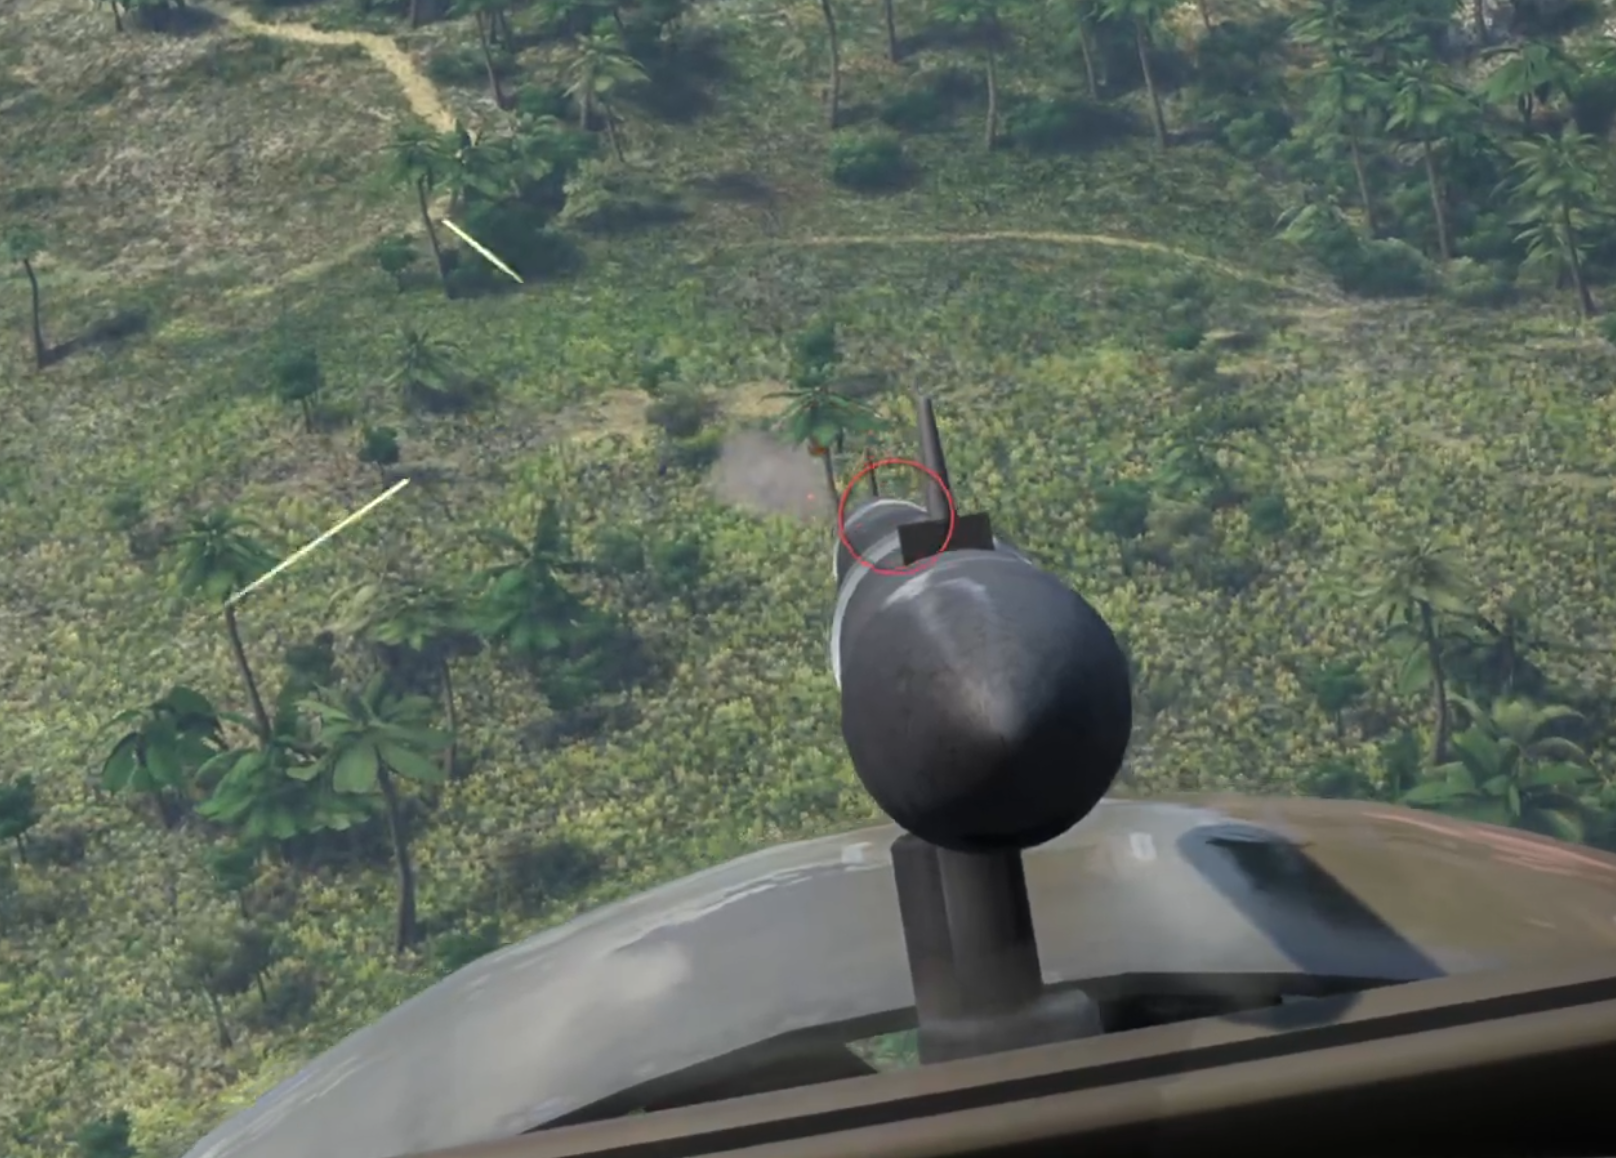
There’s absolutely no camera smoothing, so the tiniest movement of your head makes your whole view rock and shake drastically. Trying to zoom in when you’re in third person generally just gets you a closeup of your plane, so zooming in when in first person is really your best option, and it is jarring to say the least. Good luck hitting much on the ground in War Thunder VR. Honestly just forget the zoom button altogether, your head and stomach will thank you.
Bluewater Fleet and Coastal Fleet (Ship Combat)
Unfortunately the Virtual Reality fun stops at Ship Combat. Where VR Land Combat has some problems but is serviceable and VR Air Combat is fantastic despite a few bugs and a little jankiness, VR Ship Combat is not enhanced by Virtual Reality. War Thunder’s ship combat in VR is actually worse than it is on the flat screen.

Not only does Ship Combat have the already existing problems that Land and Air combat have, but almost nothing is added by VR. There is only third person and the gunner’s view now, and any ship larger than a Patrol Boat is so large that it always gets in the way when you are trying to aim. Since the distances you’ll be firing at are so large, generally at least a kilometer but often farther, you will constantly be using the gunner view and zooming as much as you can.
Though you do have a quasi-first person view on smaller ships like little Patrol Boats which is alright. Though no matter what size of ship you are piloting you’ll end up in the gunner’s view, zooming a lot.
Like I’ve said, zooming in War Thunder doesn’t translate well into Virtual Reality. While looking at your huge ship is kind of cool, it gets very hard to control because you are constantly forced to change the angle of your view to fire broadsides and torpedoes, which come out of the side of a large ship. Patrol boats kind of function like a sea bound tank and so are less impaired by this issue, but the constant zooming and firing while moving is nauseating and unpleasant in VR.

The environment and effects aren’t particularly nicer in VR either. Looking across the water in first person might have been cool, though impractical, but from the third person view water is water, and the fighting is so much more spread out that the sense of majesty of Airborne and Land battles is gone. I had a headache after a single match, and even if you are immune to motion sickness there’s really not much to be gained by playing Sea Battles in VR.

Well there you have it, that’s how War Thunder VR stacks up. Land Battles are pretty good in VR, Air Battles are great, and you’re better off staying on the flat screen for Naval Combat. Overall I’d say that the addition of VR to War Thunder was a great idea. Though it could have used a little more love in implementation, it’s still a fun experience to try at least once, and hey, it’s free, so why not?
The Walking Dead Saints and Sinners Walkthrough and Guide - Part 7 - Old Town and Another Stash
Stuck in The Walking Dead Saints and Sinners? Wondering where to go next? Maybe you just like to see what is in store for you before you get there, or want to look back and see if you missed anything in The Walking Dead: Saints & Sinners. Well don’t worry we’ve got you covered with this complete walkthrough. This is the seventh part, where you go to Old Town and sneak or fight your way past a bunch of Tower grunts to get another stash for May.
Stuck in The Walking Dead Saints and Sinners? Wondering where to go next? Maybe you just like to see what is in store for you before you get there, or want to look back and see if you missed anything in The Walking Dead: Saints & Sinners. Well don’t worry we’ve got you covered with this complete walkthrough. This is the seventh part, where you go to Old Town and sneak or fight your way past a bunch of Tower grunts to get another stash for May.
This article will detail how to progress through the main story missions as quickly as possible, with a couple of guiding tips thrown in here and there to make your adventure smoother. Only those recipes that are convenient to get when doing a task for the first time are included. For a full list of all recipes in The Walking Dead: Saints & Sinners, check out our recipe guide article. Spoilers will be as light as possible, but there will be story spoilers by necessity in this walkthrough, but there won’t be any explanation of what is going on in the story beyond what is necessary to make the walkthrough make sense.
All Walkthrough Parts:
The Walking Dead Saints and Sinners Walkthrough and Guide - Part 1 - The Graveyard
The Walking Dead Saints and Sinners Walkthrough and Guide - Part 2 - The Shallows
The Walking Dead Saints and Sinners Walkthrough and Guide - Part 3 - Via Corolla
The Walking Dead Saints and Sinners Walkthrough and Guide - Part 7 - Old Town and Another Stash
The Walking Dead Saints and Sinners Walkthrough and Guide - Part 8 - Rampart
The Walking Dead Saints and Sinners Walkthrough and Guide - Part 9 - The Shallows Again
The Walking Dead Saints and Sinners Walkthrough and Guide - Part 10 - Bastion and The Reserve Key
The Walking Dead Saints and Sinners Walkthrough and Guide - Part 11 - The Reserve and the Ending
Old Town
Welcome back to another day in The Walking Dead’s New Orleans. Wake up and go back to the coffin underneath the lit lantern that you put the last piece of intel in earlier. There will be another note from May and a picture of the next Tower stash to raid, in Old Town.
Get yourself ready and make sure to bring a gun that’s good for fighting people. At this point you might have a preference. Shotguns are easy to aim but only work up close. The Hunting and Lever Action Rifles are great ranged options., but require precision aiming As long as whatever you bring is good for fighting Tower soldiers, you’ll be well off.

Once you arrive take a look at your map. The stash is located in a little shed at the side of the house next to the green house in the bottom right corner of your map. You’ll also recognize the shed because the house it is attached to has a ton of vines running down its sides.

If you want to get a recipe easily, however, you could take a detour on your way across the map to the house colored a light red in the upper left side of the map, right in front of where you spawn in. Inside the kitchen in this little house is the recipe for Gumbo inside of the fridge. The only problem is there’s two people inside who won’t take kindly to your intrusion.

Take them out however you wish, an explosive is a great way to get rid of them, and get the recipe. Either way when you’re through there take the alley around the side of the house, or keep going down the main street. You will inevitably end up travelling past the big Blue House on your map, which is in the center of the area.
The street in front of the house and the interior are full of Tower grunts, but they won’t give you any trouble unless you go inside and trespass, or pull a gun on them. There are a number of entrances, you can walk through the front, though the soldiers outside won’t take kindly to that, and there’s a boarded up hole in the back you can bash open and sneak through. There’s a recipe inside the house, but unless you’ve already been to Rampart and gotten the code to the safe it is sitting in, then there’s no reason to go inside unless you just want to fight and loot the place.
The real prize is past the Blue House and down the street.

You’ll see a big fence at the intersection of Bordeaux and Prytanya. A little ways up Bordeaux street, right beside the Blue House, is a gate leading through the fence. The first house inside the gate is the grey one mentioned earlier, and on the side facing Bordeaux street is the little white shed that contains the stash. There will be quite a few well armored Tower guards right in front of it though.
It is possible to get into the shed by stealth, though you might have to kill the closest guard with melee to get in. By now you should have plenty of offensive tools in your arsenal, and it is far easier to just shoot your way through. What makes this difficult is that the guards in front of the Blue house will also respond to any aggression on your part, so you might want to take them out before tackling the stash, if you want to do it by force.
Inside the shed is a fancy bow and some special arrows, as well as the documents that May wants.

There’s not too much to be said for the green house on your map, loot it if you want. There’s nothing special to be had, but if your bag is light you might as well.
Once your bag is full and the documents are in it, nothing left to do but leave. This trip to Old Town is pretty straightforward, as most of May’s tasks are. Get in, blast or sneak your way through to grab the goods, and get out.

The Resting Place
Once you’re back at the bus do the usual, scrap all of your items and get ready for the next day, but do be sure to remember to put the intel you picked up into the coffin.

With that done also make sure to go back to your radio and tune back into Channel 61. As you might have guessed, Casey has another mission for you to go on, and this time it’s not to grab another Pump Regulator. He wants you to go to the Rampart High School and look for his squad that used to be in the bunker with him.

That’s your destination for the next day. For now, go to sleep.

Need a guide on what comes next? Want to find out what you’ll find at Rampart High School? Want to know what happened to Casey’s squadmates? Then head over to Part 8.

Install Bonelab Mods WITHOUT A PC | How to Install Bonelab Mods Directly On Quest 2
Want to install mods for Bonelab but don’t have a PC, or don’t want to go through all of the hassle to plug your headset into your computer every time you want to install new mods for Bonelab? Well good thing you don’t have to, because you can download and install Bonelab Mods directly on to your Quest 2 without needing a PC at all! Here’s a guide on how.
Want to install mods for Bonelab but don’t have a PC, or don’t want to go through all of the hassle to plug your headset into your computer every time you want to install new mods for Bonelab?
Well good thing you don’t have to, because you can download and install Bonelab Mods directly on to your Quest 3 or Quest 2 without needing a PC at all! Here’s a guide on how.
The New Way - How To Download And Install Bonelab Mods
Since the release of Patch #4 on June 6, 2024 Bonelab mods are WAY easier to download and install without a PC on any Meta Quest or other standalone device.
If you still want to install your Bonelab mods manually the old way using Mobile VR Station then keep scrolling down to the rest of the article, but this section will cover how to more quickly and easily install mods since Bonelab patch #4.
Anyway start the game as usual and once you find yourself at the main menu click on the big “MODS” button.

The Mods button in the Bonelab main menu
You will get some prompts asking you if you’re sure you want to install mods, go ahead and accept all of those. You wouldn’t be following this guide if you didn’t want to install Bonelab mods anyway, right?
Once you find yourself in the Mods menu there will be some more buttons, click the “Downloads” button.

The Downloads button in the Bonelab mod menu
In the following menu click the “Mod.io” button, and you’ll be in the Mod.io menu. Since you haven’t already connected Bonelab to mod.io you’ll only see a single button saying “Mod.io Log In” click that.
After a brief delay the button will change into a screen like this one with a five digit code where the red blob is.

You’ll need the code on this page to connect Bonelab to your mod.io account
Go to a browser while keeping your headset on and connected to your WiFi. This could be on any sort of device like a phone or tablet, as long as it is a browser and it is on a device that is connected to the same WiFi network as your Quest is.
Go to mod.io/connect. The first thing you will see once you get there is a page saying that you need to log into mod.io in order to proceed. You can’t connect your account to your Quest headset if you don’t have an account after all.

You’ll have to log into mod.io when you see a screen like this in your browser
Luckily there are a ton of ways to log into mod.io and subscribe to Bonelab mods. You can use any sort of email to sign up, or log in with Discord or Gmail if you already have one of those accounts. No matter how you sign in mod.io is completely free, so don’t worry about any fees.
Once you’re signed in go back to mod.io/connect. Now it will ask you for the 5 digit code that is displayed inside of your headset.

Enter your 5 digit code that you got inside of Bonelab into this browser window
Enter the code and hit submit. As long as you entered it correctly and both your headset and the device you are using the browser on are connected to the same network you will see a prompt telling you you are successful.
Congratulations! Now your mod.io account and your Bonelab installation on your headset are connected. Any mods that you subscribe to on that mod.io account will transfer over to your headset.
So now it’s time to subscribe to some mods! Go to “Browse Games” in the top left corner of your mod.io browser window and search for “Bonelab.” There are an absolute ton of mods made by the fantastic Bonelab modding community for you to pick from. Subscribe to one or two to test it out.

Look at all these Bonelab mods on mod.io!
Once you’re subscribed to the mods you want, put your headset back on and go back to the same Mod.io menu inside of Bonelab that you were in last (where we got the code to enter into mod.io).
Now instead of a login button there will be a different button saying “Download All.” Click that button, and shortly your mods will download to your headset.

Downloading mods for Bonelab
That’s all there is to it! Now your Bonelab mods should be downloaded to and installed on your Meta Quest or other standalone headset and you can enjoy them.
Check out whatever mods you’ve installed by changing your avatar for avatar mods, or spawning weapons or enemies using the spawner as always. Modded maps can be accessed through the Mods menu as well. Enjoy!
Oh, and keep in mind that older mods need to be updated for Patch #4 for this method to work. So older mods may not function, even if you use the old manual installation method outlined below. If the mod won’t work you’ll get an error when downloading them.
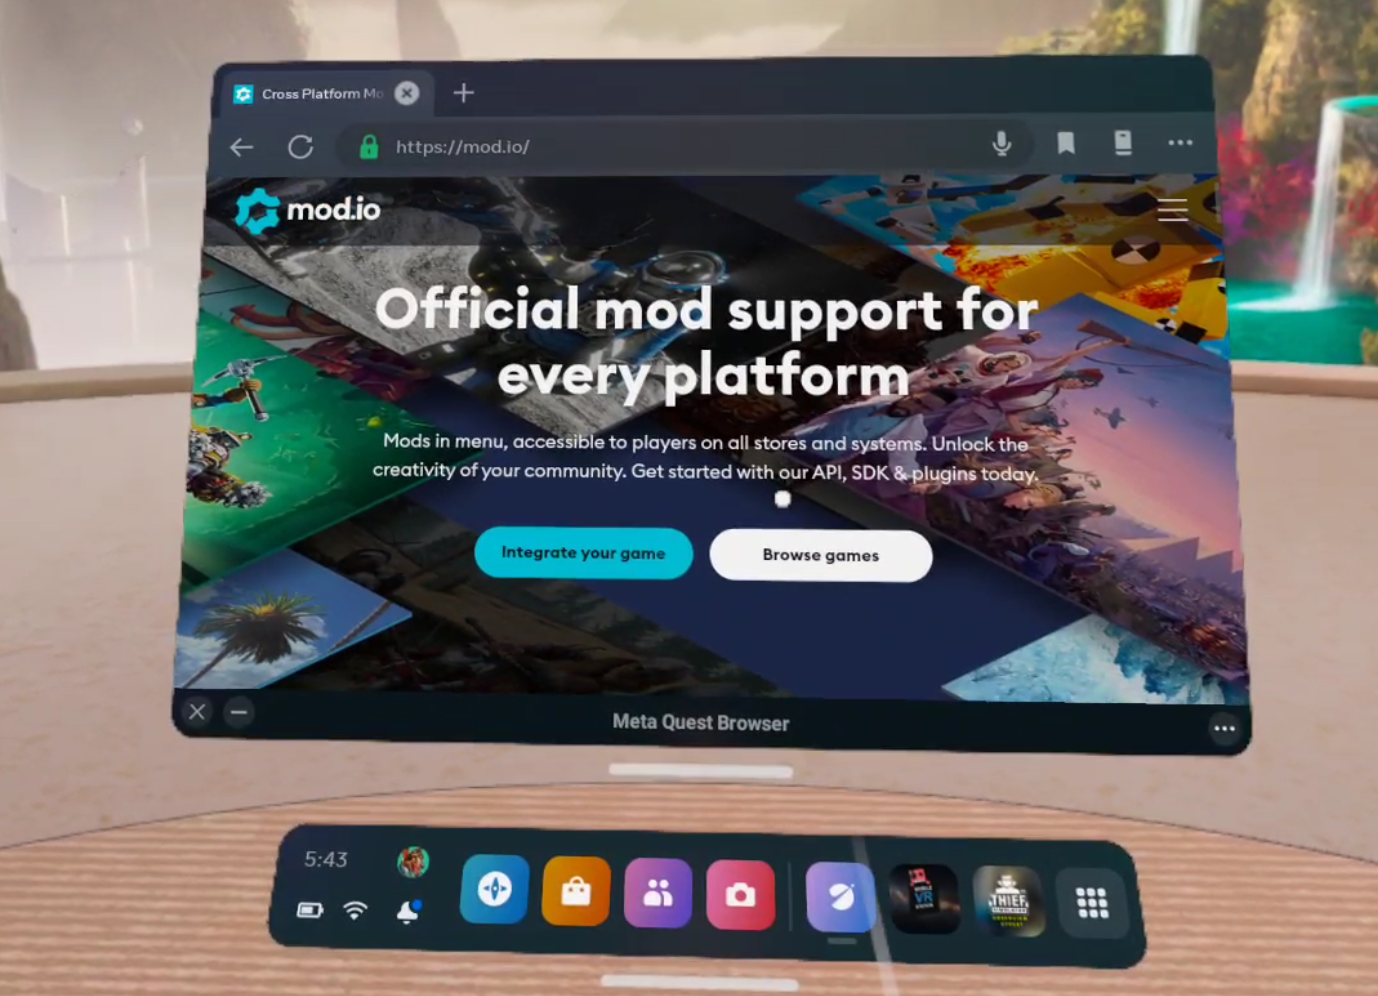
mod.io is a great source for Bonelab mods
Hit the “Browse Games” button and search for Bonelab. If you’re having trouble finding it you can also just go to mod.io/g/bonelab. On the left side of the page make sure to select the “Android” checkbox. Only “Android” mods can be used on the Quest 2, and there’s no use looking at mods that you can’t install on your Quest.
Once you’ve done that feel free to filter by what sort of mod you want or just browse around until you find something that looks like fun. For this example we’re going to be downloading and installing a spiderman Avatar and a sweet new weapon pack.

Searching for a Bonelab mod
Once you’ve found a mod you want, select it to view the mod’s page, and scroll down to the “Live Files” section. Remember, you can only install the Android version of the mod on the Oculus Quest, so click the down facing arrow beside the Android version. The version information will expand, and then you can click the link under “Download to install mod manually”.
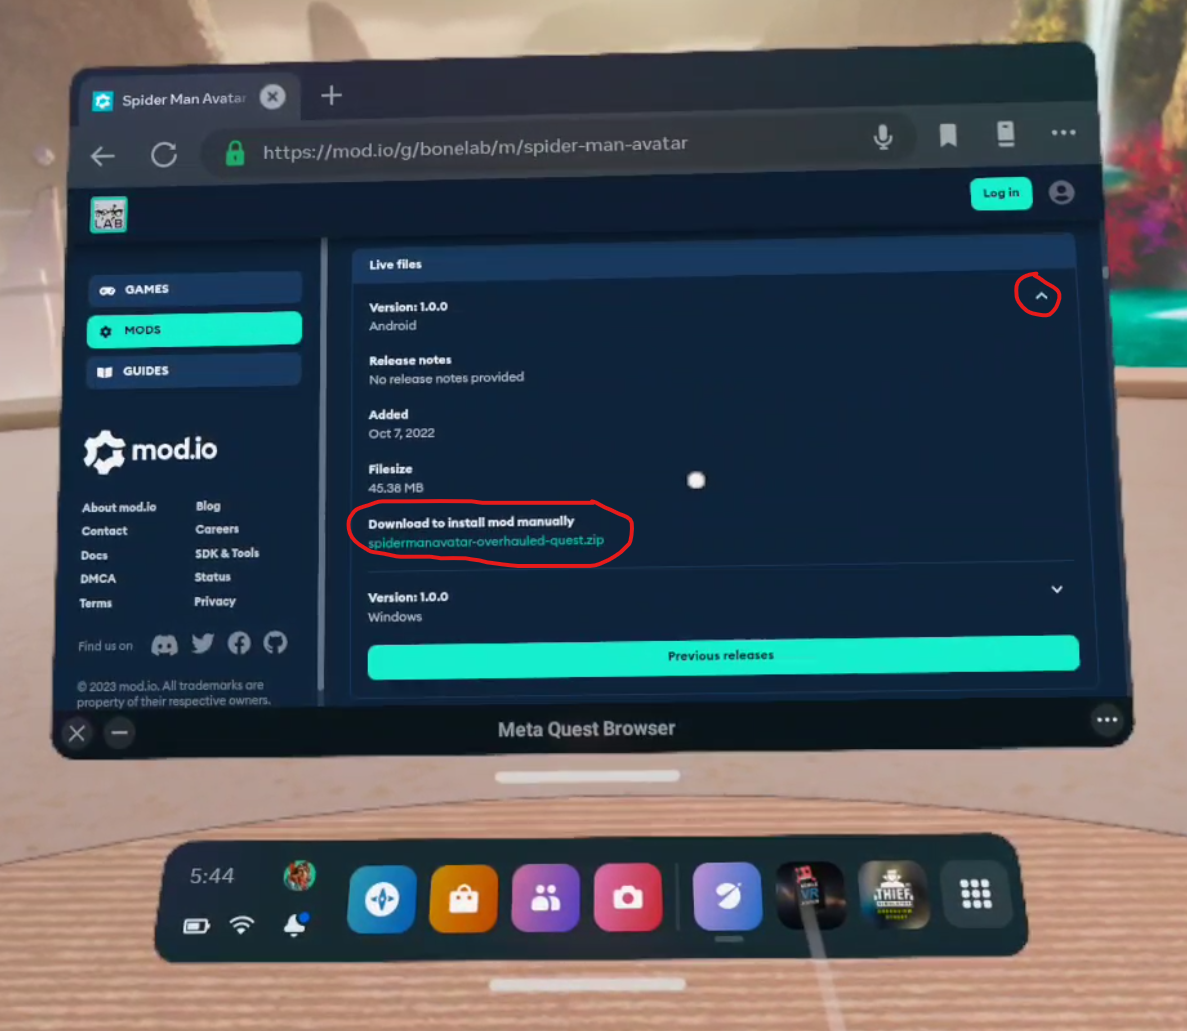
Downloading a Bonelab mod
Once you click the link your Quest will download the mod’s .zip file. You’ll see a little popup on your screen that will tell you how it’s going and when it is done. Once you’ve downloaded whatever Bonelab mods you want it’s time to install them!
How To Install Bonelab Mods
So now you’ve got your .zip files downloaded and you’re ready to install your shiny new mods directly on to your Quest 2 without a PC. To help you with this you’ll need a new App on your Quest. Don’t worry, it doesn’t cost any money and is completely free. It’s called Mobile VR Station and you can install it through the Quest store when using your headset, or through the Quest mobile app, just like you would any other Quest app on the App Lab.
Keep in mind that Mobile VR Station is on the App Lab, so it may be a little harder to find than most Quest applications in the store. Make sure to type in the entire name of the app letter for letter or it may not appear. Anyway, once you’ve got Mobile VR Station downloaded and installed (it shouldn’t take long, it’s not a very big app) go ahead and launch it.

The Android Fixes Button
First thing’s first. Due to an Android update you won’t be able to see or use the Bonelab mods you downloaded without giving Mobile VR Station some additional privileges. So in the “Available Content” main menu scroll around until you see the “Android 12: Android Fixes” folder. Click on it. Then click on the button that says “Enable Manage All Files”. A popup will appear. Select the slider on the popup to give Mobile VR Station the ability to see the mod files. Then hit the Oculus button to return to Mobile VR Station.
Now go to Local Files, then All Folders, then Download. So the File Path at the top of the screen will show Available Content / Local Folders / All Folders at the top, with the name of the Folder you are in “Download” in big letters below it. This is where the mod you downloaded before ended up.

Your mod .zip file!
Now that you can access the .zip folder for your mod, click on the file icon next to it. Then select “Extract Files” you’ll get a confirmation once the files are extracted. Once that’s done, click the “View/Edit” Toggle at the top left of the window to active View/Edit mode. Then click the newly extracted folder so it has a green check mark over its icon. Then hit the copy button in the top left corner (it looks like two sheets of paper). Then click the View/Edit Toggle again, it will be red now.

Extracting mod files
Now that you’ve copied the mod file and exited View/Edit mode, hit the Arrow pointing upwards in the top left corner, you’ll see text saying “Previous Folder” when your pointer is over it. Do this twice, so you’re back in “Local Folders” where you started. Go to “All Folders” then “Android” then “data”.

You have to enable Scoped Storage to look at your game files
Enabling Scoped Storage
You’ll notice that you can’t access Android/data right now, which is unfortunate since that’s where the Bonelab folder is that you have to put your mod folder into. Don’t worry though. You can access the Bonelab folder by switching to Scoped Storage. So click on the “Scoped Storage Actions” button on the bottom. You’ll see four new buttons.

Request Mobile VR Station scoped storage access
Try hitting “Request Access” a popup will appear with a blue button on the bottom that you can press to allow yourself access to the Android/data folders, and all the game files within. This can be a little tricky though. You might press the button, and nothing happens. A popup is supposed to appear with an “Allow” button for you to press. If that popup doesn’t appear then you have to exit the allow menu with the X in the bottom left corner. Then hit the “Crash (Reset")” button in the Mobile VR Station app. The app will crash, and then you hit the Oculus button and relaunch it.
You have to keep doing this until the popup appears (it can take several tries). Once the popup does appear and you hit allow, hit the “Crash (Apply)” button instead. Then when you relaunch Mobile VR Station you should get this message letting you know you’ve activated scoped storage.
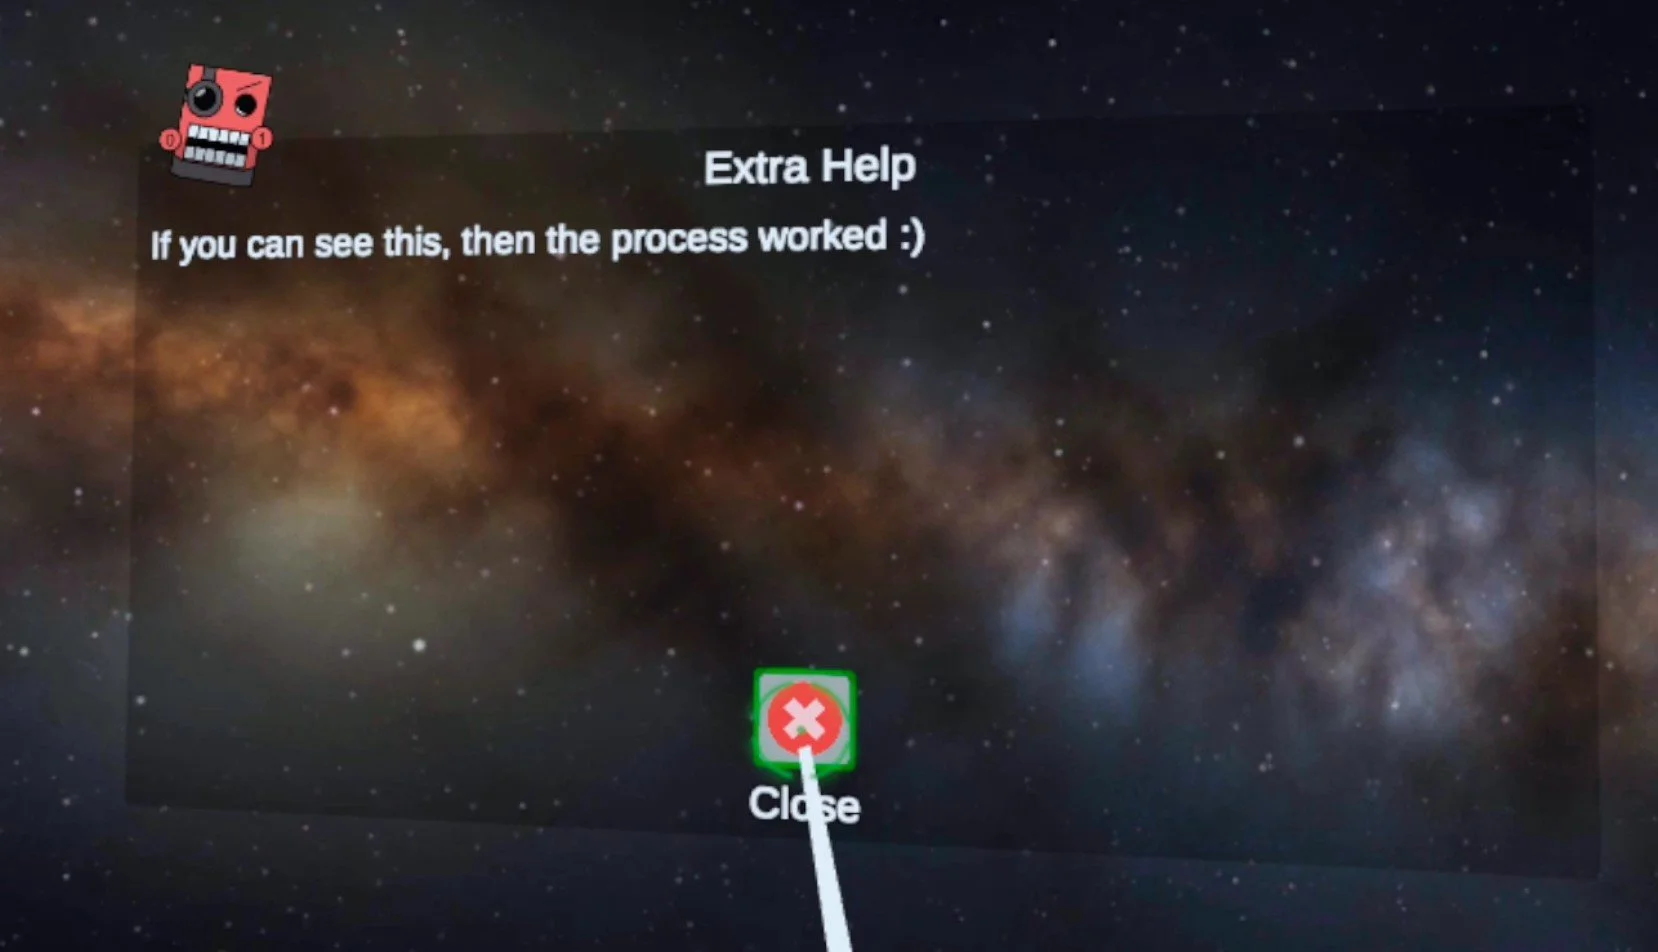
Scoped Storage Activated!
Installing the Bonelab Mod
Now if you go to Local Folders/Android/data you can click the “Switch to Scoped Storage” button and see all the folders for all the games you’ve got installed on your headset. Look for the Bonelab folder and open it.

The Bonelab Folder
Now click on “files” then “Mods” you’ll see all the mod folders you have. Here you can click the “View/Edit” toggle in the top left hand corner and paste your extracted mod folder. If you had to enable scoped storage and restart Mobile VR Station then you’ll have to go back to the “Local Files/Downloads” folder and recopy your mod folder. After you hit paste there might be a delay for a little while, but eventually an “OK” button will appear. Hit that and your shiny new Bonelab mod is installed!
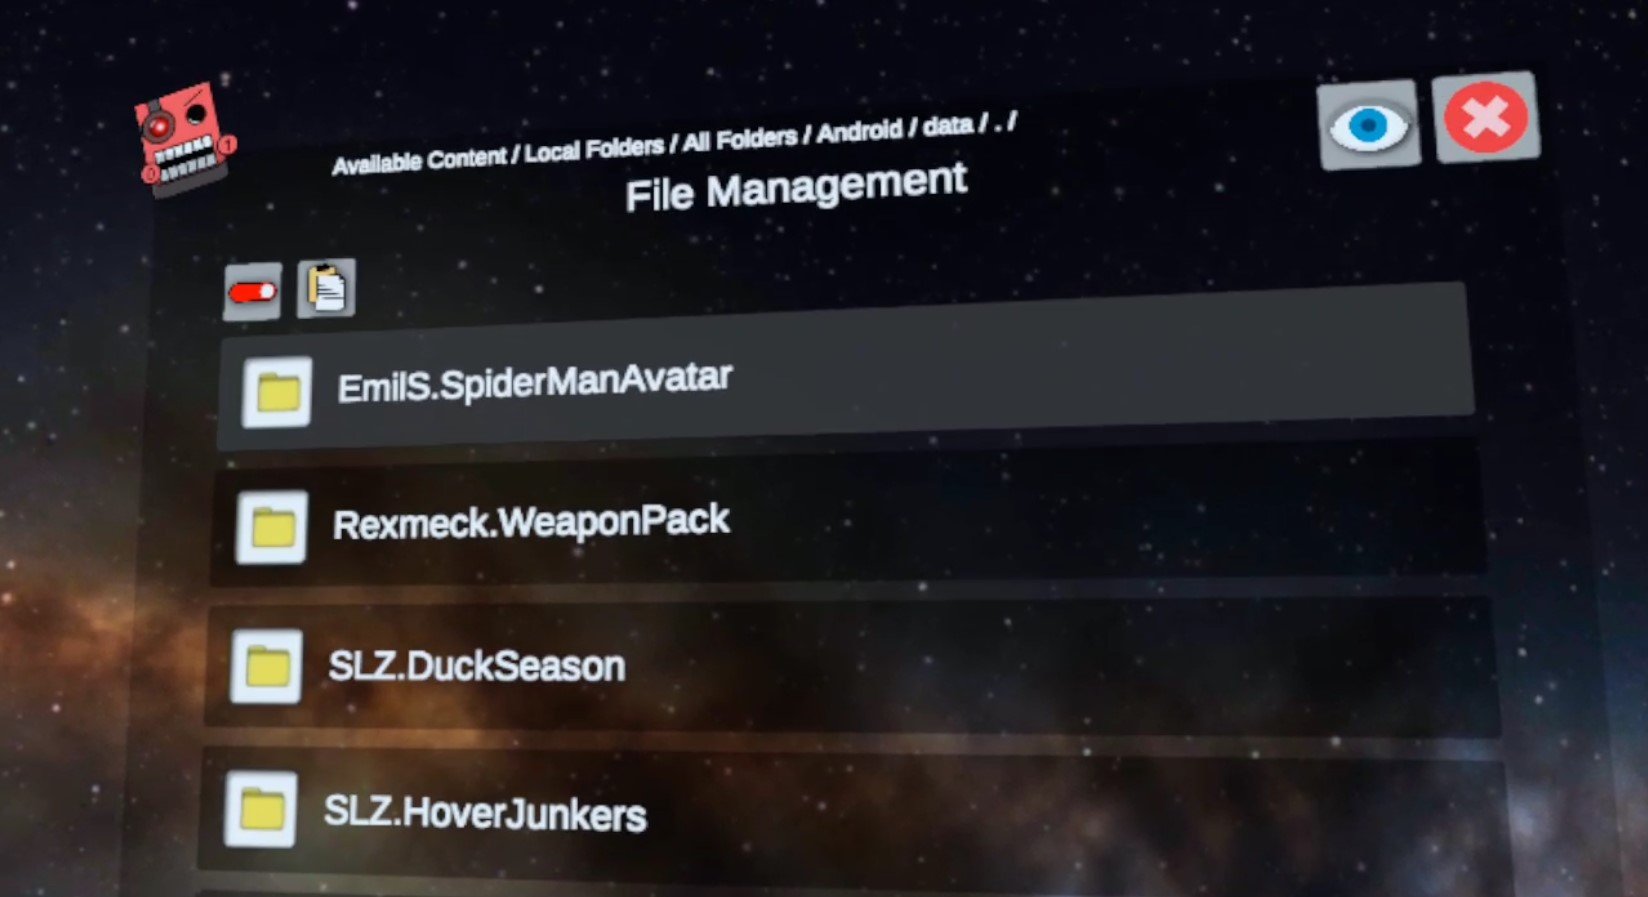
The Installed Mods
Congratulations! Your mod is now successfully installed. Exit out of Mobile VR Station and go to Bonelab to check it out. In the game you can confirm that your mod is installed successfully by going to the MODS menu in the Main Menu and then going to the INSTALLED submenu. Or you can check out the mod console in the Bonelab Hub itself.
Since we installed a new Spiderman Avatar in this tutorial we can check him out and change our avatar to the new Spiderman avatar in the Body Mall in the hub. If you’ve installed a new gun or NPC then you’ll need to access the spawn menu to check them out. Maps are accessible through the MODS station in the Bonelab Hub.

Spiderman pointing a gun at his reflection
For other sorts of mods like the weapon pack we installed you can access those from spawners in Sandbox modes, or with the spawn gun. Here’s the AK74 mod on the gun range!
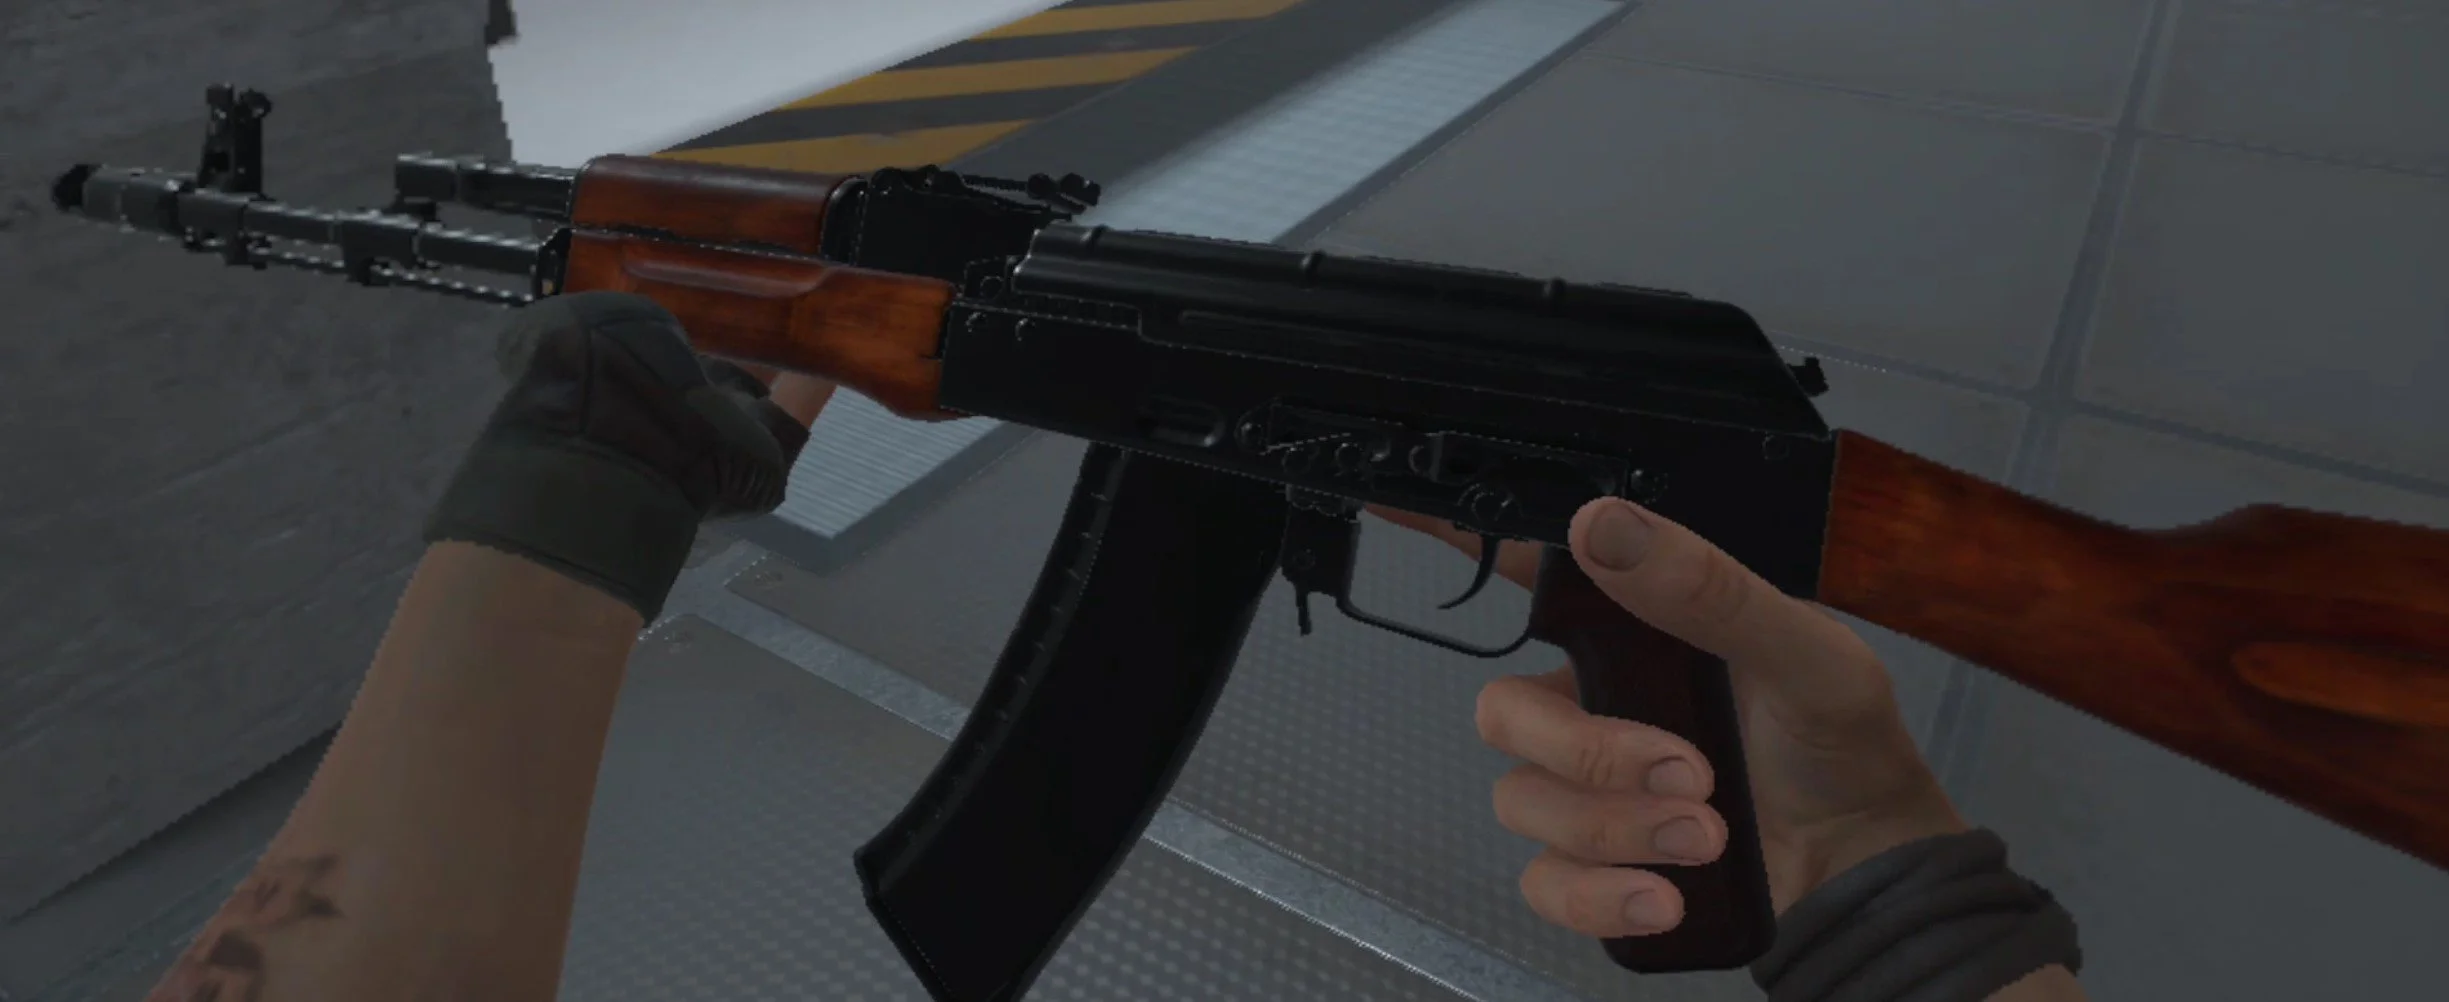
The AK74 from the Rexmeck’s Weapon Pack Mod
Hopefully this helps you enjoy Bonelab Mods more conveniently since you won’t need to chain your Quest 2 to a PC to download and install them. Have fun out there!

The Best VR Roguelike Dungeon Crawler Out There is Ancient Dungeon VR
Brush off your sword swinging arm and your signed photo of Gary Gygax, because the Dungeon Crawler has made it's way to VR. No, I'm not talking about Demeo. I'm talking about a first person 3D VR Roguelike experience that has you travel through underground labyrinths, evade traps, and fight monsters.
Brush off your sword swinging arm and your signed photo of Gary Gygax, because the Dungeon Crawler has made it's way to VR. No, I'm not talking about Demeo. I'm talking about a first person 3D VR Roguelike experience that has you travel through underground labyrinths, evade traps, and fight monsters. There's all sorts of zombies, and slimes, and... flowers? Also whatever this is. What... what is that?
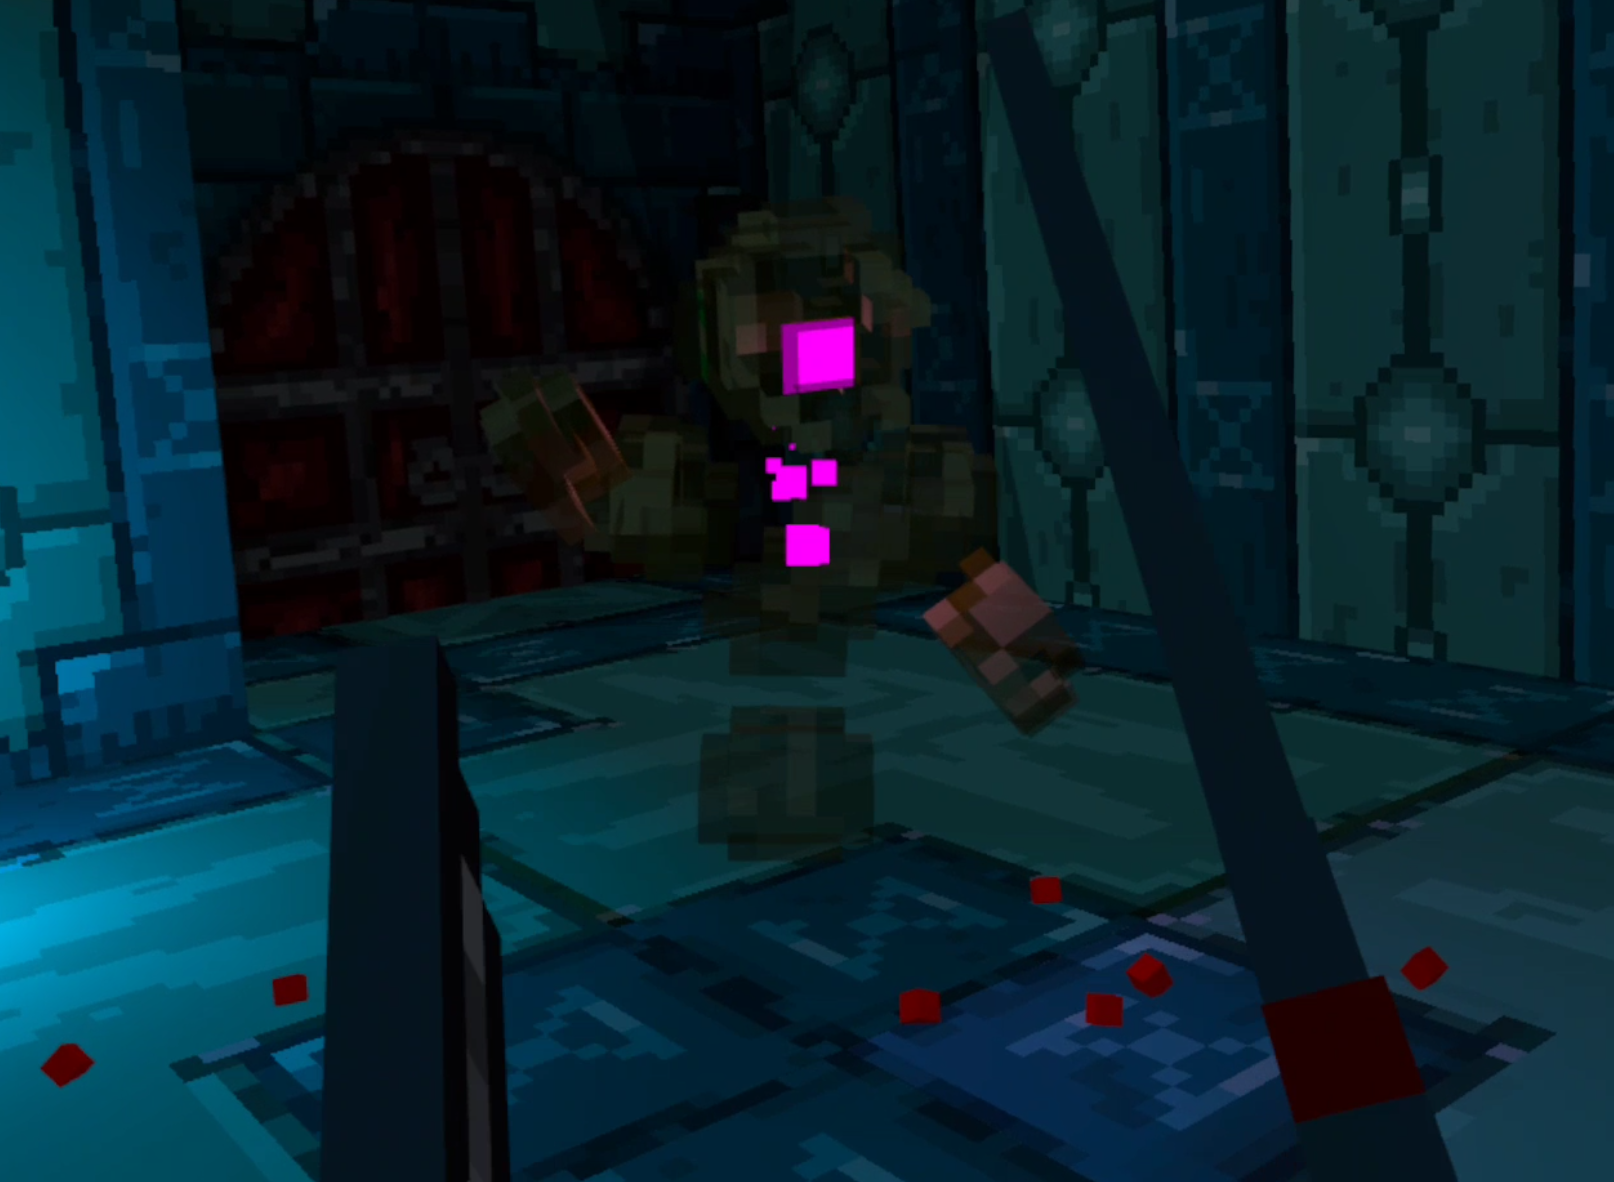
I first found Ancient Dungeon VR while looking at whatever was free on SideQuest, hungry as I often am for new and novel Virtual Reality experiences. I don’t remember much of my first impressions, mostly a faint memory of frantically looking for any kind of healing item, and a lot of breaking crates and pots to see if anything was inside. I had barely dug through the surface of the game, and decided to come back to it later after the developer had more time to work on it.
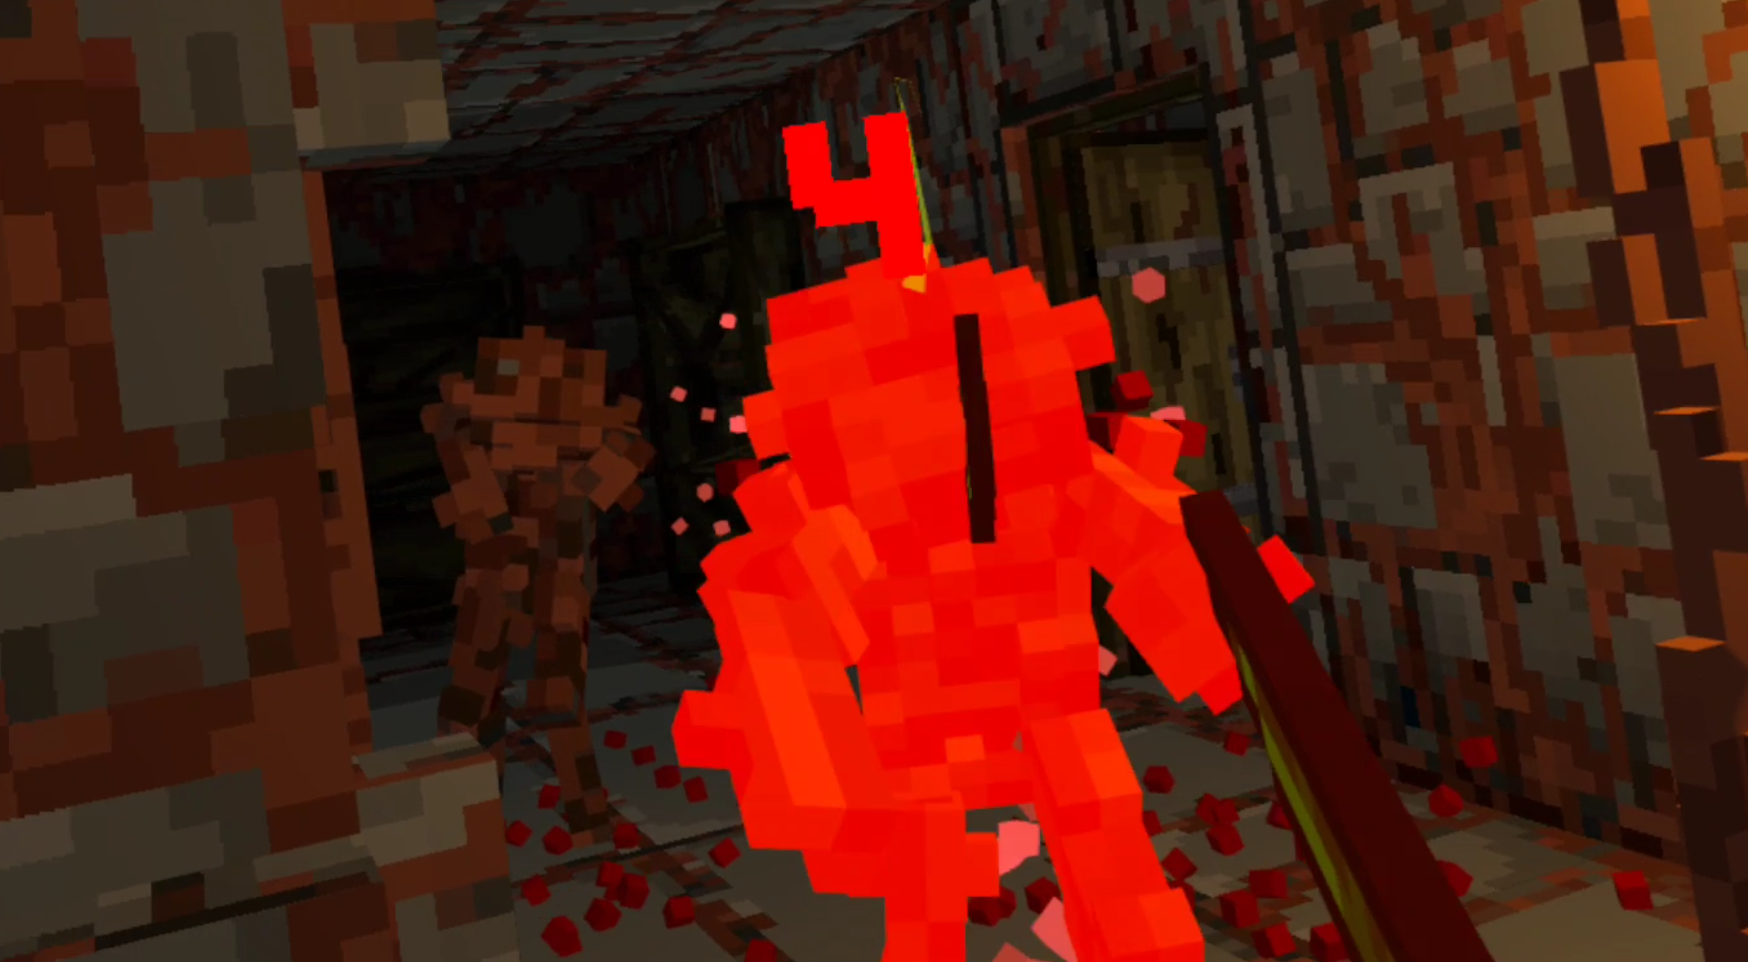
Well it was worth the wait. What is now different to the previous version I don’t recall, but things have definitely gotten a lot more interesting. Sure it looks like you’re fighting Legos, but this is the best VR Roguelike and the best VR Dungeon Crawler I’ve seen so far. Let’s dig into why, so let’s address the elephant in the room first. Let’s talk about the Visuals.
The Visuals
While blocky textures don't usually look good in VR, that's mostly a problem of mine when talking about flat 2D sprites overlayed on a world with depth. The blocks themselves aren't the problem, it's the conflict of overlaying something so clearly 2D and unnatural onto a 3D environment.
Ancient Dungeon VR doesn't have that problem, because its characters are also 3D and made out of voxel blocks. If you aren't a big fan of this presentation, then I don't blame you. Virtual Reality usually means you want more immersion. While games running standalone on the Quest 2 don't look like Half Life: Alyx, though some of them try and do really well, it's easier to get immersed when the other characters and objects look like something you could find in real life.

Still, even as someone who would usually prefer more realistic graphics, Ancient Dungeon VR takes this blocky voxel aesthetic and runs with it. I can't even be mad, because everything is animated so well and seems to lifelike. From the bats to the slimes to the zombies. The blocky look works here, and it does because each area of the dungeon has a unified look. Each has a unique color pallet that is matched by the monsters you find within, and wow does it end up looking good.

I'm surprised such blocky models can work so well in a VR world, but here you are. Even the old pots that line the walls, and the vines hanging down from the ceiling all add to the sense of each room being a real place around you. The detail in the walls and objects really trick you into feeling like you are inside of this dungeon, and that's one hell of a feat when everything is made out of blocks.
It’s also usually pretty dark, and if there’s one type of game that should be dark, it’s a fantasy Dungeon Crawler. There's a lot of visual atmosphere, and the sounds that each area make also go a long way in helping you feel like you're in a catacomb deep beneath the earth, surrounded by things that are trying to get rid of you.
Sound
As for sound, what Ancient Dungeon VR does better than anything else is ambiance. It sounds like you’re in a dungeon. The background sounds are slow, quiet, creepy. It makes you wary of what lays beyond each corner and in each room. It’s minimalist, a low hum in the background that lets you know that you are in a huge place that can be quiet but isn’t ever completely dead, and is definitely hostile. The ambiance sounds like what you’d think a Dungeon would sound like.
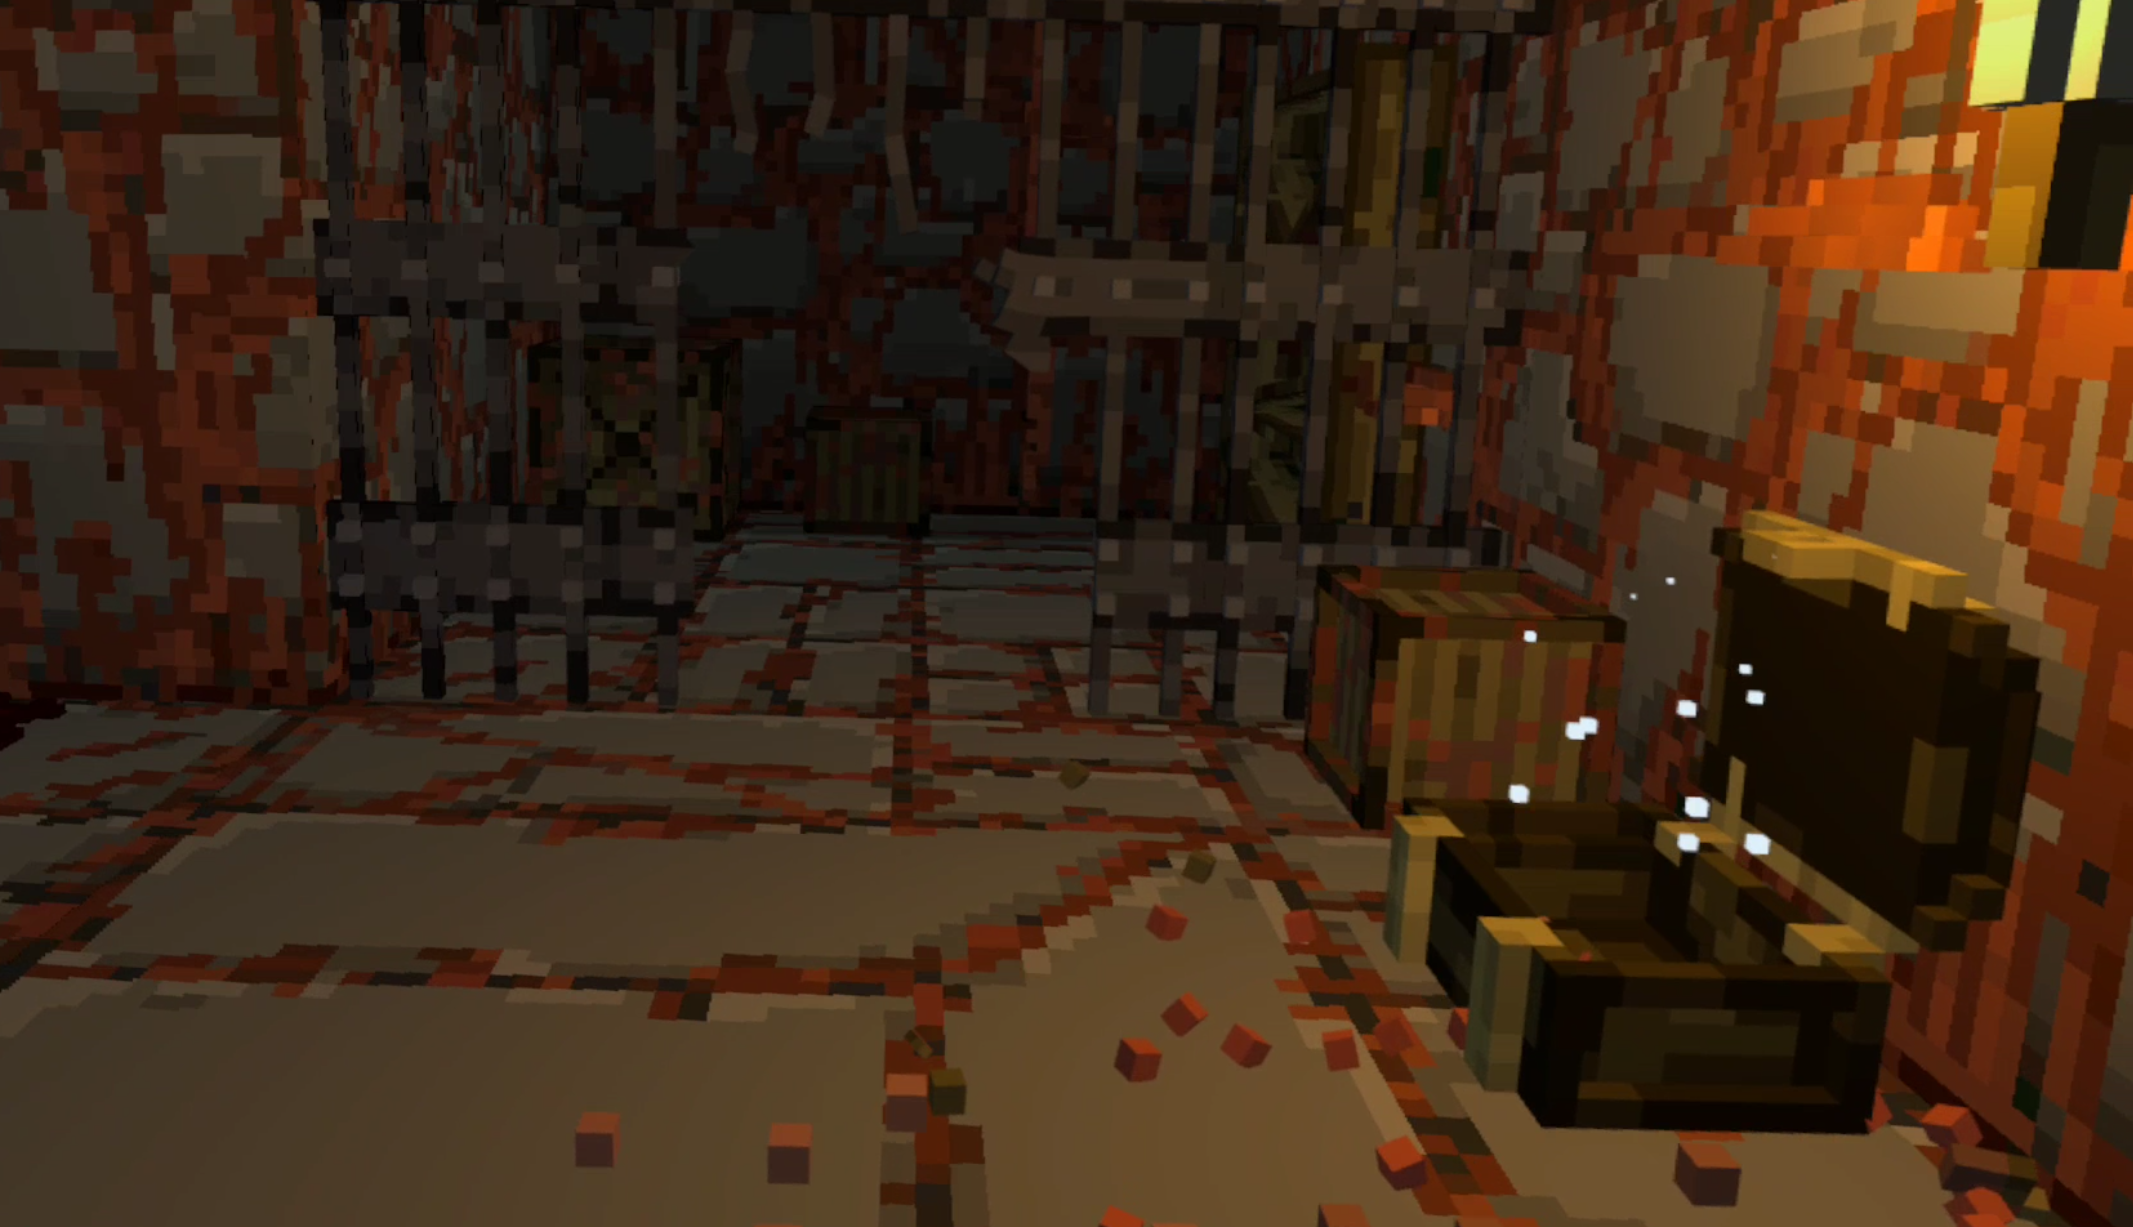
Your footsteps make echoey pitter patters across the ground as you walk through the dungeon, and that is where the quiet ambiance ends. In stark contrast to the quiet moments, when the action is going on there is a big collection of sounds that let you know that it’s time to fight, and give you information about what is happening.
When an enemy notices you, they make an alerted noise, and each attack makes a sound of its own. So even if you don’t see what is coming at you, with enough experience you know exactly what you’re dealing with from the sound alone.
Crates and pots breaking, your throwing knife swishing through the air, your sword swinging through a vine. They all make very distinct noises. Overall they form a soundscape that, just like the visuals, is immersive but not realistic. They wouldn’t sound too out of place coming from an arcade cabinet, and also serve to not only convey information, but also the differences between enemies and what is near you in the environment.
More than anything else the sound of combat and of the monsters you fight in the Ancient Dungeon serve to make each encounter a high note between bouts of tension built up during exploration. This is a finely paced Roguelike.
Pacing
Most thankfully out of all the things it does well, Ancient Dungeon speeds things up compared to more traditional Roguelikes. The experience of getting into the dungeon, fighting enemies, going downwards, collecting upgrades, and eventually dying or winning is much faster. This might not seem like an important distinction, it might even be a detriment depending on how you look at it. There is no extensive inventory management, the upgrade tree is short, and each run is shorter.
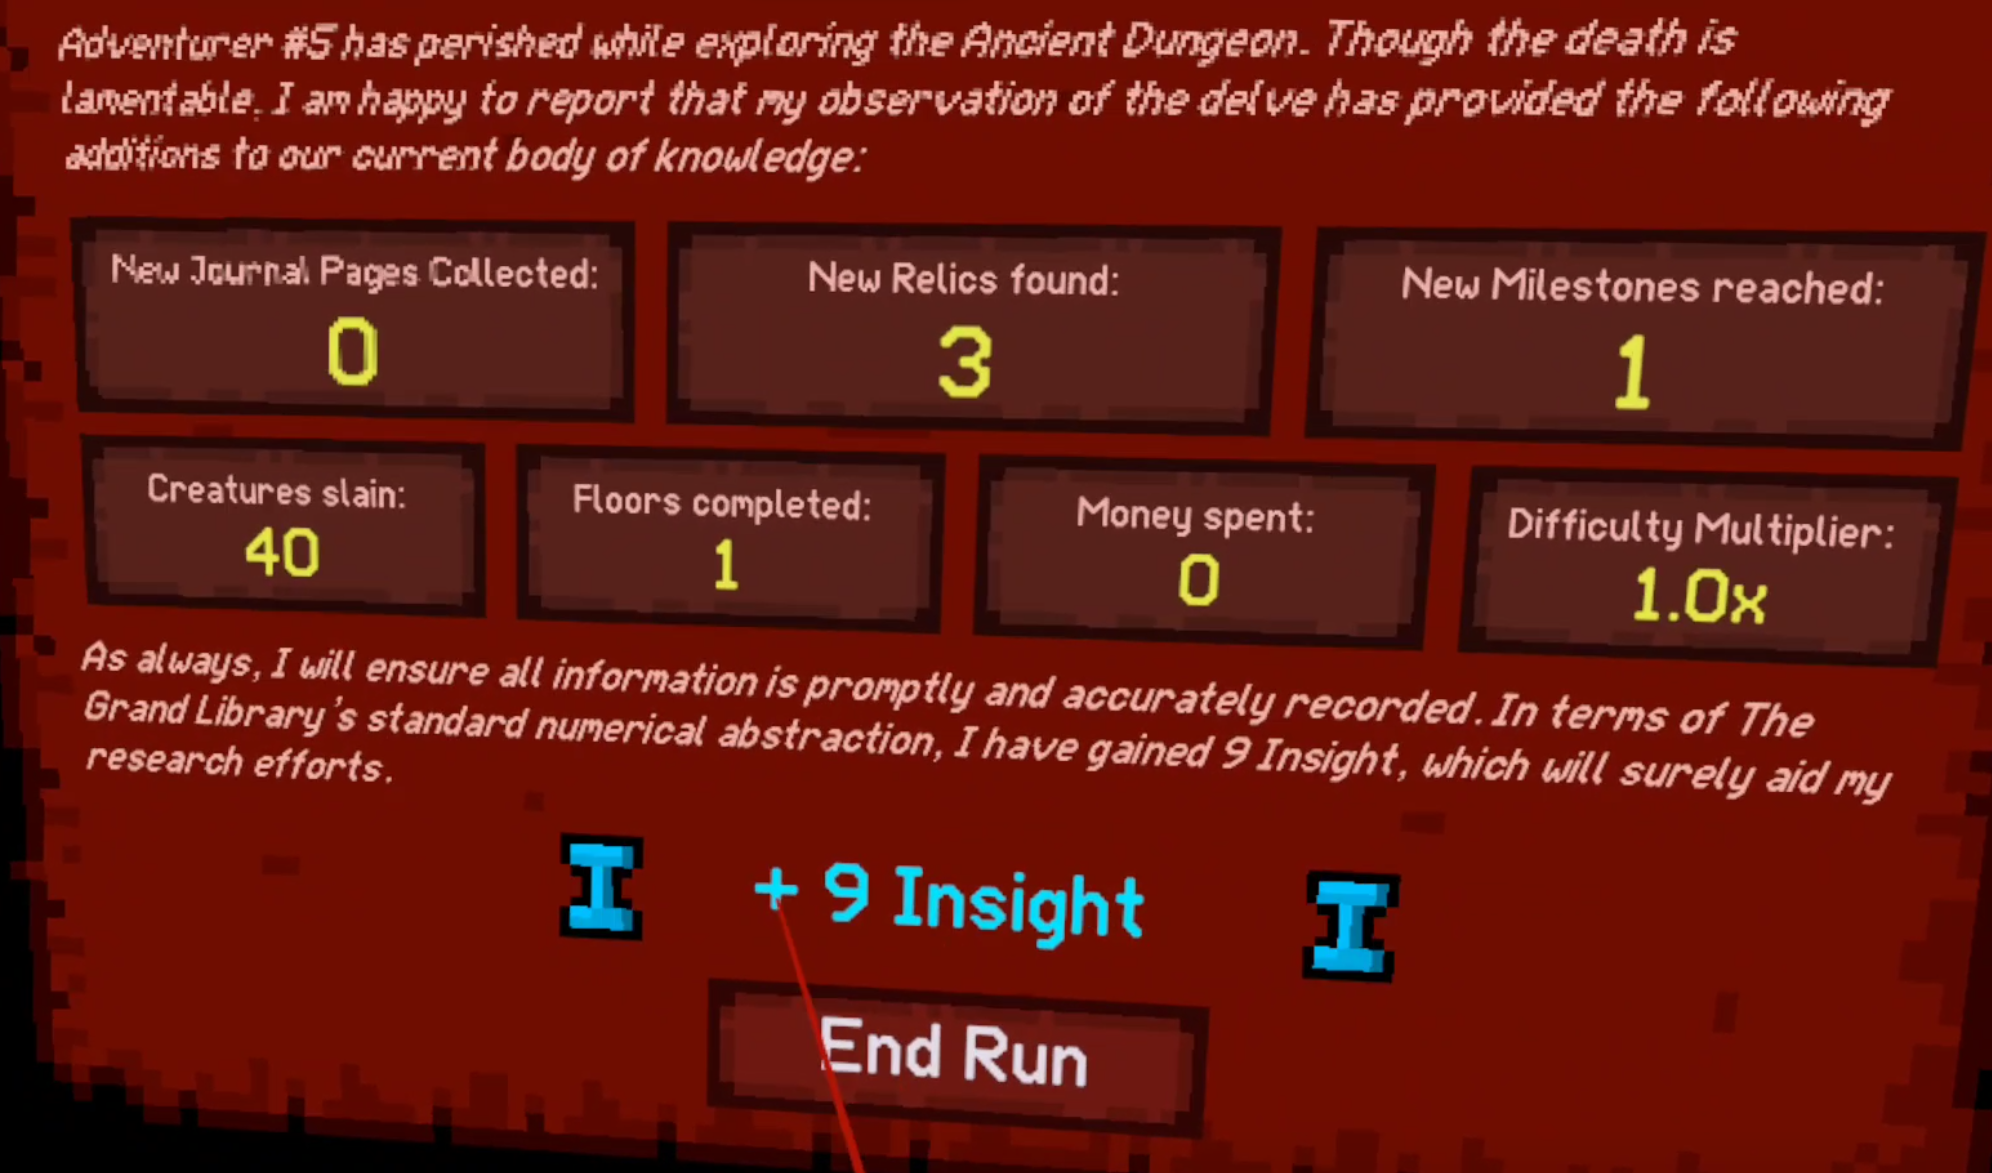
However, this is exactly the right move for a VR game adapting a genre that is about as old as gaming itself. The best Virtual Reality games all speed things up, they take the waiting out of the process. The immersive nature of VR, and the fact that you are most likely playing a Virtual Reality game standing, means that waiting around feels like waiting in line at the grocery store. Inevitably at one point you will ask yourself whether the waiting is worth it. Since in a game there are no real groceries you need to eat to be gained, you will be more likely to say no and take the headset off.
Like I mentioned, Ancient Dungeon doesn't have this problem. There is occasionally a little musing to be done over which item to put in your two item slots, or whether or not to pick up certain upgrades, but there is almost always an obvious way forward, or at least a place to look for the way forward. If you get lost, there’s also a map. Outside of getting turned around a few times, Ancient Dungeon keeps the action coming.
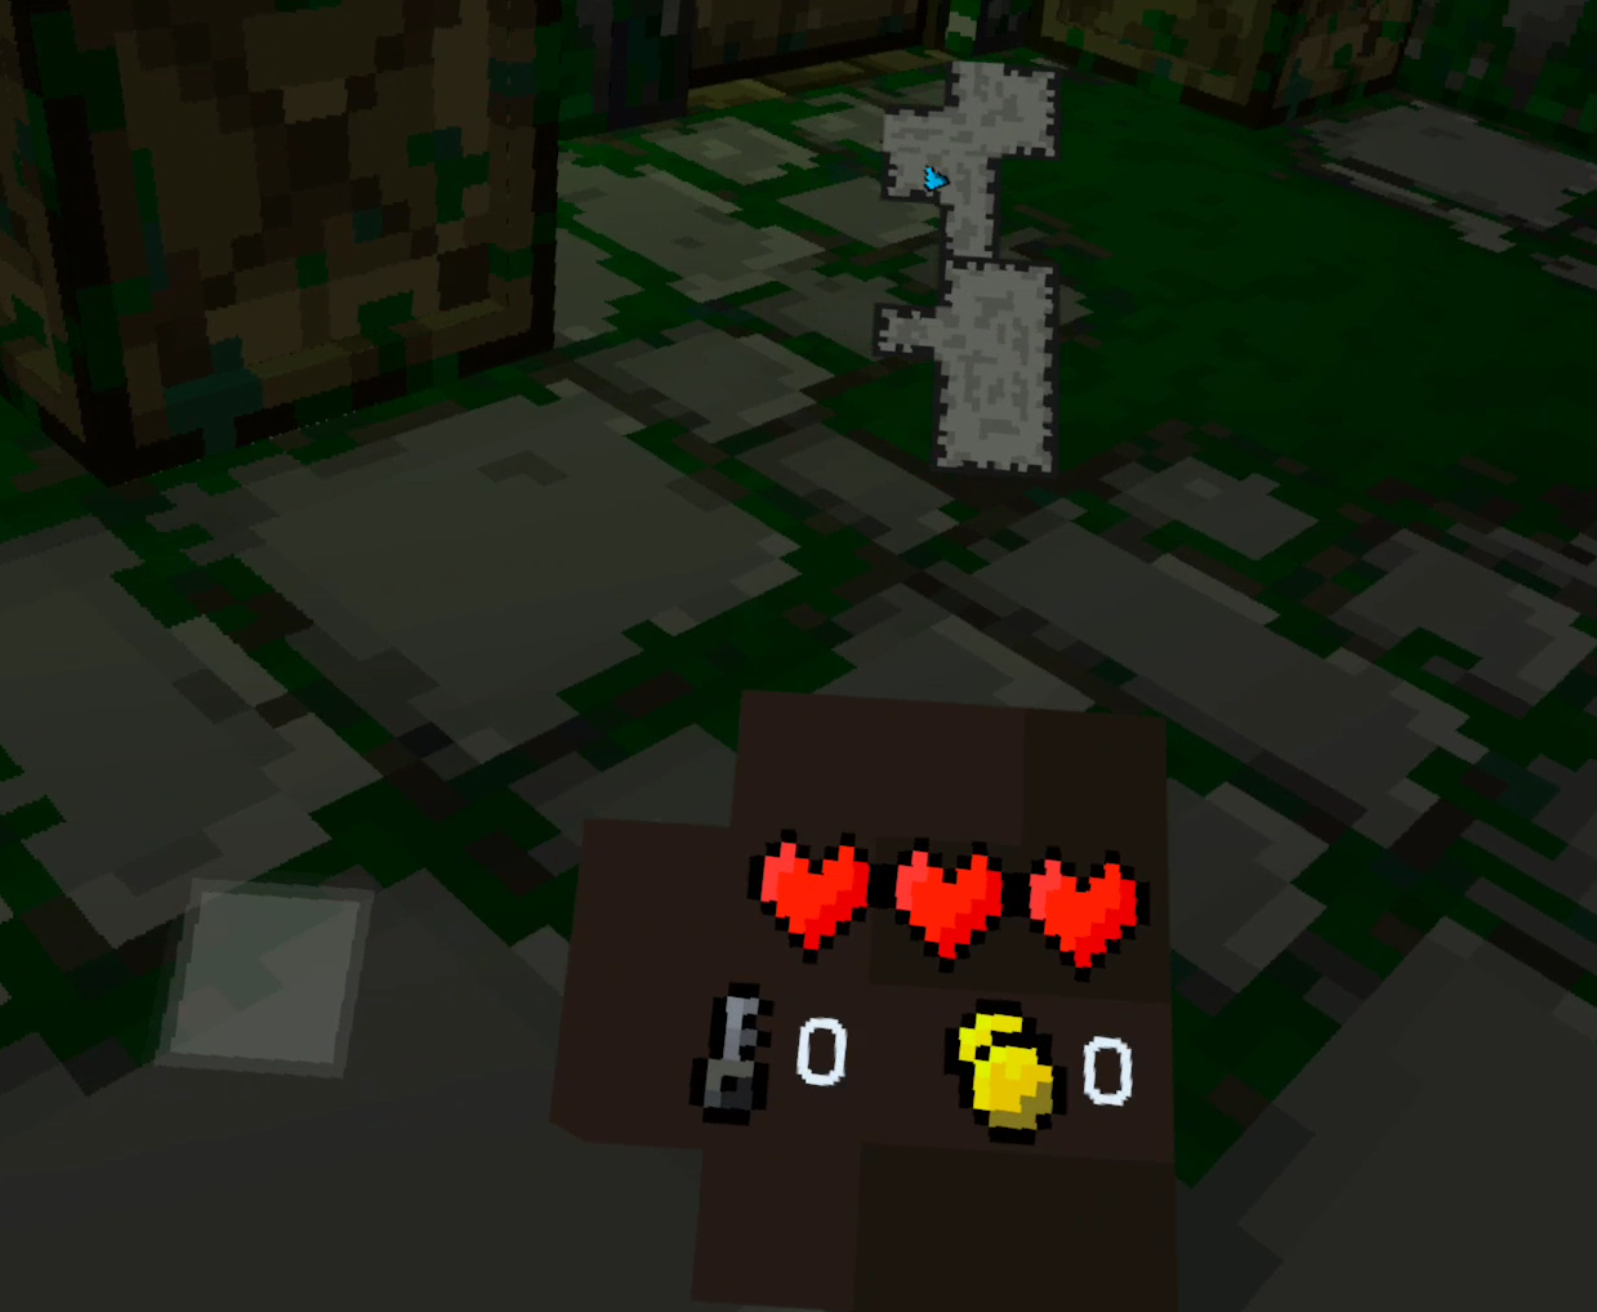
It encourages constant delving, constantly going forwards into the next encounter. You can look for secrets, or backtrack to make sure you've gotten every piece of loot, and this may increase your chances of prevailing in the end. That's a personal choice, but the point here is that it is still a choice. If you just want to keep going there's no need to wait in line, the cashier is always free. Go through the next door, or jump down the next hole and face what comes next at your will.
Of course you won't constantly be seeking danger, the option for exploration will inevitably draw you in to some degree, and Ancient Dungeon does that well too. There are secrets to find, extra paths to climb, and hidden rooms to uncover. The action is also not so constant that it is overwhelming. Whether you constantly push forward or wait a little is your choice, and the best games are full of choices on how to play them. Ancient Dungeon VR gives you the option to pace yourself, to decide how quickly you want to go forward. You decide whether you want to play cautiously or run in, and that is certainly a strength.
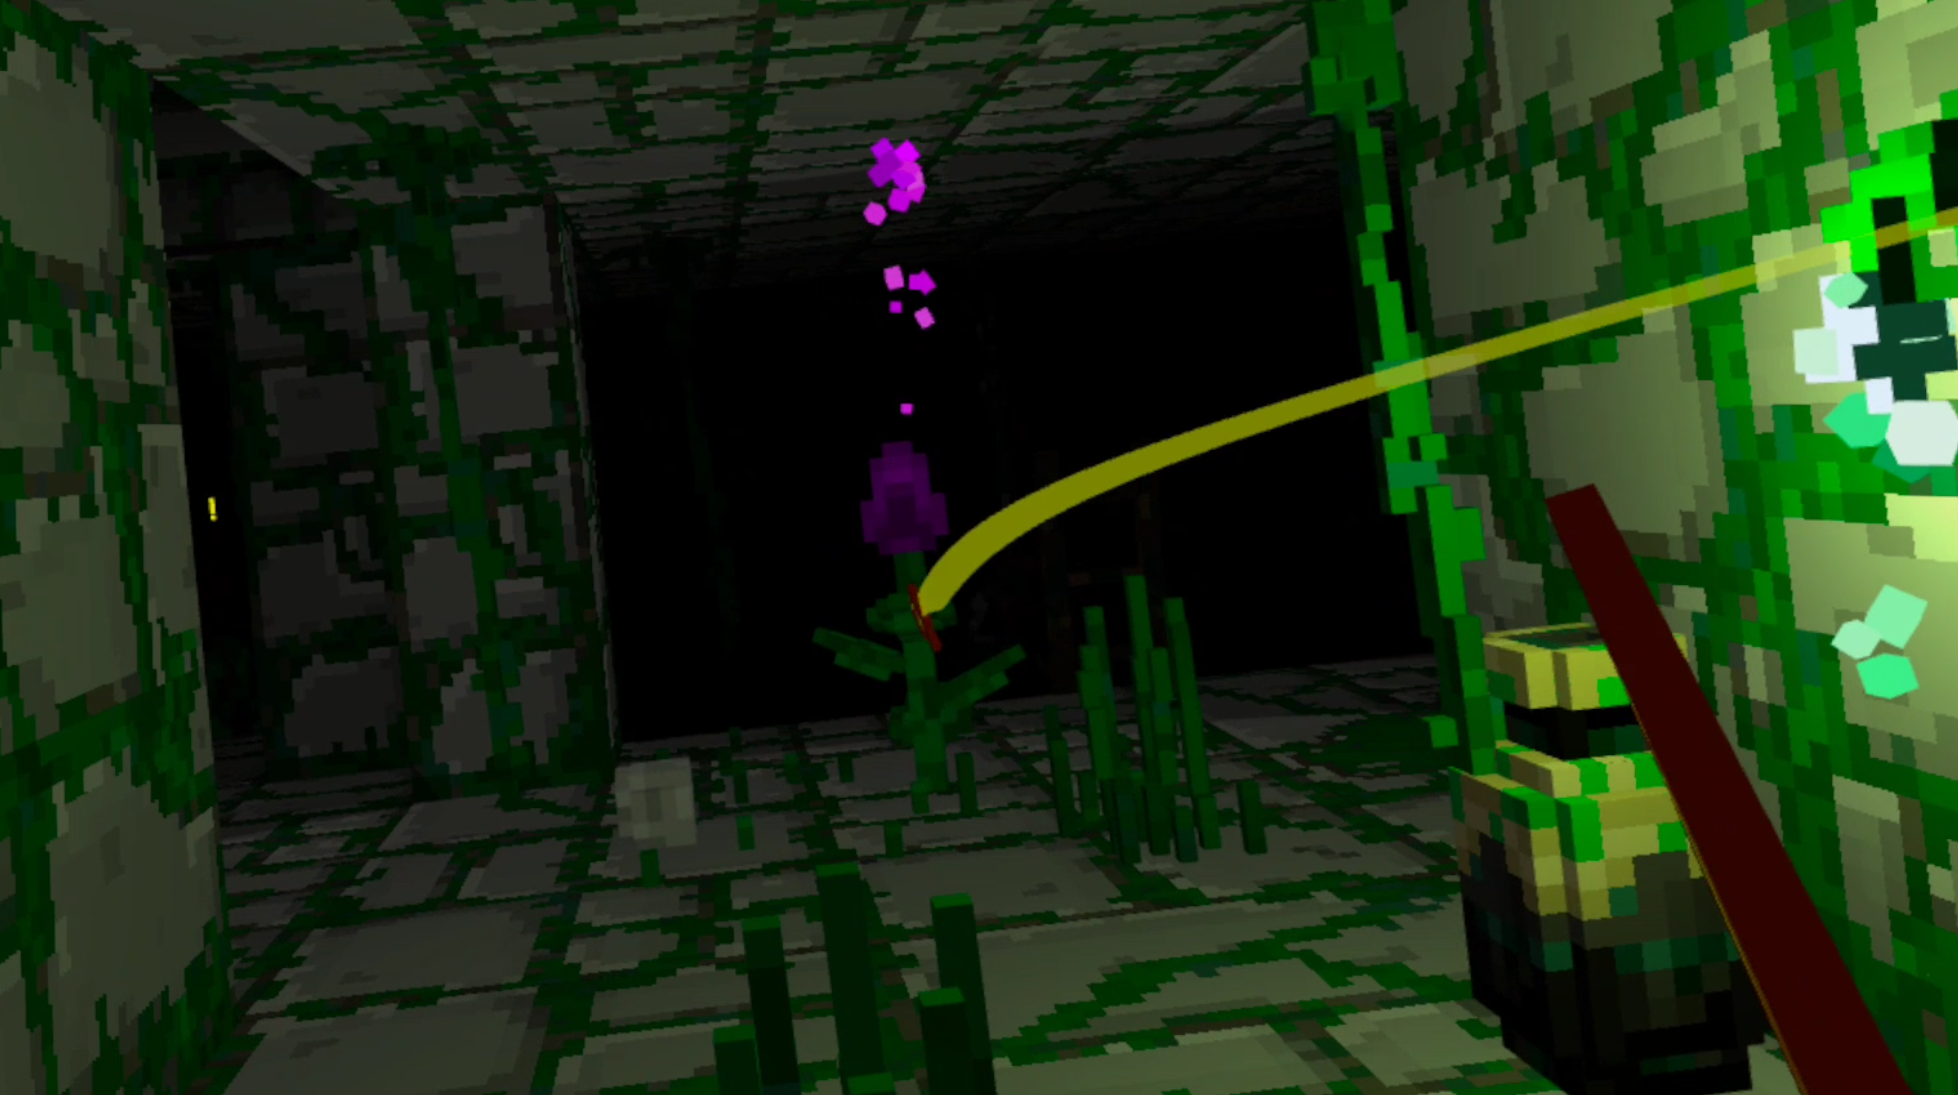
The shortness of each run, and the ability to save and quit at the beginning of each area, makes Ancient Dungeon a very easy game to pick up when you've only got a little time. The experience of Ancient Dungeon VR can go from casual in the earlier, easier, levels, to a constant tension in the later ones.
When you crack into a new area for the first time there is a rush of excitement and wonder. Each floor is so different and unique in its art style and enemies that finding it gives you not only the excitement of having completed an area you never have before, but also the thrill of discovering a whole new one. Though this can be said about a lot of the more modern roguelikes, who have a similar biome system to show how much progress you have made, and Ancient Dungeon VR does this very well. New enemies often build off of old ones, but with a twist to make them more unique or just plain more difficult.
Gameplay
Of course great pacing doesn’t matter at all if the gameplay itself is boring. Luckily Ancient Dungeon VR doesn’t lack in that department either. Your goal is to get to the end of each floor, defeat a boss monster, and do the same in the next floor until you defeat the big boss at the end. If you die you have to start again from the beginning.
Every time you die you get some soft progression through Insight points that you get for finding artifacts and discovering new things in the dungeon. You can spend these points on upgrades that are almost all designed to make you more survivable. Like the upgrade that gives you a Potato worth half a heart of health after every boss fight. Pretty standard Roguelike fare.

The obstacles that keep you from achieving these goals are where things get interesting. First you’ve got monsters, lots of monsters. From aggressive plants, to slimes, to the undead, and to the angry book club, you’ll find a lot of both classic, but also very interesting choices in enemy design. Fighting them means you need to master your sword and throwing dagger. While the dagger takes some skill to land at a distance and it does a lot less damage than your sword, you always have a ranged option. Not all enemies will let you abuse them from far away though.
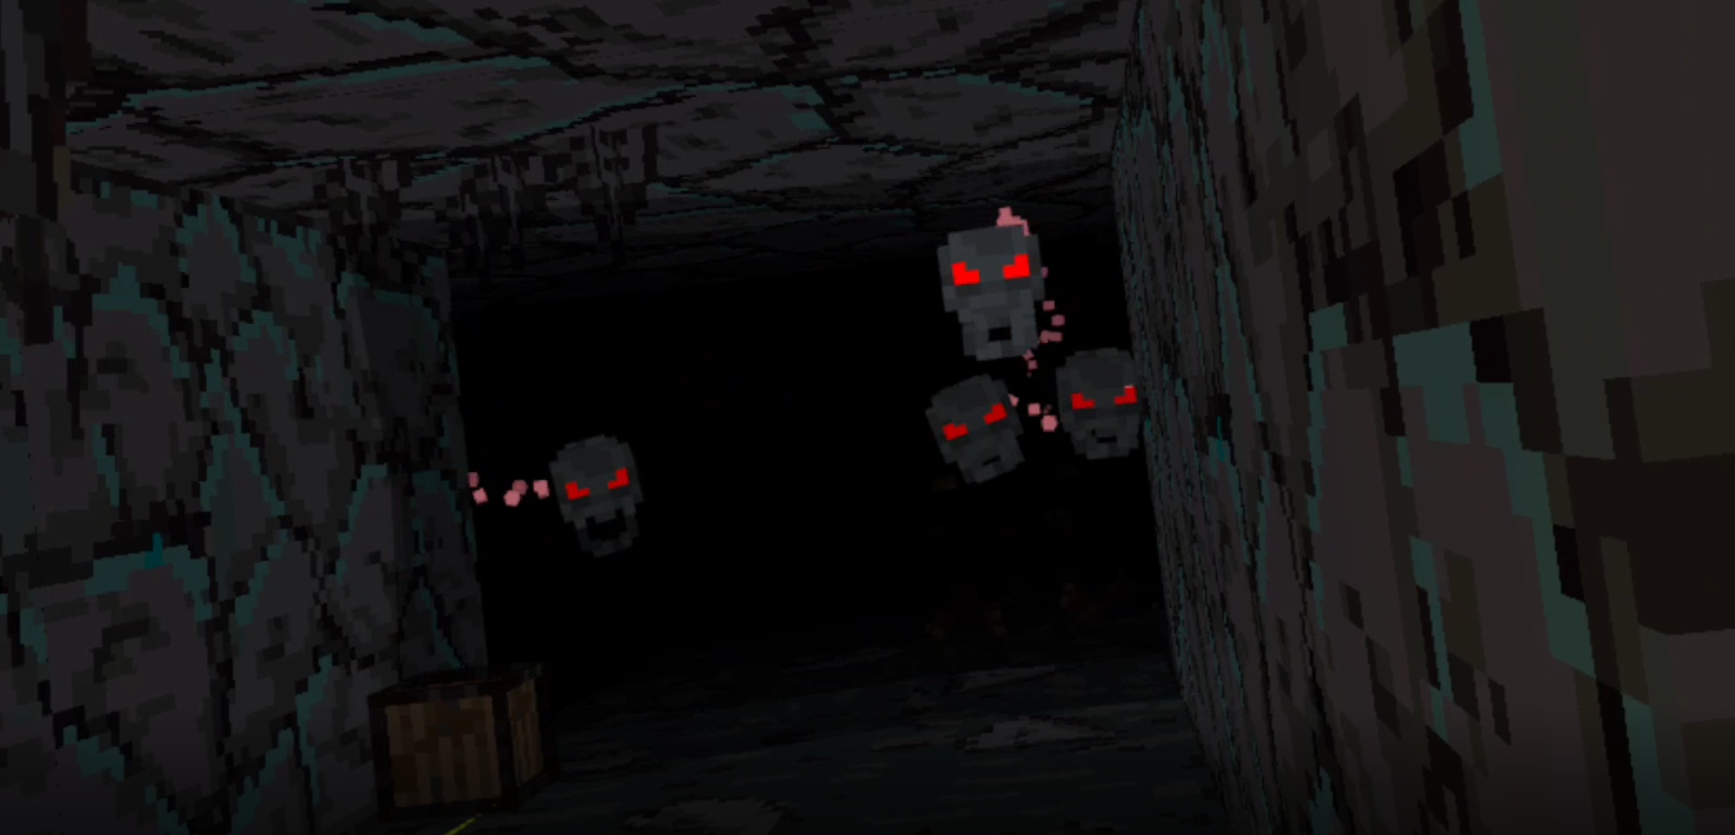
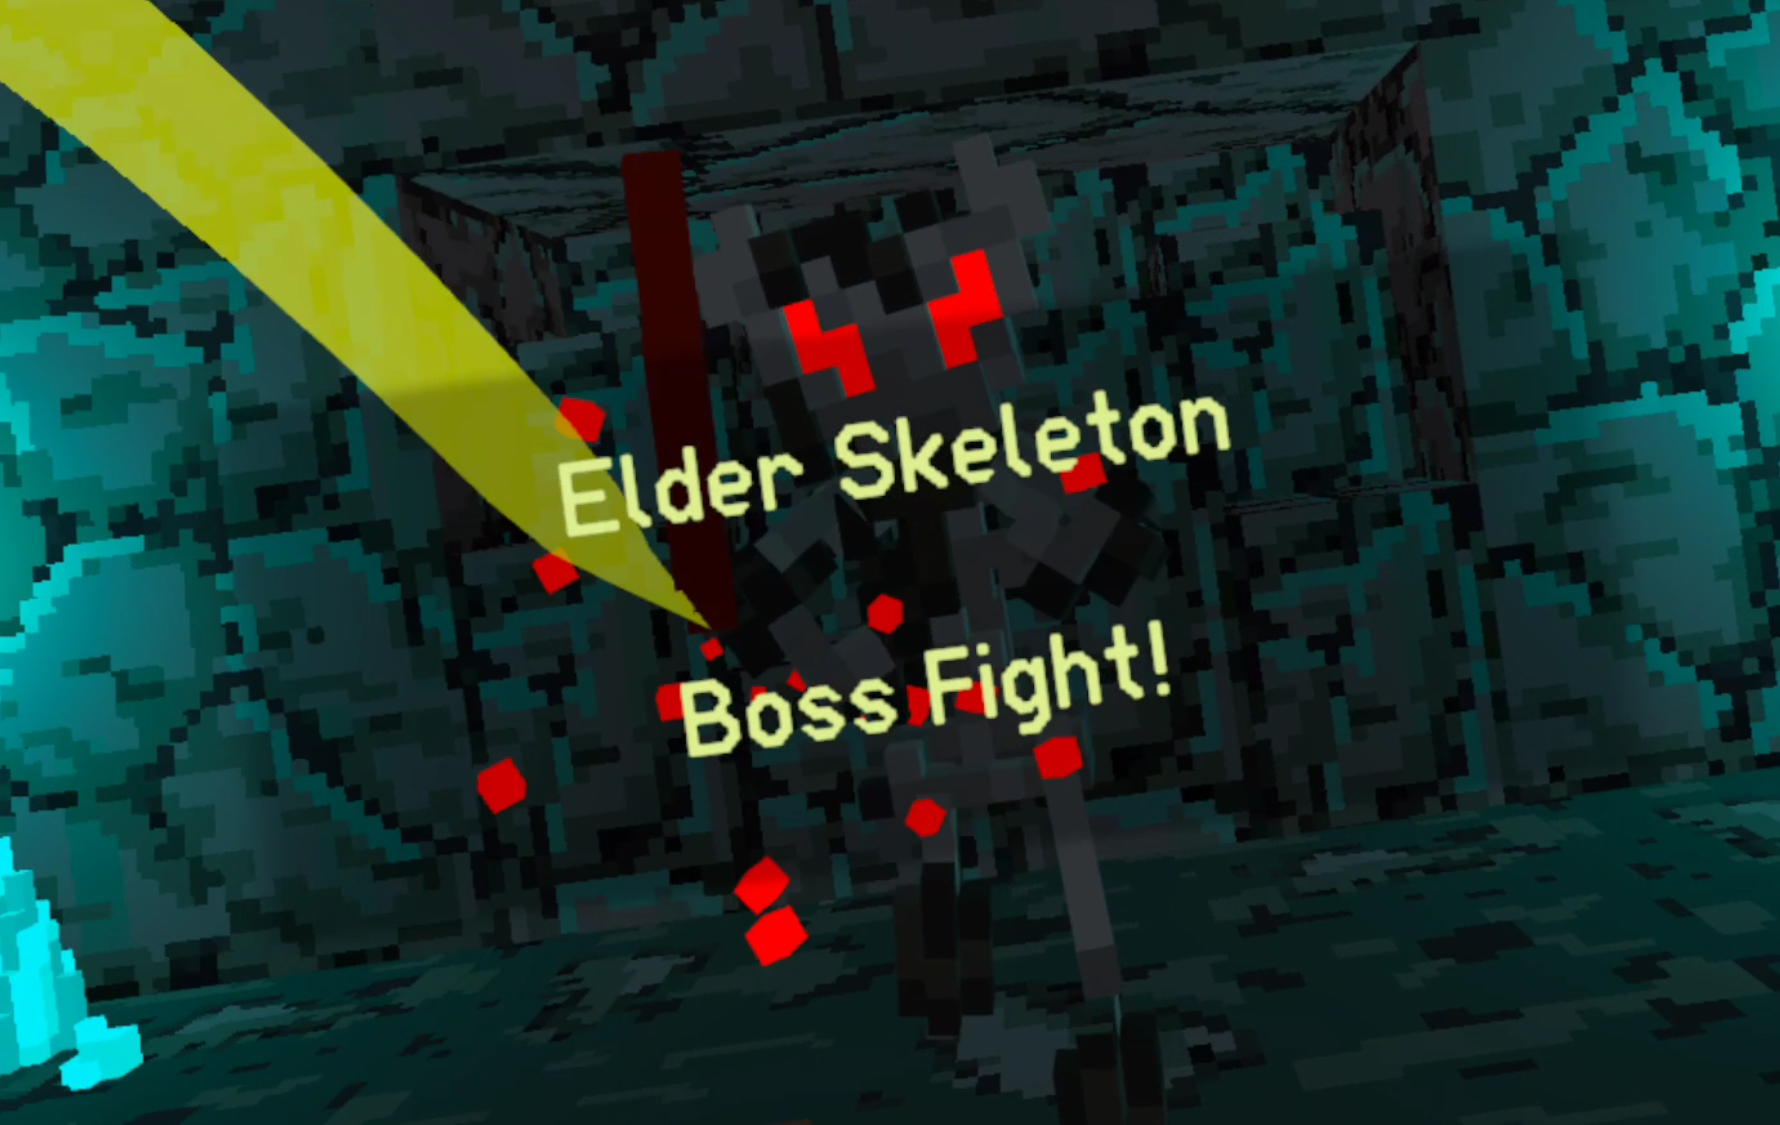
There are enemies that rely more on ranged, and some on melee. The Boss monsters also vary. While I won’t spoil any too much, the boss fights are definitely a highlight of this game and they have some interesting mechanics. Some are like the other monsters you’ve been fighting, just bigger and better, while some are wholly new. There’s a good mixture of varying attack distances and styles from all of the enemies to keep you on your toes. Speaking of keep you on your toes, there’s also traps.
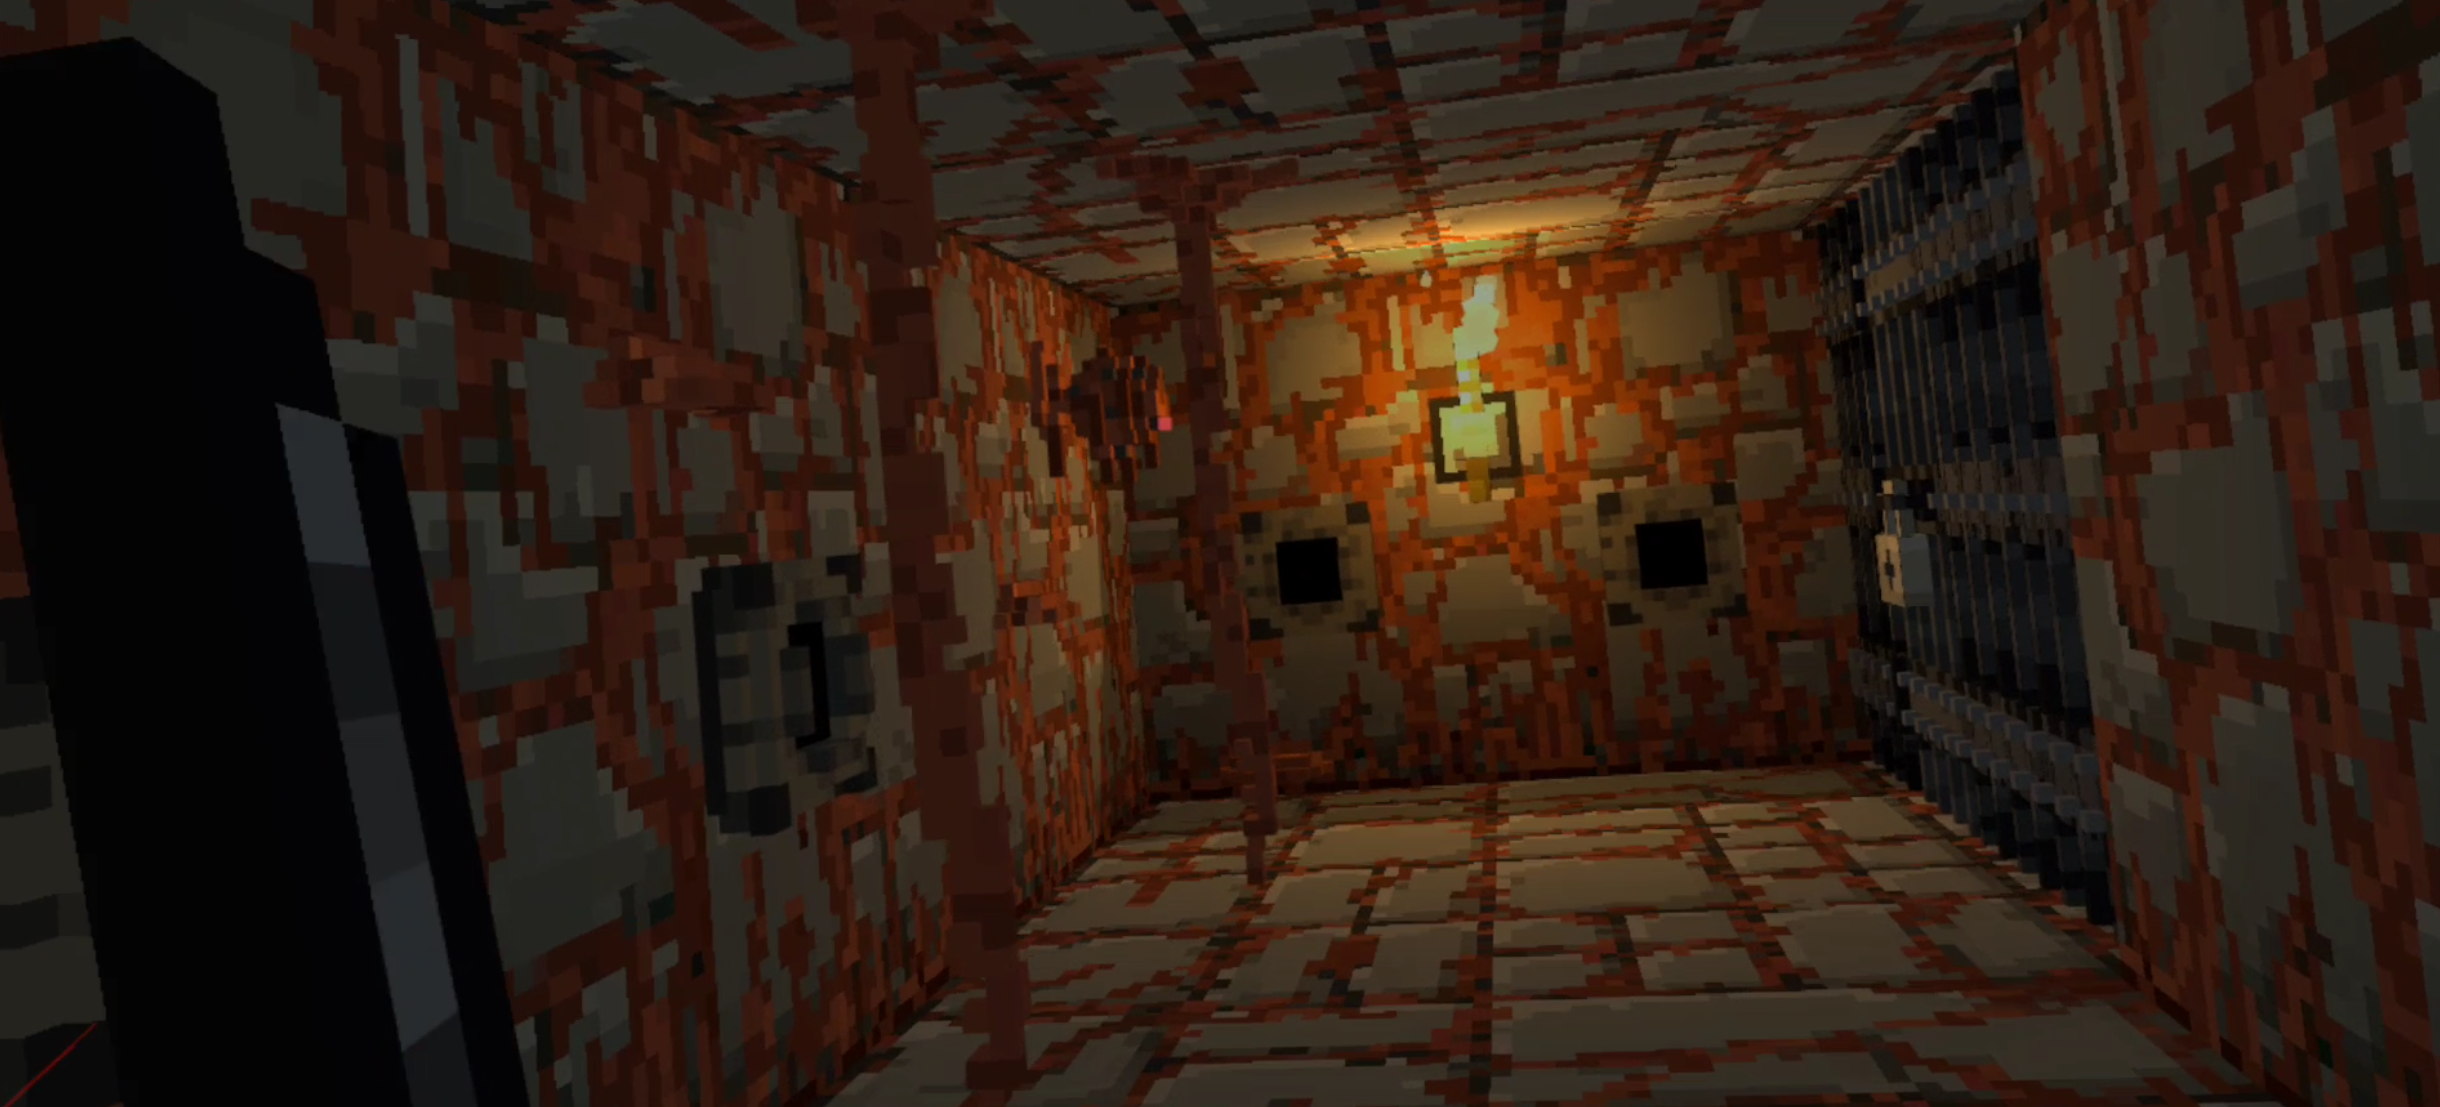
Some are more obvious, like the old floor spikes special, but more devious traps like the arrows that shoot out of the walls can easily catch you off guard. It would be nice if there was a little better variety in what traps you run into, and hopefully the developer is working on adding more.
As you kill monsters and go deeper, you get Gold and Keys. You can use gold to buy things or gamble at the shop run by the creepy Phantom of the Opera fan, as long a you don’t make him angry. You won’t like him when he’s angry.

Keys open chests and loot areas that you wouldn’t be able to get into without. As far as VR Roguelike resources go, very standard, nothing too interesting here. Oh, and you can get your hands on some potions that do various things like increase attack damage or summon Wisps to help you. There’s also food that you use to regain health, and you’ll probably always want more food. Health is your most precious resource, and getting hit as little as possible is core to winning in Ancient Dungeon VR. Both of these can be stored in the two wrist slots you have.
Potions are helpful, but the things that make you really powerful are artifacts. You can hold as many as you want, except for a single artifact slot for special abilities, and artifacts do all sorts of things. They can increase your stats, give your attacks special effects, some just give you keys or gold. Artifacts can do things like give you gold each time you get hit, or each time you hit something. There’s a huge variety, and as you might have guessed, some are far better than others.
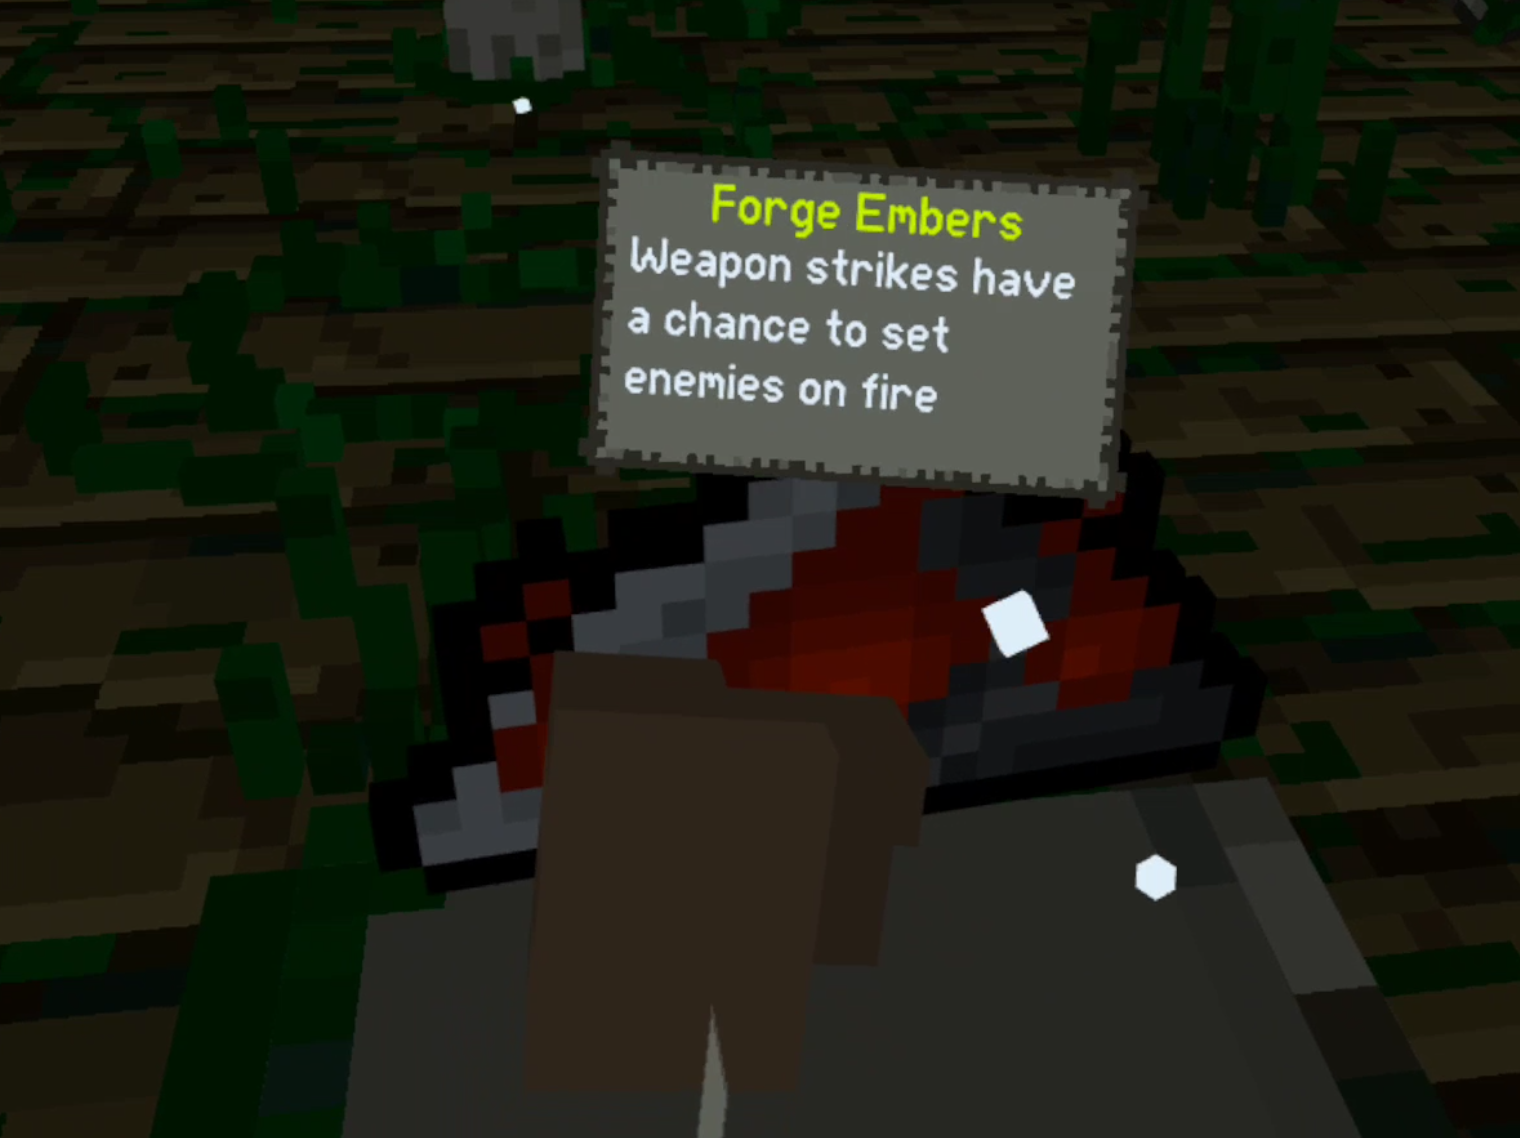
There really is an element of randomness to each foray into the Ancient Dungeon, and it's not a randomness often driven by choice. You mostly take what artifacts you get, or you don't. With some artifacts being much better than others it is easy to become very overpowered or very underpowered during each run. Still, a single mistake can undo all of this progress, and cause you to lose a lot of hearts and even die.
Make a mistake against a single group of the enemies that you will find many times in many rooms, and the whole run can be over no matter how lucky you've gotten with your artifacts. So yes there's an element of luck, but it's an element you'll know about playing this game.
Each run of bad artifacts leaves you hungry to get a shot at some more, hopeful that your next spin on the invisible table will start your ascent up to herculean might. Each good run of luck is as precious as you know it is, and when you get powerful artifacts early it makes each fight more tense, as you don't want to make a mistake and lose the opportunity to win. That being said, you'll generally get enough powerful artifacts to have a good shot at making it through if you play wisely. Better artifacts can’t make up for playing poorly, so stay on your toes no matter how beefy you get.
Conclusion
Ancient Dungeon VR is a fun VR Roguelike Dungeon Crawler that right now is in a really small club of VR Roguelikes. There’s nothing else quite like it out right now, and more importantly it does what it’s setting out to do well. There’s even more goodies to be had when you fight whatever is at the bottom of the dungeon, and it’s clear that the developer is not done making additions yet. So it’s probably going to get even better.
Ancient Dungeon VR is 19.99$ on the Oculus Store and Steam. If you’re looking for a solid VR Roguelike and want an immersive Dungeon Crawling experience then I can’t recommend this game enough.

5 Ways To STOP VR Motion Sickness and Nausea on the Oculus Quest 2
Nothing ruins a gaming experience more than feeling sick because of it. So nothing ruins VR on the Oculus Quest 2 more than Motion Sickness or Nausea that you might get for… no apparent reason. Some get Motion Sickness so Badly from Virtual Reality experiences that they can hardly play at all. It can be a huge let down to get your hands on a new Quest 2 and suddenly not be able to use it without feeling sick.

Nothing ruins a gaming experience more than feeling sick because of it. So nothing ruins VR on the Oculus Quest 2 more than Motion Sickness or Nausea that you might get for… no apparent reason. Some get Motion Sickness so Badly from Virtual Reality experiences that they can hardly play at all. It can be a huge let down to get your hands on a new Quest 2 and suddenly not be able to use it without feeling sick.
Motion sickness happens because your brain thinks that you are moving, but your body is also telling it that you are standing still. This conflict between your eyes, inner ear, and other nerves on your body can create feelings of nausea that is called Motion Sickness.
Don’t worry, because we’ve got some tips and methods to help mitigate, if not entirely remove, any Motion Sickness and Nausea that you are experiencing in VR.
Try Changing Your IPD
Your IPD, which is short for interpupillary distance, is the distance between the two lenses of your VR headset. IPD can vary wildly between different people, and can be easily forgotten once you’ve set up and used your headset once or twice. Well don’t forget about it. Having your lenses too far apart or too close can not only effect how clearly you see objects in a VR world, but also your motion sickness.
Even if you think your IPD is at a good setting, try adjusting it once or twice to see if it affects not only how clearly you see, but also any nausea you might be experiencing. Try putting your lenses closer together, or further apart. Give it a little time and play around with your IPD. You might be using your Quest 2 with it set far too far apart or far too close together without even realizing it. Not only will a better IPD setting decrease any Motion Sickness you might be experiencing, but it will also help you see more clearly in Virtual Reality.
Try A Better Headstrap

It’s no secret that the default cloth headstrap that comes with the Quest 2 isn’t very good. Not only can the straps and plastic pieces on it dig into your head in an uncomfortable way, but it can also fail to properly support the weight of the Quest 2 and cause the headset to sag on your face and move around a lot during play. This movement can actually contribute greatly to Motion Sickness while you are in Virtual Reality.
You want to keep your view of the virtual world as still as possible, so that the only movement your eyes and brain notice when you turn your head is the movement that your eyes and brain think should be happening. If your view shifts an extra inch or two due to your headset not being properly secured to your head then that can cause nausea and motion sickness by itself.
If you can’t get a new headstrap yet, then at least try tightening the Quest 2 headstrap and adjusting it to make it more comfortable. Properly adjusted, the default headstrap can be pleasant for at about thirty minutes of use at least. Of course if you can get a new headstrap then there are a lot of options to choose from. For a cheaper option you might want to try the KIWI Head Strap. There are other options, like the YOGE head strap, that include an external battery increases your Oculus Quest 2’s battery life.
Play A Little At A Time
Some new experiences just take time for your brain to get used to, and that is as much the case with VR as with anything else. Especially if your motion sickness doesn’t start to manifest until you’ve been in VR for a while, you might be better off just taking a break. This is more common than you might think. A lot of people aren’t capable of just strapping on a VR headset for hours when they first try it.
If you start to feel sick after using your Oculus Quest 2 for a while, then just put it down. Have a drink of water, lay or sit down for a little while until you feel normal again. Eventually, and especially with the help of the tips in this article, you won’t have to do that at all. Playing through your motion sickness will only make it worse, so give your eyes and brain a rest. The more VR you play, the more used to it you will get, and you will get a better tolerance for Virtual Reality movement.
You also might notice that certain experiences trigger your motion sickness more than others. For instance if you’re playing a flying game every time you get motion sick, then try to limit how long you play that game until you get more comfortable in it. Looking up through the canopy of a moving aircraft in VR is a very easy way to get motion sick. Maybe try some experiences sitting instead of standing, so that you can more easily keep your head stable as you play, and over time graduate to more intense experiences, and to standing.
Try Playing With A Fan On
Some VR gamers have said that their motion sickness is helped a lot by simply feeling some moving wind on their skin while they play. If you’re still getting sick try bringing a fan into the room and turning it on. It’s not completely clear why this works for some, but there is certainly a link between what your body feels, and your eyes and inner ear. So it’s at least worth giving a shot.
Check Your Game Settings
Since Virtual Reality developers are aware of how many people experience Motion Sickness, a lot of games have settings to help avoid or alleviate motion sickness. Often when your VR view is changed without your body physically moving (for instance, your view moves as your character in the game walks through the environment, but your actual body remains still) then this can cause motion sickness. Your eyes are telling your brain you are moving, but the rest of your body says that you aren’t. This is the same reason that some get motion sick by looking out of the window of a moving car, though just like with VR you can get used to that.
Until you get a greater tolerance for Virtual Reality movement there are alternative options in most games that will help you avoid feeling ill. The simplest is “vignette”. What vignette does is every time you move with a joystick to simulate your character walking, the edges of your screen will be blocked by a black border that will cover the edges of your view, meaning that you will focus directly on what you are looking at. This helps a lot of people still be able to use smooth movement in VR games on the Quest 2 while avoiding motion sickness.
If vignettte isn’t enough, a ton of games still offer the ability to play solely by teleporting around the world. Since teleporting simply places your in game view in a new location, it can be far easier on the senses. Though for some it can actually cause worse sickness than using smooth movement to slide your view around the game world. What gives you motion sickness can be somewhat unique to you, so just like with your headstrap or your IPD, it’s important to play around with the settings on your VR games to find what works best for you.
Hopefully the tips here can help you alleviate your motion sickness. Be sure to keep in mind what experiences and movement causes your motion sickness, as that might help you find a solution. For some VR Motion Sickness and the accompany nausea can be a huge damper on a lot of experiences, but the good news is that there are ways to help with it. This unfortunately does mean you might have to put in a little more effort to enjoy VR than others.