

The Walking Dead Saints and Sinners Walkthrough and Guide - Part 4 - Memorial Lane and Meeting May and Casey
Stuck in The Walking Dead Saints and Sinners? Wondering where to go next? Maybe you just like to see what is in store for you before you get there, or want to look back and see if you missed anything in The Walking Dead: Saints & Sinners. Well don’t worry we’ve got you covered with this complete walkthrough.
This article will detail how to progress through the main story missions as quickly as possible, with a couple of guiding tips thrown in here and there to make your adventure smoother. Only those recipes that are convenient to get when doing a task for the first time are included. For a full list of all recipes in The Walking Dead: Saints & Sinners, check out our recipe guide article. Spoilers will be as light as possible, but there will be story spoilers by necessity in this walkthrough, but there won’t be any explanation of what is going on in the story beyond what is necessary to make the walkthrough make sense.
All Walkthrough Parts:
The Walking Dead Saints and Sinners Walkthrough and Guide - Part 1 - The Graveyard
The Walking Dead Saints and Sinners Walkthrough and Guide - Part 2 - The Shallows
The Walking Dead Saints and Sinners Walkthrough and Guide - Part 3 - Via Corolla
The Walking Dead Saints and Sinners Walkthrough and Guide - Part 4 - Memorial Lane and Meeting May and Casey
The Walking Dead Saints and Sinners Walkthrough and Guide - Part 7 - Old Town and Another Stash
The Walking Dead Saints and Sinners Walkthrough and Guide - Part 8 - Rampart
The Walking Dead Saints and Sinners Walkthrough and Guide - Part 9 - The Shallows Again
The Walking Dead Saints and Sinners Walkthrough and Guide - Part 10 - Bastion and The Reserve Key
The Walking Dead Saints and Sinners Walkthrough and Guide - Part 11 - The Reserve and the Ending
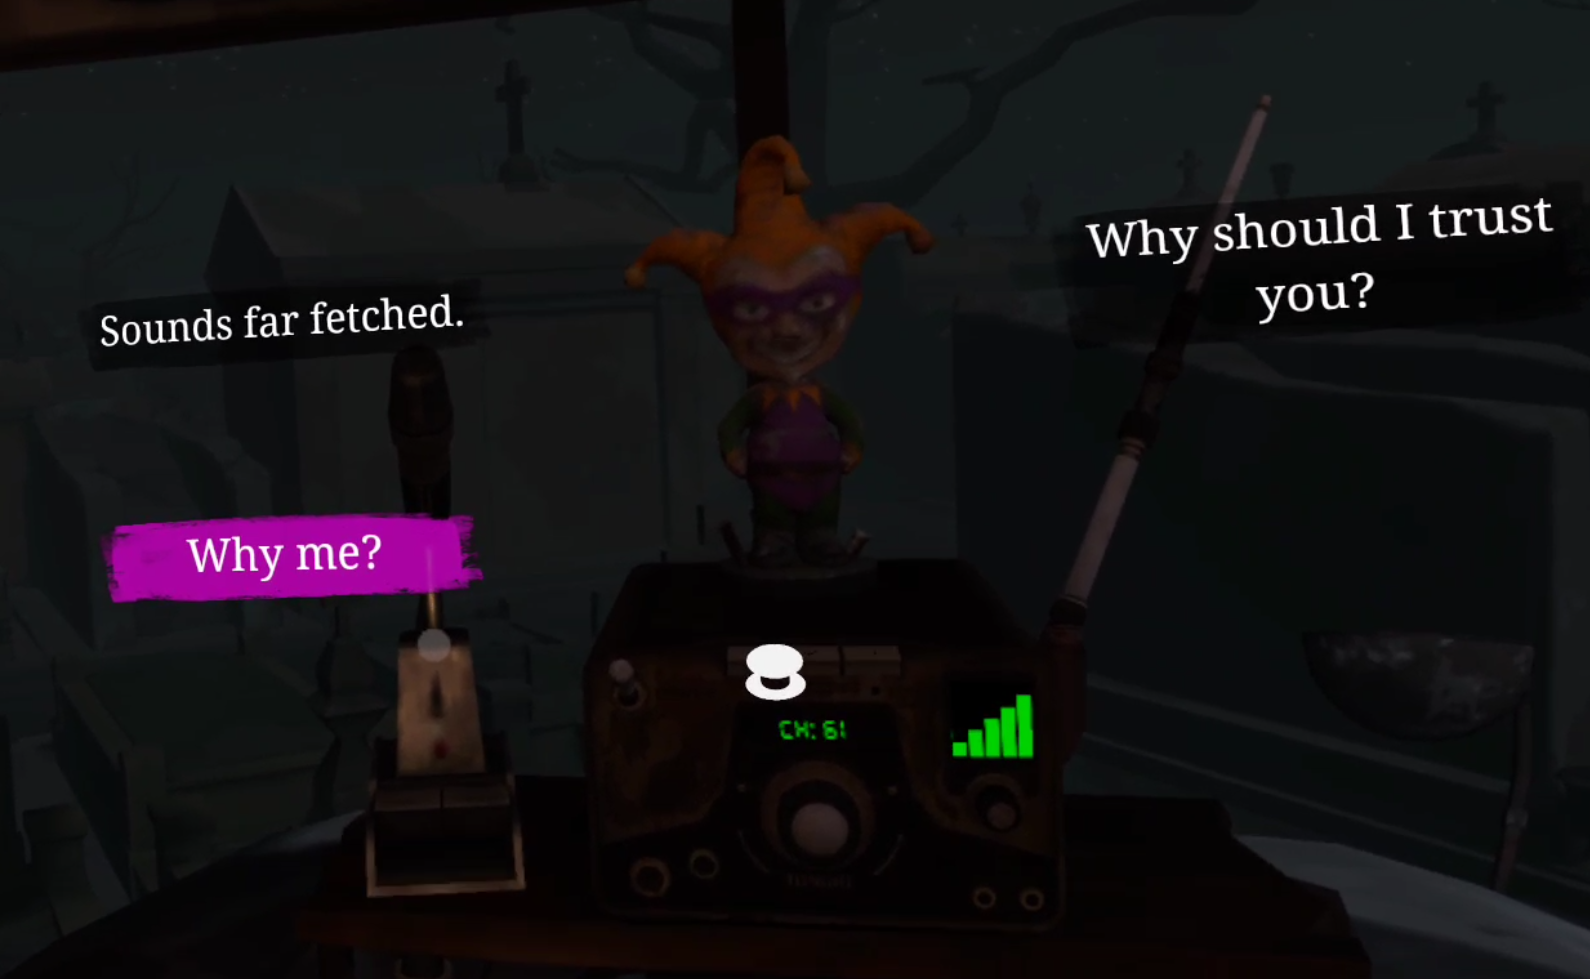
Meeting Casey
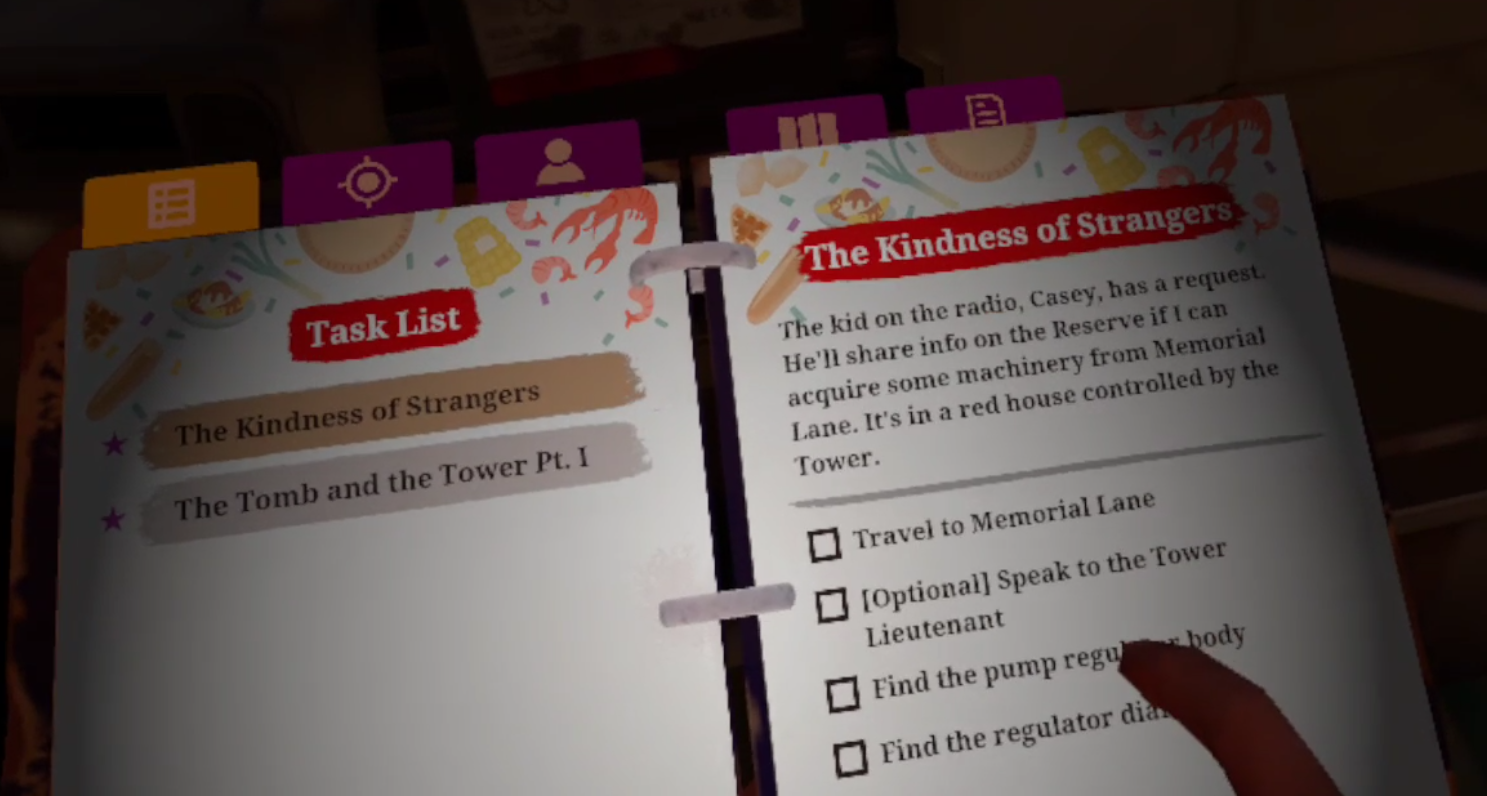
When you wake up, tune your radio to channel 61 if it isn’t already. Casey, the man you previously met over the radio, now wants to talk. He’s got a lot to say, and he also wants you to get a Pump Regulator for him from Memorial Lane.
Meeting May
You will also notice that the lantern above the coffin is now lit. So head back to the coffin, and find a note inside. Seems whoever was leaving notes figured out you’re not Henri, and wants to talk in the Churchyard.
Make sure you’ve got a melee weapon or two on you and go back down to the catacombs near the coffin. It may be daytime but there are plenty of zombies around. Though this time you’ll see that the big gate which was blocking off access to one of the corridors in the catacombs is now open. Head through it.

You will find another ramp leading you outside again, once you are back aboveground head to your right and across the street, a woman will be waiting for you.

She agrees to assist you in finding the Reserve in exchange for finding more Tower caches. The next cache is in The Ward. You can also just kill May here, and pick up an item off of her body to help you get to the Reserve. While this means you can avoid her tasks and still complete the game, killing May would take a lot of flavor out of the story and remove a lot of fun missions. This guide will assume you leave her alive, and it is highly recommended that you do leave her breathing.
Once you’ve spoken with May you don’t have to stick around, but there is a ton of free stuff sitting around. Take whatever you can get your hands on, since none of this loot will cost you a day, it’s all basically free. The house that shows as orange on your map has the beignet recipe in the kitchen. The streets, alleys, and churchyard have various junk on the ground, and at least one bundle of arrows. There’s also a worn out 9MM pistol in the warehouse that shows as blue on the map. The church itself is inaccessible, so don’t bother trying to get in.

Once you’re done picking the place clean go back to your bus base and get ready. Bring some melee weapons and some guns, preferably the Double Barreled shotgun if you still have it in one piece. Maybe even a sticky bomb or two, which you got from the tower stash in Via Corolla. You will have to fight at least one group of human enemies to get the pump regulator from Memorial Lane. So be ready.
Then head to the boat and go to Memorial Lane.

Day 4: Memorial Lane
Once you arrive in Memorial Lane take a look at your map. You’ll see two colored houses, Red and Blue. The Red House is full of Tower grunts, who have the pump parts you need inside, and the Blue House holds a group of Reclaimed.

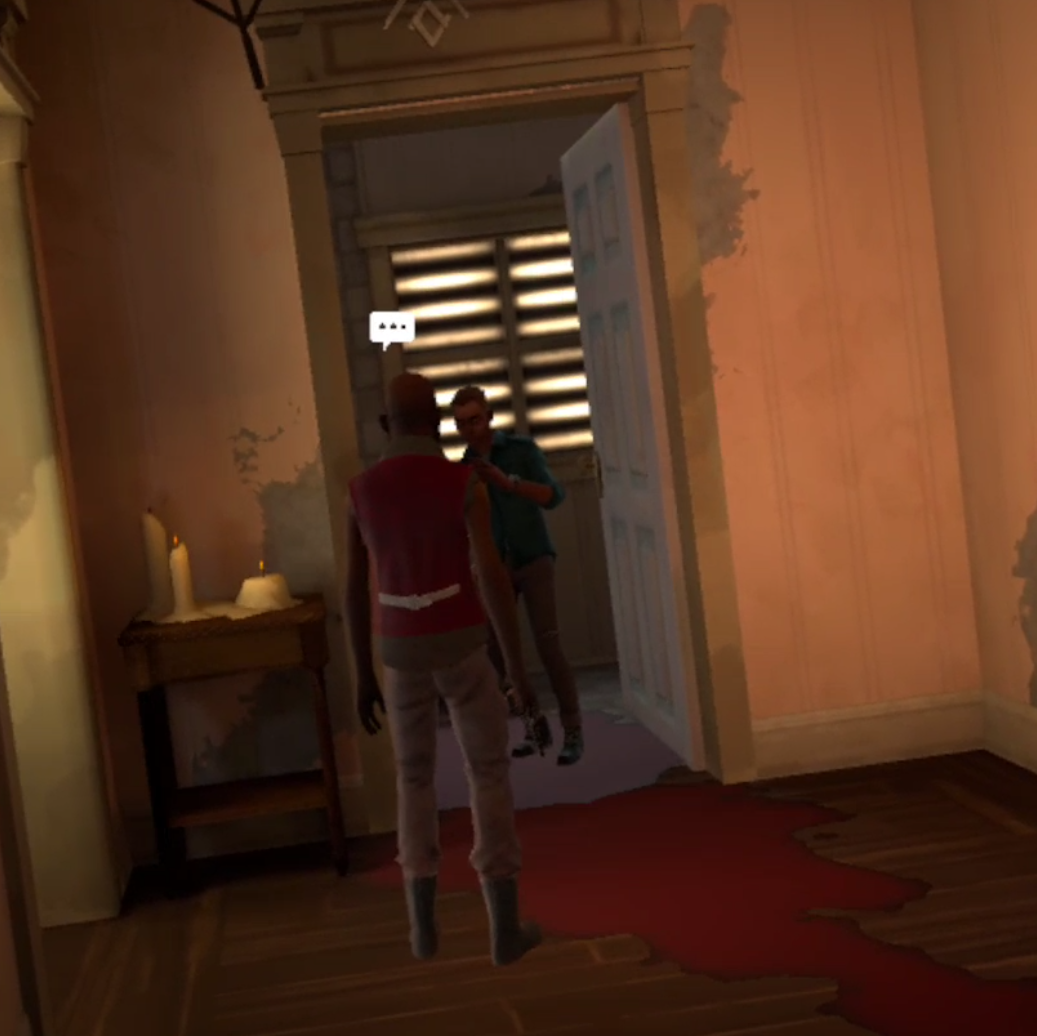
Move down the street and take a left off of Bordeaux down the driveway at the side of the red house, you’ll find a couple of Tower soldiers standing around, willing to talk.

Talk to them and listen to what they have to say. Long story short they want you to save a hostage from the Reclaimed warriors in the Blue House. They agree to give you whatever you want from their stash in return (this includes the pump regulator.)
If you go over to the Blue House, past the courtyard with the huge tree, you’ll see a lot of upside down walkers hung up from the ceiling, and upstairs the Reclaimed and their hostage.
The Reclaimed leader is very angry. There is no way to talk him down or get him to release the hostage. The only two possible outcomes are you killing the hostage or you killing all of the Reclaimed.
So this sounds like a choice between the Tower and the Reclaimed, and you can go based on whichever faction you like more if you so desire. Though the outcome of your choices, in terms of gameplay, ends up being either a gunfight between you and all of the Reclaimed there (about 4 or 5 enemies) or a gunfight between you, plus the Reclaimed on your side, versus the 8 to 10 or so Tower grunts in the Red House.
If you kill the hostage the Reclaimed leader will state his desire to fight the rest of the Tower in the area. You can accept or not, but with the hostage dead the only way to get to the pump regulator is to fight through the Tower, and the Reclaimed warriors are a huge help in doing so.
If the Reclaimed attack without your help they will definitely lose, but they make a great distraction while you line up headshots with your pistol or blast away with your shotgun. Once you say you’re ready the Reclaimed will pile out of the Blue House and make a beeline for the back door of the Red House by going through the big courtyard with the tree. The Reclaimed and Tower will shoot each other on sight.
Fighting the Reclaimed alone is a little difficult if you begin the fight while they surround you. Going back to the stairway and shooting them from there is far easier, though make sure the hostage doesn’t die in the process. If you manage to save him, go back over to the Red House. The Tower leader will walk you to the master bedroom of the house, which has a big stash of goodies and the pump parts you need.

A big gunfight between the Reclaimed and the Tower is the most fun way to get to the stash, and also arguably the easier way. Though a couple well placed sticky bombs could make eliminating the Reclaimed in one swoop the more cost efficient, and safer, option. Whichever way sounds like the better choice is up to you. Whichever way you choose, make sure you have the pump body and dial (and of course a full backpack) before finding a boat and setting sail back to your bus.
When you arrive back home attach the dial to the pump and then talk to Casey again on the radio. He’ll be really excited you didn’t die out there.
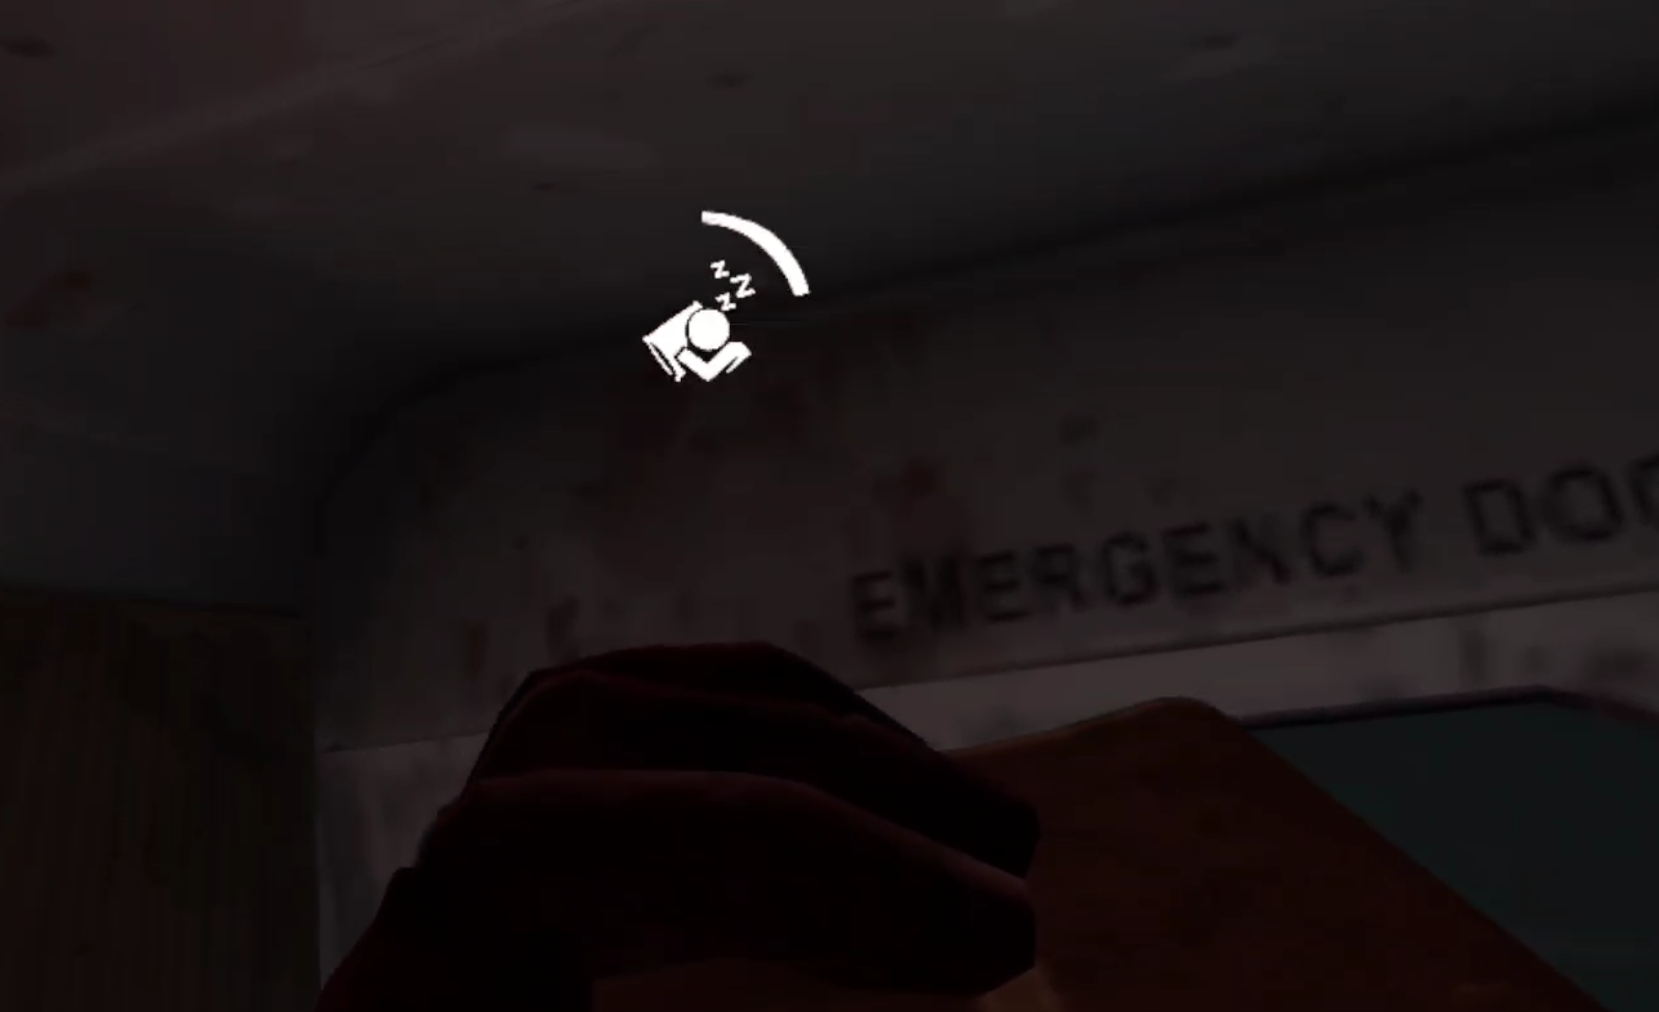
Once more, head off to sleep.
Want to find out what you will need to do with the pump regulator, or what awaits you in The Ward? Need a guide on what comes next? Then head over to Part 5.