

The Walking Dead Saints and Sinners Walkthrough and Guide - Part 11 - The Reserve and the Ending
Stuck in The Walking Dead Saints and Sinners? Wondering where to go next? Maybe you just like to see what is in store for you before you get there, or want to look back and see if you missed anything in The Walking Dead: Saints & Sinners. Well don’t worry we’ve got you covered with this complete walkthrough. This is the eleventh part, where you uncover The Reserve and the ending of The Walking Dead: Saints and Sinners - Chapter 1.
This article will detail how to progress through the main story missions as quickly as possible, with a couple of guiding tips thrown in here and there to make your adventure smoother. Only those recipes that are convenient to get when doing a task for the first time are included. For a full list of all recipes in The Walking Dead: Saints & Sinners, check out our recipe guide article. Spoilers will be as light as possible, but there will be story spoilers by necessity in this walkthrough, but there won’t be any explanation of what is going on in the story beyond what is necessary to make the walkthrough make sense.
All Walkthrough Parts:
The Walking Dead Saints and Sinners Walkthrough and Guide - Part 1 - The Graveyard
The Walking Dead Saints and Sinners Walkthrough and Guide - Part 2 - The Shallows
The Walking Dead Saints and Sinners Walkthrough and Guide - Part 3 - Via Corolla
The Walking Dead Saints and Sinners Walkthrough and Guide - Part 7 - Old Town and Another Stash
The Walking Dead Saints and Sinners Walkthrough and Guide - Part 8 - Rampart
The Walking Dead Saints and Sinners Walkthrough and Guide - Part 9 - The Shallows Again
The Walking Dead Saints and Sinners Walkthrough and Guide - Part 10 - Bastion and The Reserve Key
The Walking Dead Saints and Sinners Walkthrough and Guide - Part 11 - The Reserve and the Ending
Installing the Final Pump Regulator
You’ve got the Reserve Key and the final pump part. All that’s left to do is enter The Reserve and experience the ending of The Walking Dead: Saints and Sinners - Chapter 1. If you just came back from Bastion and haven’t gone to sleep yet then you can immediately start the end of the game by talking to Casey on the radio. There will be a text prompt telling you that you can’t go back after starting, just tell Casey you’re ready to begin.
If you want to spend a few more days scavenging New Orleans before tackling The Reserve, go ahead, but you’ll probably be fine with what you have if you’ve always kept your backpack full when coming back to the Resting Place. Just know that you can’t start the ending of The Walking Dead: Saints and Sinners - Chapter 1 during the day, you have to start it at night after completing a day.

Before you talk to Casey it’s best to be completely ready to begin with. Your choices earlier in Bastion will come up. If you chose to help JB then make sure to be heavily armed. If you chose to help Georgia and The Tower, then you’ll have a much easier time.
Even if you helped JB and snubbed the Tower you should be fine with a single two handed weapon if it’s in good condition. A bandage is also recommended. Either way you’ll want to leave some slots open for what you find in the reserve, so don’t fill up all of your two handed backpack slots with things you aren’t willing to throw away for something better. Stat boosting food may also be helpful, and it’s the finale of the game, why not?
Anyway when you’re ready to go talk to Casey so that you can set up the final pump regulator.

Now that the pump part is ready for installation head over to the catacombs. You’ll see that the door to the church is closed. Keep going and go up the ramp to the area with the jazz men statues and concrete building where you originally got the key for the area with May’s coffin all the way back in the start of the game.
You’ll notice that there’s a blinking red light inside of the building. We’ll get to that in a second, for now let’s unlock the safe with the code you got from the house with the car crashed into it in Bastion. It’s right beside the truck on the other side of the fence from where you enter the area, across from the jazz men statues.

Open it and inside is the exploding arrows recipe.

With a new recipe in hand head back to the concrete building with the flashing light inside. You can now open the door with the “Waterfall Key” you got from May. Inside is the final pump! Stick the part in like before and the light will shine green. Congratulations, all of the Reserve pumps are now fixed! You can head back to the bus now.

Once you’re back, make sure you’re really super ready to start this, it’s your last chance to equip yourself before the action starts. Talk to Casey on the radio. He will be understandably overjoyed. Though when he actually starts the pumps you’ll see something new in the distance. Serious ending spoilers ahead.

The Church is lit up… and this also reveals that The Reserve has been in the church this whole time! The Reclaimed and The Tower will descend upon it in no time flat. Also Casey still can’t get out of the bunker. You’ll have to go over there yourself and get inside. When you’re done talking to Casey go back to the catacombs and take the right to head to the churchyard.
A quick sidenote: If you haven’t played through the final yet then stop reading and play through it once yourself. You owe it to yourself to witness the ending of The Walking Dead: Saints and Sinners - Chapter 1 without knowing what is coming.
Don’t worry if you don’t make all of the right decisions. The game will create a save right here when you emerge from the catacombs to the churchyard. If you play through the ending and want to make different choices you can always reload your save here.
Anyway after you emerge from the catacombs you’ll see a bunch of dead bodies all around you. One in particular has a picture next to her, drawn in a very familiar style.

You’ll hear weeping and sniffling coming from the shed right in front of where you come in from the catacombs. Go inside and you’ll find a woman on the floor. Talk to her and find out what happened here.
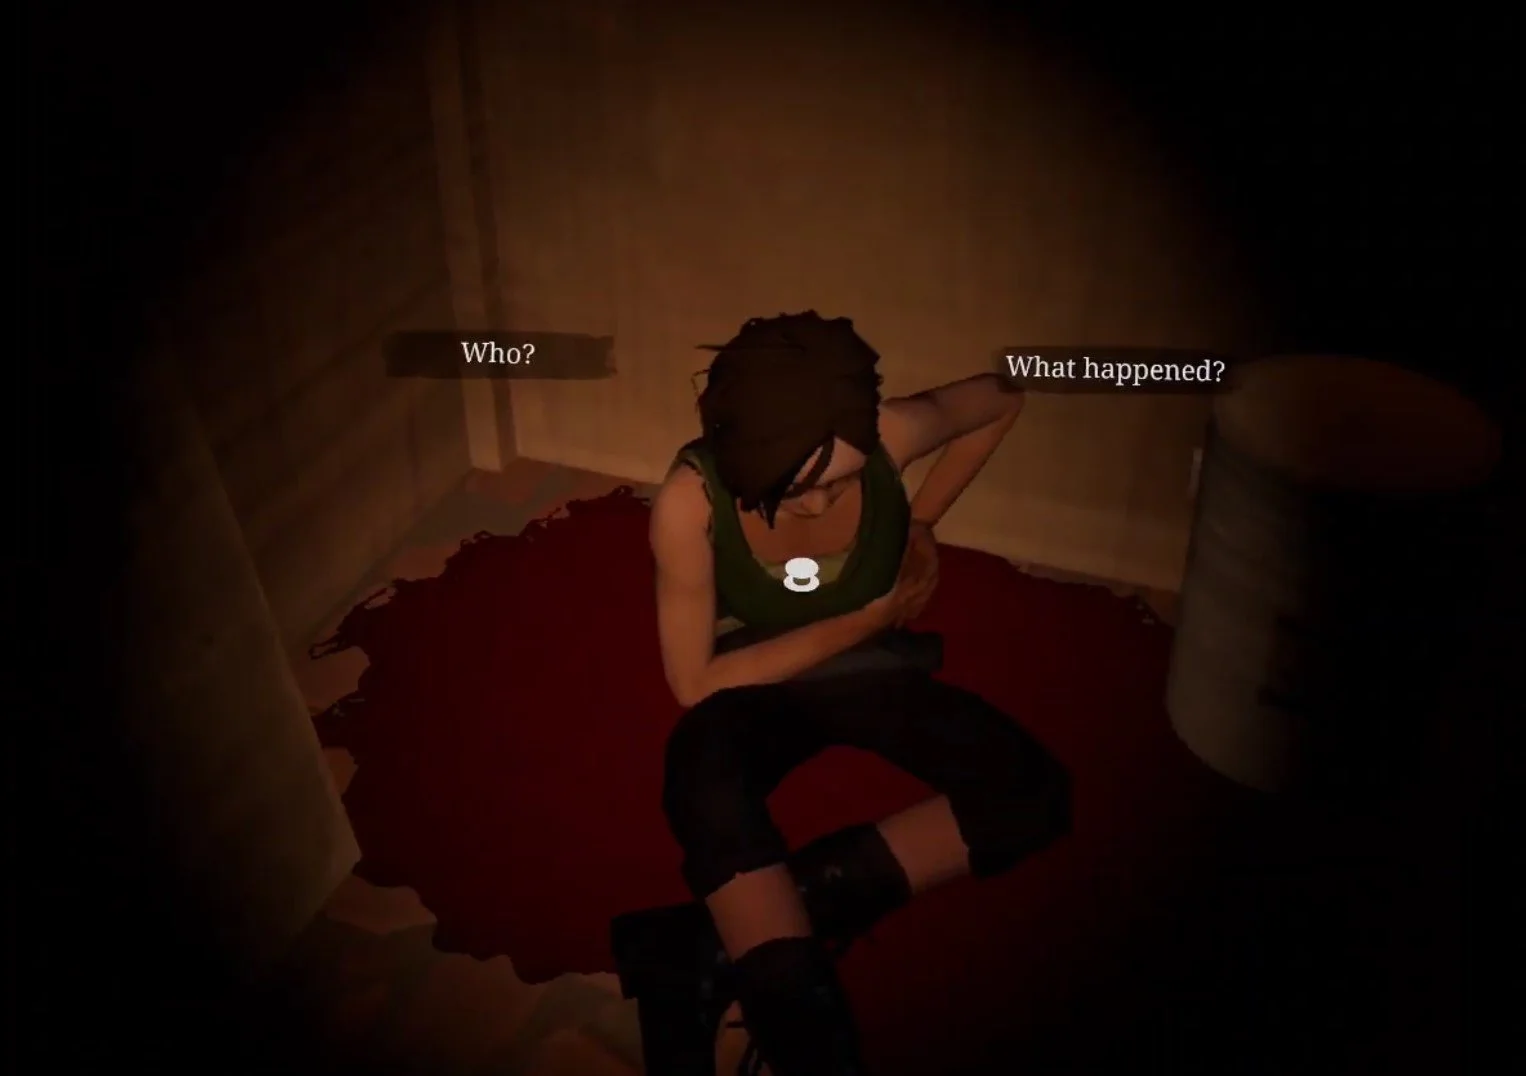
Kill the woman or leave her, either way doesn’t matter. When you leave the shed one of the corpses will now be alive as a walker. Even if you try to run away they’ll follow you and will likely be killed anyway.

That’s because when you walk over to the street, you’ll see Tower grunts running past you towards the church. Now if you sided with The Tower and killed JB at Bastion, this is no problem at all. You can just walk right past them. They’ll do nothing but throw a few snide remarks your way unless you antagonize them.
If you sided with JB and killed Georgia, or killed both of them, then you’ll have to fight your way through a bunch of Tower grunts as you advance up the street towards the church. Hopefully you’ve got something powerful like the Nova 1014. The Tower soldiers will be armed and armored to the teeth.

Once you get to the churchyard you’ll see a burning car, and some explosions will greet your entrance. Tower soldiers will come from your left and right periodically. They’ll advance towards the church and fight the Reclaimed soldiers that are spread out around the front of the building.

If you sided with JB earlier then the Reclaimed soldiers will let you pass inside. If JB never made it out of Bastion alive then you’ll have to fight your way through them. Still, it’s very easy to sprint past most of them while they fight the Tower soldiers and make a beeline for the open gate on the left side of the church. There might be a Reclaimed soldier or two in front of the gate, but if you make short work of them you can run right through. Don’t try clearing the area, enemies will spawn infinitely.
Just like in Bastion, siding with the Tower is the easier and less combat focused option here. If you can just walk past the Tower soldiers you’ll only need to run past or shoot one or two Reclaimed grunts to make it through the gate. Either way the battle looks and sounds very epic. Once you’re through the gate climb up the ladder propped up on the side of the old police van blocking your way.

When you drop down on the other side of the van the sounds of gunfire will subside and you’ll hear shouts of victory. The battle between the Reclaimed and the Tower has ended. Continue on, there’s a couple of bandages and a Nutri Stew on a picnic table in the center of this area. At the end of it you’ll see an open window on the side of the church and a drain pipe leading up to it. You can climb that drain pipe and get into the church.

Once you’re inside the attic of the church, you’ll hear Casey’s voice below you. Keep heading forward by ducking underneath the ceiling beams, and turn right to see a hole in the floor. Jump down the hole.

There’ll be a brief load when you hit the ground, so don’t worry if your game seems to stutter. You’ll see a door with a red light next to it. You can’t go there yet, instead go the other way down the hallway towards Casey’s voice. You’ll find that the origin of his voice is another piece of pump machinery, the flood control panel.

You can talk to Casey through the control panel like the radio back in your bus. He’ll tell you that the only way to save him is to redirect the flood flow to the armory. After you talk to Casey you can redirect the flow to either the Comms Room, Armory, or both. To do so get the code that JB gave you in bastion from your journal by going to the Notes tab on the far right, then select the Reserve button on the top left and then selecting Reserve Flood Code from the list.

Once you punch the code into the keypad use the lever on the right to make your choice, and then turn the wheel on your left towards the right.
As for your choices, this is a big one. Casey is right, redirecting the flow towards the Armory will destroy the bounty that you’ve hunted The Reserve to collect, but what he doesn’t tell you is that there is still some stuff in the Comm room. Two Custom Nova 1014 Shotguns, a Custom Hunting Rifle, and two FS92M 9MM Pistols all in perfect condition. There’s also some various odds and ends like a little food and some books and junk that you can scrap.

Flooding the Comms Room will indeed kill Casey, and he will scream at you over the radio if you do so. For doing this though, you’ll have access to the Armory. While you won’t get any of the things in the Comms Room, you won’t need them, because the Armory is packed.
Inside are 3 Custom AR-416 Rifles in perfect condition There are also more FS92M pistols, a ton of materials in the form of Boxes of Loot, and even Dragon Bars on the shelves. Even if you brought nothing you won’t have the backpack space to fit it all. Most importantly there is also the recipe for the AR-416 Rifle, and the recipe for the 5.56mm ammunition that it uses.

Before you make your decision, keep in mind that both of the AR-416 recipes can be found later in the Aftershocks DLC or Chapter 2: Retribution. You can find them on the bodies of enemy soldiers. They drop randomly, but you’ll get them eventually when playing through either follow up experience.
You can also flood both of these places as Jean Baptiste suggested, and get nothing. If you really want stuff, you’ll still be getting a lot of it in the Aftershocks DLC, though the massive amount of equipment in the Armory is definitely helpful, most of all the recipes inside.
Once you make your decision the door with the red light beside it back where you fell through the ceiling is now open, head on through. You’ll find yourself in a kitchen littered with corpses. Across the table in front of you is a door blocked with boards. If you don’t have a weapon on you can use the axe propped up on the wall to smash the boards down.

While you’re doing this the bell on the top of the church will ring once. You’ll hear the people outside chattering about it. Once you’re past the boards go down the hallway, and emerge in the heart of the church. At the other end of the room is the rope that, if pulled, rings the church bell, and either one or two figures will be standing near it.

Walk across the church towards them. May will yell something about not taking a step closer, but you can stand as close to her as you like and she won’t react differently. She’s got her hands on a rope, and if she pulls that rope the massive bell above you will ring and attract a horde of walkers. If you didn’t flood the Comm Room and spared Casey then he will also be there.
Here is your second choice. Most likely either Casey Or May will end up dead. There is no talking May out of her grief. She will ring the bell no matter what you say. The only way to prevent her from doing this is by shooting her to death. If Casey is alive, then he won’t allow May to commit an atrocity. If you don’t shoot May then he will. Strangely enough, if Casey does shoot May he seems to find it cathartic.

Of course if Casey never made it out of the Reserve then he won’t be there to intervene, and even if he did you can always shoot him before he shoots May, though in that case you might as well have flooded the Comm Room.
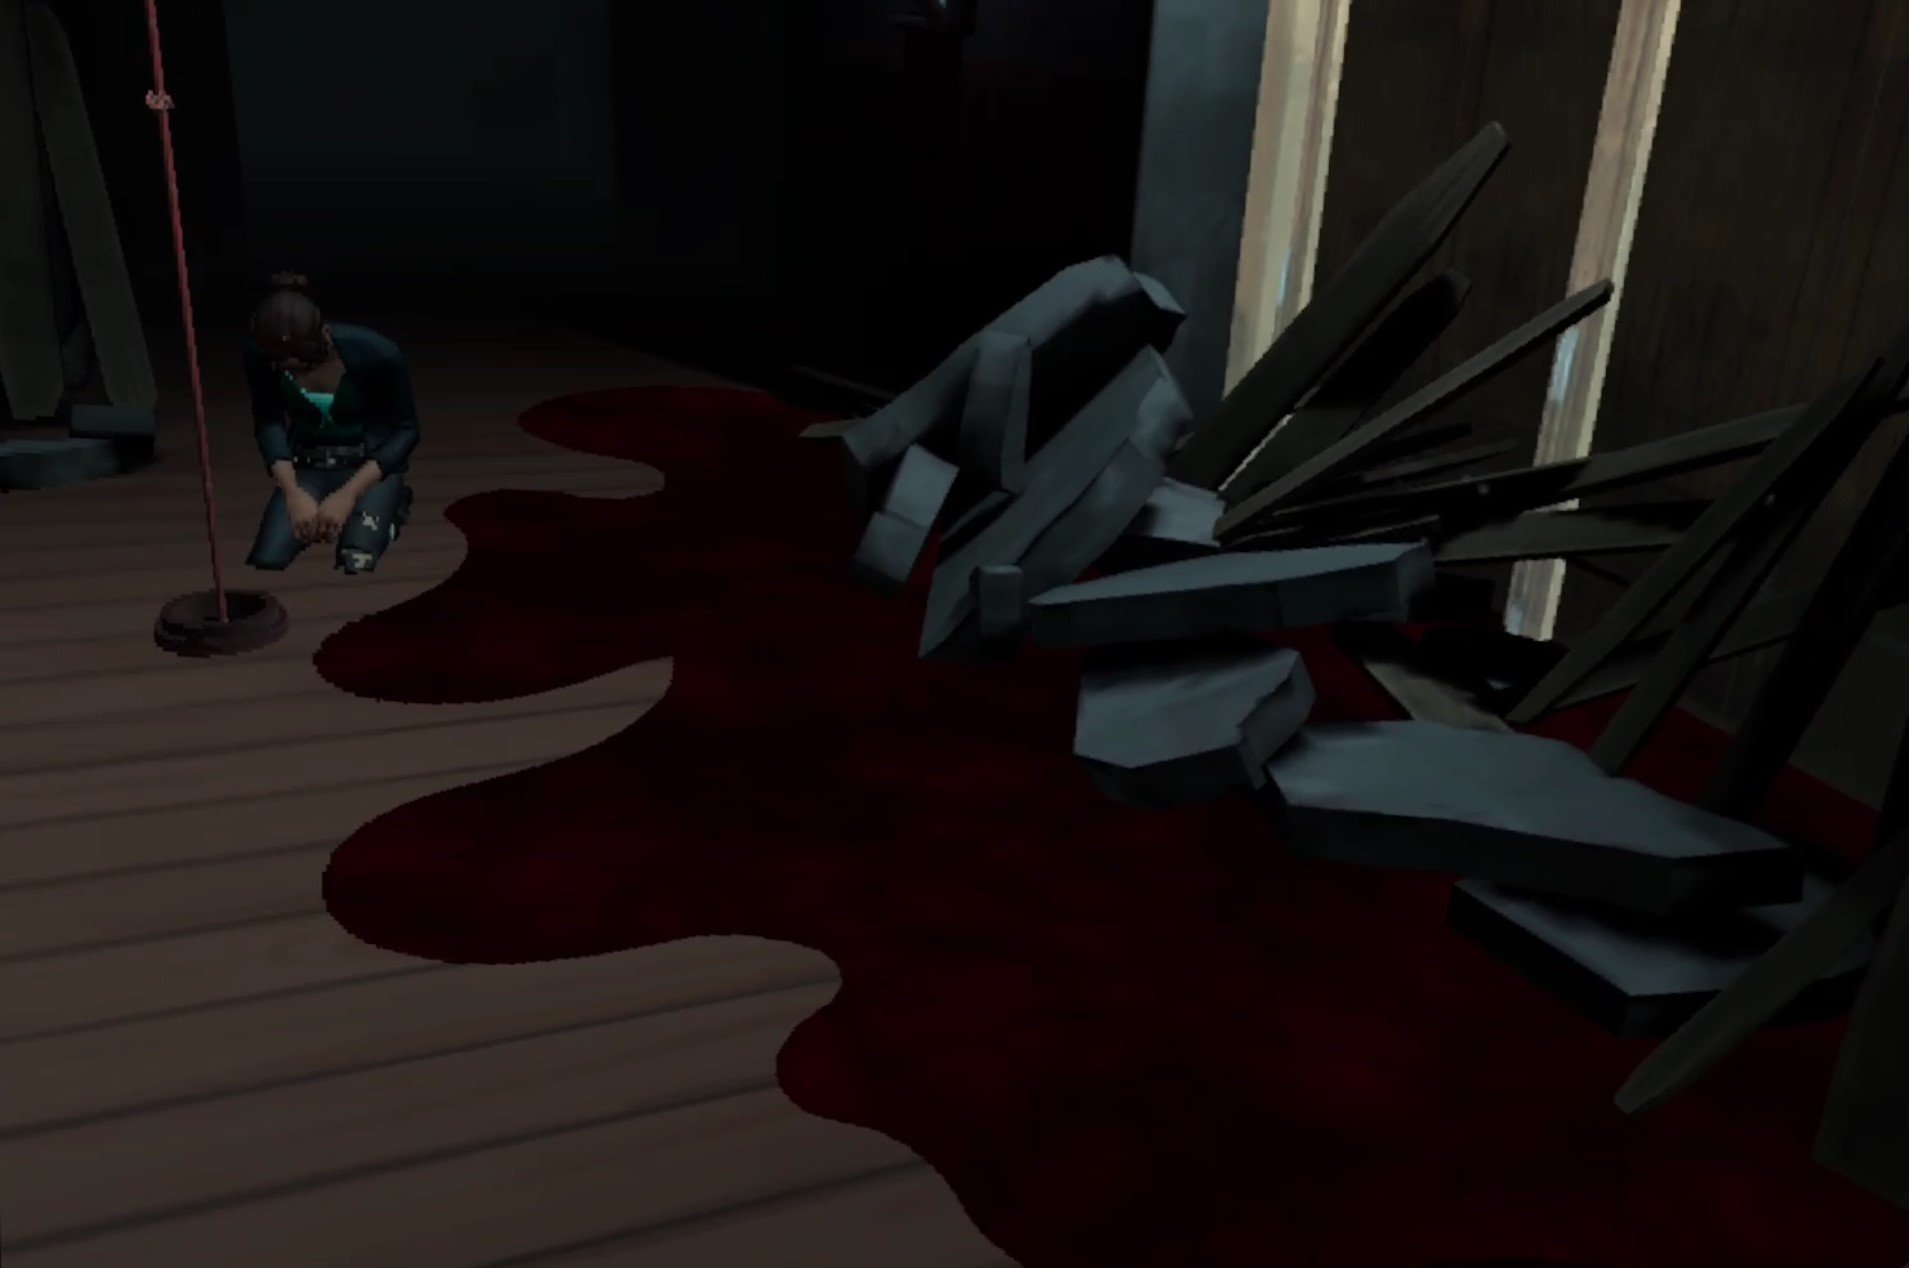
If you are alone with May then she will say the same things, and still ring the bell unless you kill her. If this happens she will collapse on the floor and you’ll hear the people outside being slaughtered by the hordes of the undead. Blood will seep through the front door.
You can also ring the bell yourself, even after shooting May. Ringing the bell more than once won’t do anything.
Thanks to commenter Kevin on this article we now also know that there is a somewhat secret ending here where both May and Casey survive. To do this immediately run up to May as you enter the church and get really close to her so she freaks out and starts ringing the bells, or ring the bell yourself while standing between her and Casey.
Both her and Casey will silently drop to the floor, defeated, as the walkers descend on the people outside of the church. Neither will say anything, so this isn’t the most satisfying ending, but neither of them will perish either.

When May and Casey’s fates are decided you can now enter the bunker and take whatever you want from the room that you chose not to flood, or just walk straight through the bunker if you flooded both of them.
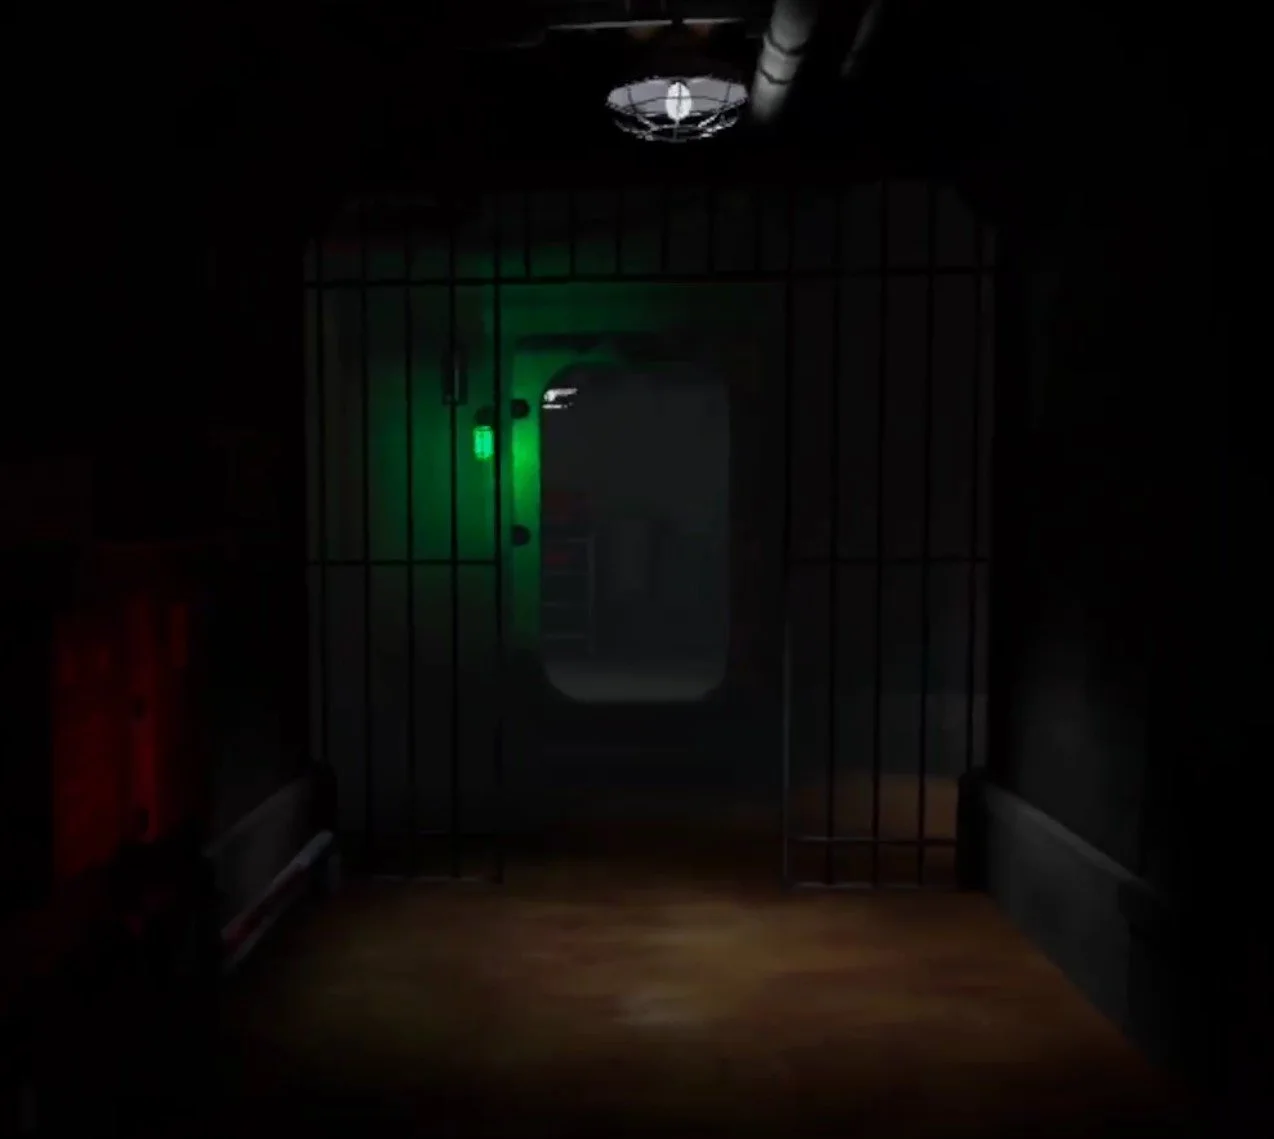
At the end of the straight hallway is this open door, to your right and left will be some walkers on the other side of some bars, they can’t get through and attack you, so don’t worry. Climb up the ladder in the room at the end of the hall and then head through the final door to find yourself back outside. There’s a boat at a little pier in front of you, step on it and sail away.

After you sail away the credits will play. You can hit A to skip them, but please do take a moment to at least think of all the people who worked on this game and all of the effort they put into it. The Walking Dead: Saints and Sinners was an early example of the great potential of Virtual Reality gaming, and we as VR gamers owe these people some gratitude.
When the credits are over, the time will skip to one week in the future. Now that you’ve finally found The Reserve, it’s time for the Aftershocks DLC, which you can find a walkthrough for on this site as well.
For now, congratulations on finishing The Walking Dead: Saints and Sinners - Chapter 1!