

The Walking Dead Saints and Sinners Walkthrough and Guide - Part 5 - The Ward and the First Pump Regulator
Stuck in The Walking Dead Saints and Sinners? Wondering where to go next? Maybe you just like to see what is in store for you before you get there, or want to look back and see if you missed anything in The Walking Dead: Saints & Sinners. Well don’t worry we’ve got you covered with this complete walkthrough. This is the fifth part, where you install the first pump regulator and then get another stash for May from The Ward.
This article will detail how to progress through the main story missions as quickly as possible, with a couple of guiding tips thrown in here and there to make your adventure smoother. Only those recipes that are convenient to get when doing a task for the first time are included. For a full list of all recipes in The Walking Dead: Saints & Sinners, check out our recipe guide article. Spoilers will be as light as possible, but there will be story spoilers by necessity in this walkthrough, but there won’t be any explanation of what is going on in the story beyond what is necessary to make the walkthrough make sense.
All Walkthrough Parts:
The Walking Dead Saints and Sinners Walkthrough and Guide - Part 1 - The Graveyard
The Walking Dead Saints and Sinners Walkthrough and Guide - Part 2 - The Shallows
The Walking Dead Saints and Sinners Walkthrough and Guide - Part 3 - Via Corolla
The Walking Dead Saints and Sinners Walkthrough and Guide - Part 5 - The Ward and the First Pump Regulator
The Walking Dead Saints and Sinners Walkthrough and Guide - Part 7 - Old Town and Another Stash
The Walking Dead Saints and Sinners Walkthrough and Guide - Part 8 - Rampart
The Walking Dead Saints and Sinners Walkthrough and Guide - Part 9 - The Shallows Again
The Walking Dead Saints and Sinners Walkthrough and Guide - Part 10 - Bastion and The Reserve Key
The Walking Dead Saints and Sinners Walkthrough and Guide - Part 11 - The Reserve and the Ending
Installing the First Pump Regulator
Hope you’re ready for a little amateur plumbing, because it’s time to install the first pump regulator. After you wake up walk over to the radio and talk to Casey again.

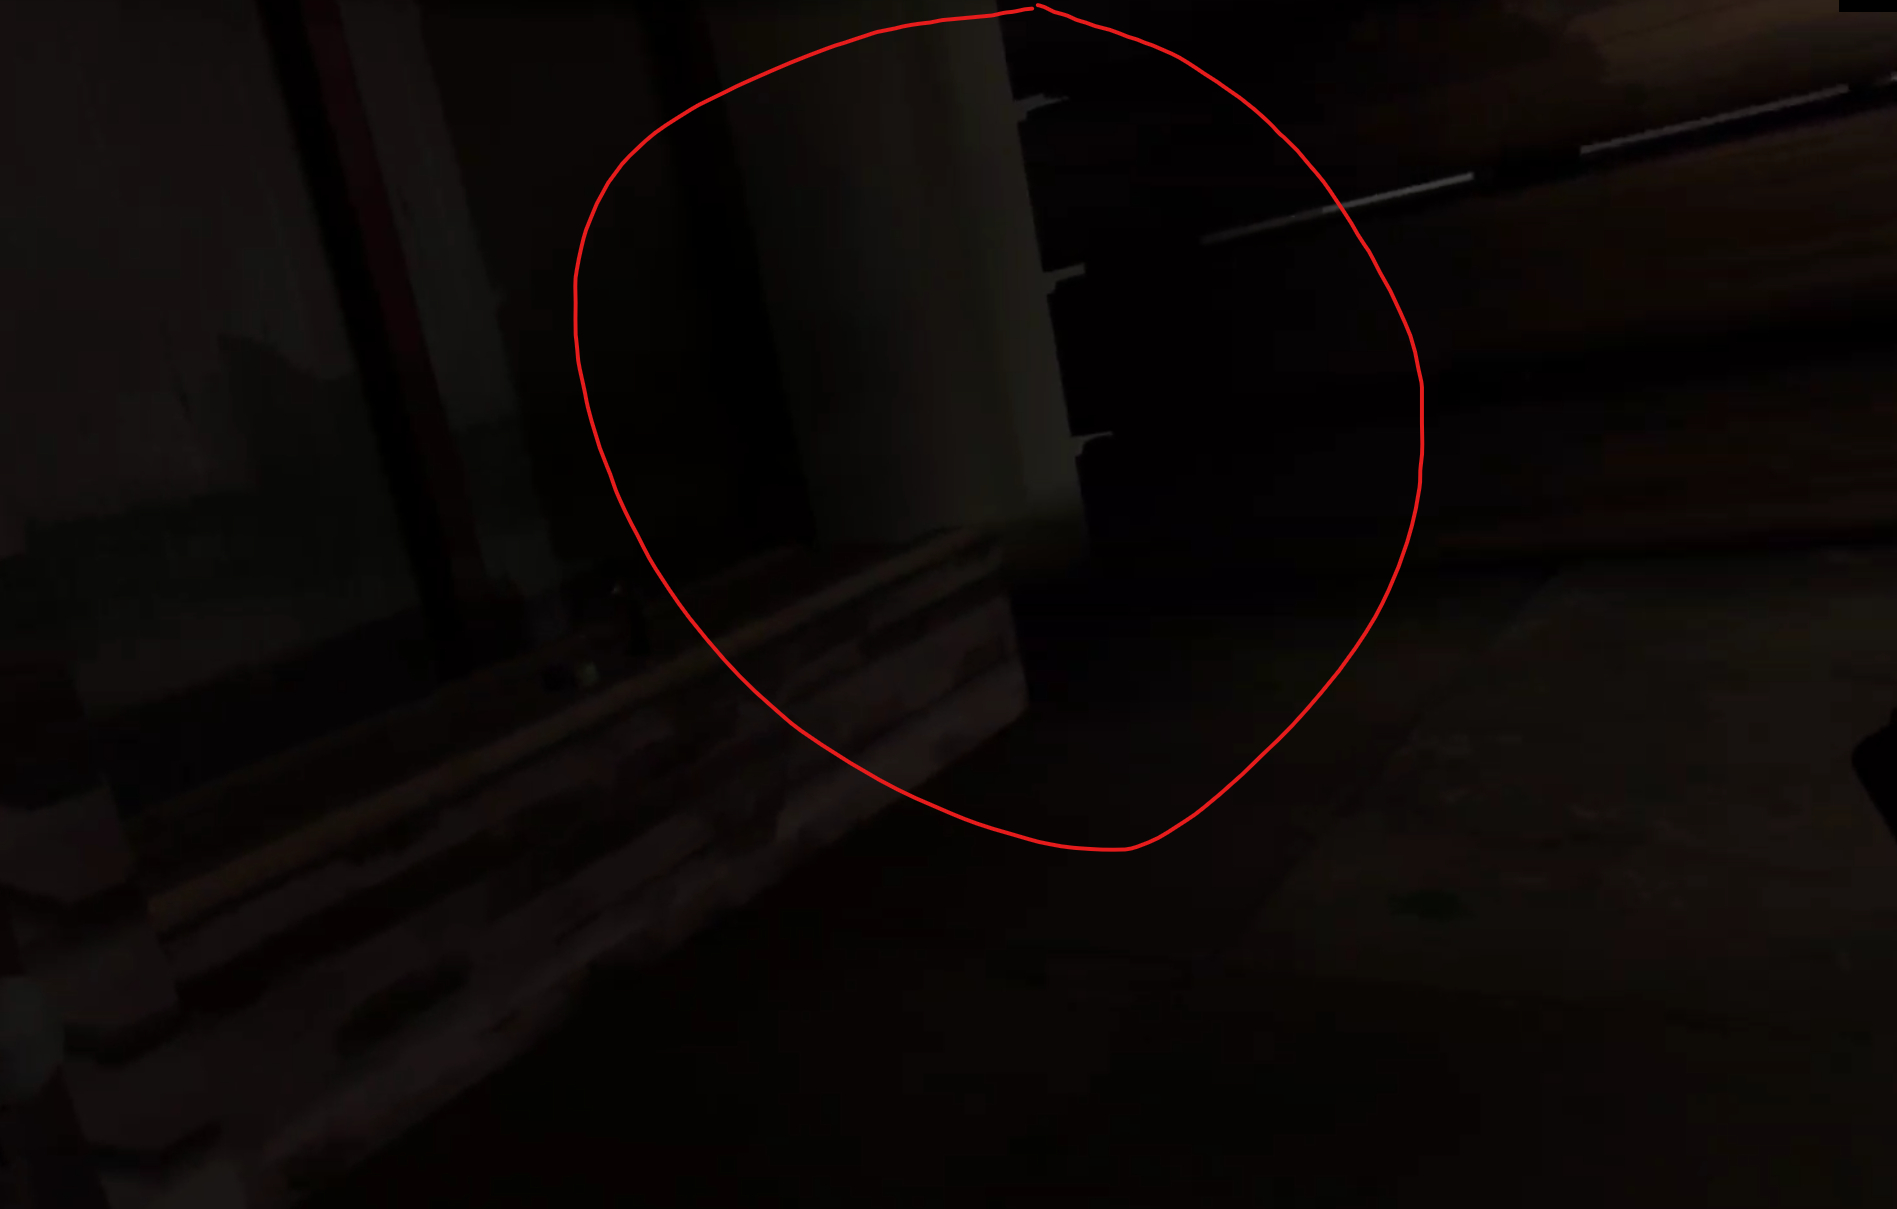
He will walk you through how to set up the first pump regulator. His instructions are pretty straightforward, but for this first regulator here’s a quick rundown: First you turn it around and look at the serial number on the back to read it off (the circle that grows around it indicates your reading progress). Then you flip the A switch on the front and turn the dial right to make the number go up or left to make the number go down.
Wait for Casey to tell you the right number and dial to it, when the number is green you’ve got it. Then flip the B switch and repeat with the next number Casey tells you, same for C. Finally press the red button on the bottom right corner of the front of the device and you’re good to go.
With the regulator good to go, time to install it. Go back to the catacombs and up to the churchyard. Once you’re there walk down the center street, you should come across a lone walker with a ripped up looking belly.

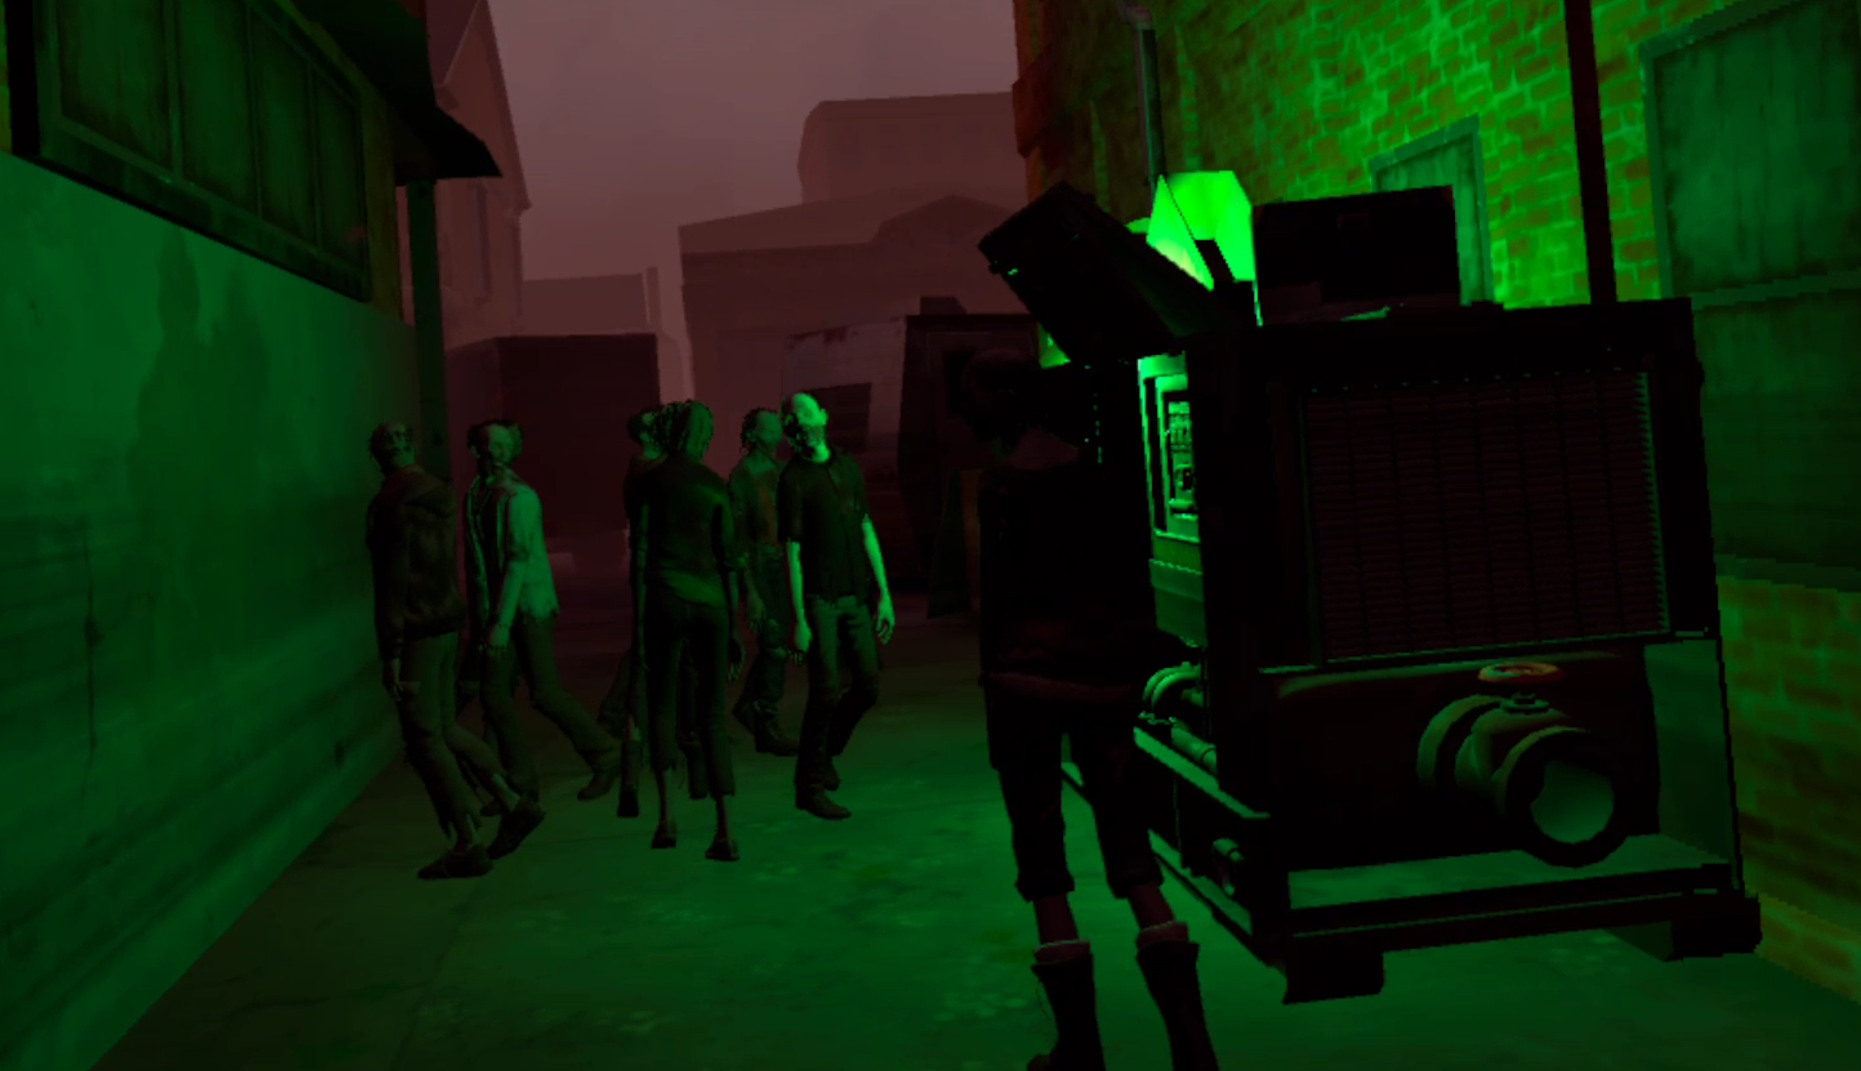
This is a special walker. Kill it and then cut through it’s belly with a sharp weapon. Inside you can pluck out an item called “Walker Innards.” You can save some extra for later, but right now take one and rub it all over yourself. You should see a circle fill up on your screens. Once it fills your screens will look redder, this means that you smell like a Walker and can walk among them undetected.
Which is good because your goal is surrounded by walkers. Make sure you don’t run or kill any walkers, because then your camoflage will disappear. Go further up the main street until you see the crowd of walkers and blinking red light on the right side of the street. That machine blinking red is the machine you need to install the regulator in. If you don’t feel like messing with Walker Innards you could always just make a couple of nail bombs and blow up the crowd.
Walking slowly and not making any quick movements, make your way through the crowd of walkers. Be careful not to bump into them too much. Then take the regulator out of your bag and just put it into the open slot on the machine. When the light goes steady green it is installed successfully and you can walk back to the Bus.
Back in the bus tell Casey about your success and chat with him for a while. Once you’re done with that make sure you grab some guns. In this next location a firefight is tough to avoid. If it’s your first try, best to assume that you’ll get into one. The double barreled shotgun, if you still have it, is also a good addition to your arsenal in The Ward.
At this point you hopefully have the backpack upgrade, and are possibly capable of crafting new Double Barreled Shotguns. If not you may have a tough time, but don’t worry, if you follow this guide you can mostly stealth your way to the objective. You won’t have to fight every Tower soldier if you’re careful and quick. Still, a spare bandage wouldn’t hurt either, oh and make sure you bring something that can break through boards like a Cleaver or two handed weapon. Once you’re ready hop in the boat and go to The Ward to get May’s next cache.

The Ward
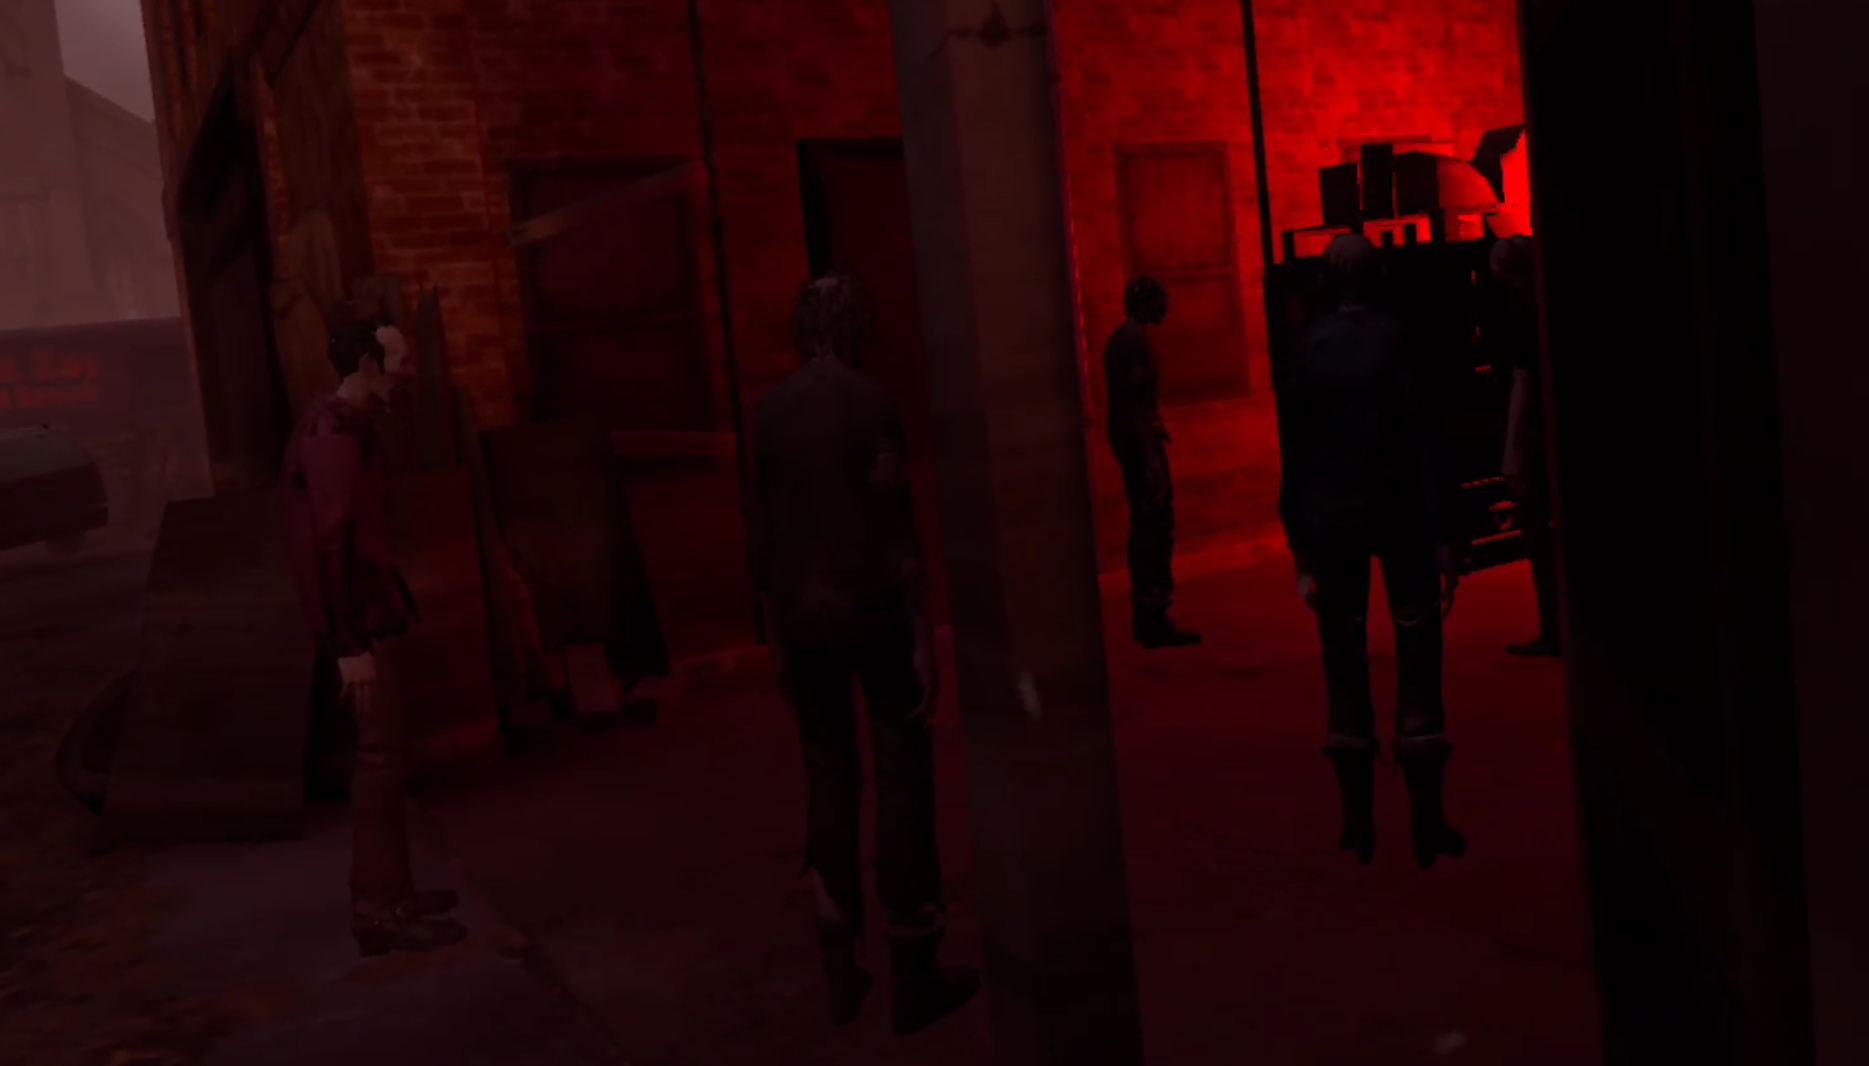
As always open your map after loading in. Your goal is a little reddish area next to the open yard of storage containers. This is the Tower’s main storeroom in the area. The problem with getting to it is that it is surrounded by Tower soldiers. If you have the guns and the guts you can just go straight down Pious Street and blast your way through the guards. There are quite a few guards who will fight you all at once, so this isn’t very recommended, and either way taking the long way around offers a lot of opportunities for great loot, so that’s what we’ll be doing.

Go down Pious and take a left to go up Madrid. You’ll pass by a lot of tower guards overlooking the street, ignore their catcalls and keep going until you reach the building colored teal on your map at the top of Madrid street, it’s a radio station with a tower still jutting out of the top. In the side of it you should see a hole in the wall covered with some boards. Bash your way through those boards with whatever big object you have on hand (a cleaver or two handed weapon of any kind will do, even a shotgun) and then climb your way in.

There’s some good loot inside the radio station, at least one loot box if you’re not too many days in, so go through it thoroughly before heading out the door that’s past the kitchenette and bathroom, it leads back outside and into Tower turf.

Ignore the guards by the flatbed in front of you, instead crouch down and go to the left of the red sedan. There is a brick wall with a huge hole in the middle. At the end of the left side of that wall is a single tower soldier looking outwards and making sure no Walkers get in. Another Tower soldier will patrol that strip of alley leading past the wall and further to the right. There is also another patroller to the right, who walks between the flatbed and the shelves in the back.
This part is tricky, but as long as you get the drop on the patrollers you shouldn’t have a problem. Either wait until they get close to you and chop through their head, or line up a headshot with a pistol and take them down with a single bullet. Be careful not to shoot the second patroller while they are near the two grunts by the flatbed because that might aggro them. If stealth doesn’t work out you can always just shoot your way through, there’s only five tower soldiers total in this area.
However you make it past the soldiers make sure you loot the shelves in the back, there’s usually good stuff there. Once you’re done go through the double doors near those shelves, at the end of the ramp behind the flatbed.

Here is where things get difficult and where avoiding a gunfight is even harder. Past these double doors is a very dark hallway and another set of doors. through those is a dark storage room filled with stacks of wood and a few tower patrollers. Instead of Walking towards them immediately take a left and hide in the stacks of wood. Keep your weapons ready and don’t get spotted by any patrollers. If you do, shoot them until they stop coming for you.
There is a single wire trap back there, but don’t walk into it and don’t trigger it with an item, just go around it by taking the other path through the stacks of wood. You should find yourself next to a flatbed truck piled with wood, with two to three tower grunts on the other side of a stack, talking and unaware of you.

Stick around here too long and they’ll hear or see you through the stacks. Take your chance and chop the soldier nearest to you in the head and shoot the other. There will be a patroller on your right or left as well. If they are nearby when you spring your ambush, great, if not no big deal, shoot them.

With those three out of the way your path to the objective is pretty clear, and you should have some decent loot already from the first storage area and radio station. Just outside you should see a storage shed with a blue wall, inside is the cache.

If you’re fast and there are no patrollers nearby you can run right in, get the folder and leave (make sure to loot the nearby shelves) or you can fight the other tower soldiers patrolling outside. There are quite a few, but the other loot that you will find on the folding tables and around the container yard might make it all worth it. Luckily to help you there is a Lever Action Rifle with the folder you came to The Ward to get, which is a great weapon at range. Also make sure you pick up the Lever Action Rifle blueprint which is next to the rifle itself.
Sneak back the way you came or shoot your way out, either way you have your objective, just get back to the Resting Place alive. When you get there put the new folder inside of the coffin, just like you did with the first one, then as usual clean out your backpack, do whatever crafting you need to do, and go to sleep.

Casey is going to need more of your help with the pumps. Need a guide on what comes next in Bywater? Then head over to Part 6.