

The Walking Dead Saints and Sinners Walkthrough and Guide - Part 2 - The Shallows
Stuck in The Walking Dead Saints and Sinners? Wondering where to go next? Maybe you just like to see what is in store for you before you get there, or want to look back and see if you missed anything in The Walking Dead: Saints & Sinners. Well don’t worry we’ve got you covered with this complete walkthrough.
This article will detail how to progress through the main story missions as quickly as possible, with a couple of guiding tips thrown in here and there to make your adventure smoother. Only those recipes that are convenient to get when doing a task for the first time are included. For a full list of all recipes in The Walking Dead: Saints & Sinners, check out our recipe guide article. Spoilers will be as light as possible, but there will be story spoilers by necessity in this walkthrough, but there won’t be any explanation of what is going on in the story beyond what is necessary to make the walkthrough make sense.
All Walkthrough Parts:
The Walking Dead Saints and Sinners Walkthrough and Guide - Part 1 - The Graveyard
The Walking Dead Saints and Sinners Walkthrough and Guide - Part 2 - The Shallows
The Walking Dead Saints and Sinners Walkthrough and Guide - Part 3 - Via Corolla
The Walking Dead Saints and Sinners Walkthrough and Guide - Part 7 - Old Town and Another Stash
The Walking Dead Saints and Sinners Walkthrough and Guide - Part 8 - Rampart
The Walking Dead Saints and Sinners Walkthrough and Guide - Part 9 - The Shallows Again
The Walking Dead Saints and Sinners Walkthrough and Guide - Part 10 - Bastion and The Reserve Key
The Walking Dead Saints and Sinners Walkthrough and Guide - Part 11 - The Reserve and the Ending
Day 2: The Shallows
Now that you have arrived in The Shallows, you’ve really started The Walking Dead: Saints and Sinners! The easy part is over, now it gets more tough. Immediately walk off of the boat and on to the road. Whenever you are out on a mission always keep an eye out for things to pick up and scavenge for scrap. You will need as much scrap as you can get your hands on. For more on what to pick up and what to leave behind check out our loot guide here. Right now Wood Scrap, Workable Metal, and Nuts and Bolts are the most important so you can get that crucial backpack upgrade.
After you cross the road you will see a woman calling out to you in a ruined car park. Walk up to her. She’s friendly and won’t attack you, and she will run if you point a weapon at her for too long or hurt her. You have two choices. Either hear her out (she wants you to kill her zombie husband and bring her his wedding ring) or you can just kill her. Doing as she asks involves running across the entire map to the Blue Mansion and back to get her reward for helping her. Killing her means you won’t have to run nearly as much, because she will just drop her reward after she dies. Even if you kill her she will still drop the key that leads to her husband, either take that from her or pick it up as well.

You have limited time during each day before the bells ring and the streets are flooded with zombies. To see how much time look at the green circle around your watch. When the green ring fills up, the bells ring. Travelling across the map twice means you will encounter more zombies, use more time that would be better spent looting, and deplete your stamina bar more (each time you use stamina for running or melee combat it’s maximum total goes down, shown by the red portion of the bar.)
For these reasons it’s most efficient to just stab her in the head and take the reward (a code to a safe in the Blue Mansion) off of her body. If it is your first time playing this game I recommend doing all of these sorts of tasks even if they are kind of a waste of time, because they’re fun and it gives you a better sense of the world. If you don’t care to have this woman’s thanks though, and just want to play as efficiently as possible, go ahead and kill her.

Now it’s time to open your map in the notebook on your chest, and take a look at the surrounding area. You’ll notice that only one house is colored in. In The Walking Dead: Saints and Sinners all buildings that can be entered are colored on your map. The big blue mansion contains the microphone you need to use the radio back at the bus, as well as the woman’s husband if you’re helping her.

There are two two ways to enter the mansion, as right now all of the doors in are locked. You either climb up a pipe around the back to go in through a window, or you find one of the holes that leads to the crawlspace beneath the house. There’s a hole near the front entrance, and another out back beside the pipe you can climb up.
To reach the back go down Walnut Street and take a left onto Liberty. There’s an alleyway to your left on Liberty, you can see it on the map, and you can also tell you’re in the right place by the dumpster at the entrance to the alley.
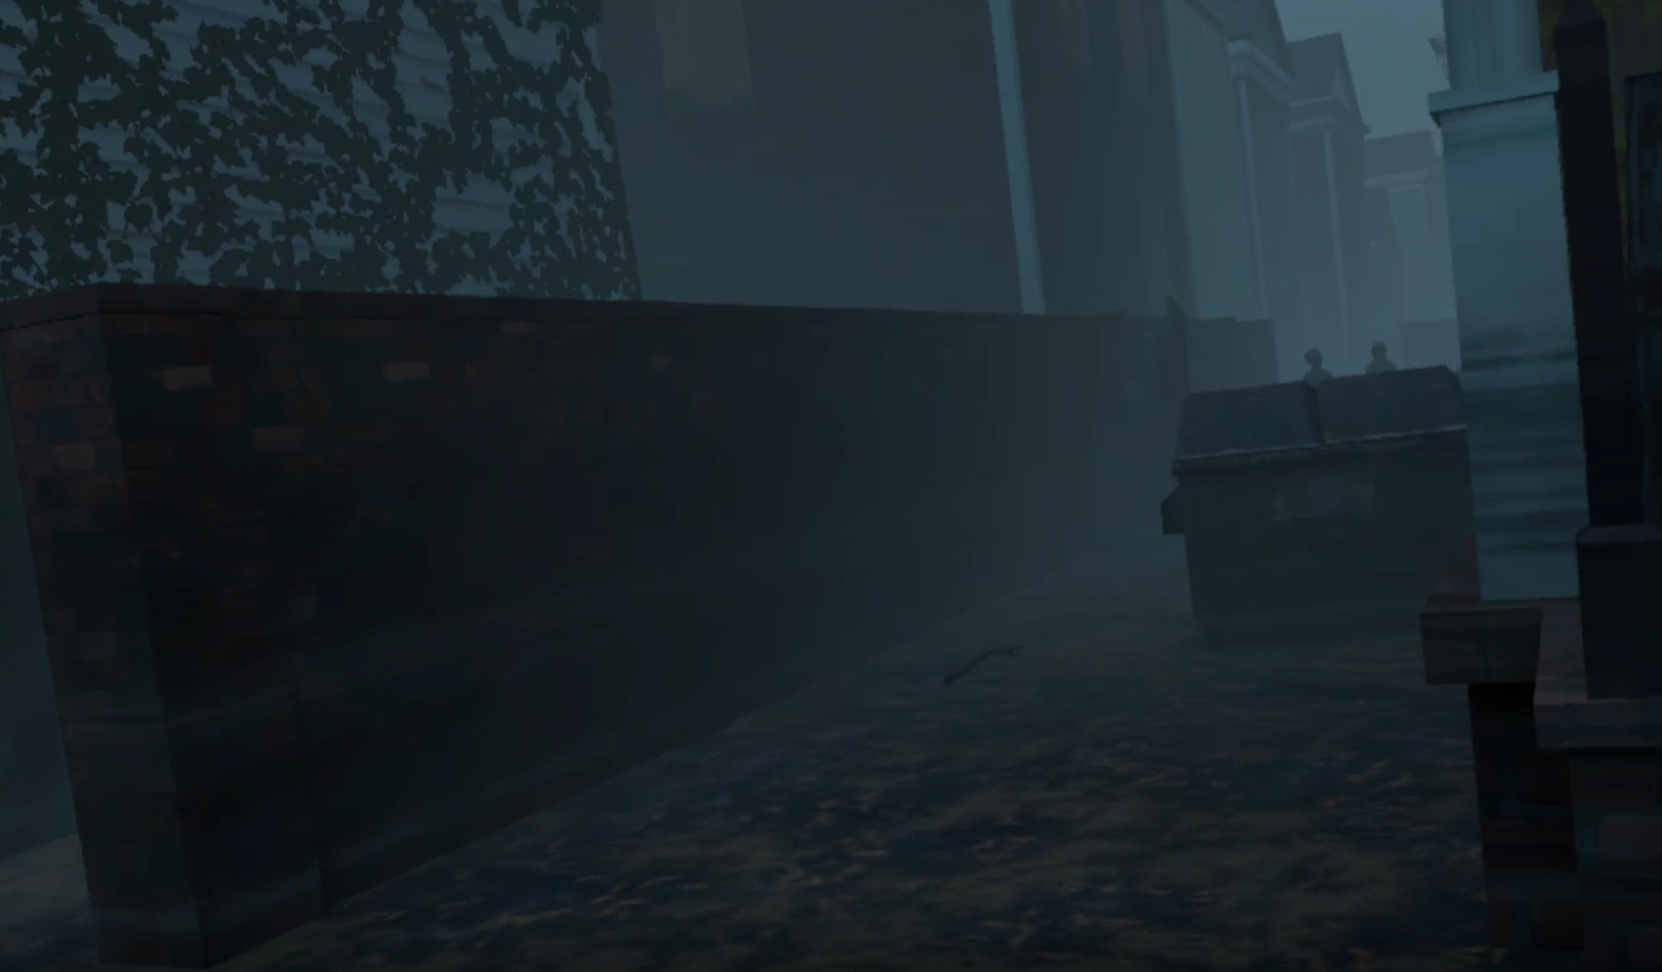
Go down the alley, kill whatever zombies are in your way, and then climb over the brick wall marked with white paint. Then you’ll be in the backyard of the Blue Mansion, which has a child’s playset and some fresh graves. You should see a hole leading to the crawlspace next to a pipe marked with white paint that you can climb up.

You can also just walk around the front of the house to get here, once you are you can either go through the crawlspace (two handed weapon spawns are common down there so it’s recommended) or climb up the pipe. The house will have zombies in it so be ready, but it will also have a lot of valuable loot. Your shiv might run out of durability while you’re in here and break, so be sure to pick up a spare weapon. There’s always at least one crowbar or Fireaxe lying around somewhere, and kitchen knives will also be common. Worst comes to worst you can always break a bottle and use that.
Once inside search the place as thoroughly as you can, drawers and cabinets will contain items, and some will be lying on tables and floors. Here is a short list of places you should look.
First Floor:
The kitchen: You’ll likely find a dragon bar or two here, make sure to take those, and maybe a kitchen knife as a spare weapon if your shiv isn’t doing too great.
The room to the right of the front entrance double doors: Inside is a safe that can be unlocked with the code the woman gives you if you complete her task, or dropped from her body if you kill her. Inside is a Worn 9MM Pistol and the recipe for the .357 Revolver. The pistol is practically useless as it will jam a lot, but the revolver the recipe creates isn’t half bad if you want to cosplay a cowboy.
The garage: The garage and the cabinets next to the door leading to it will spawn some ammunition, make sure to take it. Ammunition doesn’t take up space in your backpack so it’s free stuff.
The living room: There is at least one kitchen knife in here for a spare weapon, and a bandage or two if you have been injured. Bathrooms and laundry rooms also commonly spawn bandages..
Second Floor:
The attic, unlocked with the woman’s key: Has a single zombie inside and a worn double barreled shotgun. Make sure you take this as it will make a gunfight or two much easier down the road. The zombie will drop a wedding ring that you can turn into the woman as proof of her husband’s rest. There is also a note with his thoughts.
A room right beside the stairs filled with child’s drawings on the walls and a big desk up against the wall with windows: The microphone you came here to get is sitting on the desk, take it.

If you didn’t kill the woman lay her husband in the attic to rest and bring his wedding ring back to her. She will give you the code for the safe on the first floor, then go back to the Blue Mansion and unlock the safe with the code. Codes are saved in your notebook, so no need to memorize it. (I’d just give you the code but they are randomized every playthrough)

Once you’ve go the microphone you can leave, but make sure your backpack is full to the brim with loot. Useful items to scavenge will only become more rare, never leave without a full backpack. You’ll need as much as you can get. Also make sure your two handed weapon slot over your shoulder is filled, as well as the two handed slot on the side of your backpack. Same goes for both of your hip holsters. Weapons you find can be scrapped too.
There is a boat you can use to leave right at the end of the street leading down the front of the Blue Palace, or you can go back to where you started and take that boat back to the bus, either works. Also there are generally flocks of crows flying in the air near boats you can use to leave.
Back Home
Congratulations! You’ve survived your first outing into New Orleans. Keep at it and you’ll only get better at killing walkers as time goes on. First off do the things you should always do after coming back. Scrap any junk items and unwanted weapons that you have. Though this time keep a couple of melee weapons on hand, because you’ll need them very soon.
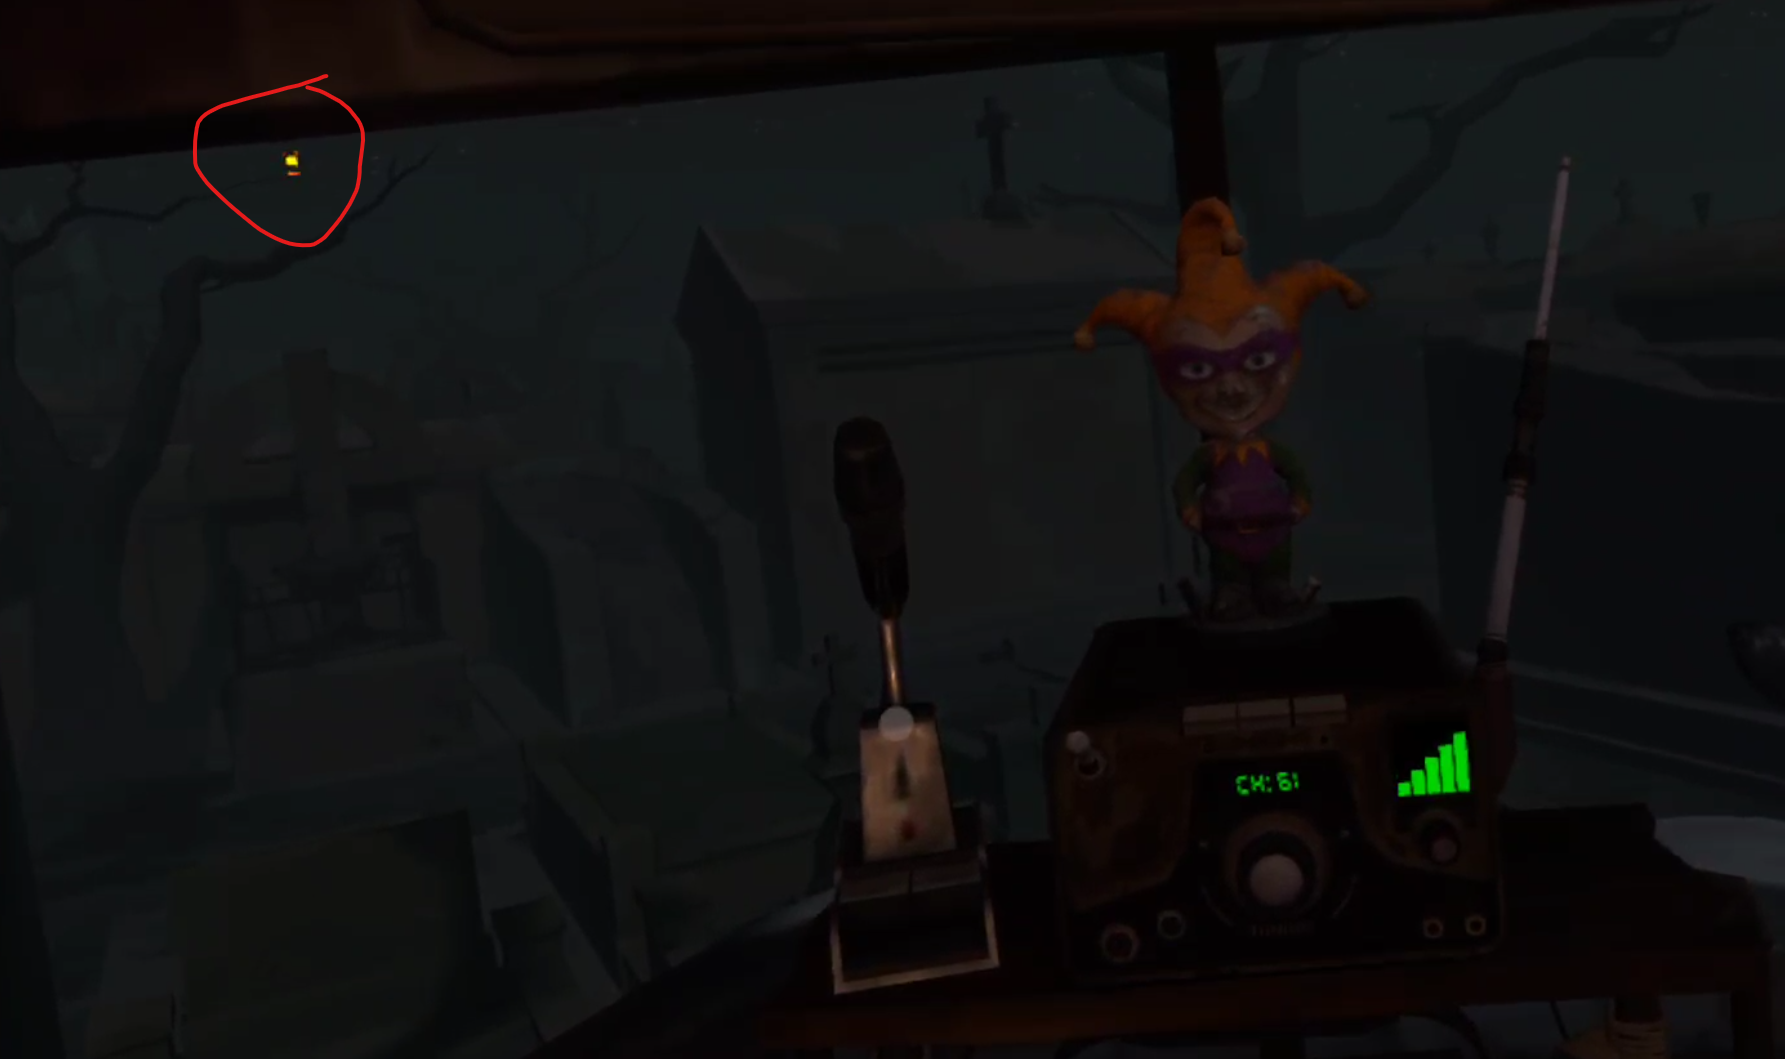
Go back to the bus and take the microphone out of the special items section of your backpack (the purple bit) and hook it up to the radio. Flip the switch on the front of it to turn it on, and then jiggle the antenna until the green bars on the front are all lit up.

Once the radio is tuned, change the channel to 61 using the dial on the front of the radio and say “Waterfall.” You’ll have an interesting conversation that is interrupted by a crashing sound, and a lamp hung above the graveyard lighting up. Go towards the lamp to the only section of the graveyard we didn’t cover in part 1 of this walkthrough.
You will find a locked door with a curious drawing on it. The lamp is on the other side of the door, and it’s time to go get the key. Continue down the path to the left of the locked door and go down the stairs into the catacombs. There are some zombies down there, and more loot. As before all things in the graveyard won’t take up a day to take with you, so pick up absolutely anything that you find.

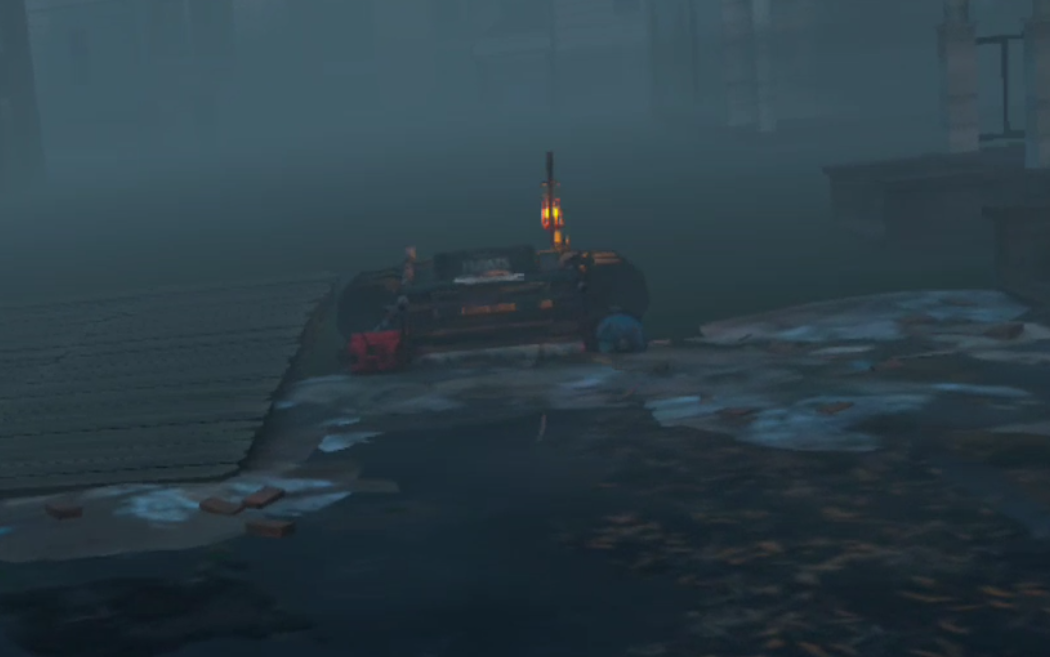
Continue through the catacombs until you come up a dirt ramp and emerge into a wide open area with a square building in the center.

There is a flooded road on the other side of the building, and some walkers wandering around. The building is locked, but you’ll see the jazzmen statues on the other side of it, and find a key behind a pile of boxes. You won’t have the code of the safe by the cars, but you can get it much later on in the game with the instructions in this guide.

With the key in hand head back to the locked door in the graveyard. There is a note inside the coffin in the unlocked area. You’ll get a new task to go to Via Corolla to steal a stash from some people called “The Tower.” With that done have a sip of whiskey in your bus and go to sleep.

Want to find out what happens in Via Corolla? Need a guide on how to complete your second mission and retrieve the stash? Then head over to Part 3.