

The Walking Dead Saints and Sinners Walkthrough and Guide - Part 10 - Bastion and The Reserve Key
Stuck in The Walking Dead Saints and Sinners? Wondering where to go next? Maybe you just like to see what is in store for you before you get there, or want to look back and see if you missed anything in The Walking Dead: Saints & Sinners. Well don’t worry we’ve got you covered with this complete walkthrough. This is the tenth part, where you finally get the Reserve Key and go to Bastion to get the final pump part.
This article will detail how to progress through the main story missions as quickly as possible, with a couple of guiding tips thrown in here and there to make your adventure smoother. Only those recipes that are convenient to get when doing a task for the first time are included. For a full list of all recipes in The Walking Dead: Saints & Sinners, check out our recipe guide article. Spoilers will be as light as possible, but there will be story spoilers by necessity in this walkthrough, but there won’t be any explanation of what is going on in the story beyond what is necessary to make the walkthrough make sense.
All Walkthrough Parts:
The Walking Dead Saints and Sinners Walkthrough and Guide - Part 1 - The Graveyard
The Walking Dead Saints and Sinners Walkthrough and Guide - Part 2 - The Shallows
The Walking Dead Saints and Sinners Walkthrough and Guide - Part 3 - Via Corolla
The Walking Dead Saints and Sinners Walkthrough and Guide - Part 7 - Old Town and Another Stash
The Walking Dead Saints and Sinners Walkthrough and Guide - Part 8 - Rampart
The Walking Dead Saints and Sinners Walkthrough and Guide - Part 9 - The Shallows Again
The Walking Dead Saints and Sinners Walkthrough and Guide - Part 10 - Bastion and The Reserve Key
The Walking Dead Saints and Sinners Walkthrough and Guide - Part 11 - The Reserve and the Ending
The Resting Place/The Church
Welcome back to New Orleans in The Walking Dead: Saints and Sinner. Wake up and grab a melee weapon. When you walk outside of the bus you’ll see that May’s lantern is lit once again.

As always go over to the coffin, and inside is a note. Read it and you’ll find that May is waiting for you near the church in the same place she was before.

Walk over to the entrance to the old catacombs, deal with the zombie or two that spawn down there, and take the first right to go over to the church yard. After you exit the catacombs and take a right, you’ll see May across the street.

Talk to her and you’ll find out that she will give you the Reserve Key, and that it will show up the next time the lantern is lit. Congratulations! No more intelligence gathering for you. You can also kill May here if you’re angry at her for how many gunfights she put you through for a key, and still get that key off of her body. This isn’t recommended as it will cut out another interesting element of the story later.
Anyway head back to the bus the way you came, and talk to Casey on the radio. He’s heard where you can get the final pump controller. At a fortified apartment building called the Bastion.

Make sure you bring guns. The biggest guns you have, and probably a bandage just in case. Explosives are also great, like the nail bombs that you can craft at the survival bench. If you haven’t used the sticky bombs from the first stash then those will also do just fine. Depending on your choices there is a perfect chance to use those explosives to take out multiple enemies.
You won’t have to worry much about zombies for this mission. If you ever wanted the perfect time to run a pistol on each hip, this is it. Hopefully you’ve unlocked the powerful Nova 1014 shotgun. Or if you have a Worn AR-416 that you got off of a dead tower grunt, that will work too. Just make sure you have some ammunition for whatever you bring. No matter what you can’t go wrong with a double barrel or hunting rifle, whatever you prefer. Just make sure you’re ready to fight other people with guns.
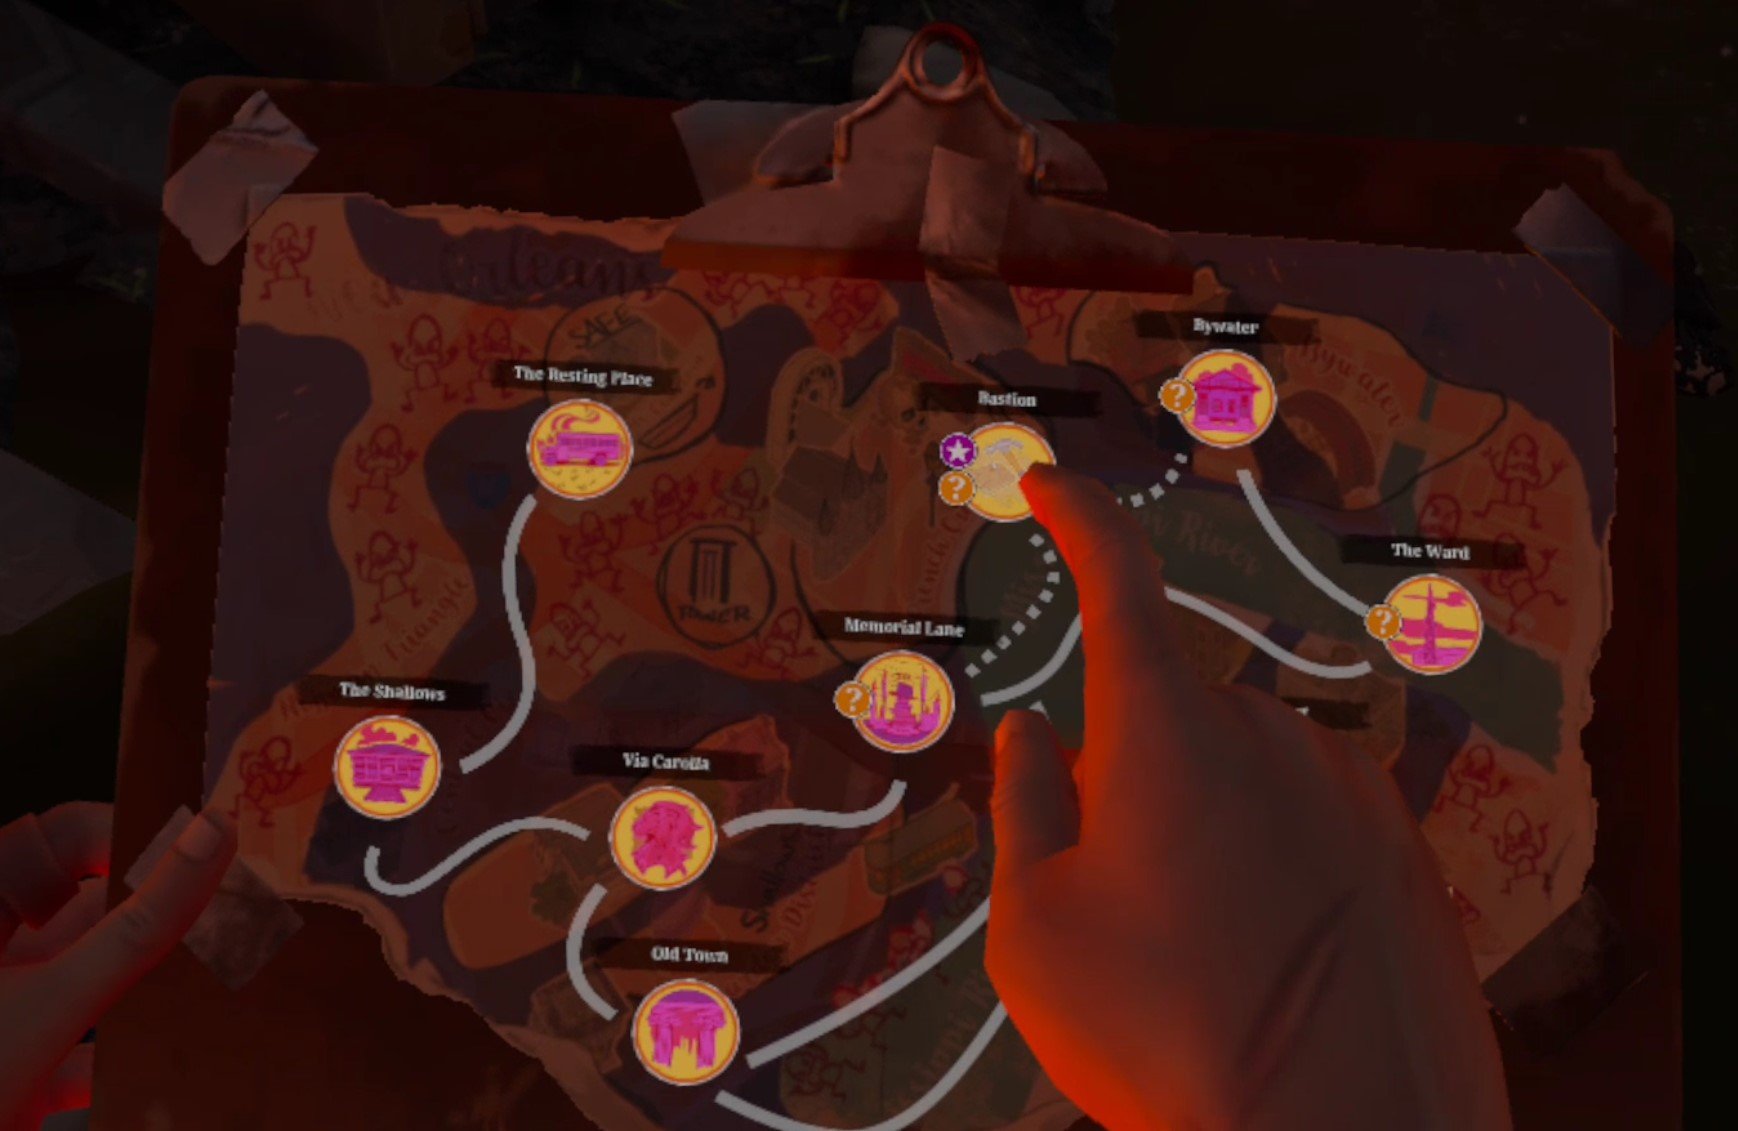
Once you’re ready for a fight head over to Bastion.
Bastion
When you arrive in Bastion you’ll notice that it’s… quiet. Too quiet. There are no gunshots, no walker moans. Just silence. If you check your watch you’ll see that the usual circular timer that ticks down until the bells ring is no longer there. It’s just full green. That’s because there are no bells this time around. You can take as much time as you like.

As always take a peek at your map. You’ll see two enterable buildings marked with colors. A blue building and a yellow building.

The yellow building is the fortified apartment complex that is your target, and has the pump regulator inside. If you want to go straight there go ahead, and skip a little further in this walkthrough. Since there are no enemies and all the time in the world though, you might as well take a right out of your spawn and stroll down Walnut street until you see a building with a car crashed into it.

This is the building marked blue on your map. Go up the crashed car and take a right, you’ll see a path that leads around the back of the building, and a hole in the wall blocked by some boards. Use a heavy melee weapon like a cleaver, or a two handed firearm, to bash the boards down and head inside. After you walk out of the first room there will be a little side table on your left, and on it a piece of paper with a safe code.

Take it, you’ll be able to use it in the next walkthrough. Meanwhile feel free to loot the house, loot the streets, and do anything you like until you’re ready to get the pump. When you are, walk over to the yellow building on your map.
It’s large and lit up by a bunch of work lights left in the road. Still, nobody appears to be home. There will also be some good loot inside. Make sure to also check the garages on either side of the building as well. If you want to go straight for the pump then enter one of the doors that are on the lower side of the building relative to the map and walk up the stairs.

Either way if you go upstairs and wander around for a bit you’ll inevitably find an open door, and a figure sitting inside.

Make sure you’ve looted the area as much as you like before talking to him. After your chat with the leader of the Reclaimed, Jean Baptiste aka “JB”, you’ll have more important things on your mind than what junk you’re carrying.
Your chat with JB will be illuminating, and he will give you the codes that will active the Reserve’s flood control system, as well as the final pump controller and the dial for it. You can also, as always, just shoot him and take all of those things off of his body.

Whenever you’re done with JB, walk back down the stairs and you’ll see that the door across the room leading outside is open. Walk over and you’ll run into another of New Orleans’ notorious leaders, and a bunch of her soldiers.

Georgia offers you a deal. Go back inside and kill JB and she’ll forget all of her grunts you killed and stashes you stole. If you refuse this deal you can’t walk away peacefully. It’s either agree to kill JB, or fight Georgia and her soldiers right there.
Here are where the options really open up. If you agree to kill JB you can go back in and tell him you’ll kill him. He will accept this and just wait around for a bullet. He won’t even fire on you first. If you do this then Georgia will promise that her troops will not fight you during the upcoming battle for The Reserve. Then you can just walk past Georgia and her goons and go back to The Resting Place.

You can also warn JB, but instead of running he will charge out to fight Georgia and the Tower soldiers alongside her. Without help JB will certainly lose. If he does survive though he will thank you, and promises that Reclaimed troops will not fight you over The Reserve.
You can also kill both leaders, and neither side will avoid fighting you over The Reserve.
As far as getting that done, shooting JB is the easy way out of the situation. He won’t even fire first on you. Fighting Georgia is harder, especially if you’re trying to keep JB alive. If you warn JB and he starts to run outside, make sure you jump down the stairwell and make it out before he does, or he will quickly perish.
You can always fight her before warning JB, or while she is talking to you. You’ll notice that she has two soldiers standing very close by her. So the optimal way to start the fight is before you say something that causes them to attack. Use the explosives you hopefully brought, and throw it right beside Georgia. That should take out her and at least one of her soldiers.

Use that big gun you brought for the rest. If you take a lot of hits you can always duck back into the building to avoid death, though JB might still foolishly run outside and get killed while you’re bandaging.
A benefit of fighting Georgia is that her soldiers might drop guns, like Worn AR-416es, and the recipe for Sticky Bombs, or any other weapon recipes you might have missed so far. If JB lives he will thank you and run off. If he dies then you’ll have to fight the Reclaimed over The Reserve as well.
However the situation plays out, head back to the Resting Place. You’ve got the final pump regulator. The fight for The Reserve is about to begin.

The Resting Place
Home sweet home. Once you arrive you’ll see that the lantern over the coffin is lit once again. Go there and get a final picture and note from May, and most importantly the Waterfall Key, which you need to access The Reserve.

Once you’re done reading May’s note, go ahead and scrap all that loot you got. When you’re ready for the final battle of The Walking Dead: Saints and Sinners, go over to the radio and talk with Casey. It’s time to enter The Reserve.

Need a guide on what comes next? Want to find out what happens during the thrilling conclusion of The Walking Dead: Saints and Sinners? Then head over to Part 11.