


The Walking Dead Saints and Sinners Walkthrough and Guide - Part 4 - Memorial Lane and Meeting May and Casey
Stuck in The Walking Dead Saints and Sinners? Wondering where to go next? Maybe you just like to see what is in store for you before you get there, or want to look back and see if you missed anything in The Walking Dead: Saints & Sinners. Well don’t worry we’ve got you covered with this complete walkthrough. In this part we meet May and Casey and go to Memorial Lane for some important parts.
Stuck in The Walking Dead Saints and Sinners? Wondering where to go next? Maybe you just like to see what is in store for you before you get there, or want to look back and see if you missed anything in The Walking Dead: Saints & Sinners. Well don’t worry we’ve got you covered with this complete walkthrough.
This article will detail how to progress through the main story missions as quickly as possible, with a couple of guiding tips thrown in here and there to make your adventure smoother. Only those recipes that are convenient to get when doing a task for the first time are included. For a full list of all recipes in The Walking Dead: Saints & Sinners, check out our recipe guide article. Spoilers will be as light as possible, but there will be story spoilers by necessity in this walkthrough, but there won’t be any explanation of what is going on in the story beyond what is necessary to make the walkthrough make sense.
All Walkthrough Parts:
The Walking Dead Saints and Sinners Walkthrough and Guide - Part 1 - The Graveyard
The Walking Dead Saints and Sinners Walkthrough and Guide - Part 2 - The Shallows
The Walking Dead Saints and Sinners Walkthrough and Guide - Part 3 - Via Corolla
The Walking Dead Saints and Sinners Walkthrough and Guide - Part 4 - Memorial Lane and Meeting May and Casey
The Walking Dead Saints and Sinners Walkthrough and Guide - Part 7 - Old Town and Another Stash
The Walking Dead Saints and Sinners Walkthrough and Guide - Part 8 - Rampart
The Walking Dead Saints and Sinners Walkthrough and Guide - Part 9 - The Shallows Again
The Walking Dead Saints and Sinners Walkthrough and Guide - Part 10 - Bastion and The Reserve Key
The Walking Dead Saints and Sinners Walkthrough and Guide - Part 11 - The Reserve and the Ending
Meeting Casey
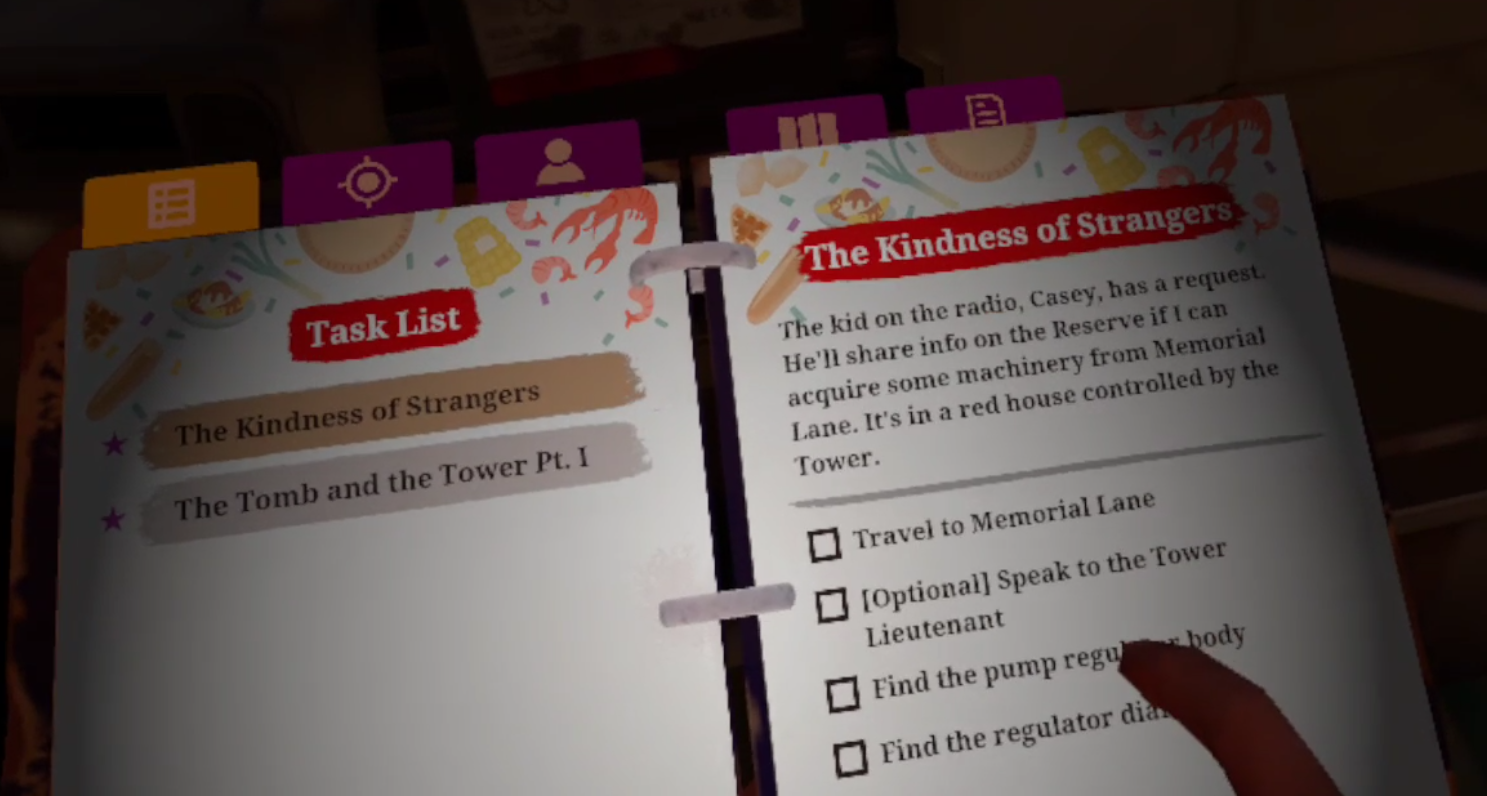
When you wake up, tune your radio to channel 61 if it isn’t already. Casey, the man you previously met over the radio, now wants to talk. He’s got a lot to say, and he also wants you to get a Pump Regulator for him from Memorial Lane.
Meeting May
You will also notice that the lantern above the coffin is now lit. So head back to the coffin, and find a note inside. Seems whoever was leaving notes figured out you’re not Henri, and wants to talk in the Churchyard.
Make sure you’ve got a melee weapon or two on you and go back down to the catacombs near the coffin. It may be daytime but there are plenty of zombies around. Though this time you’ll see that the big gate which was blocking off access to one of the corridors in the catacombs is now open. Head through it.

You will find another ramp leading you outside again, once you are back aboveground head to your right and across the street, a woman will be waiting for you.

She agrees to assist you in finding the Reserve in exchange for finding more Tower caches. The next cache is in The Ward. You can also just kill May here, and pick up an item off of her body to help you get to the Reserve. While this means you can avoid her tasks and still complete the game, killing May would take a lot of flavor out of the story and remove a lot of fun missions. This guide will assume you leave her alive, and it is highly recommended that you do leave her breathing.
Once you’ve spoken with May you don’t have to stick around, but there is a ton of free stuff sitting around. Take whatever you can get your hands on, since none of this loot will cost you a day, it’s all basically free. The house that shows as orange on your map has the beignet recipe in the kitchen. The streets, alleys, and churchyard have various junk on the ground, and at least one bundle of arrows. There’s also a worn out 9MM pistol in the warehouse that shows as blue on the map. The church itself is inaccessible, so don’t bother trying to get in.

Once you’re done picking the place clean go back to your bus base and get ready. Bring some melee weapons and some guns, preferably the Double Barreled shotgun if you still have it in one piece. Maybe even a sticky bomb or two, which you got from the tower stash in Via Corolla. You will have to fight at least one group of human enemies to get the pump regulator from Memorial Lane. So be ready.
Then head to the boat and go to Memorial Lane.

Day 4: Memorial Lane
Once you arrive in Memorial Lane take a look at your map. You’ll see two colored houses, Red and Blue. The Red House is full of Tower grunts, who have the pump parts you need inside, and the Blue House holds a group of Reclaimed.

Move down the street and take a left off of Bordeaux down the driveway at the side of the red house, you’ll find a couple of Tower soldiers standing around, willing to talk.

Talk to them and listen to what they have to say. Long story short they want you to save a hostage from the Reclaimed warriors in the Blue House. They agree to give you whatever you want from their stash in return (this includes the pump regulator.)
If you go over to the Blue House, past the courtyard with the huge tree, you’ll see a lot of upside down walkers hung up from the ceiling, and upstairs the Reclaimed and their hostage.
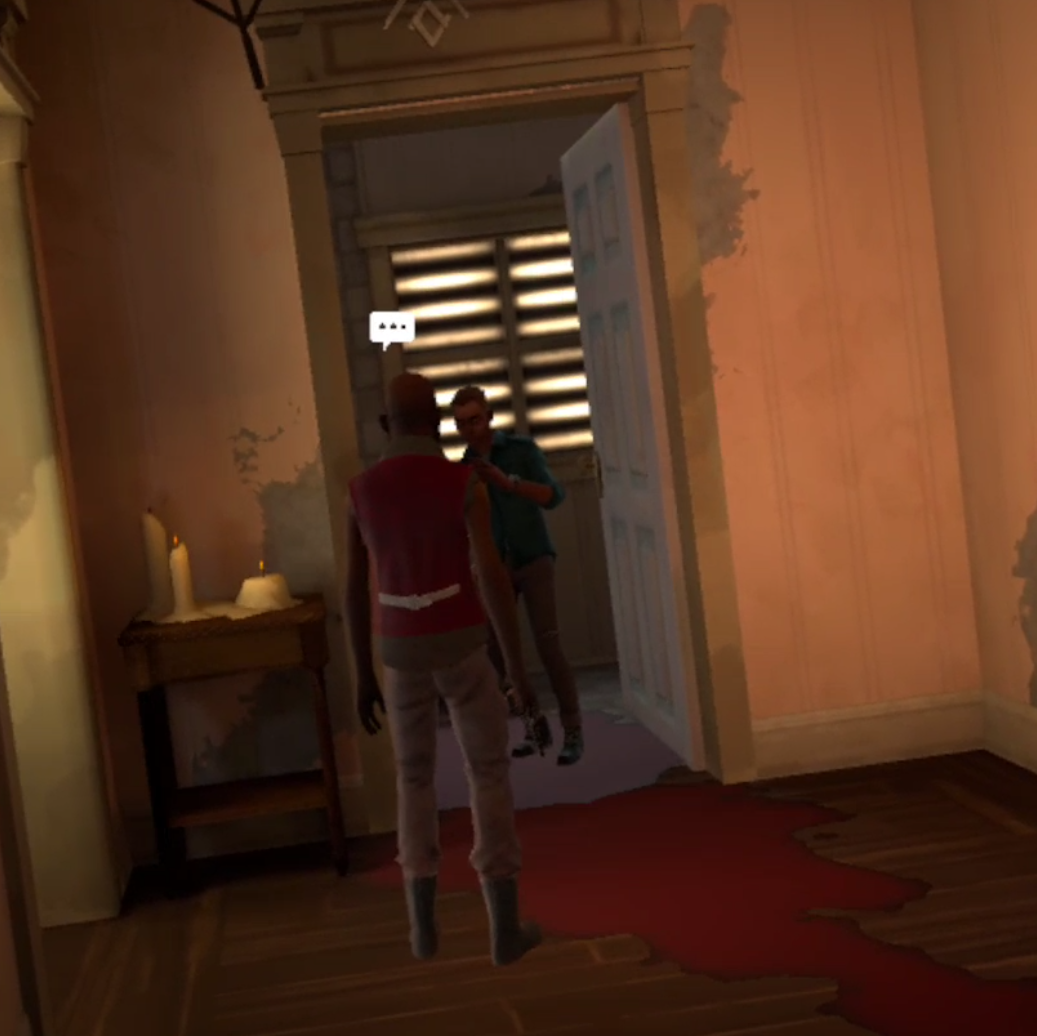
The Reclaimed leader is very angry. There is no way to talk him down or get him to release the hostage. The only two possible outcomes are you killing the hostage or you killing all of the Reclaimed.
So this sounds like a choice between the Tower and the Reclaimed, and you can go based on whichever faction you like more if you so desire. Though the outcome of your choices, in terms of gameplay, ends up being either a gunfight between you and all of the Reclaimed there (about 4 or 5 enemies) or a gunfight between you, plus the Reclaimed on your side, versus the 8 to 10 or so Tower grunts in the Red House.
If you kill the hostage the Reclaimed leader will state his desire to fight the rest of the Tower in the area. You can accept or not, but with the hostage dead the only way to get to the pump regulator is to fight through the Tower, and the Reclaimed warriors are a huge help in doing so.
If the Reclaimed attack without your help they will definitely lose, but they make a great distraction while you line up headshots with your pistol or blast away with your shotgun. Once you say you’re ready the Reclaimed will pile out of the Blue House and make a beeline for the back door of the Red House by going through the big courtyard with the tree. The Reclaimed and Tower will shoot each other on sight.
Fighting the Reclaimed alone is a little difficult if you begin the fight while they surround you. Going back to the stairway and shooting them from there is far easier, though make sure the hostage doesn’t die in the process. If you manage to save him, go back over to the Red House. The Tower leader will walk you to the master bedroom of the house, which has a big stash of goodies and the pump parts you need.

A big gunfight between the Reclaimed and the Tower is the most fun way to get to the stash, and also arguably the easier way. Though a couple well placed sticky bombs could make eliminating the Reclaimed in one swoop the more cost efficient, and safer, option. Whichever way sounds like the better choice is up to you. Whichever way you choose, make sure you have the pump body and dial (and of course a full backpack) before finding a boat and setting sail back to your bus.
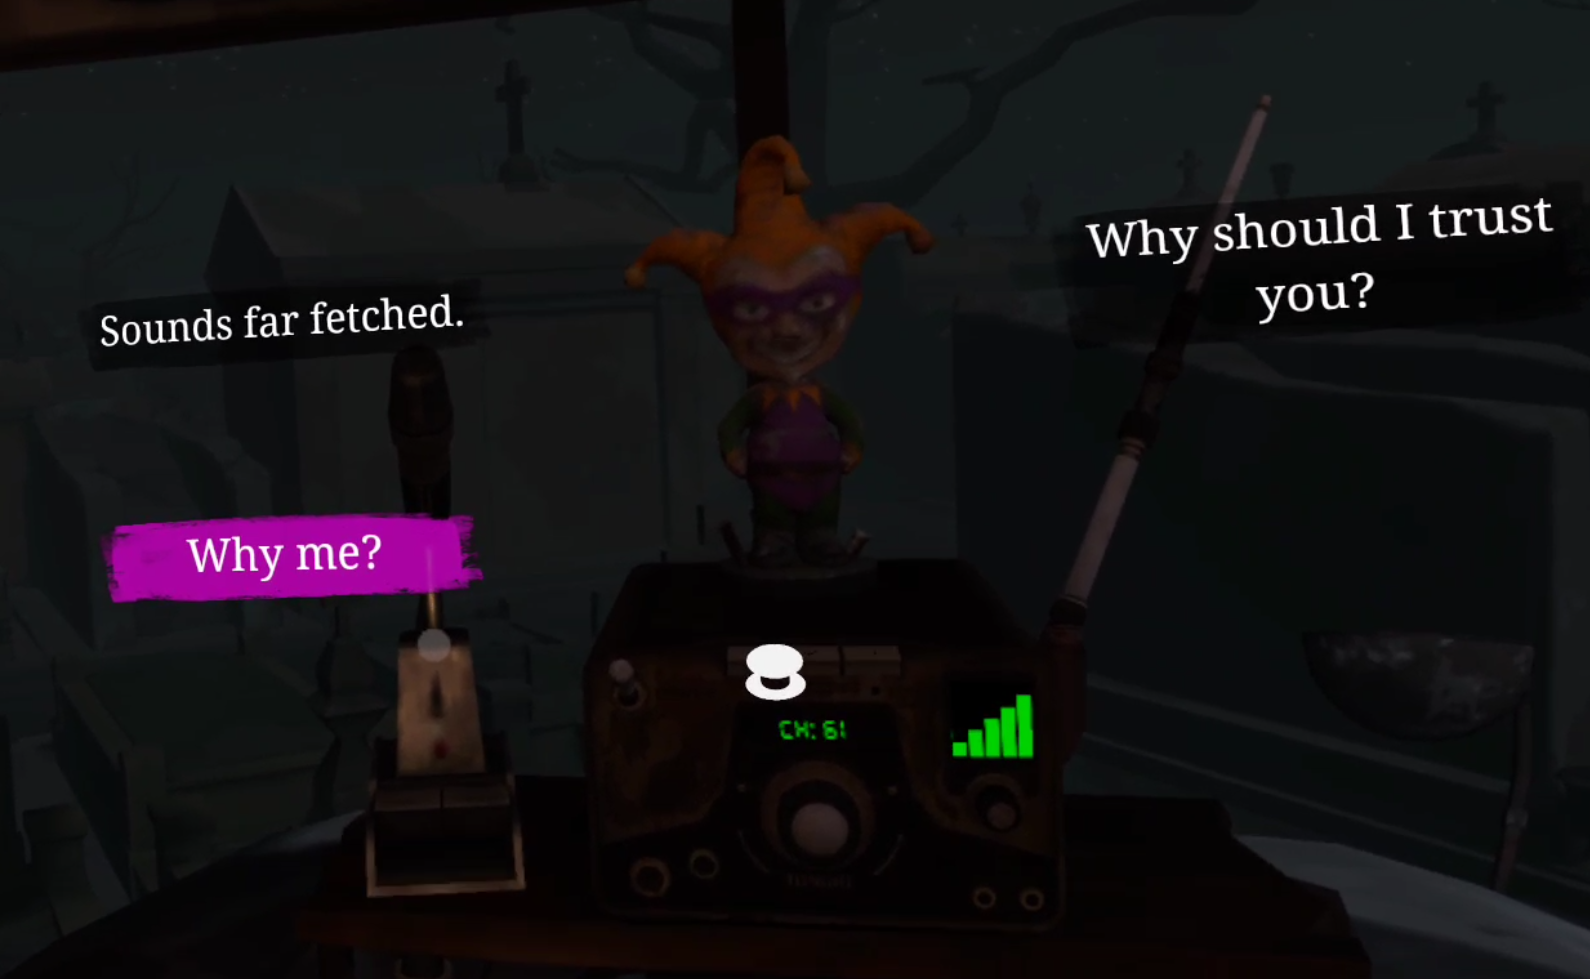
When you arrive back home attach the dial to the pump and then talk to Casey again on the radio. He’ll be really excited you didn’t die out there.
Once more, head off to sleep.
Want to find out what you will need to do with the pump regulator, or what awaits you in The Ward? Need a guide on what comes next? Then head over to Part 5.

The Walking Dead Saints and Sinners Walkthrough and Guide - Part 3 - Via Corolla
Stuck in The Walking Dead Saints and Sinners? Wondering where to go next? Maybe you just like to see what is in store for you before you get there, or want to look back and see if you missed anything in The Walking Dead: Saints & Sinners. Well don’t worry we’ve got you covered with this complete walkthrough. This is the third part that is covering Via Corolla.
Stuck in The Walking Dead Saints and Sinners? Wondering where to go next? Maybe you just like to see what is in store for you before you get there, or want to look back and see if you missed anything in The Walking Dead: Saints & Sinners. Well don’t worry we’ve got you covered with this complete walkthrough.
This article will detail how to progress through the main story missions as quickly as possible, with a couple of guiding tips thrown in here and there to make your adventure smoother. Only those recipes that are convenient to get when doing a task for the first time are included. For a full list of all recipes in The Walking Dead: Saints & Sinners, check out our recipe guide article. Spoilers will be as light as possible, but there will be story spoilers by necessity in this walkthrough, but there won’t be any explanation of what is going on in the story beyond what is necessary to make the walkthrough make sense.
All Walkthrough Parts:
The Walking Dead Saints and Sinners Walkthrough and Guide - Part 1 - The Graveyard
The Walking Dead Saints and Sinners Walkthrough and Guide - Part 2 - The Shallows
The Walking Dead Saints and Sinners Walkthrough and Guide - Part 3 - Via Corolla
The Walking Dead Saints and Sinners Walkthrough and Guide - Part 7 - Old Town and Another Stash
The Walking Dead Saints and Sinners Walkthrough and Guide - Part 8 - Rampart
The Walking Dead Saints and Sinners Walkthrough and Guide - Part 9 - The Shallows Again
The Walking Dead Saints and Sinners Walkthrough and Guide - Part 10 - Bastion and The Reserve Key
The Walking Dead Saints and Sinners Walkthrough and Guide - Part 11 - The Reserve and the Ending
Day 3: Via Corolla
Welcome to the third day, and to your second foray out into flooded, zombie infested New Orleans. Today you’ll be headed to Via Corolla, and have your first up close and personal encounters with both the Tower and the Reclaimed.

Before you get on the boat though, make sure to get ready with at least one durable melee weapon on your hip, such as a Shiv or Night Shift knife. You can optionally bring the .30 Revolver that you first found in the bus as a little backup firepower, or the damaged 9MM pistol from the Blue Mansion safe.
Provided you followed the previous guide and grabbed the Double-Barreled shotgun from the Blue Mansion in The Shallows you should definitely bring that too. You may have to get into a gunfight or two in Via Corolla, and the shotgun will make them much easier. At this point you should bring a firearm every time you leave your base, at least a pistol.
Make sure you’ve eaten as well to get your stamina bar up, preferably food made from the Survival Crafting table so your stamina doesn’t take damage. Then waltz over to the boat and travel to the new circle on the map, Via Corolla.
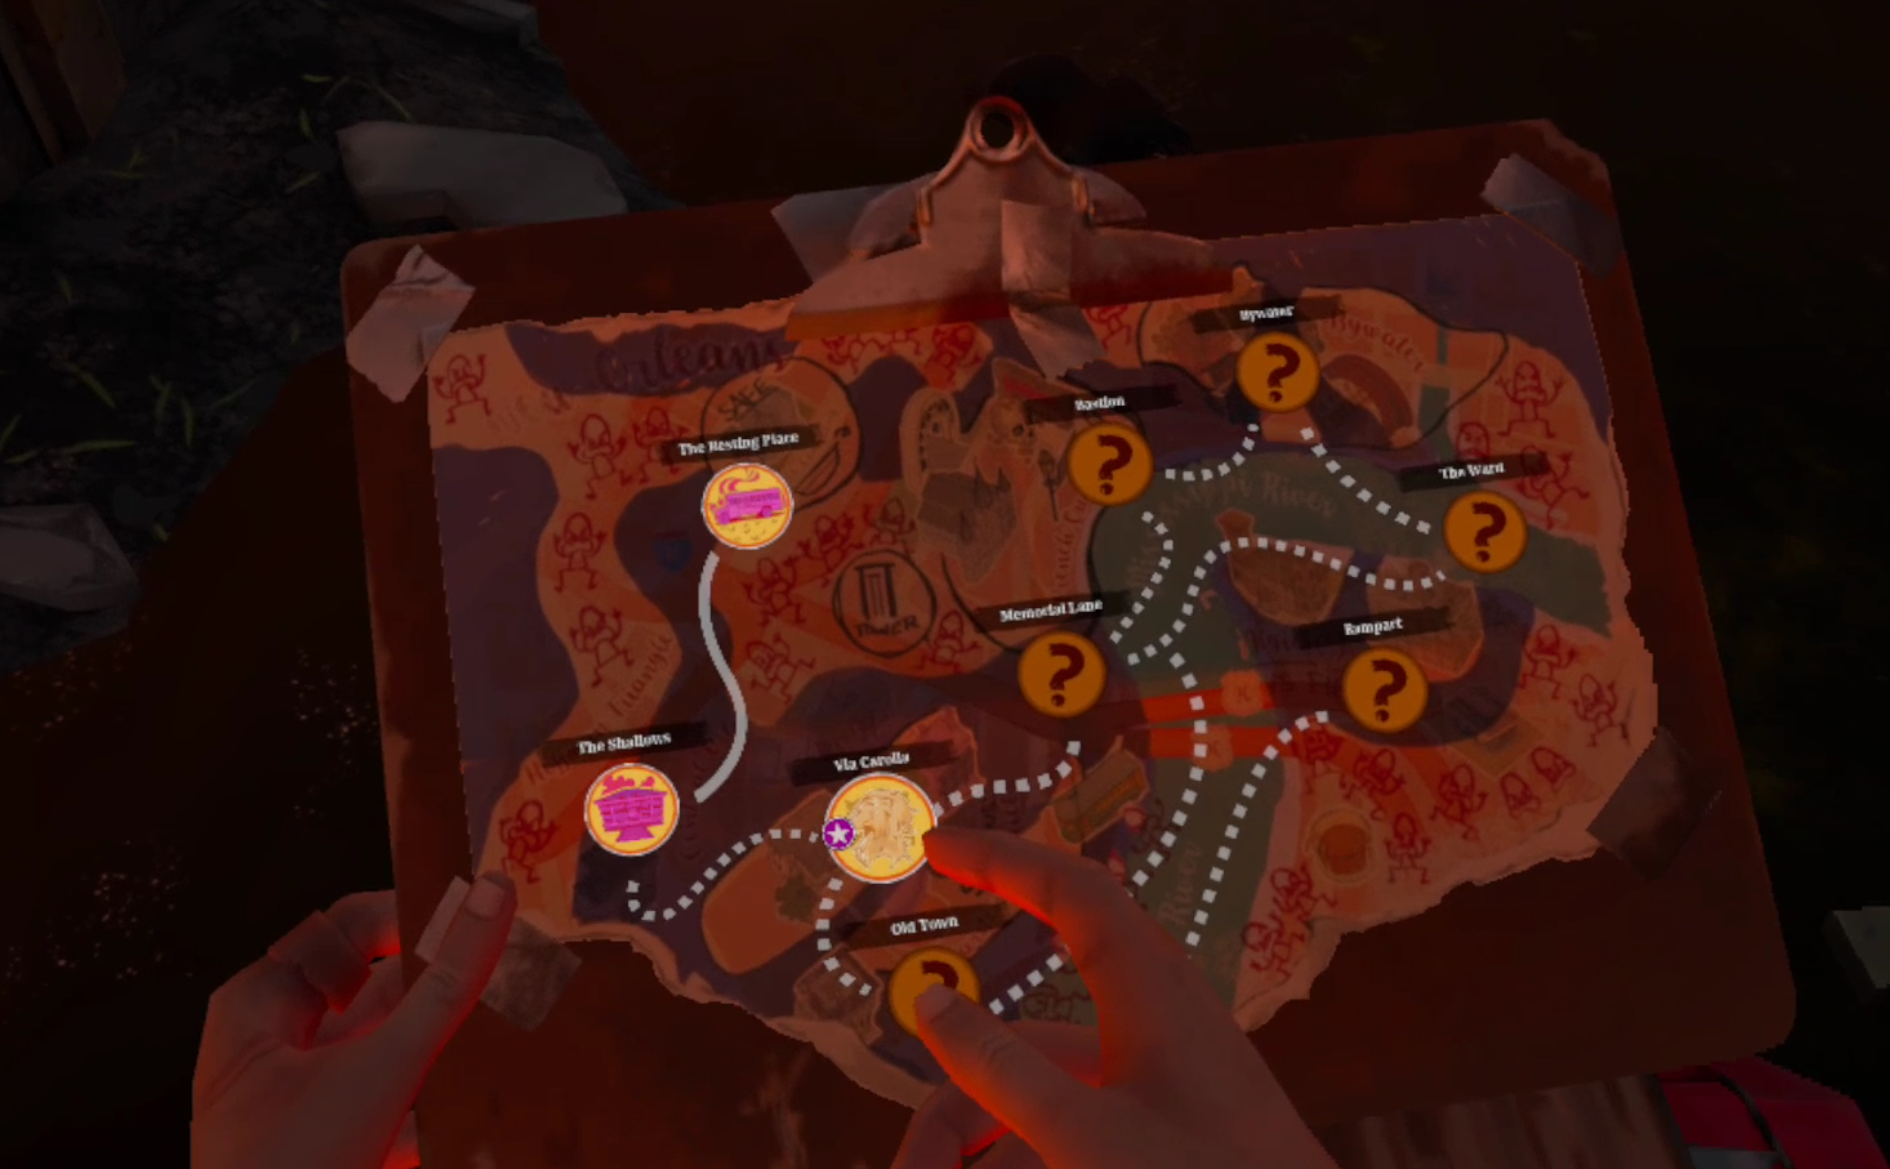
As always, be sure to look at your map when you arrive. You will notice that you have arrived on the upper left side of the map, directly above the yellow house. Your objective, a Tower stash you’re here to steal, is by the Blue House. So stopping by the yellow house is completely optional, but you can find some good stuff inside. The only problem is, it’s guarded.

Like all human guards in the game they’ll heckle you if you get close, but won’t become aggressive unless you hang around them for too long, touch them, or point a weapon at them. Hopefully you have that shotgun, because it’s the easiest way to take them out quickly. Alternatively you could shoot one in the head before quickly stabbing the other. You have the element of surprise in this situation, and should easily be able to take out at least one before they can retaliate, go for whichever is more heavily armed first.
Human enemies will also drop mostly broken, but sometimes still working, firearms. Don’t rely on these as, even if they’re still working, they’ll break quickly. Though the damaged firearms are full of components you will need to make durable guns of your own, namely pistol, shotgun, and rifle frames. Human enemies will, just like in all Walking Dead fiction, come back to life as a flesh eating walker if they die without a significant head wound. You can always stab a dead person in the head before this happens, if needed.

You could also just completely ignore the yellow house, but assuming you do go in there should be a fair quantity of loot to be had within. Remember to always take the little metal boxes of loot no matter what, for more information of what you should and shouldn’t take check out the loot tier list and upgrade guide.
It is highly recommended that you scavenge the Yellow House, as it is the easiest way to get a substantial amount of materials. This is because the blue house is heavily guarded with way more than two Tower grunts.

Once you are done with the Yellow house, continue down Bonaparte street. Should you take a right at the intersection, or head to the blue house through the alleyway behind the yellow house, you will see two people in Red shirts run up to the main gate of the blue house, yell some stuff, and start shooting at the Tower grunts in blue shirts. The red shirted people are some members of the Reclaimed.

The Tower soldiers outnumber these two warriors by a good bit and will easily defeat them.
Alternatively you could continue going down Bonaparte, not taking a right at the intersection, and come to a garage with a slightly ajar door, and a hole in the brick wall that surrounds the blue house. The garage will have at least one walker inside, but will also contain generally at least one metal box of goodies and some ammunition, so make sure to climb in and check it out. You will also notice a ladder in the garage, don’t go up it (yet).

If you look through the hole in the wall you’ll notice a bunch of barbed tripwires with cans hanging from them, and a dry stone fountain just beyond those. That fountain contains your objective, the Tower stash of items and information.

Now that you know which paths you can take, here are your options. They boil down to trying to sneak through the hole in the wall to quickly grab the stash and leave, try to shoot your way to the stash and leave, or destroy the entire Tower garrison and loot the house.
The easiest and most recommended way to do this, especially for newer players, is to sneak through the hole in the wall, grab the stash, and go. Before you do this though, make sure you’ve got at least four empty slots in your backpack, as you won’t want to be fiddling with your inventory when you are pulling items out of the stash.
You’ll also probably see a guard patrolling near the fountain, wait until they walk back towards the front of the house and out of sight before making your move. You will need to quickly disable the trip wires. Running into them will create a noise that will alert nearby enemies and deal some damage to you. Instead of that, use a tool like your shotgun or a knife to cut the tripwire by smacking it with your chosen object. This will save your health and create less noise.

Then walk up to the wall adjacent to the fountain, and make sure to crouch before approaching the fountain itself, try to hide a bit behind it’s centerpiece, and grab the stuff inside as quickly as you can. There will be guards patrolling on the right side of the fountain (relative to the hole in the wall). Since you are in a guarded area enemies will start shooting at you only a second or two after spotting you.
In the fountain you will find a valuable box of crafting materials, and three sticky bombs. These bombs stick to any surface you throw them on, and after a few seconds will explode when an enemy gets near them. Very useful. Not to mention the folder of information that the note in the cemetery requested. You can read the note on the front of it by looking at it for a few seconds, like any other note in the game.

The patrolling guard may come back around and see you before you can grab all of these things. Shooting one or two guards out of sight of the others won’t draw to you immediately, so you can kill them and quickly leave.
Alternatively, trying to shoot your way in will be difficult, but could be manageable provided you brought the Double Barreled Shotgun. There is no aim assist in The Walking Dead: Saints and Sinners, so fighting a large number of Tower grunts, even the pistol armed variety, with only a pistol of your own can be difficult. Comparatively, the Shotgun is easy to aim, but is only very effective at close range.

Fighting through the front gate and then taking a left to head towards the fountain involves fighting more enemies than is strictly necessary if you just go through the hole in the wall, but can be made easier if you attack when the Reclaimed soldiers are also engaging the Tower grunts.
More enemies will emerge from inside the house, and others will still stand sentry inside even if you dispose of all the Tower enemies outside. If you don’t want to use stealth just go through the hole in the wall anyway and shoot the guards at the side of the house, but if you want to clear the whole house to get all the loot inside, attack from the front and utilize the slight advantage of the two Reclaimed soldiers.

The ladder inside the garage can also be used to sneak into the second floor of the Blue House, if you want to avoid fighting your way through the front gate, but the guards on the ground will likely spot you while you are up there. This makes the ladder route not recommended, but if you want to test your stealth skills as much as you can and sneak through the occupied house, that’s the best way in.
The biggest reason to go inside of the house is to get the Jambalaya recipe that is sitting on the stove in the kitchen. This is the best food recipe in the game, because it will make your weapons take less durability damage each day that you eat it. This means when you eat Jambalaya you will have to bring fewer melee weapons, which tend to break quickly, and also have to spend less resources crafting them. Even better, you can always come back the next day after completing the mission and there won’t be any Tower soldiers around, so if you don’t want to shoot your way through and don’t mind spending an extra day, this recipe is ripe for the taking.

Whatever you decide to do, once you have a backpack full of loot and the folder of intelligence from the stash, head to a boat and go back home. As usual heal any wounds and scrap any scavenge, but also make sure to put the folder inside the same stone coffin that contained the note asking for it, underneath the hanging lamp.

Once that’s done go back to sleep, mission accomplished.

Want to find out who the mysterious folder is for? Need a guide on what comes next? Then head over to Part 4.

Zenith: The Last City | All Classes and Roles in this VR MMORPG
One of the biggest questions any new player when starting into a new MMORPG is what classes, roles, and subclasses there are, and which to pick. You’re probably wondering the same if you’re considering playing Zenith: The Last City in VR, or are just getting into it. As far as Virtual Reality MMORPGs go, Zenith is still one of the best.
While you won’t be overwhelmed for choices in Zenith, there’s still some choice to be had when picking your class. Here are all of the classes in Zenith: The Last City.

One of the biggest questions any new player when starting into a new MMORPG is what classes, roles, and subclasses there are, and which to pick. You’re probably wondering the same if you’re considering playing Zenith: The Last City in VR, or are just getting into it. As far as Virtual Reality MMORPGs go, Zenith is still one of the best.
While you won’t be overwhelmed for choices in Zenith, there’s still some choice to be had when picking your class. Here are all of the classes in Zenith: The Last City.
The Blade Master

First let’s cover The Blade Master. As the name implies the Blade Master excels at close quarters combat with a pair of swords. These swords need to be swung through enemies to deal damage, though swings only deal noticeable damage every few moments, which means just waving your wrist around inside of an enemy won’t be effective, you have to actually swing your arms. Blade Master abilities are triggered by what patterns your slashes follow, for instance two downwards slashes in a row on an opponent, and by throwing your sword, among other ways.

The first thing you should consider when considering the Blade Master is whether or not your VR playspace is big enough to support the melee playstyle. No matter which role you take the Blade Master involves a LOT of swinging your arms around.
If your playspace is directly in front of a fragile computer monitor, or is surrounded by close objects or walls, then make sure you can swing your arms comfortably without risking hitting something. Breaking a controller mid fight would not be fun, and neither is constantly wondering whether you’re about to punch a wall or not. Also consider that swinging your arms constantly as a Blade Master can be physically limiting if you have a joint injury in your arms, you might even get tired muscles if you play for long enough. Whether or not that is a bad thing is up to you.

So if you’re okay with swinging your swords a lot, also consider if you may enjoy the type of combat that the Blademaster provides. A lot of sword swinging also means a lot of enemies very close in front of you and in your face. You’ll be looking at a lot of enemy models very close up, and possibly walking straight through them while repositioning. This close quarters style of fighting is not for everyone, and others find it extremely appealing due to its hectic nature. This, combined with the Blade Master’s quick dash movement ability, may cause motion sickness in some as well.

As for the Blademaster’s roles, as with any class in Zenith they are DPS, Tank, and Healing. The DPS role is the most intense, because you will be swinging your swords a lot to deal as much damage as possible, and you will also always be under threat of quickly drawing an enemy’s attention and being the focus of melee attacks, though you will have some tools to overcome that difficulty such as your dash.
The Blademaster is arguably the best at Tanking because of their ability to draw a lot of enemies and group them together in melee. This means that DPS characters can easily use their Area of Effect abilities on the entire group, and so can the Tank Blademaster to hold the aggression of those enemies. The one unfortunate side effect of being a Close Quarters Tank in a Virtual Reality game is that it can be easy to not notice an enemy if they are to your sides or behind you.
Blademasters can also be healers with a selection of great healing abilities such as an AOE heal that triggers in the spot where you throw one of your swords. Don’t think that you will have to heal in close quarters just because you can only fight in close quarters.
The Essence Mage

Where the Blade Master is meant for close quarters fighting, the Essence Mage is meant for purely ranged combat. Rather than a pair of swords, the Essence Mage has a pair of blasters. These blasters fire bolts of blue energy with the press of a trigger, and can be charged by holding the trigger down for a more powerful blast. Firing too quickly can cause the blasters to run out of ammunition, so you can’t just continually fire without stopping. Waiting a few moments will cause the ammunition to replenish automatically.

Essence Mage abilities are generally triggered with hand gestures such as grabbing and pointing at the ground, or holding down trigger with an empty hand and throwing. They vary more than the Blademaster’s abilities, which mostly activate via slashing combos.
Unlike the Blademaster the Essence Mage does not require a lot of constant wild movement, making it an easier class to play for those with limited play areas, or for those that easily become motion sick. Unlike the Blademaster’s potentially nausea inducing (but awesome) dash, the Essence Mage has a teleport instead. This Teleport not only makes them a generally more static class to play, while still granting them some mobility, but it also is easier on the senses.
Some find it boring to just point blasters and do a few gestures to damage enemies, and prefer the hectic slashing of the Blademaster, but the Essence Mage is a generally chiller and less active experience. You will generally be further away from opponents, and concentrate on dishing out damage or providing support from afar. Aiming and timing your shots is also an important skill as the Essence Mage. The ability to aim well consistently is just as important as your equipment or level.
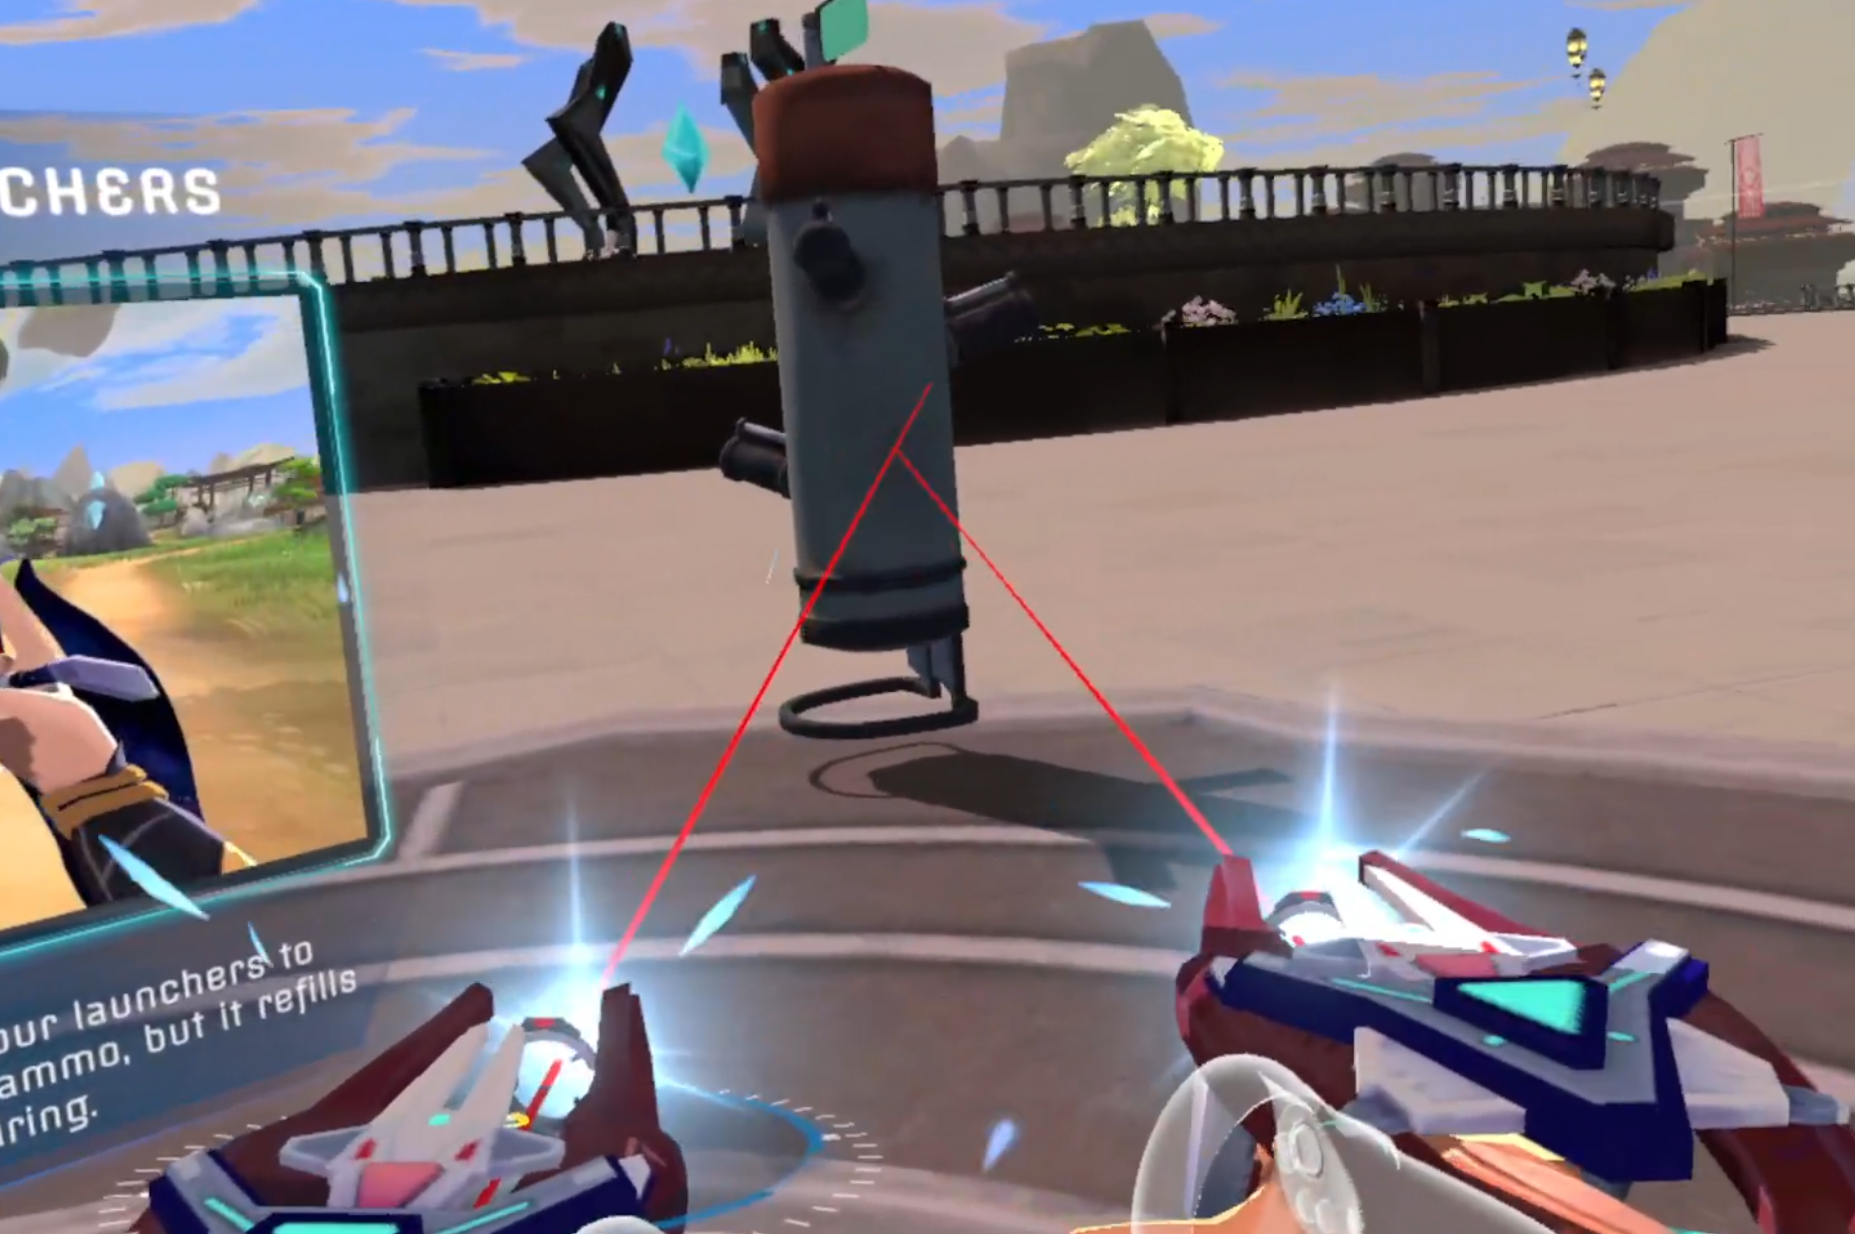
As for the roles the Essence Mage can take, this class has the DPS, Tank, and Healing roles just as any other class in Zenith: The Last City. DPS focuses on showering powerful ranged attacks from safely far away, and even if enemies turn on you, you will still have some abilities such as your teleport to pull away from their wrath.
Tanking as the Essence Mage is viable, but a little tricker than tanking as the Blademaster considering that your weapons are meant to be used from far away, but can still be used at point blank range. Attempting to draw enemies in can make it hard for your DPS teammates to deal damage effectively while your opponents chase after you. So tanking as an Essence Mage involves a lot of close up AOE abilities and point blank shooting, which removes a lot of what is unique about the class when compared to the Blade Master.
Healing as the Essence Mage is just as fun as healing as the Blade Master, though the Essence Mage’s healing abilities tend to be focused more at healing from far away. This makes the Essence Mage more of a traditional healer, and as with any other role more static to play than their sword wielding counterparts.
The Cyber Ninja

The Cyber Ninja class wasn’t available at launch, and Ramen VR announced it Cyber Ninja class in February 2022, and was released publicly in May 2023. Unlike the other two classes listed here, the only role available for the Cyber Ninja is DPS. This is a class solely devoted to damage dealing and moving around very quickly.

The Cyber Ninja lives up to it’s name, too. You have a lot of abilities to increase your movement and jump speed to quickly get into and out of combat. You even have the ability to go into stealth mode, which will make most enemies unable to see you. Even better, you can ambush enemies for big damage when you hop back out of stealth mode.

Also unlike the Blademaster and Essence Mage, the Cyber Ninja is capable of attacking regularly from up close and far away. This class gets a single weapon that can transform from a bow to a pair of melee weapons, making the Cyber Ninja capable of dealing huge damage no matter what kind of fight they’re in. If you want a solid damage dealing and rogueish class with great movement and self-supporting abilities, then you should give the Cyber Ninja a try.
Well, there you have it, all of the classes in Zenith: The Last City, a fantastic VR MMORPG. For more about the game check out their website or our previous article on it.

Should you Buy Among Us VR? | Before You Buy Oculus Quest 2 Review
Welcome to Reality Remake and to the Before you Buy segment where I share my first impressions of one of the many VR games out there. Today’s game is Among Us VR, massively anticipated because of the breakout success of Among Us in 2018. I’m going to assume here that you are familiar with the basics of Among Us, which translate perfectly to the VR version. Ten people per match, and two imposters. Crewmates complete tasks to win, Impostors kill crewmates and sabotage to win. The real question is, how does this gameplay translate to VR?
Welcome to Reality Remake and to the Before you Buy segment where I share my first impressions of one of the many VR games out there. Today’s game is Among Us VR, massively anticipated because of the breakout success of Among Us in 2018. I’m going to assume here that you are familiar with the basics of Among Us, which translate perfectly to the VR version. Ten people per match, and two imposters. Crewmates complete tasks to win, Impostors kill crewmates and sabotage to win. The real question is, how does this gameplay translate to VR?
Social Deduction in VR is Awesome
The answer is, extremely well. Among Us VR is the first social deduction game to come to the Quest 2, and it is as beautifully simple and fun as it is on any other platform. It’s even enhanced. The tasks, while still repetitive, are more immersive and tactile when done with your VR hands instead of tapping on a screen. Having to look around with your actual head, instead of always having a top down 360 degree view, means some new tactics like hiding spots and sneaking up on people are now possible.

Here VR serves to make the gameplay of Among Us even more interesting and dynamic. Watching an unsuspecting crewmate come into view while they’re busy looking away at something else as you sneak up behind them is more thrilling as the impostor. While always trying to keep an eye over your shoulder, as a crewmate, and backing away from any sussy people is even scarier.

Of course the best part of the game is even better now, the social deduction itself. Each emergency meeting or found body still has all of the drama, accusations, and evidence gathering of Among Us. What makes it better is actually being able to look right at your accuser or accused with your two eyes, right in front of you, and even point with your actual hands. None of the Among Us VR characters have visible faces of course, but the arguments are even better when you can point at the accused, or even physically surround them.

The Cons
While the gameplay itself is great, the only problems with it are those inherent to the VR platform. The greatest is playing with your friends. It’s easy to convince a group of friends to download a free app and play Among Us, or even pay a little and download the game, since most people have computers and gaming consoles to play it on, and practically everyone has a smartphone that can handle it. If your friends don’t have a Quest 2 and you want to play Among Us VR with them, then you might have a hard time convincing them to invest hundreds of dollars in hardware just for this.
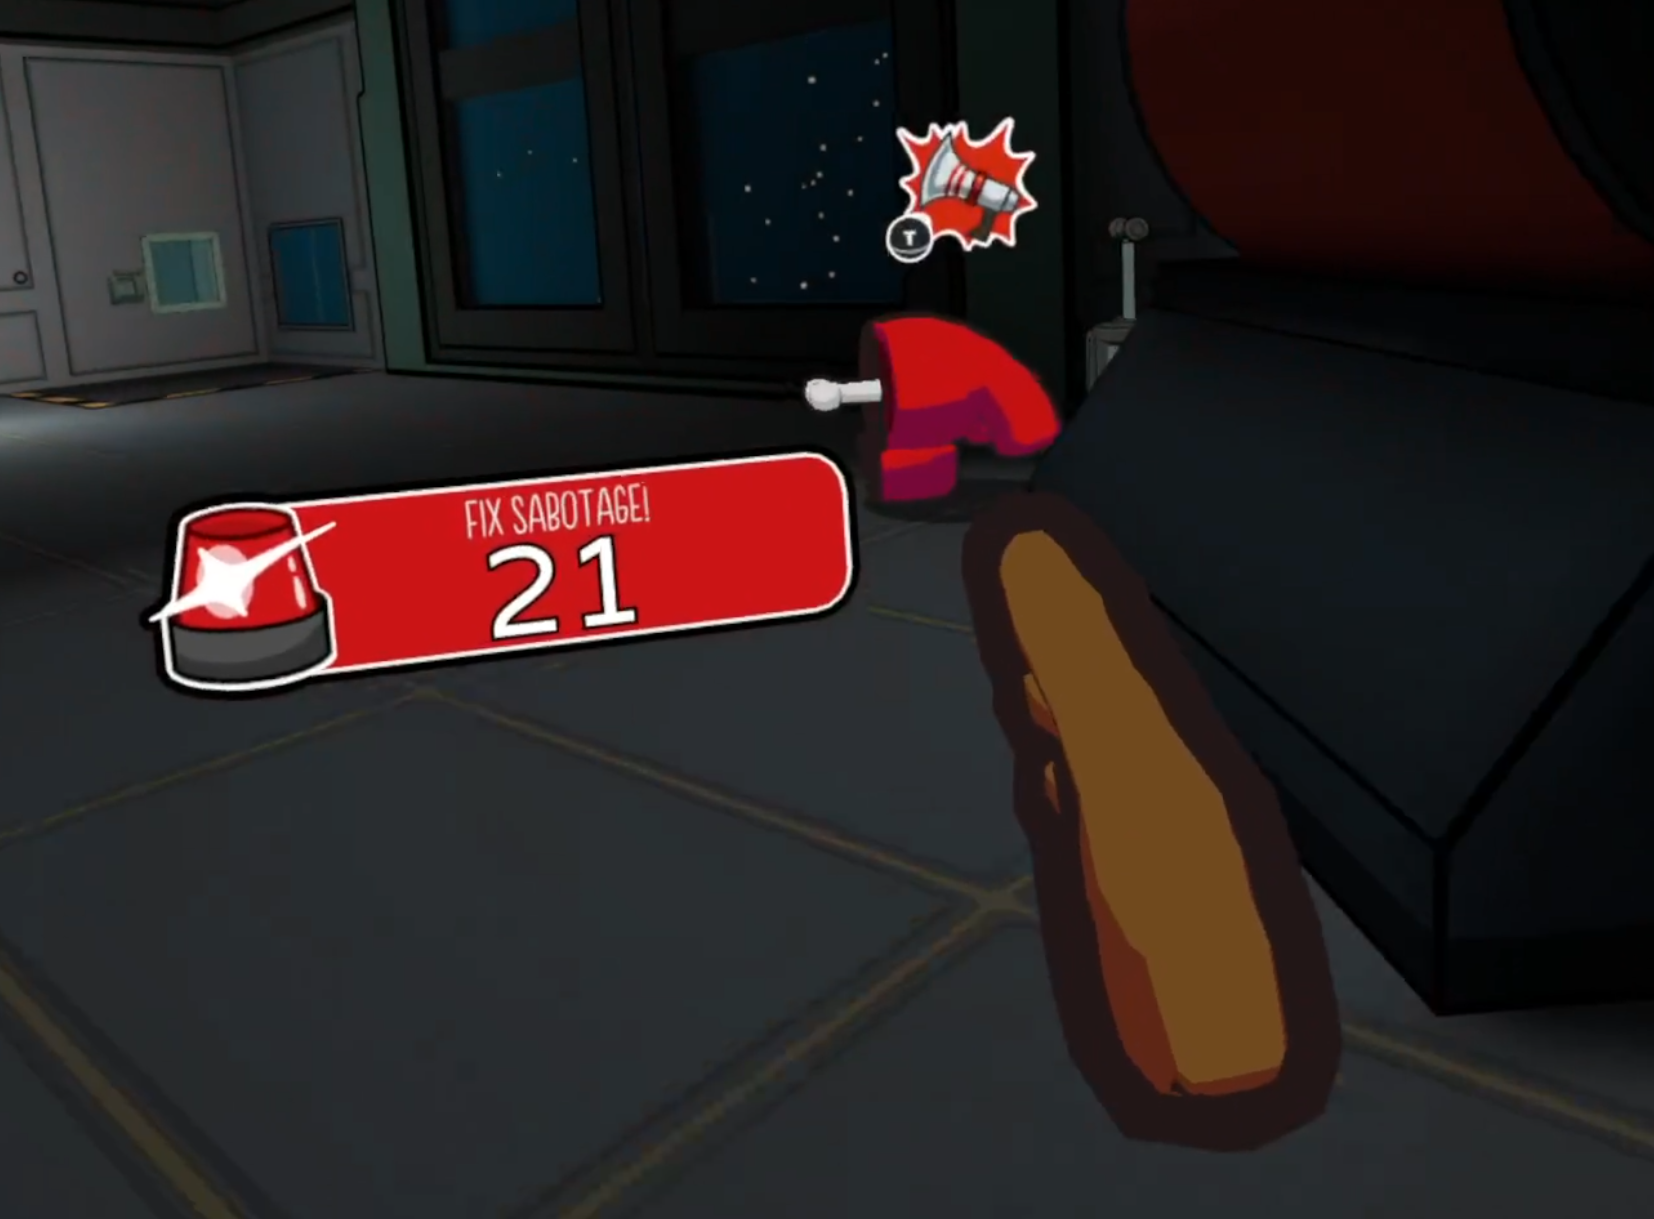
This means you’re more likely to rely on public lobbies. Though you’ll find one very quickly and they’re easy to join, the usual Quest multiplayer crowd is evident. There are some kids that are probably too young to be playing VR (at least according to Meta’s terms of use), and you’ll get some that scream and some that don’t know what they’re doing well enough to take a meaningful part of the game. Still, after playing many games I’ve found that it is common to have enough level headed people in a lobby that this doesn’t ruin the experience. In fact I’ve never left a lobby because it had too many loud or clueless kids in it. Older teens and adults are still more common.
Conclusion
If you’re wondering if VR makes Among Us better, then the answer is yes. That is, if you like VR at all, if you’re not comfortable standing for long periods of time, or easily get nauseous, this game still might not be for you even if you like Among Us, but if you’ve enjoyed VR before and love Among Us or social deduction games in general then Among Us VR is a no brainer priced at a low 9.99$.

This has been Reality Remake, thanks for reading.

The Walking Dead Saints and Sinners Walkthrough and Guide - Part 2 - The Shallows
Stuck in The Walking Dead Saints and Sinners? Wondering where to go next? Maybe you just like to see what is in store for you before you get there, or want to look back and see if you missed anything in The Walking Dead: Saints & Sinners. Well don’t worry we’ve got you covered with this complete walkthrough. This is the second part that is covering your first foray into The Shallows.
Stuck in The Walking Dead Saints and Sinners? Wondering where to go next? Maybe you just like to see what is in store for you before you get there, or want to look back and see if you missed anything in The Walking Dead: Saints & Sinners. Well don’t worry we’ve got you covered with this complete walkthrough.
This article will detail how to progress through the main story missions as quickly as possible, with a couple of guiding tips thrown in here and there to make your adventure smoother. Only those recipes that are convenient to get when doing a task for the first time are included. For a full list of all recipes in The Walking Dead: Saints & Sinners, check out our recipe guide article. Spoilers will be as light as possible, but there will be story spoilers by necessity in this walkthrough, but there won’t be any explanation of what is going on in the story beyond what is necessary to make the walkthrough make sense.
All Walkthrough Parts:
The Walking Dead Saints and Sinners Walkthrough and Guide - Part 1 - The Graveyard
The Walking Dead Saints and Sinners Walkthrough and Guide - Part 2 - The Shallows
The Walking Dead Saints and Sinners Walkthrough and Guide - Part 3 - Via Corolla
The Walking Dead Saints and Sinners Walkthrough and Guide - Part 7 - Old Town and Another Stash
The Walking Dead Saints and Sinners Walkthrough and Guide - Part 8 - Rampart
The Walking Dead Saints and Sinners Walkthrough and Guide - Part 9 - The Shallows Again
The Walking Dead Saints and Sinners Walkthrough and Guide - Part 10 - Bastion and The Reserve Key
The Walking Dead Saints and Sinners Walkthrough and Guide - Part 11 - The Reserve and the Ending
Day 2: The Shallows
Now that you have arrived in The Shallows, you’ve really started The Walking Dead: Saints and Sinners! The easy part is over, now it gets more tough. Immediately walk off of the boat and on to the road. Whenever you are out on a mission always keep an eye out for things to pick up and scavenge for scrap. You will need as much scrap as you can get your hands on. For more on what to pick up and what to leave behind check out our loot guide here. Right now Wood Scrap, Workable Metal, and Nuts and Bolts are the most important so you can get that crucial backpack upgrade.
After you cross the road you will see a woman calling out to you in a ruined car park. Walk up to her. She’s friendly and won’t attack you, and she will run if you point a weapon at her for too long or hurt her. You have two choices. Either hear her out (she wants you to kill her zombie husband and bring her his wedding ring) or you can just kill her. Doing as she asks involves running across the entire map to the Blue Mansion and back to get her reward for helping her. Killing her means you won’t have to run nearly as much, because she will just drop her reward after she dies. Even if you kill her she will still drop the key that leads to her husband, either take that from her or pick it up as well.

You have limited time during each day before the bells ring and the streets are flooded with zombies. To see how much time look at the green circle around your watch. When the green ring fills up, the bells ring. Travelling across the map twice means you will encounter more zombies, use more time that would be better spent looting, and deplete your stamina bar more (each time you use stamina for running or melee combat it’s maximum total goes down, shown by the red portion of the bar.)
For these reasons it’s most efficient to just stab her in the head and take the reward (a code to a safe in the Blue Mansion) off of her body. If it is your first time playing this game I recommend doing all of these sorts of tasks even if they are kind of a waste of time, because they’re fun and it gives you a better sense of the world. If you don’t care to have this woman’s thanks though, and just want to play as efficiently as possible, go ahead and kill her.

Now it’s time to open your map in the notebook on your chest, and take a look at the surrounding area. You’ll notice that only one house is colored in. In The Walking Dead: Saints and Sinners all buildings that can be entered are colored on your map. The big blue mansion contains the microphone you need to use the radio back at the bus, as well as the woman’s husband if you’re helping her.

There are two two ways to enter the mansion, as right now all of the doors in are locked. You either climb up a pipe around the back to go in through a window, or you find one of the holes that leads to the crawlspace beneath the house. There’s a hole near the front entrance, and another out back beside the pipe you can climb up.
To reach the back go down Walnut Street and take a left onto Liberty. There’s an alleyway to your left on Liberty, you can see it on the map, and you can also tell you’re in the right place by the dumpster at the entrance to the alley.
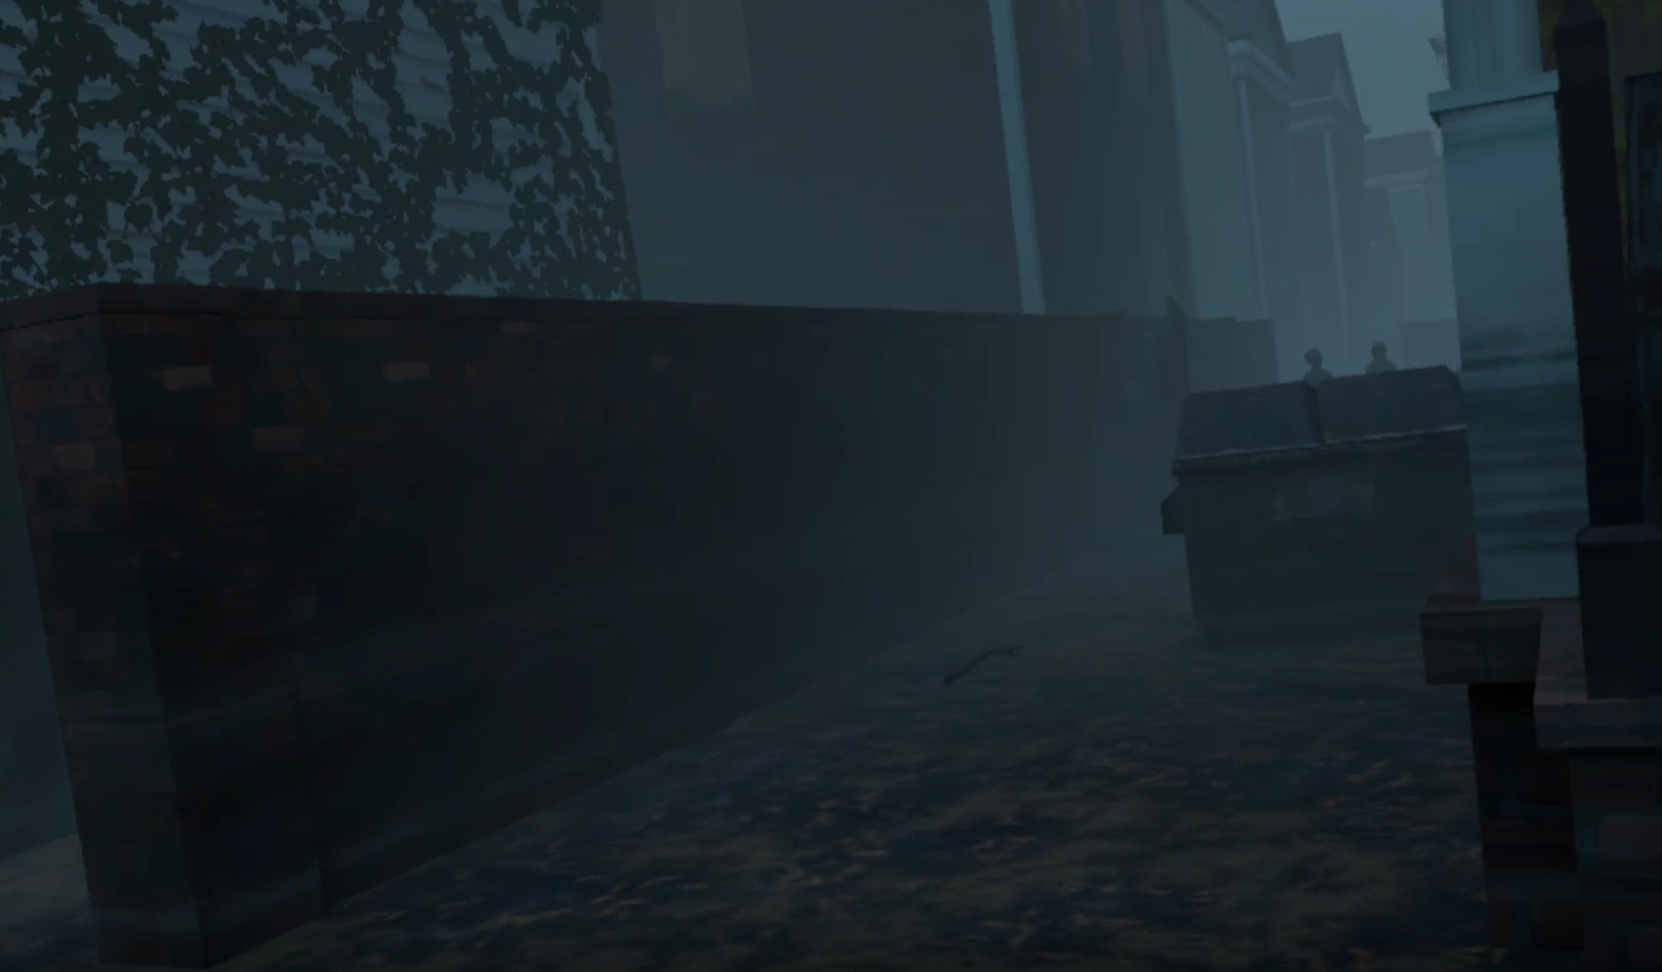
Go down the alley, kill whatever zombies are in your way, and then climb over the brick wall marked with white paint. Then you’ll be in the backyard of the Blue Mansion, which has a child’s playset and some fresh graves. You should see a hole leading to the crawlspace next to a pipe marked with white paint that you can climb up.

You can also just walk around the front of the house to get here, once you are you can either go through the crawlspace (two handed weapon spawns are common down there so it’s recommended) or climb up the pipe. The house will have zombies in it so be ready, but it will also have a lot of valuable loot. Your shiv might run out of durability while you’re in here and break, so be sure to pick up a spare weapon. There’s always at least one crowbar or Fireaxe lying around somewhere, and kitchen knives will also be common. Worst comes to worst you can always break a bottle and use that.
Once inside search the place as thoroughly as you can, drawers and cabinets will contain items, and some will be lying on tables and floors. Here is a short list of places you should look.
First Floor:
The kitchen: You’ll likely find a dragon bar or two here, make sure to take those, and maybe a kitchen knife as a spare weapon if your shiv isn’t doing too great.
The room to the right of the front entrance double doors: Inside is a safe that can be unlocked with the code the woman gives you if you complete her task, or dropped from her body if you kill her. Inside is a Worn 9MM Pistol and the recipe for the .357 Revolver. The pistol is practically useless as it will jam a lot, but the revolver the recipe creates isn’t half bad if you want to cosplay a cowboy.
The garage: The garage and the cabinets next to the door leading to it will spawn some ammunition, make sure to take it. Ammunition doesn’t take up space in your backpack so it’s free stuff.
The living room: There is at least one kitchen knife in here for a spare weapon, and a bandage or two if you have been injured. Bathrooms and laundry rooms also commonly spawn bandages..
Second Floor:
The attic, unlocked with the woman’s key: Has a single zombie inside and a worn double barreled shotgun. Make sure you take this as it will make a gunfight or two much easier down the road. The zombie will drop a wedding ring that you can turn into the woman as proof of her husband’s rest. There is also a note with his thoughts.
A room right beside the stairs filled with child’s drawings on the walls and a big desk up against the wall with windows: The microphone you came here to get is sitting on the desk, take it.

If you didn’t kill the woman lay her husband in the attic to rest and bring his wedding ring back to her. She will give you the code for the safe on the first floor, then go back to the Blue Mansion and unlock the safe with the code. Codes are saved in your notebook, so no need to memorize it. (I’d just give you the code but they are randomized every playthrough)

Once you’ve go the microphone you can leave, but make sure your backpack is full to the brim with loot. Useful items to scavenge will only become more rare, never leave without a full backpack. You’ll need as much as you can get. Also make sure your two handed weapon slot over your shoulder is filled, as well as the two handed slot on the side of your backpack. Same goes for both of your hip holsters. Weapons you find can be scrapped too.
There is a boat you can use to leave right at the end of the street leading down the front of the Blue Palace, or you can go back to where you started and take that boat back to the bus, either works. Also there are generally flocks of crows flying in the air near boats you can use to leave.
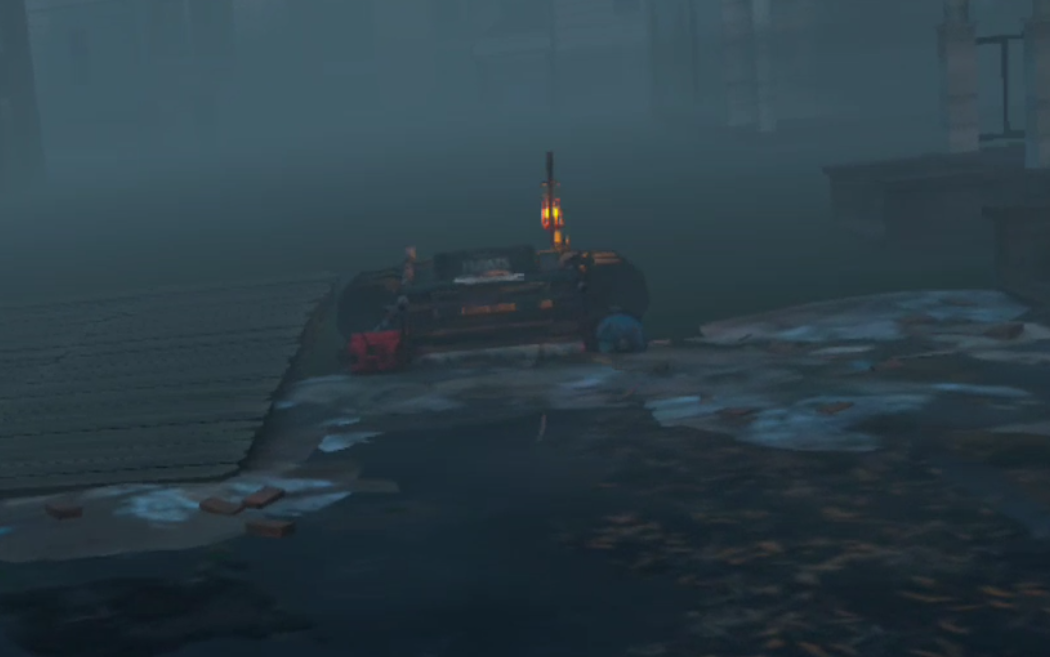
Back Home
Congratulations! You’ve survived your first outing into New Orleans. Keep at it and you’ll only get better at killing walkers as time goes on. First off do the things you should always do after coming back. Scrap any junk items and unwanted weapons that you have. Though this time keep a couple of melee weapons on hand, because you’ll need them very soon.
Go back to the bus and take the microphone out of the special items section of your backpack (the purple bit) and hook it up to the radio. Flip the switch on the front of it to turn it on, and then jiggle the antenna until the green bars on the front are all lit up.

Once the radio is tuned, change the channel to 61 using the dial on the front of the radio and say “Waterfall.” You’ll have an interesting conversation that is interrupted by a crashing sound, and a lamp hung above the graveyard lighting up. Go towards the lamp to the only section of the graveyard we didn’t cover in part 1 of this walkthrough.
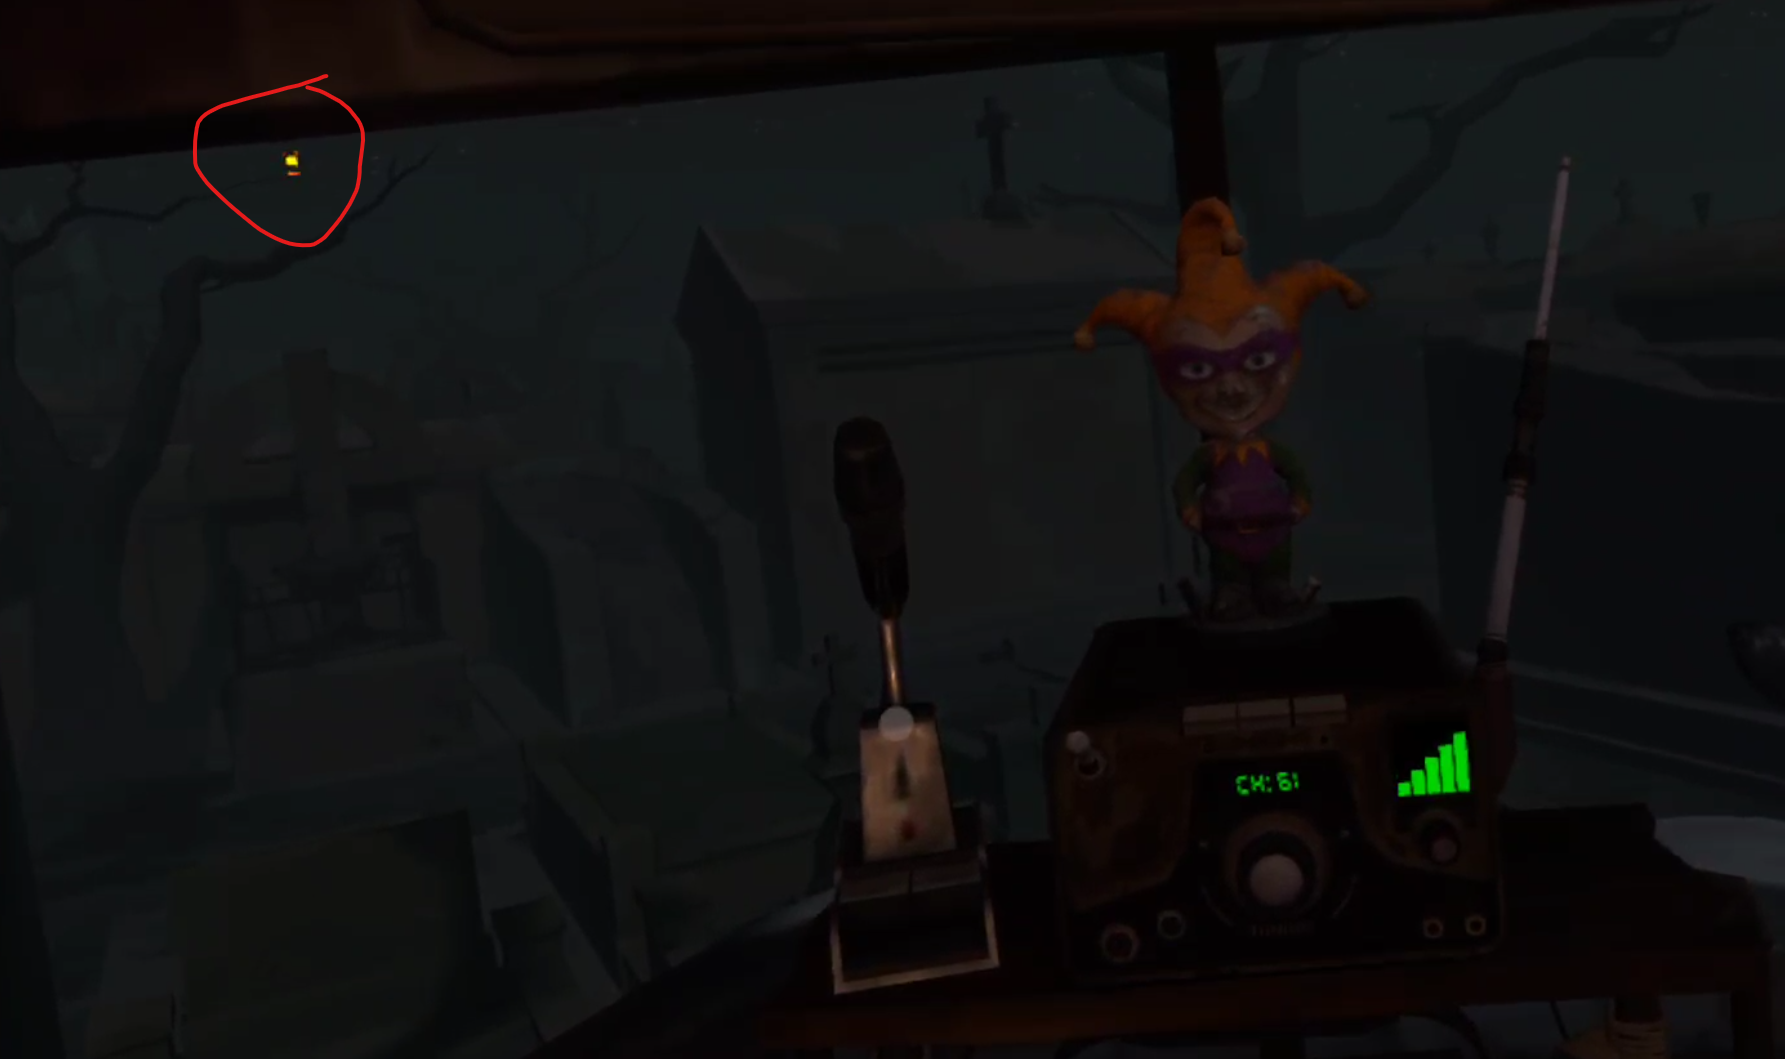
You will find a locked door with a curious drawing on it. The lamp is on the other side of the door, and it’s time to go get the key. Continue down the path to the left of the locked door and go down the stairs into the catacombs. There are some zombies down there, and more loot. As before all things in the graveyard won’t take up a day to take with you, so pick up absolutely anything that you find.

Continue through the catacombs until you come up a dirt ramp and emerge into a wide open area with a square building in the center.

There is a flooded road on the other side of the building, and some walkers wandering around. The building is locked, but you’ll see the jazzmen statues on the other side of it, and find a key behind a pile of boxes. You won’t have the code of the safe by the cars, but you can get it much later on in the game with the instructions in this guide.

With the key in hand head back to the locked door in the graveyard. There is a note inside the coffin in the unlocked area. You’ll get a new task to go to Via Corolla to steal a stash from some people called “The Tower.” With that done have a sip of whiskey in your bus and go to sleep.

Want to find out what happens in Via Corolla? Need a guide on how to complete your second mission and retrieve the stash? Then head over to Part 3.