

Into The Radius Walkthrough And Guide - The Second Mission - Total Recall
Stuck in Into The Radius? Wondering where to go and how to get there for your next mission?
Maybe you would just like to see what is in store for you before you get there, or you’d like to know if you’re properly prepared for your next mission in the Pechorsk Zone.
Well don’t worry we’ve got you covered with this walkthrough and guide for Into the Radius VR.
In this Into the Radius walkthrough we’ll detail how to progress through the main story “Top Priority” missions, with a couple of guiding tips thrown in here and there to make your adventure smoother.
The focus of these walkthroughs will be the story missions, but we’ll throw in some general gameplay tips and other useful loot locations near your objectives.
These articles will also assume you’re playing the game on the Normal difficulty mode with Tutorials turned on, which is highly recommended for your first playthrough. This walkthrough will still be useful if you’re playing on Realistic difficulty, but some details like vendor prices or enemy placement and numbers will be different.
Here is every article in our complete Into the Radius VR Walkthrough:
Into The Radius Walkthrough And Guide - The First Mission - Equipment Retrieval
Into The Radius Walkthrough And Guide - The Second Mission - Total Recall
Into The Radius Walkthrough And Guide - The Third Mission - Fixing A Leak
Into The Radius Walkthrough And Guide - The Fourth Mission - Flash In The Dark
Into The Radius Walkthrough And Guide - The Fifth Mission - A Probing Move
Into The Radius Walkthrough And Guide - The Sixth Mission - The Intrusion
Into The Radius Walkthrough And Guide - The Seventh Mission - A Farewell Feast
Into The Radius Walkthrough And Guide - The Eighth Mission - Kids Playground
Into The Radius Walkthrough And Guide - The Final Mission - Ouroboros
Here we’ll be talking about the second mission that you get in Into The Radius, Total Recall, which has you delving further into Pervomay Route, fighting new enemies, and dealing with new anomalies.
The Second Mission - Loadout
This walkthrough picks up where our previous one left off.
You’ve completed the first mission, gotten security level 1, and done the training in the shooting range.
What you may have already noticed is that your bedroom has some new and very useful items in it which you’ll want to take.
First on the bedside table is a detector and a Regen artifact.

The free Detector and Regen artifact on your beside table
As you were taught in the shooting range tutorial, you’ll need the detector to find and reveal artifacts.
You will always want to bring a Detector with you into the zone, so make sure to pick it up and preferably put it on one of your body slots like one of your shoulders.
This way you can hear it ticking when you’re close to an artifact and can quickly whip it out and put it back away.
The Regen artifact is a more rare tool, and while the one on the table isn’t in the best of shape, it’s still a great source of healing that can top off your health when you’re not hurt enough to justify using a healing syringe.
Even better you can now find a free double barreled sawn off shotgun on top of your mission terminal.

The free sawn off shotgun on top of your mission terminal
It also comes with a box of shells, and hopefully you found some other shells while off on the first mission to supplement them.
While buckshot isn’t very effective at longer ranges, it is great for taking out fragments and phantoms.
You can store the shotgun behind your right shoulder, where you can quickly take it out for use in combat. It can also hold reserve shells in the shell holders on its side.
While you’re at your base it’s also highly recommended that you get some cleaning supplies and clean out your Makarov, the cleaning rod and paper can be found in the “Weapon Cleaning” category and are very cheap.
More importantly if you haven’t found a Pocket Lamp then you should buy one. While you’ll be replacing it later on it’s also cheap, and is an easy way to mount a light on your body so that your hands are free.
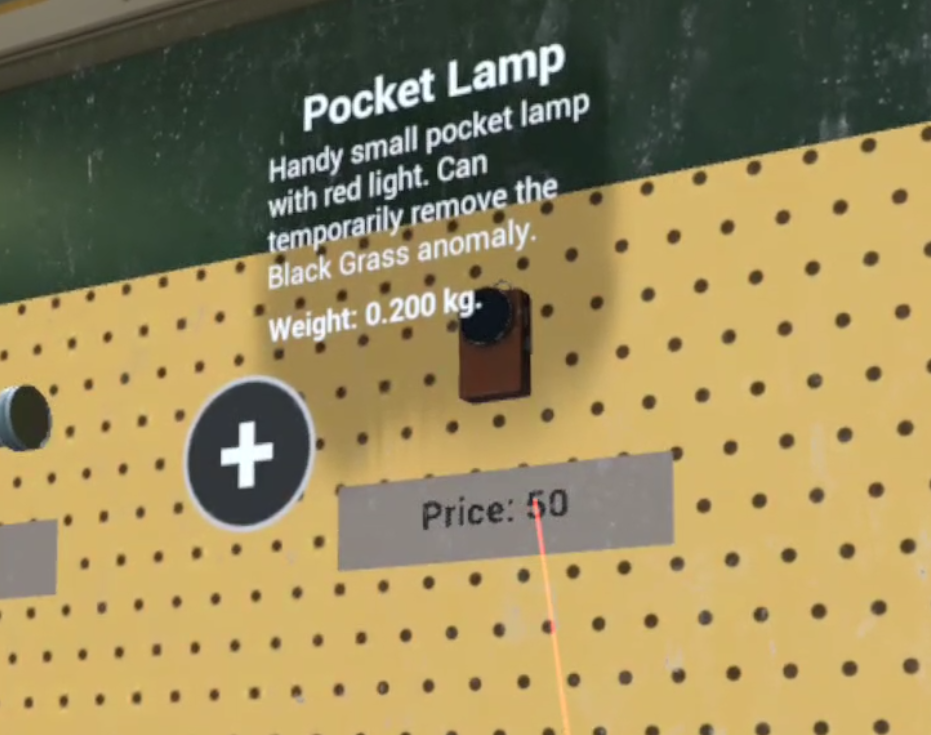
The Pocket Lamp in the store in Into The Radius
It can be found in the “Survival Equipment” category and can be turned on and then placed in a shoulder slot.
It will then shine a light directly in front of you, so it will light in front of you wherever your body is turned and doesn’t need to be held in your hand to do so. Very useful.
As for your loadout you still don’t have many options. You can spend what money you got from your first mission, and from selling anything you don’t want or need, on a limited selection of new weapons.
The Glock 17 pistol, the GSH-18 pistol, and the short barrelled PPSh are the most noteable options. If you’re truly struggling then they’re all solid upgrades to your Makarov and sawn off shotgun.
Though at least for your first try I’d recommend that you try to do this mission with just your Makarov and shotgun that you already have. You’ll need the money that you’ve got later for other upgrades, and when you get your security level to 2 in the mission after this one you’ll have even better options.
Also I’ll be showing you how to get a Glock 17 easily in this article, and at some point how to find an upgraded TT-33 pistol in practically mint condition.
So this loadout is maybe a little frugal, but you can certainly complete the second mission with it. Bring some spare shells for your shotgun and spare ammunition, as well as three spare magazines for your Makarov.
You’ll also want to bring at least one healing syringe and the regen artifact. If you’ve still got two syringes you might as well bring both just in case. You can also buy more if you need them.
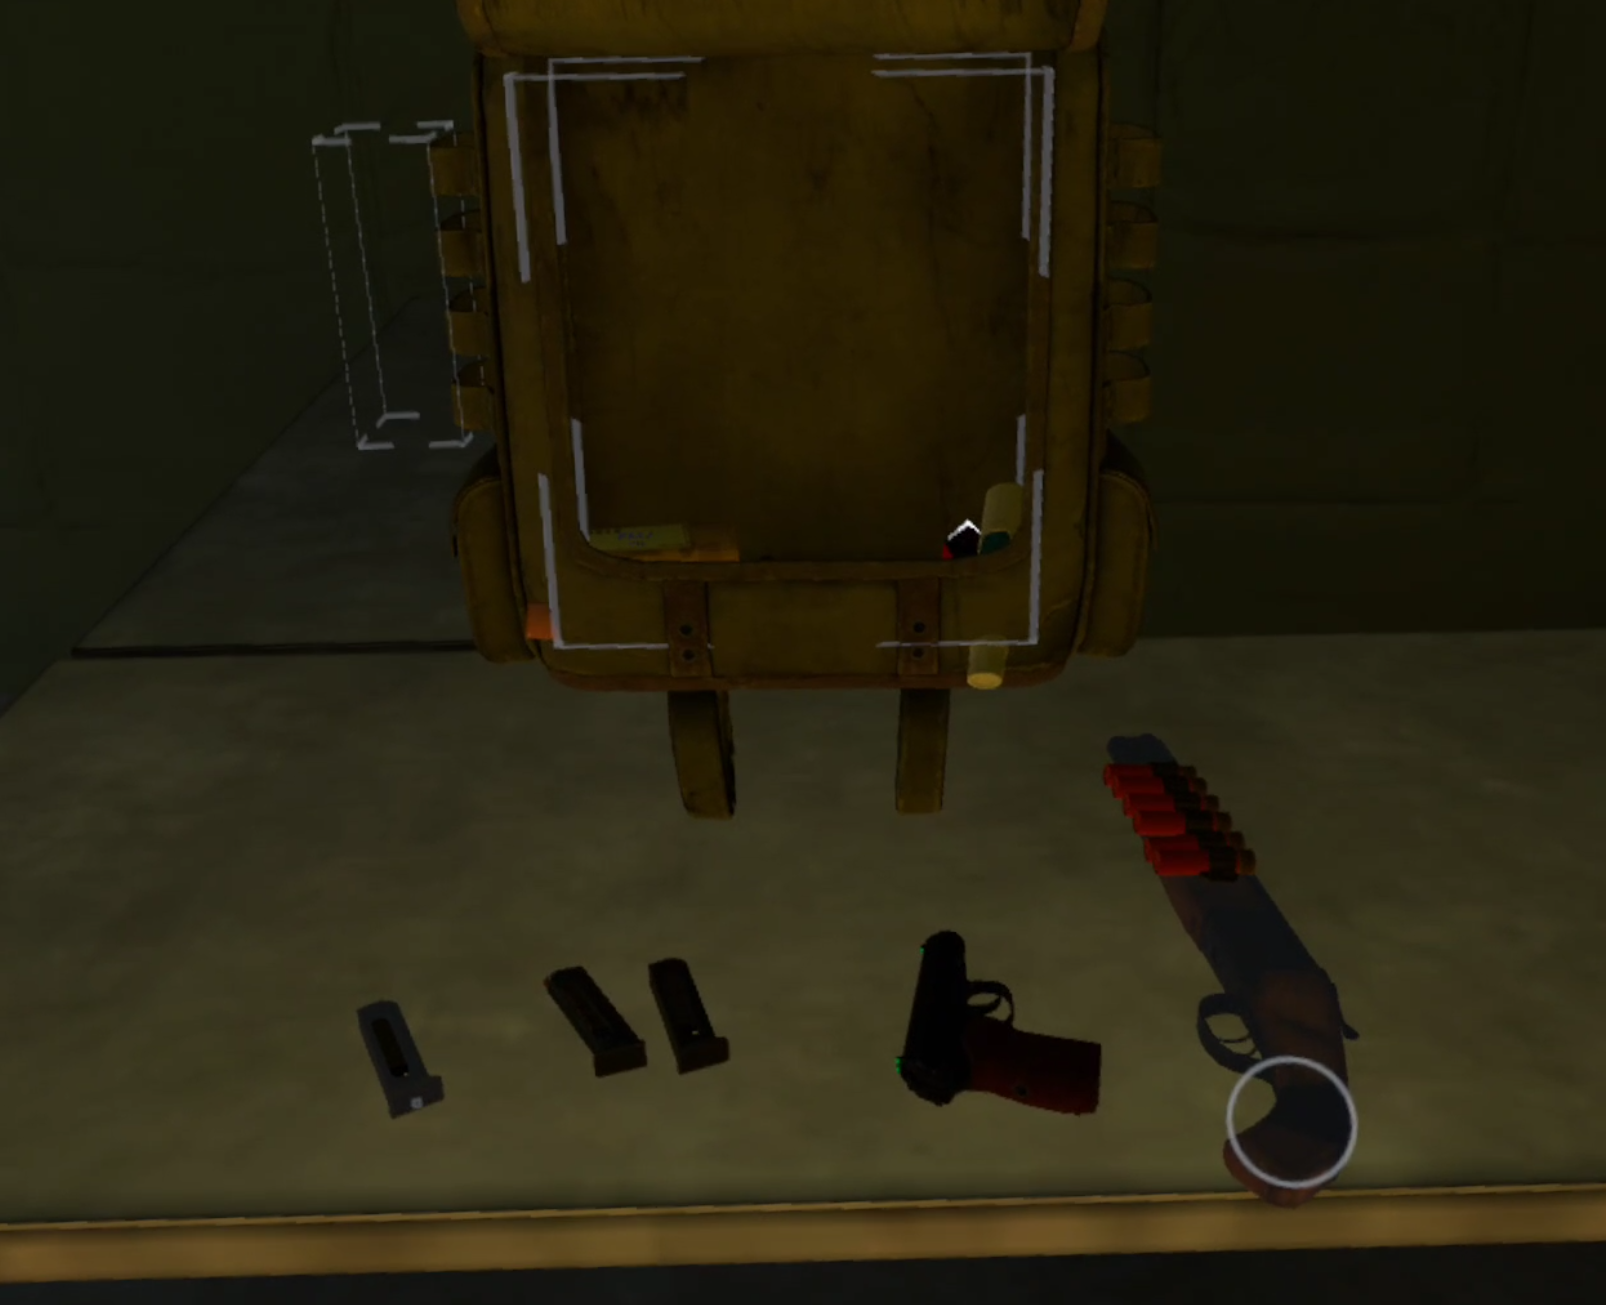
An example loadout for the second mission - Total Recall
Not pictured is the equipment on your body. Make sure you’ve got the probes you started the game with, a combat knife, a detector, and a pocket lamp.
The probes and knife are good to have easily accessible on your arm slots, while the Detector and Pocket Lamp can go on your shoulder slots. If you prefer a different way of storing and using your items then go for it. Part of the fun of Into The Radius is customizing your equipment as you like.
The Second Mission - Total Recall
When you’re ready accept the mission from your terminal and make your way out to Pervomay Route just like before.

The mission briefing for Total Recall
Check your watch and keep in mind that, depending how long you took on the last mission, it might get dark soon.
You can always go back and sleep until morning (7 AM) if it is late and you don’t want to be out at night. you’ll probably have plenty of time though.
Once you’re out there take a look at your map and get your bearings.
You’ll see that the mission marker is inside a walled compound near the center of the area.

The route we will take to the mission objective
We’re going to be roughly following the route on the map above. Just like in most Into The Radius missions there are multiple ways to get to a given area.
You could also go north east through the woods and enter the rear of the compound from there to get to the objective more quickly. The route we’ll be taking in this guide is meant to optimize the amount of loot that you’ll bring back home with you.
Every one of these Into The Radius walkthroughs for the main missions will take you along a prescribed path. Usually this path will be the most direct and conflict free one possible, but for the Second Mission you’re really going to want some extra cash and loot to help you with your start to the game.
Anyway now to really begin, start off down the road towards the first mission, but this time when you take a right go through the big rift in the ground that split the blockhouse in half.

The rift that tore the blockhouse in half
You won’t have to worry about anomalies until you reach the end of the rift, but once you do, get your probes out.
There’s a ton of anomalies in the crater covered field beyond the blockhouse, but as usual when there are a ton of anomalies, there are artifacts.

Entering the anomaly field and throwing probes
As mentioned earlier, there are definitely easier routes to the objective for the second mission, but this is a very good chance to get some experience with parts of the game that you’ll need to know how to overcome later on… oh and get some money too.
So use your probes, take your time, and work your way through the anomalies. Be especially careful of the white orbs. They’re called Reflector anomalies and will shoot out some sort of energy back in whatever direction a probe hits them.
Your detector should start beeping near the hump in the ground in the middle of the anomaly field. Use it like you did in the tutorial.
The Detector beeps faster when you’re close to an artifact, and when it’s pointed in the direction of an artifact the light will turn more green.
There’s also a guide on how to hunt for artifacts if you’re having some trouble.

Anomalies surrounding the artifact in the crater field
Find the artifact in the field or don’t, it’s up to you, but artifacts do sell for a good deal of cash you’ll be needing later, and learning how to find them now is easier than learning later.
When you’re past the anomaly field you’ll want to head towards the trees on the other end of the craters. The next place you’re headed is the building just past them.

The building past the trees that we’ll head to next
This building will have another new enemy type that you haven’t encountered before, the Mimic Policeman.
They will be your first encounter with firearm equipped enemies, though luckily they only have a Makarov pistol.
Still, that makes them pretty dangerous when you’re just starting out, you’ll most likely see this mimic policeman on the roof of the building.
If you’re a good shot you can take them out from the trees with your Makarov. If you’re not a good shot then your best bet is to either run towards the wall surrounding the building before they notice you and take your shots from there.
You could also go up the stairs leading to the roof, climb the ladder, and take them out from close range by hanging on to the ladder with one hand and using your Makarov with the other.
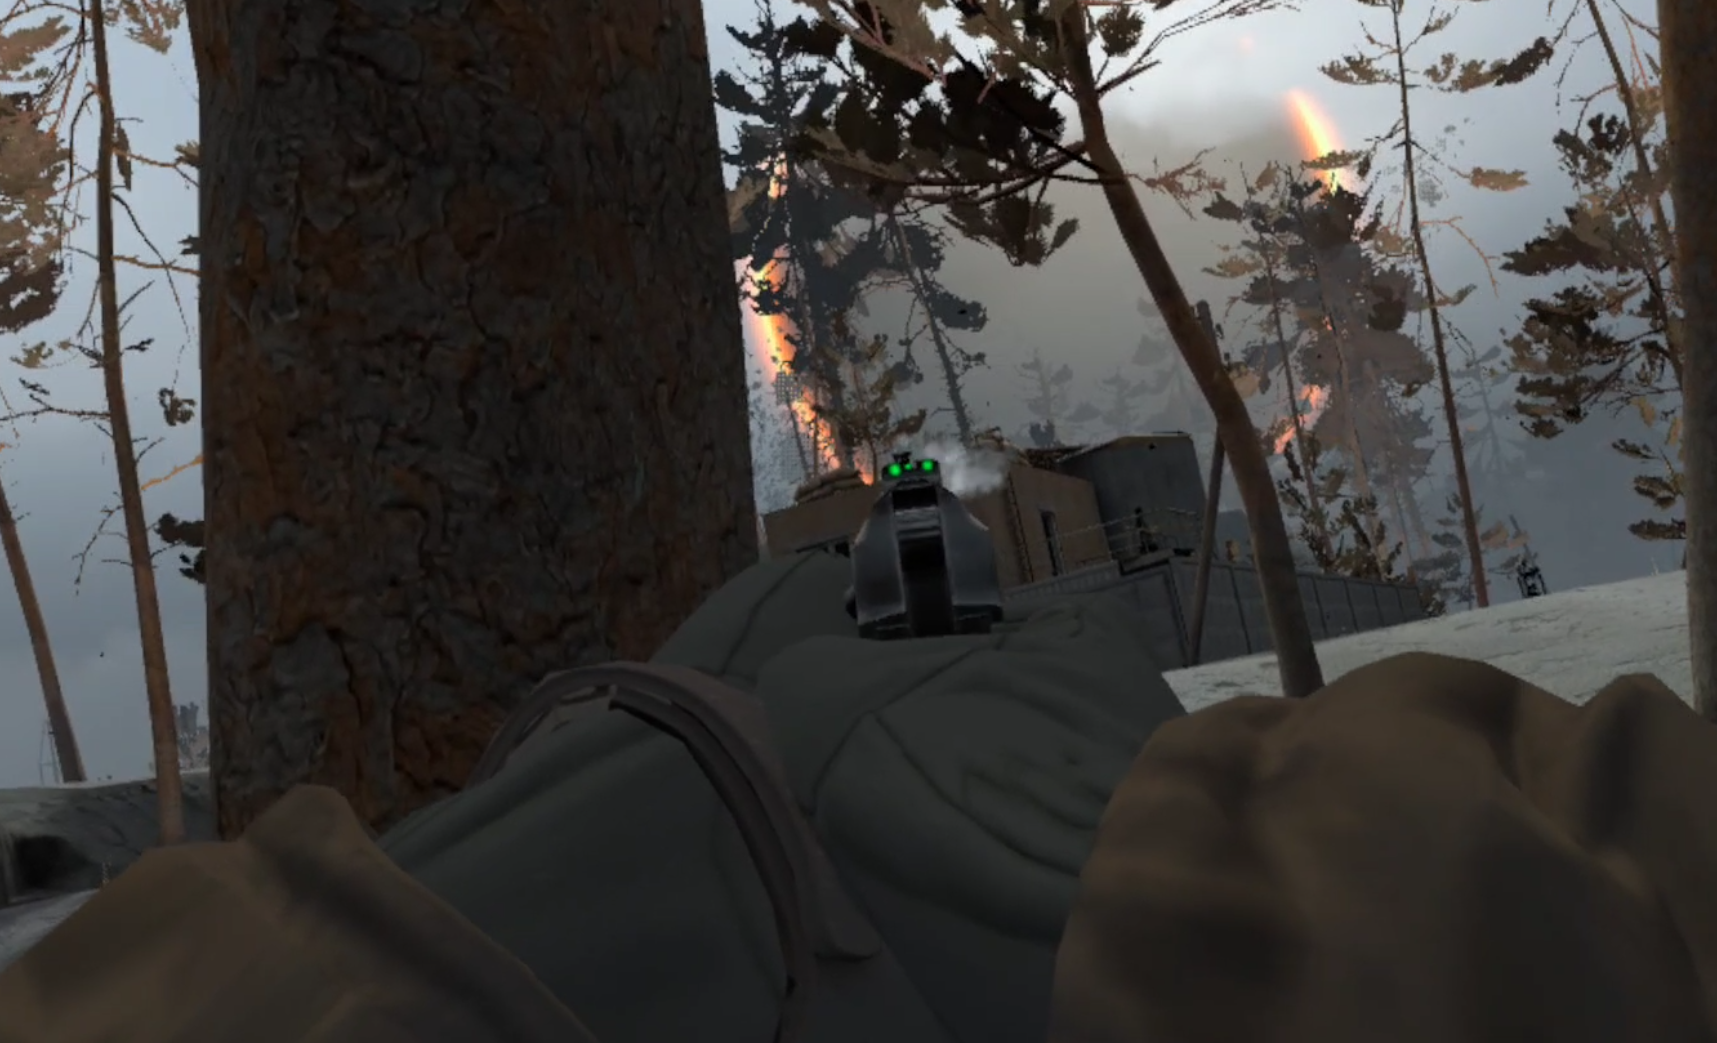
Sniping the Mimic Policeman with a Makarov
What makes these other options dangerous is that there are also Fragments and Phantoms hanging around the building, and the sound of gunshots will attract more from nearby.
If the firefight doesn’t go your way you can always pull back to the edge of the crater field and take cover behind the boulders there. The Fragments and Phantoms will follow you and you can take them down without worrying about the policeman on the roof.
However you get rid of the policeman and clear the building, once it’s clear you’ll probably find at least one crate around it on top of the dumpster at ground level, or on top of the roof.

A randomized loot crate that may or may not be there
The inside has some potential loot as well inside the cabinets and drawers. There is also a chance that your detector will start beeping due to a Rift Anomaly.
The shooting range tutorial told you about them, they will respawn enemies if left for too long, so if your detector beeps find the Rift and hit it with your knife to destroy it and get a Shard artifact to sell.
You also might hear more Fragments and Phantoms approach while you’re looting, take them down as they come. If you’ve arrived prepared you should have plenty of ammunition.

A rift inside the second story of the building
When the area is clear take a chance to get your bearings. Make sure your weapons and spare magazines are fully loaded. Check your health and hunger.
Check the time, if it’s getting late and the sky is getting darker you may want to retrace your steps and head back if you don’t want to explore at night.
Night time does have the plus of making you harder to see, but it also has the downside of making it harder for you to see. Your pocket lamp on your shoulder does making lighting more convenient, but it also makes you a shiny target in the middle of a dark night.
If you want to wait until morning or get more ammunition or other supplies then head back to Vanno the way you came. None of the enemies will respawn until the Tide comes in (assuming you destroyed any rifts in the area).
When you’re ready to keep pushing head out of the building and head out to the road running beside it. Turn back towards the crater field and you’ll see a broken down car at the intersection there.

The crashed car with the stash of ammunition
This car is a stash, and you may or may not have found the note hinting at it earlier on.
Inside of it underneath the seats are a ton of ammunition boxes of various types. Take all of them. The more ammo the better.
If you’re having a hard time finding the car here’s where it is on the map.

The location of the car on the map
You can also skip it if you like and just head straight to the compound that you can see to the northeast of it where the “M1” symbol is.
That’s where you’re headed next. There are some anomalies scattered about, and a pretty thick field of them at the road intersection in front of the main entrance.
You can go in through the gate or one of the broken sections of the wall surrounding the place.

A back way into the compound through the broken wall
However you enter the base make sure you’re ready for a fight.
There is another Mimic Policeman hanging out in the area. Though they might even have been drawn outside of the walls by noise earlier, and there’s also the possibility of Fragments and Phantoms as well.
This policeman will be much easier to deal with than the last, because he’ll be on ground level with you and won’t have such an easy time seeing you coming.
However you deal with the enemies and get inside the base you’ll hear your detector ticking. That’s because inside one of the hangars is another Rift Anomaly.
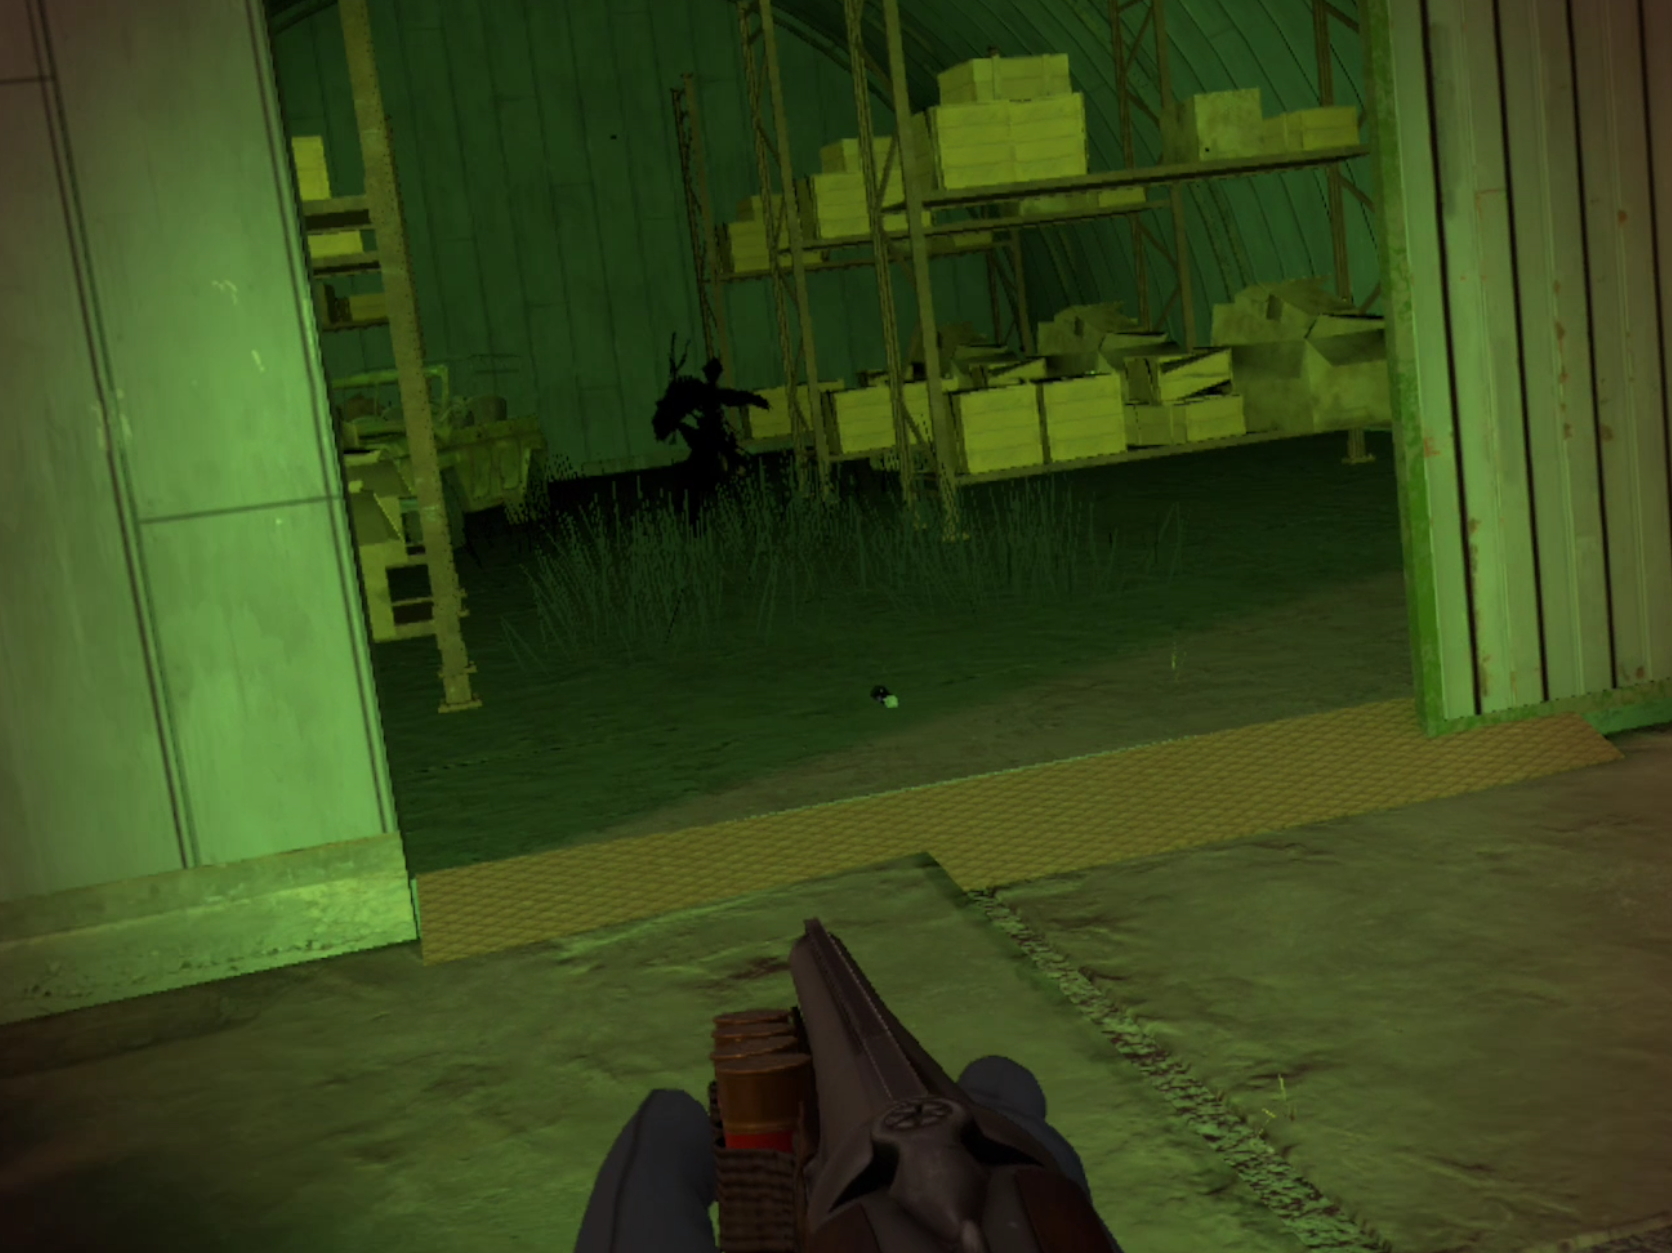
The rift in one of the hangars. There is a handheld flashlight on the ground if you need it
See that grass spread out around it? Well that’s no regular grass. That’s the Black Grass anomaly.
It will hurt you if you touch it, but will temporarily shrink if light is shone on it. See that flashlight? Well take it for now as it will be really helpful here.
You can always shoot the Rift and try to distance grab the Shard artifact that it drops. Either way it’s a good time to familiarize yourself with how Black Grass works. You’ll have to deal with more soon.
Oh, you’ll also see your friend near the entrance of the base if you haven’t already.

Your friend hanging out at the base
Touch her to get some more background dialog. There’s also a note and some loot in the basement of the ruined brick building behind her.
That’s not your mission objective though, the film you came here for is inside of the long building opposite the two hangars. The entrance to this building is right beside the front gate.
Once you’re in there’s a black statue that gives you some dialog, and in the main hallway is your last obstacle to the film.
More Black Grass.

Black Grass is your final obstacle in the mission
The hallway is chocked full of the stuff, so hopefully you got that flashlight from the hangar.
While you can make your way through with just a pocket lamp it will be much easier with an extra source of light.
If you’re playing Into The Radius on PCVR you can always turn the flashlight on and leave it on the ground, which will keep shining on the Black Grass and leave a clear path.
Unfortunately standalone Meta Quest versions of the game will turn off the flashlight once you drop it.
Focus on the grass on the right. You’ll want to disable it and then quickly dash past it into the first doorway on your right.
If you’re fast you won’t take much damage even if the Grass does regrow too quickly. Though it is very possible to get through without being hurt at all.
Once you make it through the doorway the film is on top of one of the desks.

The film that you came here for sitting on a desk
Grab it, and if you like loot the rest of the building. There’s usually some decent stuff lying around.
Though you’ll have to make your way back through the Black Grass to exit the way you came in.
You can go back to Vanno to turn in the Film and complete the mission, though if you’re willing to stay for a little longer there’s a free Glock 17 stash inside of the base.
It’s on top of one of the Red fuel tanks at the northeast end of the base, beside one of the hangars.
You can’t jump in Into The Radius VR, but there is a convenient ramp going up to the top of the beat up awning that is right beside the tanks.
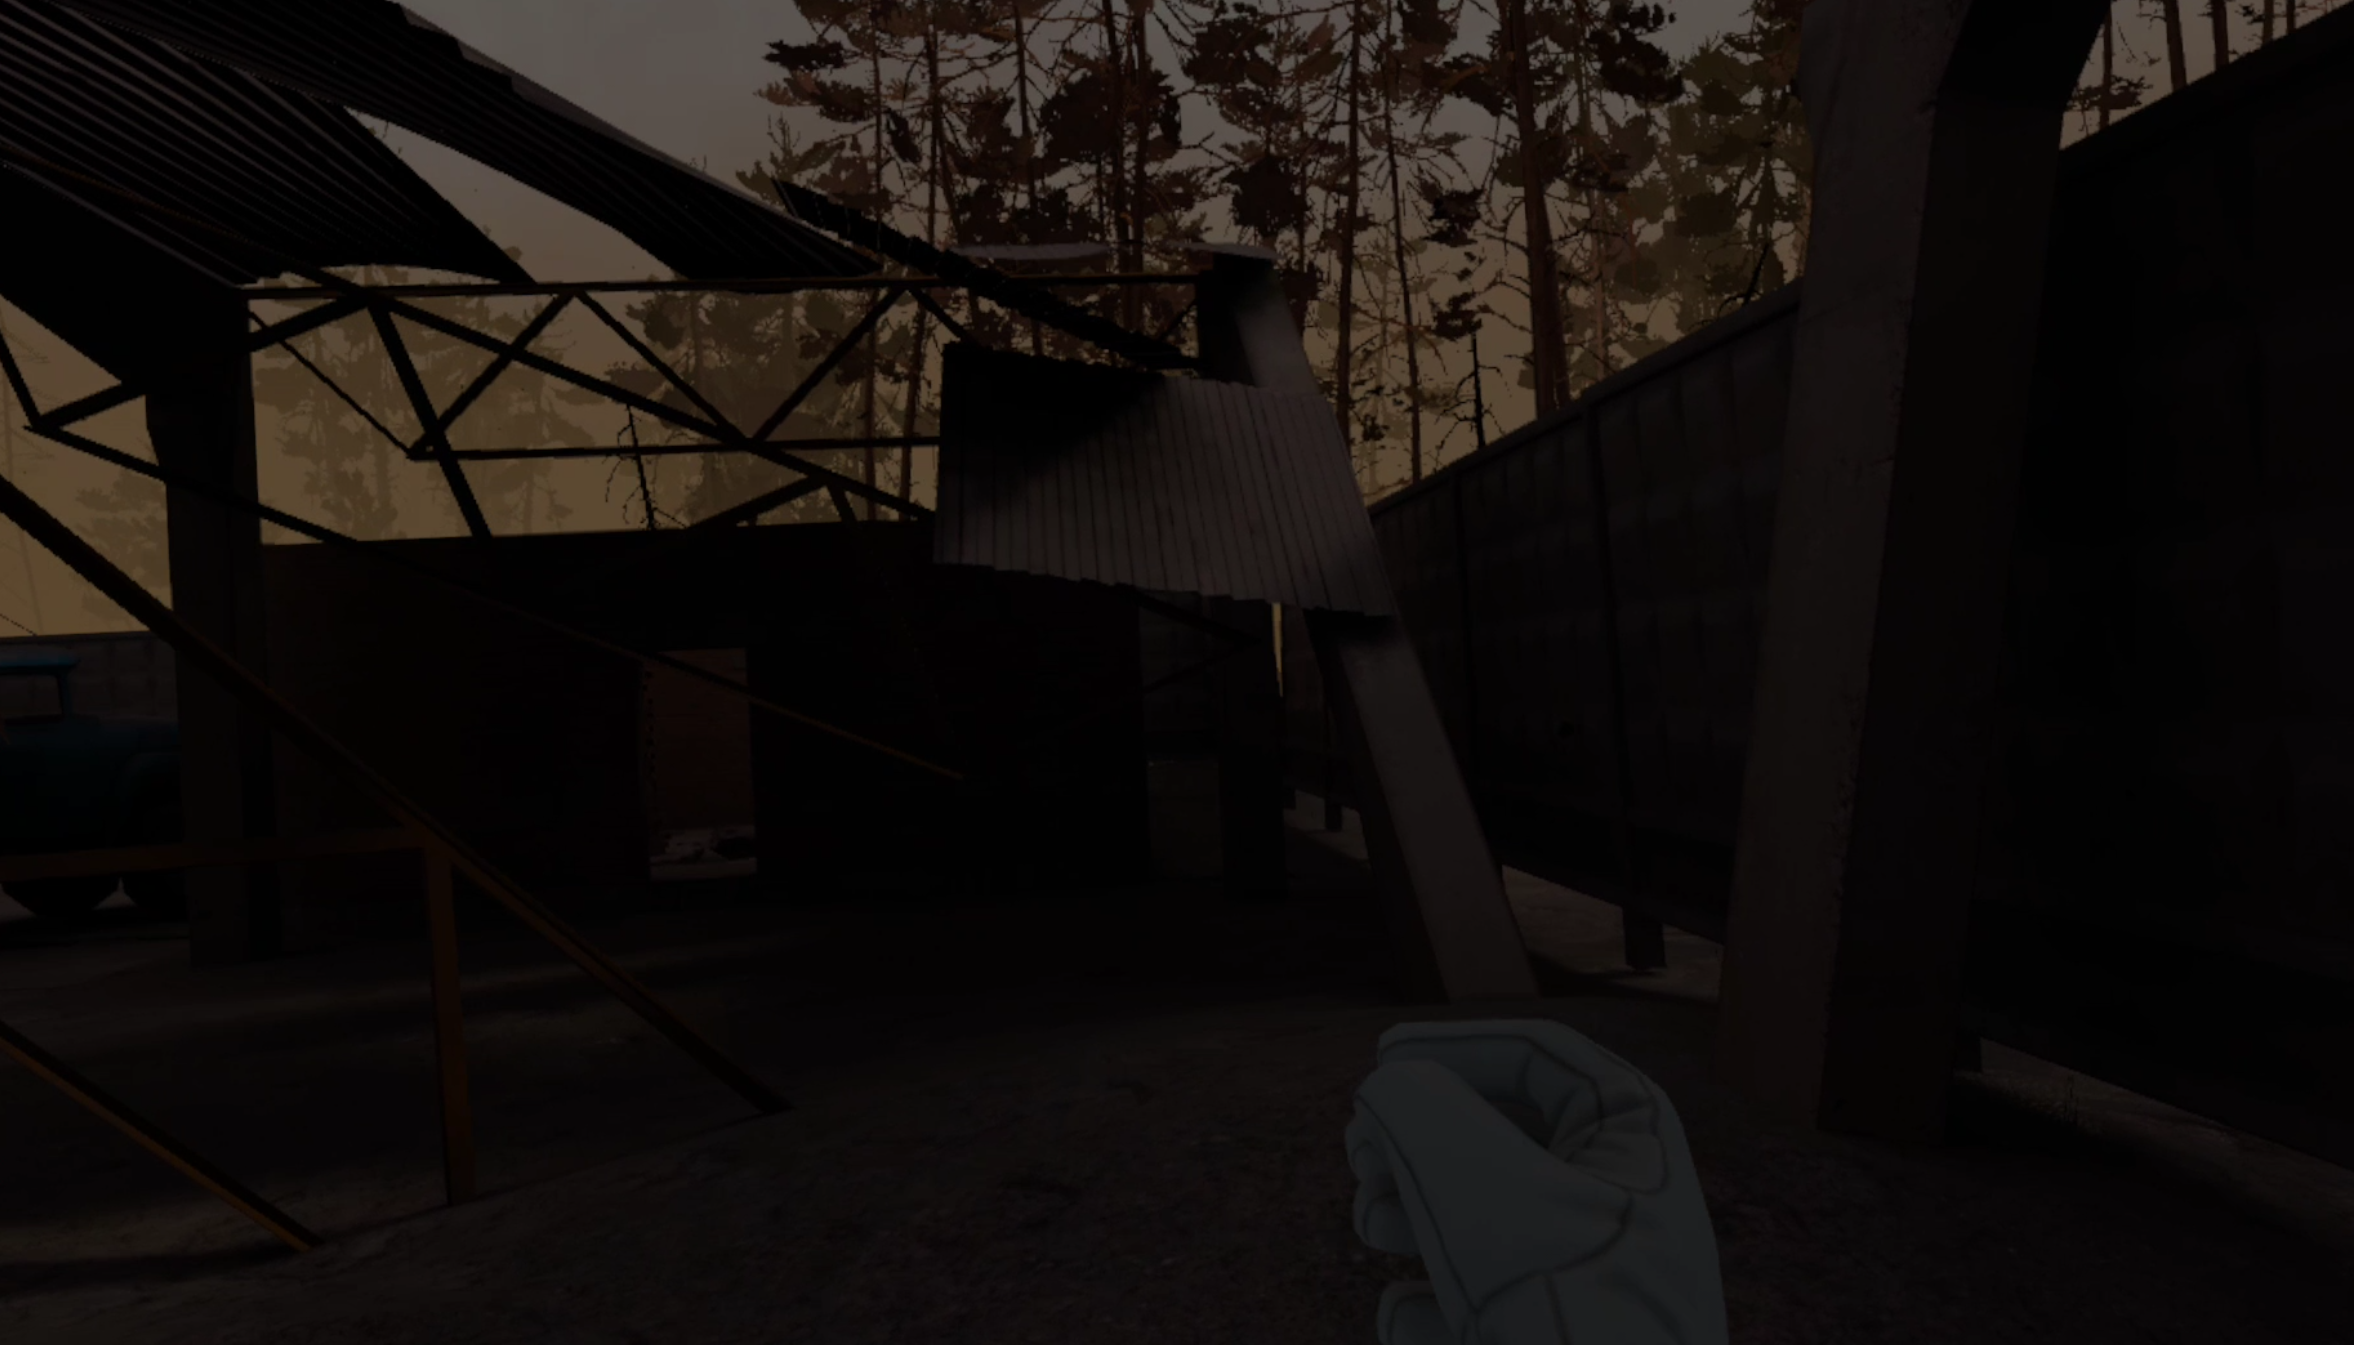
The way up to the awning over the G17 stash
Once you’re up there go to the edge that hangs over the fuel tanks and look down. You’ll see the G17, a magazine for it, and a box of ammunition sitting on top.
To get to them run off of the edge of the awning towards the fuel tank. If you miss and hit the ground just try again. Be careful of fall damage if you’re low on health though.
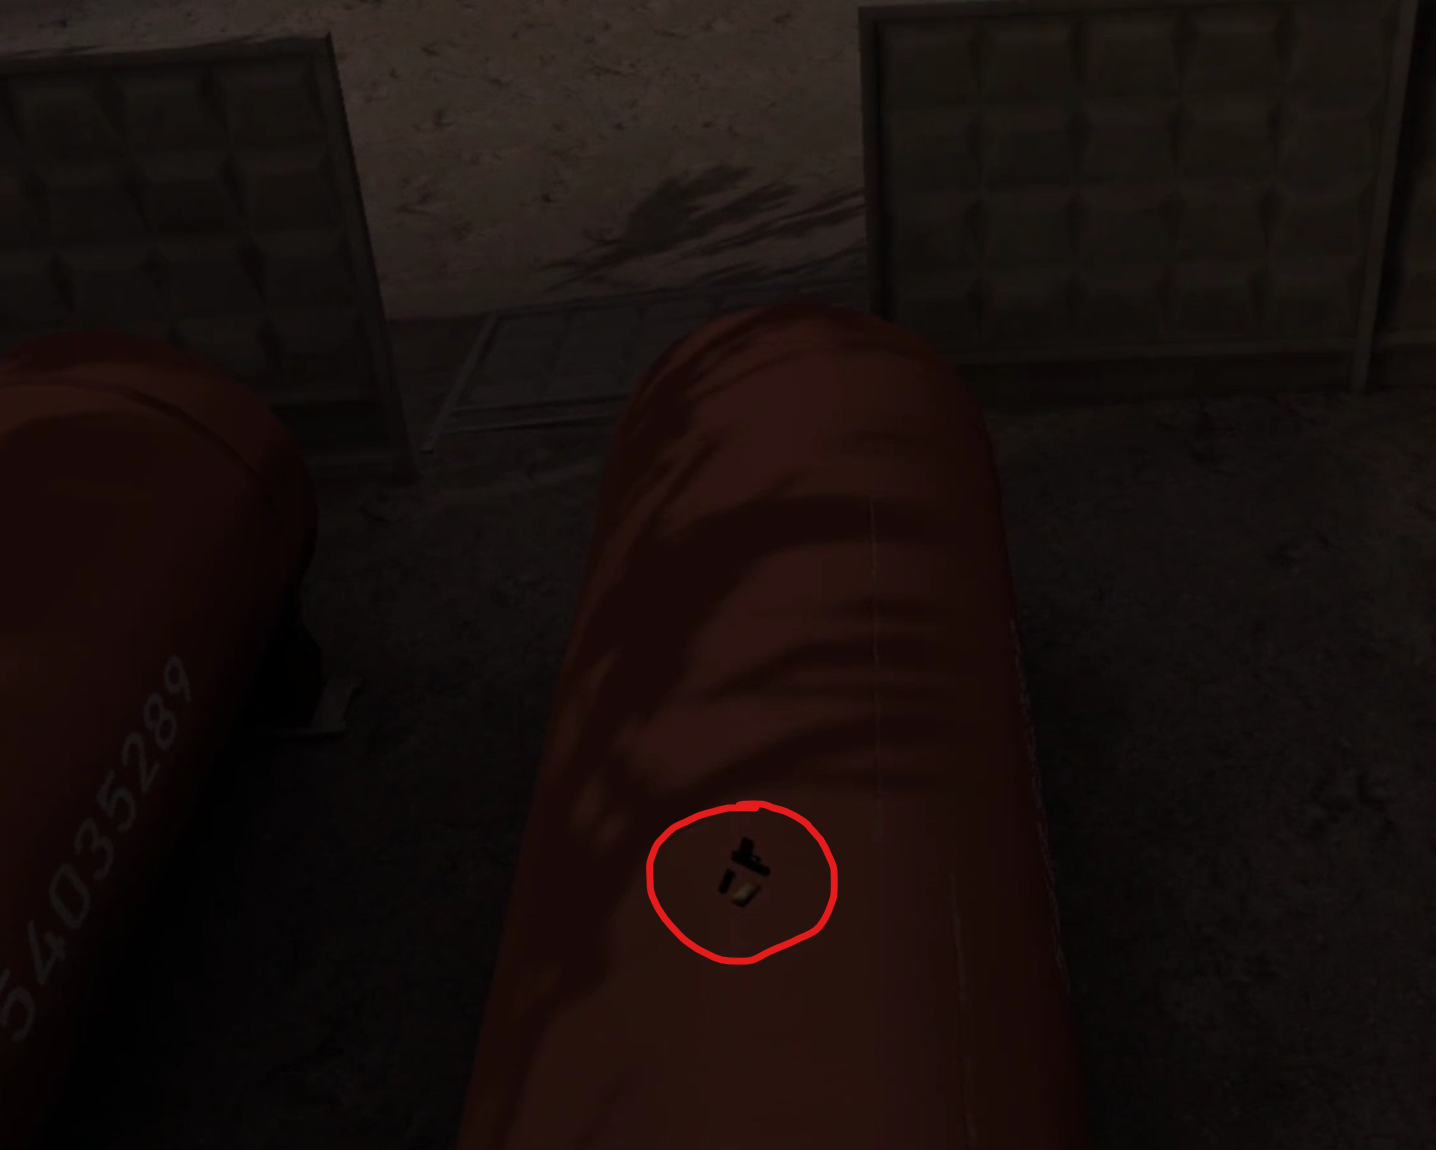
The G17 stash on top of the red fuel tank
The Glock and magazine are in very rough condition, but you can always repair them using the terminal that you do deliveries with back at base.
Loot and Film in hand, head back to Vanno the way you came to sell your loot, repair your weapons, and complete the mission by turning the film in just like the watch from the first mission.
Congratulations on completing the second mission! We’ll talk about what you’re going to need to do next, repeatable missions, and some more great places to explore and stashes to find in Pervomay Route in Part 3 of our Into The Radius VR Walkthrough.