

Into The Radius Walkthrough And Guide - The First Mission - Equipment Retrieval
Stuck in Into The Radius? Wondering where to go and how to get there for your next mission?
Maybe you would just like to see what is in store for you before you get there, or you’d like to know if you’re properly prepared for your next mission in the Pechorsk Zone.
Well don’t worry we’ve got you covered with this walkthrough and guide for Into the Radius VR.
In this Into the Radius walkthrough we’ll detail how to progress through the main story “Top Priority” missions, with a couple of guiding tips thrown in here and there to make your adventure smoother.
The focus of these walkthroughs will be the story missions, but we’ll throw in some general gameplay tips and other useful loot locations near your objectives.
These articles will also assume you’re playing the game on the Normal difficulty mode with Tutorials turned on, which is highly recommended for your first playthrough. This walkthrough will still be useful if you’re playing on Realistic difficulty, but some details like vendor prices or enemy placement and numbers will be different.
Here is every article in our complete Into the Radius VR Walkthrough:
Into The Radius Walkthrough And Guide - The First Mission - Equipment Retrieval
Into The Radius Walkthrough And Guide - The Second Mission - Total Recall
Into The Radius Walkthrough And Guide - The Third Mission - Fixing A Leak
Into The Radius Walkthrough And Guide - The Fourth Mission - Flash In The Dark
Into The Radius Walkthrough And Guide - The Fifth Mission - A Probing Move
Into The Radius Walkthrough And Guide - The Sixth Mission - The Intrusion
Into The Radius Walkthrough And Guide - The Seventh Mission - A Farewell Feast
Into The Radius Walkthrough And Guide - The Eighth Mission - Kids Playground
Into The Radius Walkthrough And Guide - The Final Mission - Ouroboros
Here we’ll be starting at the beginning of the game with your first mission, Equipment Retrieval, and cover some general tips for your first foray into the zone.
Entering Vanno
We won’t be covering the Tutorial here, so our Into the Radius walkthrough will start where the game proper begins, with you as the Explorer standing before the gates of the UNPSC base of Vanno.

The entrance to the UNPSC base and your home - Vanno
Follow the footsteps and stop when directed to by the automated turret.
Raise your hands and do not move. If you fail to comply it really will shoot you.
In a moment you’ll be cleared for entry and the gate will open. Follow the footsteps towards your bedroom. Make sure to pick up the healing syringe on the barrel next to the door.

Make sure to get the healing syringe next to your bedroom
Healing Syringes are fairly expensive so having a free one to add to the one that you start the game with in your pack is a great find.
Hold your watch up to the door panel when prompted to open the door, and walk into your new home.
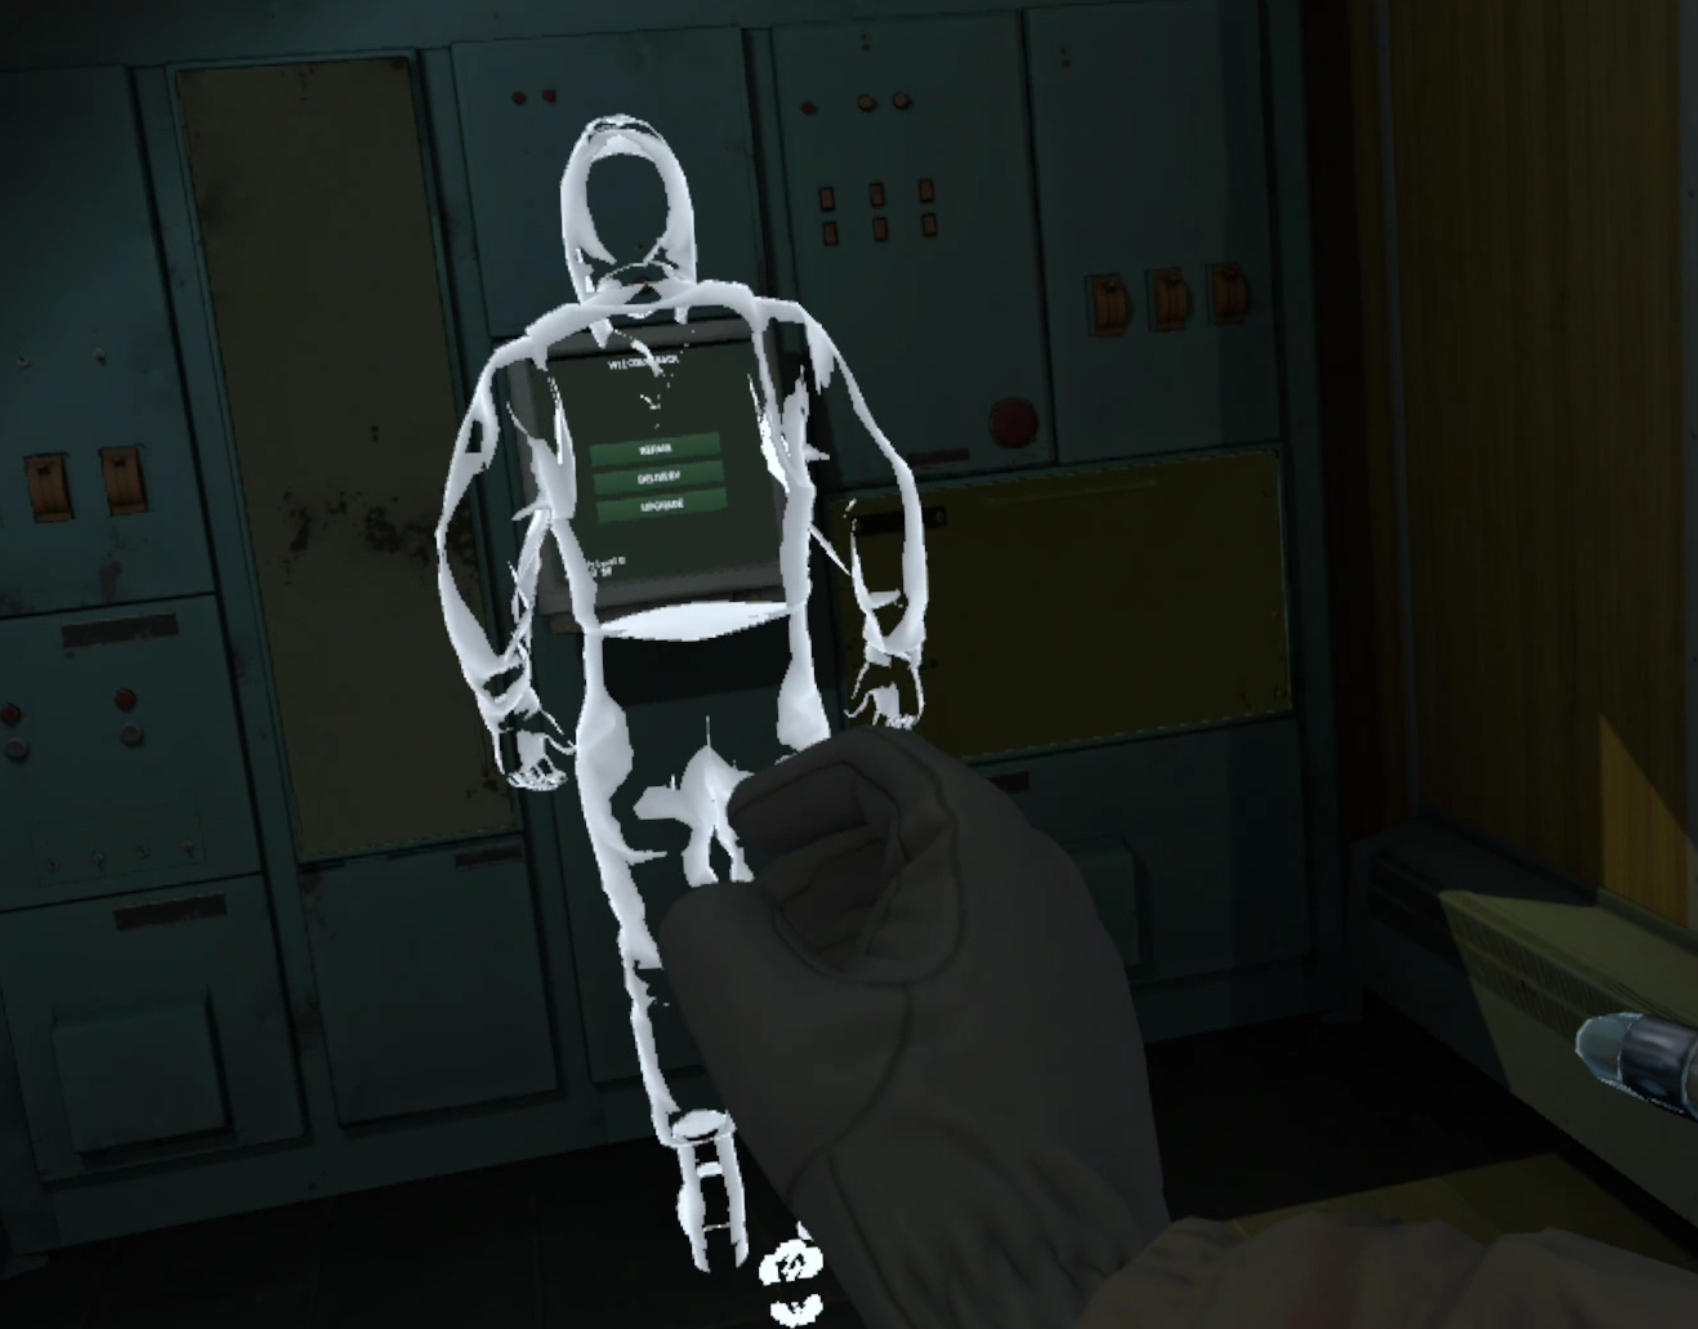
Follow the ghostly outline to the mission terminal and accept your first mission in the missions menu, Equipment Retrieval.

The briefing for Into The Radius’s first mission - Equipment Retrieval
As the briefing states you will need a firearm, in fact you’ll always need a firearm when entering the Pechorsk zone.
So before we get into tackling the first mission let’s talk about your loadout, and since this will be your first mission in the radius also cover some general loadout tips.
The First Mission - Loadout
You’ll start the game with some items in your pack and a Makarov pistol in the holster on your hip.
This pistol is in mint condition, but is also arguably the worst gun in the entire game. Don’t worry though, it will be more than adequate for now.
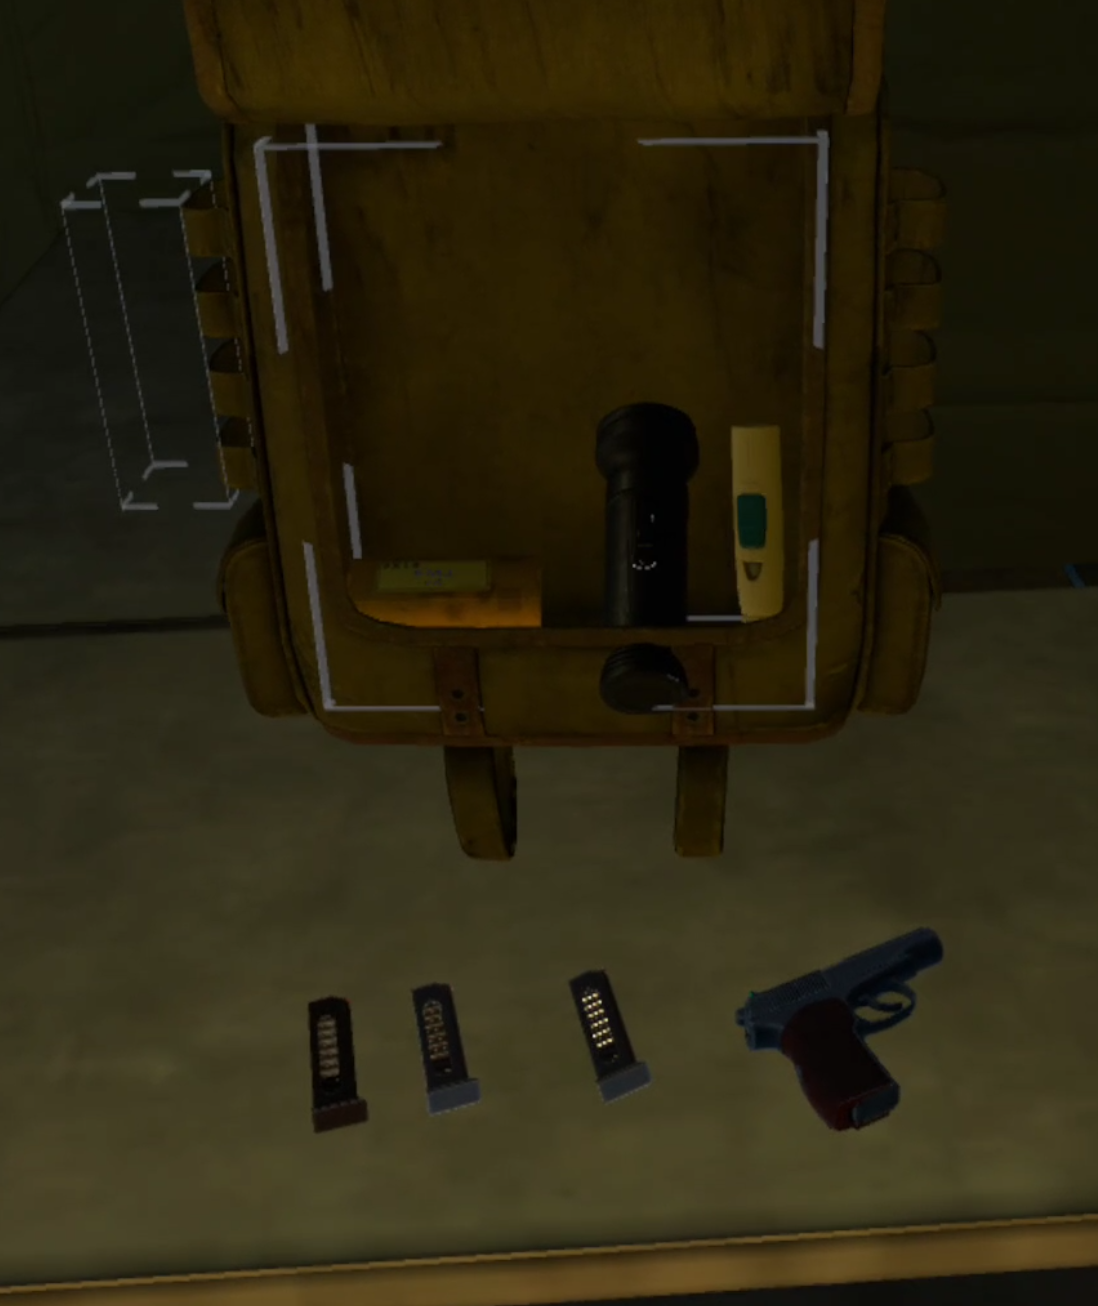
You’ll also have some food, some spare ammunition, a healing syringe, two spare magazines, a combat knife, and a flashlight in your backpack.

The gear that you start the game with. Not pictured is the Makarov in your hip holster
If this is your first foray in Into The Radius then you can find some useful information spread around Vanno in the form of notes that you can read, though the Tutorial will have covered all of the basics.
Looking around your room you’ll find a few items scattered around, most noteably on the green shelves in the corner. There’s a rusty Makarov there that you can sell later on, and some more ammunition and magazines for it.
Fill one of those magazines up with bullets and put it and the two in your backpack in the magazine pouches on your chest rig. While you’re at it also make sure to turn the safety off on your Makarov so that it’s ready to go when you need it.

The Makarov pistol with the safety switched off
It’s also advisable to take the combat knife out of your backpack and put it on one of your body slots. You have one on each of your arms and one on each of your shoulders.
Being able to quickly access your knife will be very useful against the enemies you will face in this mission. There will also be a packet of Advanced Probes on your left arm, you might as well keep them there. You won’t need them for the first mission, but you soon will.
You can leave the food behind as you won’t be out of your base for very long, but do make sure to bring your flashlight as you’ll want it to see clearly later on.
It’s advisable to always take spare ammunition to reload magazines in the field, though here you won’t need it. There are very few enemies in Into the Radius’s first mission, and it’s not very far away from your home.
Here is an example loadout for the first mission. If yours varies a little don’t worry about it. As long as you have your pistol, a few full magazines, your knife, a healing syringe, and a flashlight, you’ll be fine.
A sample loadout for your first mission. The box contains 25 rounds of 9x18mm bullets
Equipment Retrieval - Leaving Vanno For The First Time
Before you head out you can always explore the rest of Vanno. There are some other free items scattered about, and you can collect them whenever you like.
When you’re ready go back out of the gate you came in, following the ghostly footsteps, and walk into the rope line that heads into the fog.

The rope line leading out into the Pechorsk Zone
Welcome to the Zone. Have a look around. It’s pretty creepy, right? Well don’t worry, you can handle this.
Once you feel comfortable take a look at your map.
You’ll see your location at the bottom as a green arrow, and the location of your mission objective as a circle with “M1” inside of it.

The map of Pervomay Route showing the objective of the first mission
As you can see it’s very close.
First though, take a little detour. If you look off to your right you’ll see a little wooden watchtower amid the trees.

The wooden watchtower next to the path to Vanno
Climb up it and open the red container inside. You’ll get some more bullets for your Makarov and some other goodies.
If you don’t see the tower you don’t have to bother with it, but it’s good to get a little extra when you’re just starting out.
Anyway to start heading to the objective just walk down the paved road.
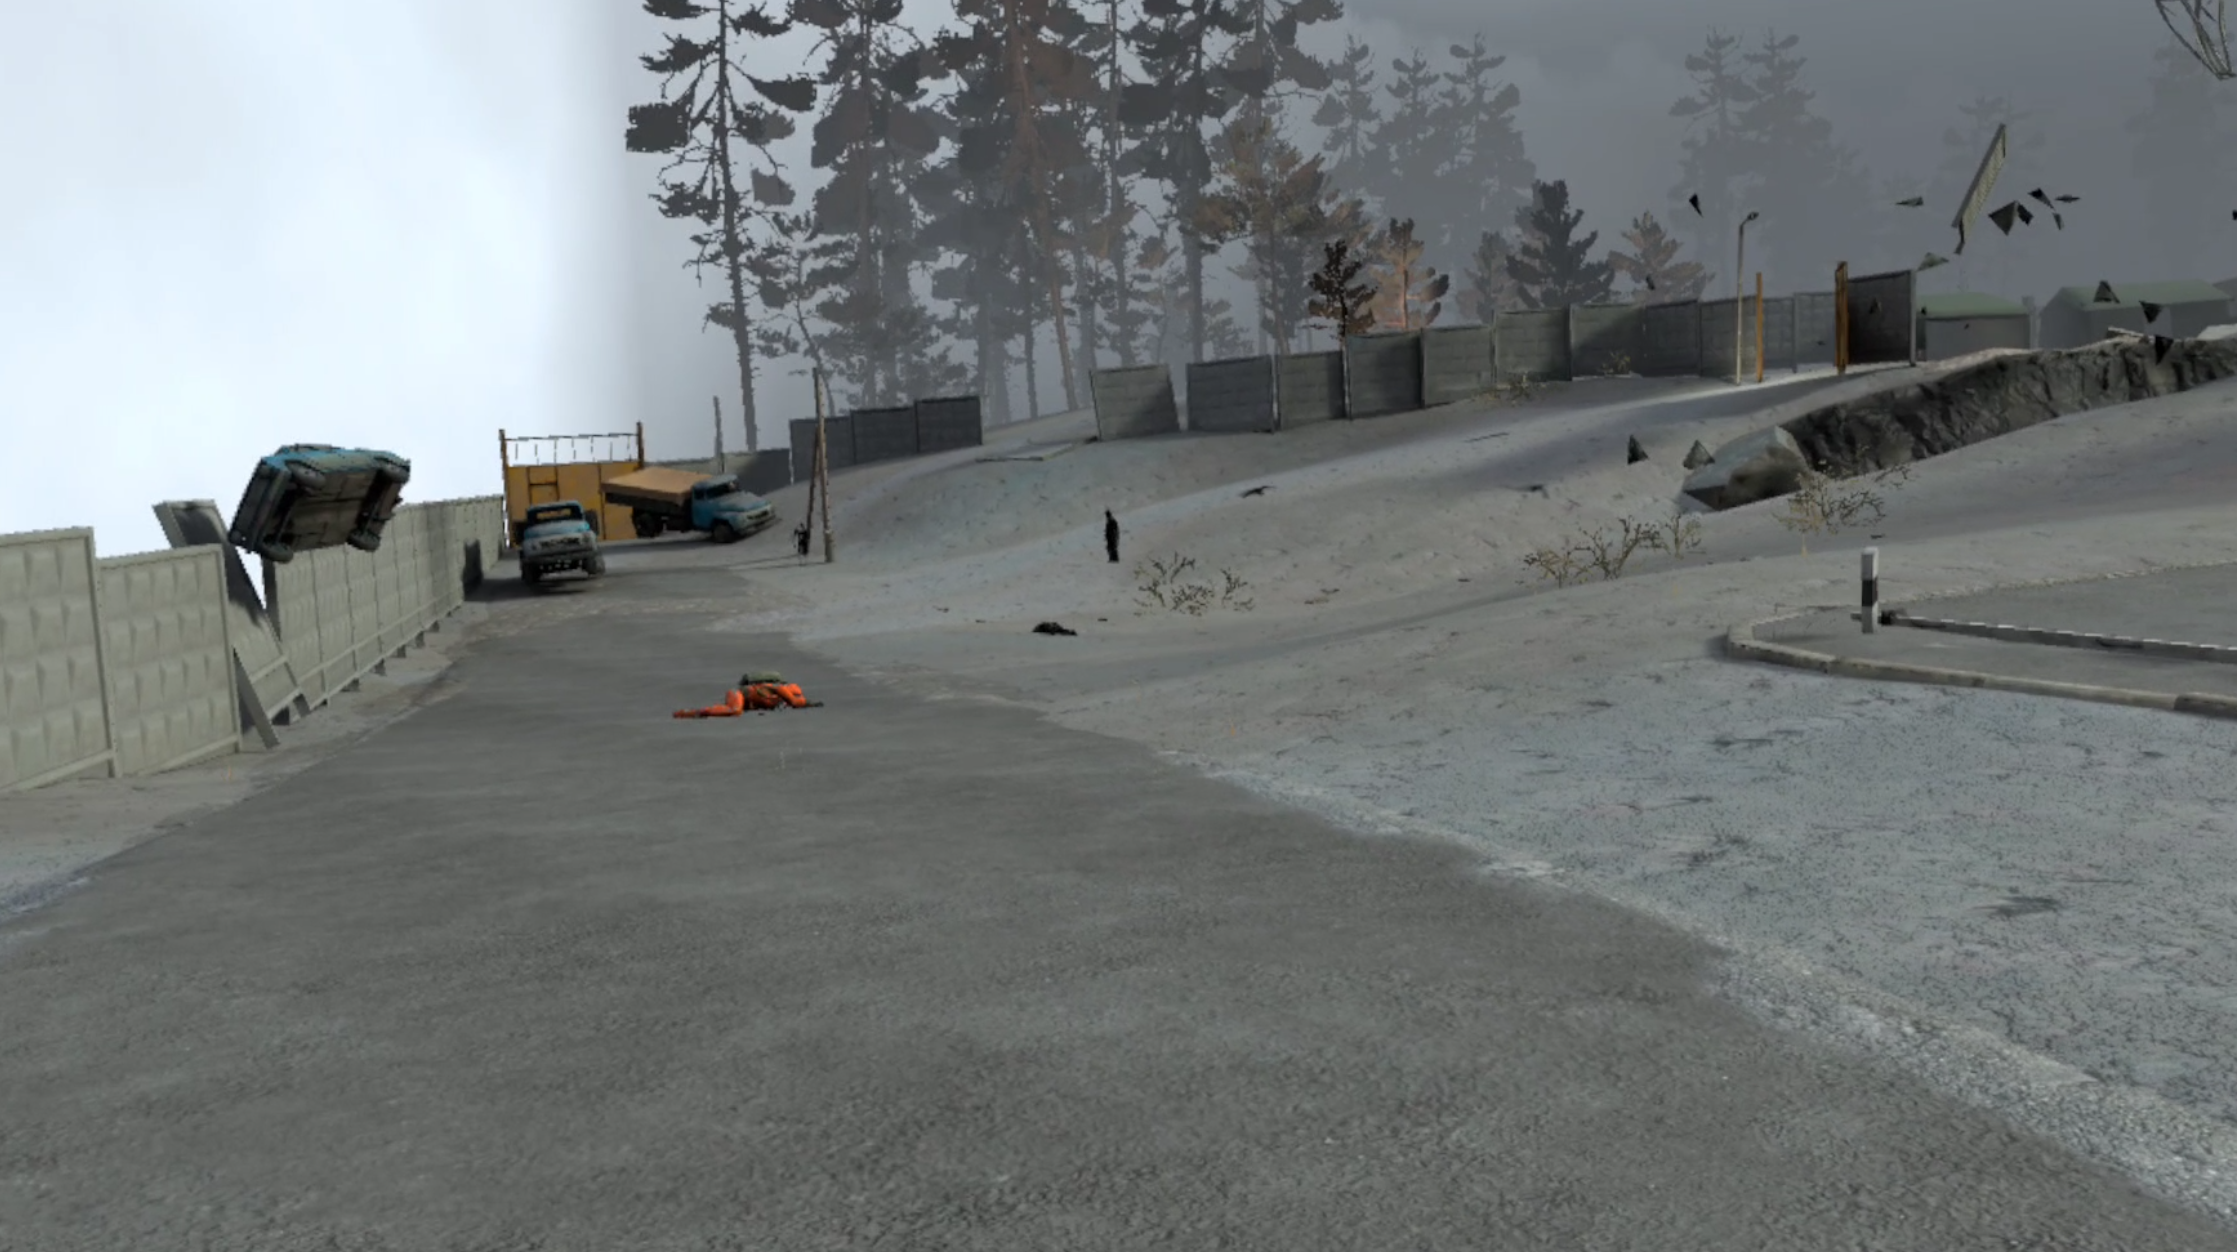
The road leading to the blockhouse
You’ll probably see some randomly generated corpses strewn about with loot next to them.
We’ll talk more about looting in a moment, because you’ll probably have a bigger problem to deal with as you near the end of the road.
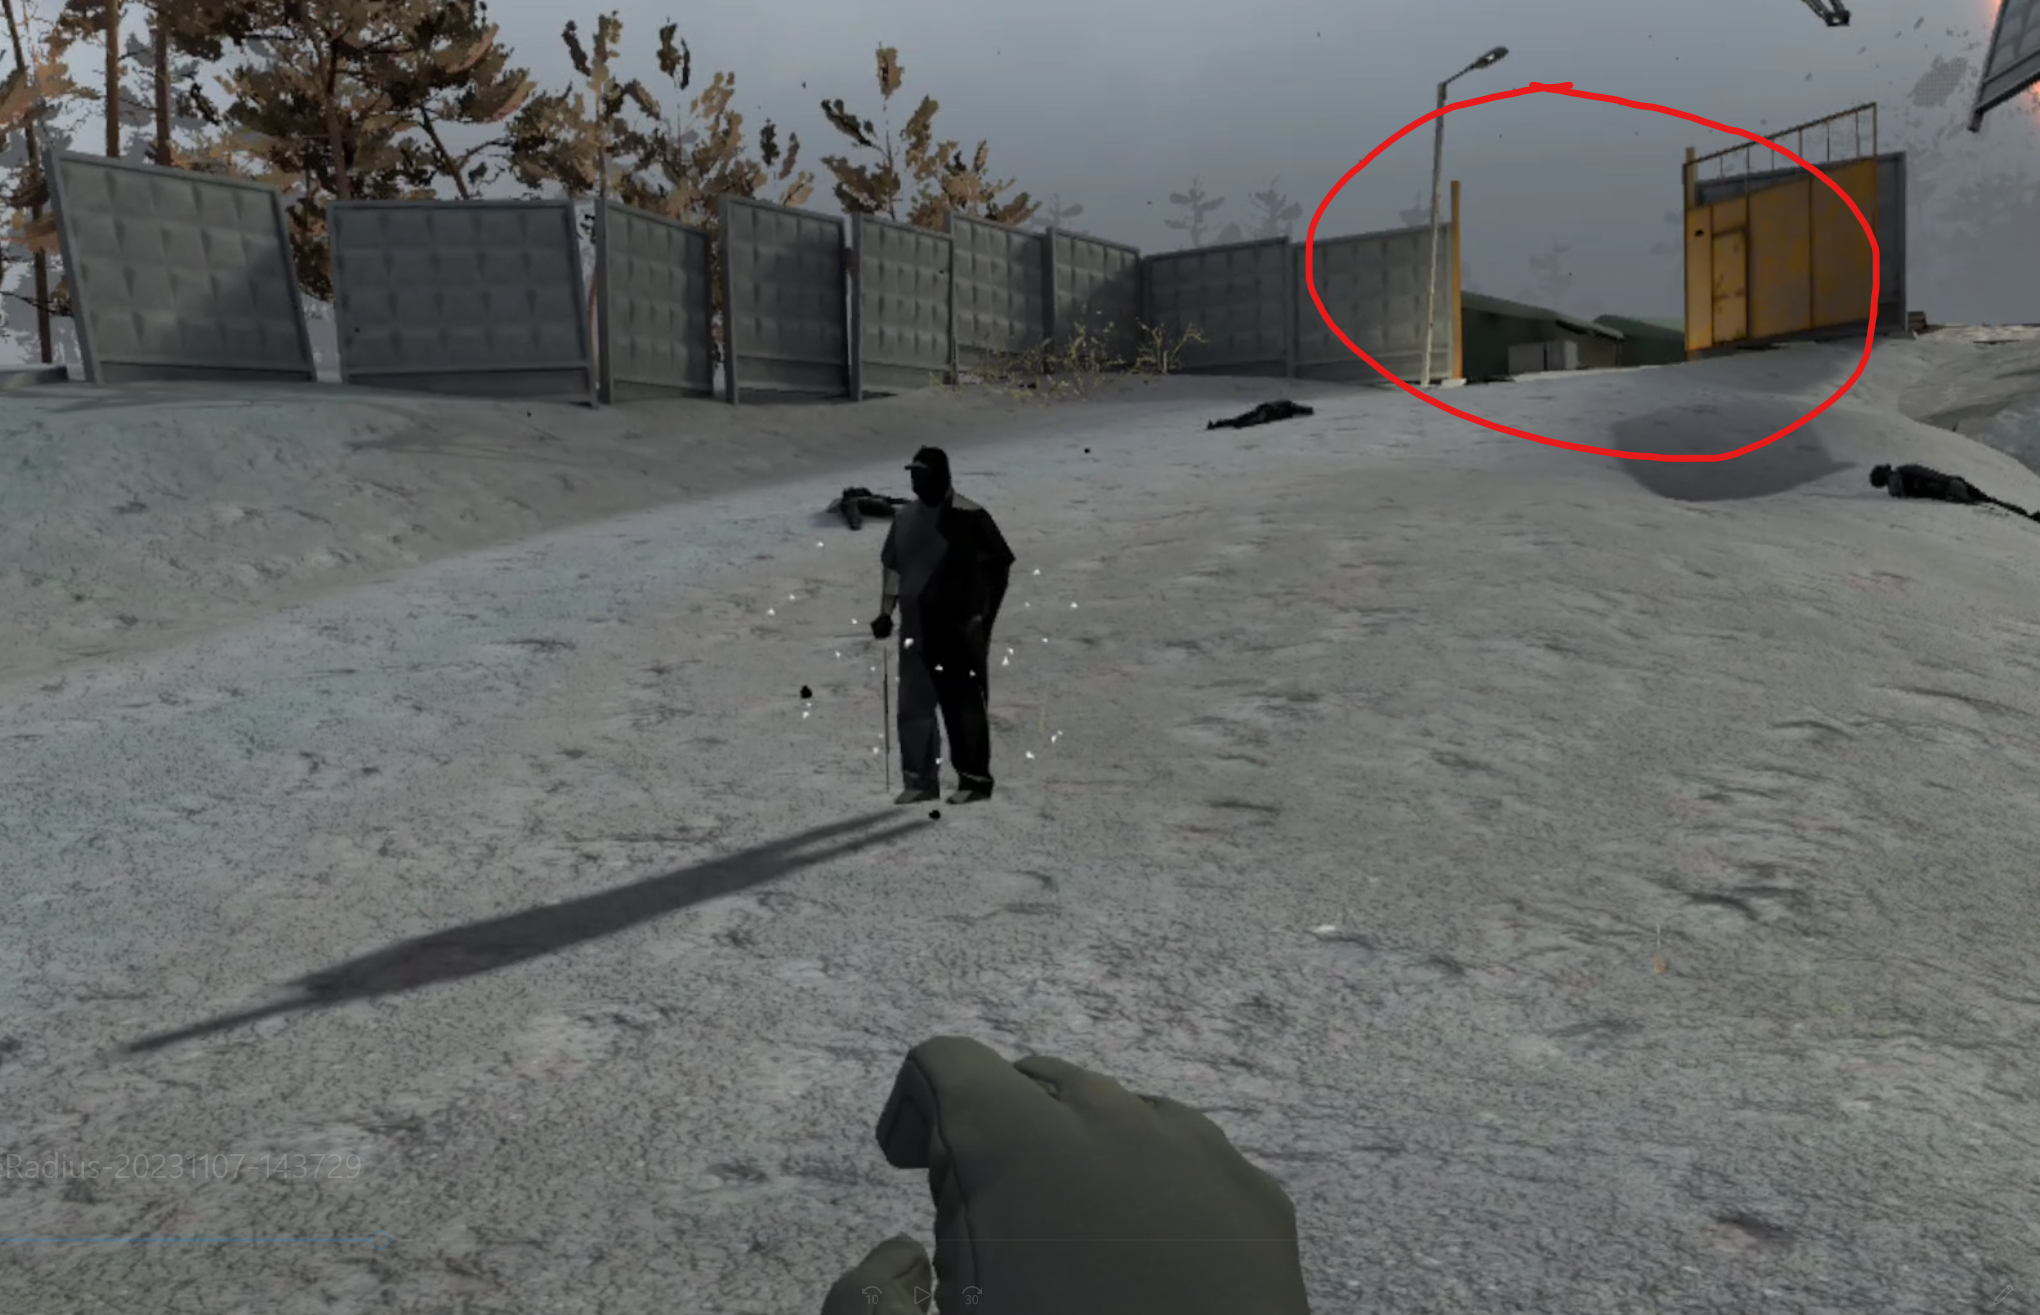
See that path that goes up the hill? Well there’s going to be a strange dark figure at the bottom of it, and it will start walking towards you while making strange squelching sounds.
Don’t let it get close, while it’s only dangerous right in front of you, if you let it get within clawing range it will do a lot of damage to you.

Fighting the first enemy in Into The Radius
This is a fragment, the first type of enemy that you will encounter in Into The Radius VR.
Don’t panic, you’ll easily be able to deal with them by using your Makarov Pistol.
Before they get close aim carefully and shoot them a few times until they turn into a floating orb, then either shoot the orb or stab it with your combat knife. If you run out of bullets or panic you can turn around and run away. When sprinting you are faster than the Fragments, and that will give you time to reload and compose yourself.
Make sure to load in a fresh magazine afterwards, the Makarov doesn’t hold many bullets in each magazine.
If you want to know more about the fragment or other enemies in Into The Radius VR then check out our guide on all of the enemies in the game.
Anyway once that fragment is dealt with walk up the path leading into the little compound to your right, past the black statue of a man. You can touch the statue to get a little dialog.
All statues that you see which have little floating white particles around them can be touched to get some dialog.
The entrance to the blockhouse compound, and the man statue in front of it
Inside the walls of the little compound you’ll find another fragment.
Take them out just like you did the first one.

Taking down the second Fragment
The First Mission - Looting
The “compound” is really just two tents and the concrete blockhouse. Look around and scrounge what you can.
Structures in the radius will commonly hold useful items. Boxes of ammunition, more magazines, food, and other various bits and pieces.
Since you’re just starting out it’s wise to take a little food, especially the canned stuff, and if you find any more magazines it’s also a good idea to take them, even if you don’t have the gun that goes with them yet.
Ammunition for your Makarov (9x18mm) is very common, but it’s still a good idea to take whatever you can find, and also any shotgun shells you find. Really it’s not a bad idea to hoard any kind of ammunition you find in the early game.
If you’re unsure what something is then hold it in your hand and hold down the B button, a little text box will appear over the item telling you what it’s use is and how it works. If you’re unsure how an item is useful make sure to use this feature. It will answer a lot of your questions when first starting the game.
You’ll also find a note in each of the tents. These notes are rare glimpses into what exactly is going on in Pechorsk, and it’s recommended that you read them to enhance your appreciation for the mystery and story of Into The Radius.

A note found in one of the tents
Equipment Retrieval - Getting The Goods
Whenever you’re finished looting head into the concrete blockhouse.
Here’s where you will need your flashlight. While there’s some lighting inside it can be a little dark. Into The Radius can be a pretty scary game and you’ll always want to make sure you can properly see in poorly lit areas so you aren’t surprised by enemies or anomalies.
Immediately on your left you’ll see a crate on a table. Take whatever is inside.
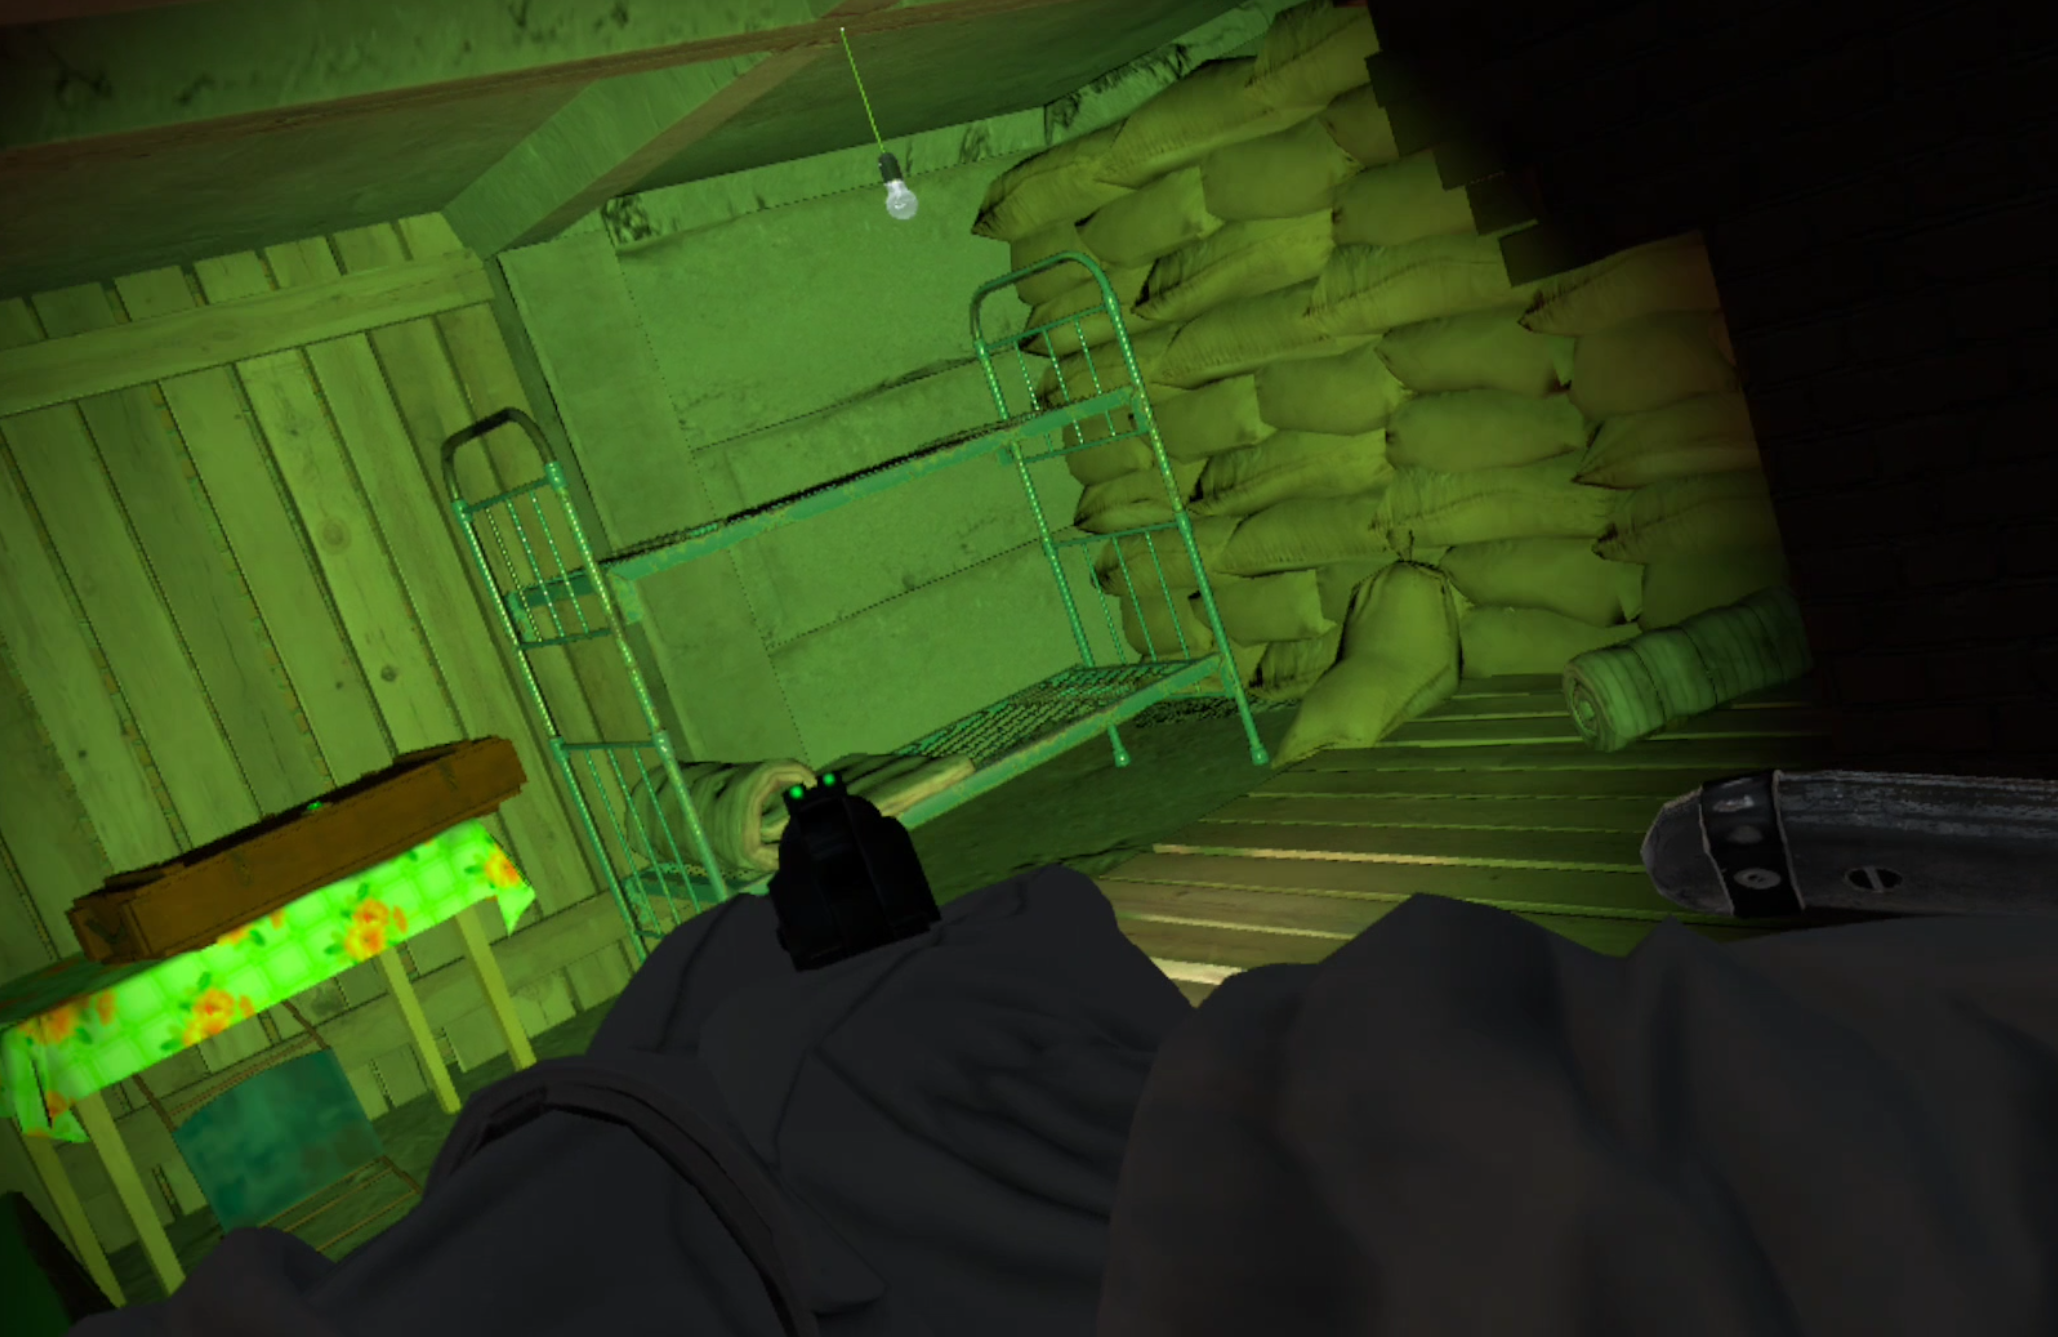
There’s a crate in the blockhouse, make sure to loot it
Once you’re finished with that head the other way further into the blockhouse.
Right next to some sandbags you’ll see a watch in an open crate.

The objective of the first mission
That’s what you came here for! Pick it up and put it into your backpack. When you’re finished looking for whatever other valuables might be around, head back outside the way you came in.
You’ll get a visit from your friend. To hear what she has to say, touch her and her dialog will play.

Your friend will appear once you get the objective item
You’ve got the mission objective and hopefully some other good stuff too.
Head back the way you came, down the path leading up the hill and up the road. Just walk into the rope line heading into the fog and you’ll find yourself back at Vanno.
Completing Your First Mission in Into The Radius
Now that you’re back in Vanno the built in Tutorials will be your guide.
Follow the ghostly footsteps into the train car and over to the mission terminal.
Go here to deliver the watch
Some popups will tell you how to make the delivery. When the tray opens, throw the watch inside and complete the mission on the terminal.
You’ll also find a strange bright white note in your backpack. Weird huh?
Once the delivery is complete you are now security level 1. Congratulations!
The terminal will also tell you to go to the shooting range for more training. It’s an easy 300$ and you’ll learn some important stuff while you’re there. So you might as well go for it.

Go here to access the shooting range and training
Follow the ghostly footsteps over there and do the training.
The game will teach you about anomalies, the tide, artifacts, and how to get them. Though if you want a more in depth guide we’ve got one as well.
Once you are finished feel free to sell whatever you don’t need in the Train car, and use the shower to regain any health you might have lost to Fragments.
Congratulations on hitting Security Level 1! We’ll talk more about what you can do with your new security status, and how to tackle your next mission in Part 2 of our Into The Radius VR Walkthrough.
Other Guides You Might Find Helpful: