

How to Play VTOL VR on the Oculus Quest 2
So you’re an Oculus Quest 2 owner and you’ve heard about the awesome modern combat flight simulator VTOL VR. Congratulations, you couldn’t have picked a better VR flight simulator to try. VTOL VR is fantastic and a ton of fun even when you’re learning how to play it. It’s built entirely for VR and lets you interact with all of your plane’s controls with your virtual hands. It’s a very immersive and rewarding experience.
So you’re an Oculus Quest 2 owner and you’ve heard about the awesome modern combat flight simulator VTOL VR. Congratulations, you couldn’t have picked a better VR flight simulator to try. VTOL VR is fantastic and a ton of fun even when you’re learning how to play it.
It’s built entirely for VR and lets you interact with all of your plane’s controls with your virtual hands. It’s a very immersive and rewarding experience.
So you’re wondering "how to get VTOL VR on your Oculus Quest 2. Well we’re going to tell you how right here. Though before you go any further you should know that VTOL VR is only available on PCVR, which basically means it won’t be able to run without a gaming PC that is powerful enough to run it.
So if you’re wondering, “Is VTOL VR on Oculus Quest 2?” Well it isn’t, but that doesn’t mean you can’t play it using a Quest 2 if you have a PC capable of running it.
Of course even if you have a gaming PC that is powerful enough to run VTOL VR, you’re also going to want to know how to connect your Meta Quest 2 to that PC so that you can play this great flight simulator on your Quest 2.
Oh, and this guide will also work for any other SteamVR games as well, so if you’ve got your eyes on PCVR titles other than VTOL VR you’re still in the right place.
So let’s get right into it step by step. This is how to play VTOL VR on the Oculus Quest 2. Oh, and if you’re using a Quest Pro or Quest 1 keep in mind that all of these steps work for the Oculus Quest Pro or original Oculus Quest just as they do for the Quest 2.
PC Requirements - How to Play VTOL VR on the Oculus Quest 2
Before you can try to play VTOL VR using your PC you’ve got to make sure that your PC can run the game in the first place. There’s no use going through all of these setup steps if the game will end up being unplayable once you actually start trying to run it.
So if you’re wondering just how capable your computer needs to be to be “VR capable” then here are the system requirements listed for VTOL VR:
MINIMUM:
Requires a 64-bit processor and operating system
OS: Microsoft Windows 10
Processor: Intel Core i5-3570K or equivalent
Memory: 8 GB RAM
Graphics: Nvidia GTX 970 or equivalent
DirectX: Version 11
Network: Broadband Internet connection
Storage: 3 GB available space
VR Support: SteamVR
RECOMMENDED:
Requires a 64-bit processor and operating system
OS: Microsoft Windows 10
Processor: Intel Core i7
Memory: 16 GB RAM
Graphics: Nvidia GTX 1070 or equivalent
DirectX: Version 11
Network: Broadband Internet connection
Storage: 4 GB available space
It is a really good idea to make sure whatever PC you plan on running VTOL VR on follows the “recommended” system requirements.
Though if your computer is close to these specs, and especially if it is a laptop, then you should make sure that it doesn’t overheat. When using a laptop to run something intense like a VR game make sure it’s fans are unobstructed and it is placed on a cool and non carpeted surface.
If your computer meets the recommended requirements, even if it is a laptop and not a desktop PC, then you should be good to go with the following steps.
Now it is time to connect your Meta Quest 2 to your PC so that you can run VTOL VR on it.
How to Get VTOL VR on the Oculus Quest 2 Using a Quest Link Cable
Alright so you’ve got your VR capable PC and Quest 2 headset ready to go, so how do you play VTOL VR on the Quest 2? Well there are two options.
The first that we’re going to cover here is by using Quest Link (aka Oculus Link) with a cabled connection. Basically this is connecting a cable from your PC directly to your headset, and that cable will pipe all the visuals and data for the VR game from your PC and into your Oculus Quest 2.
This means your Quest 2 will be relying on your computer to do all of the heavy lifting, and basically ends up being used for its display hardware, like the non standalone headsets that came before it like the HTC Vive or Valve Index.
Using an Oculus Link Cable is actually a great option for VTOL VR, since you’ll be sitting down and mostly using your hands to interact with virtual controls right in front of you. Unlike a lot of other, more active VR games, the cable won’t be getting in your way nearly as much in this VR flight simulator.
So let’s set up Quest Link. First you’ll need a Link Cable to connect your headset to your PC. A link cable is a high quality USB 3 cable. One end goes into the USB port on your computer and the other goes into the charging port of your Quest 2 headset.
You can buy the official Oculus Link Cable here. If you’d rather try a cheaper option then there are several available from Amazon like this one here.
If you’d rather not wait to get your hands on a cable you can still try playing VTOL VR on your Quest 2 wirelessly by using Airlink. If so then skip to the next section titled “How to Get VTOL VR on the Oculus Quest 2 Using Air Link”. Otherwise if you’ve already got a cable, or are willing to wait to get one, keep reading on here. You can also just bookmark this article and come back. Don’t worry, we’ll still be here for you.
So now that you’re ready to start using that cable here’s how to set up Quest Link. Start by going to the Meta Quest website and downloading the Oculus PC App (you’ll have to scroll down a little to see the Download Button).

Downloading the Oculus Desktop Application
The setup process for the Oculus software is pretty straightforward and so we won’t go into detail on it here. Though if you do have an SSD hard drive on your computer it is better, just like with other gaming software like Steam, to install the Oculus App on that drive as any games installed via Oculus will be installed in the same folder.
This isn’t required, and if you don’t know what an SSD drive is or don’t have one then don’t worry about it.
So now that you’ve got the Oculus Desktop Application installed it’s time to connect your Quest device to your PC.
Put your Meta Quest device on. Before plugging in your headset go to Settings -> System -> Quest Link and turn on the “Quest Link” slider at the top.
Make sure the Oculus App is running, and then plug your link cable into one of your computer’s USB 3 ports, and the other end of the cable into your Quest 2’s charging port.
Put the headset back on and you should see a popup asking if you would allow the computer to access files and folders on your Quest, hit “allow.” Then another popup will appear that looks like this.

Enabling Quest Link
Hit “Enable.” If this popup does not appear make sure your cable is connected properly and is capable of supporting Quest Link.
You can always manually run Quest Link from the Oculus Quick Settings Menu. You can also run Quest Link from Settings -> System -> Quest Link.

Launching Quest Link from the Quick Settings menu
A menu will appear and after a brief loading time should display the computer your Quest is connected to, select the computer and hit “Launch.”
You’ll know that the Link is working properly when you see this menu appear in your headset.

The Library as viewed through Quest Link
From here you can run SteamVR from your computer from your Steam Library, or you can just run VTOL VR directly from it.
If you run SteamVR first then your SteamVR home environment will appear and you can run VTOL VR from there. If you ran VTOL VR directly then you should find yourself in the main menu!
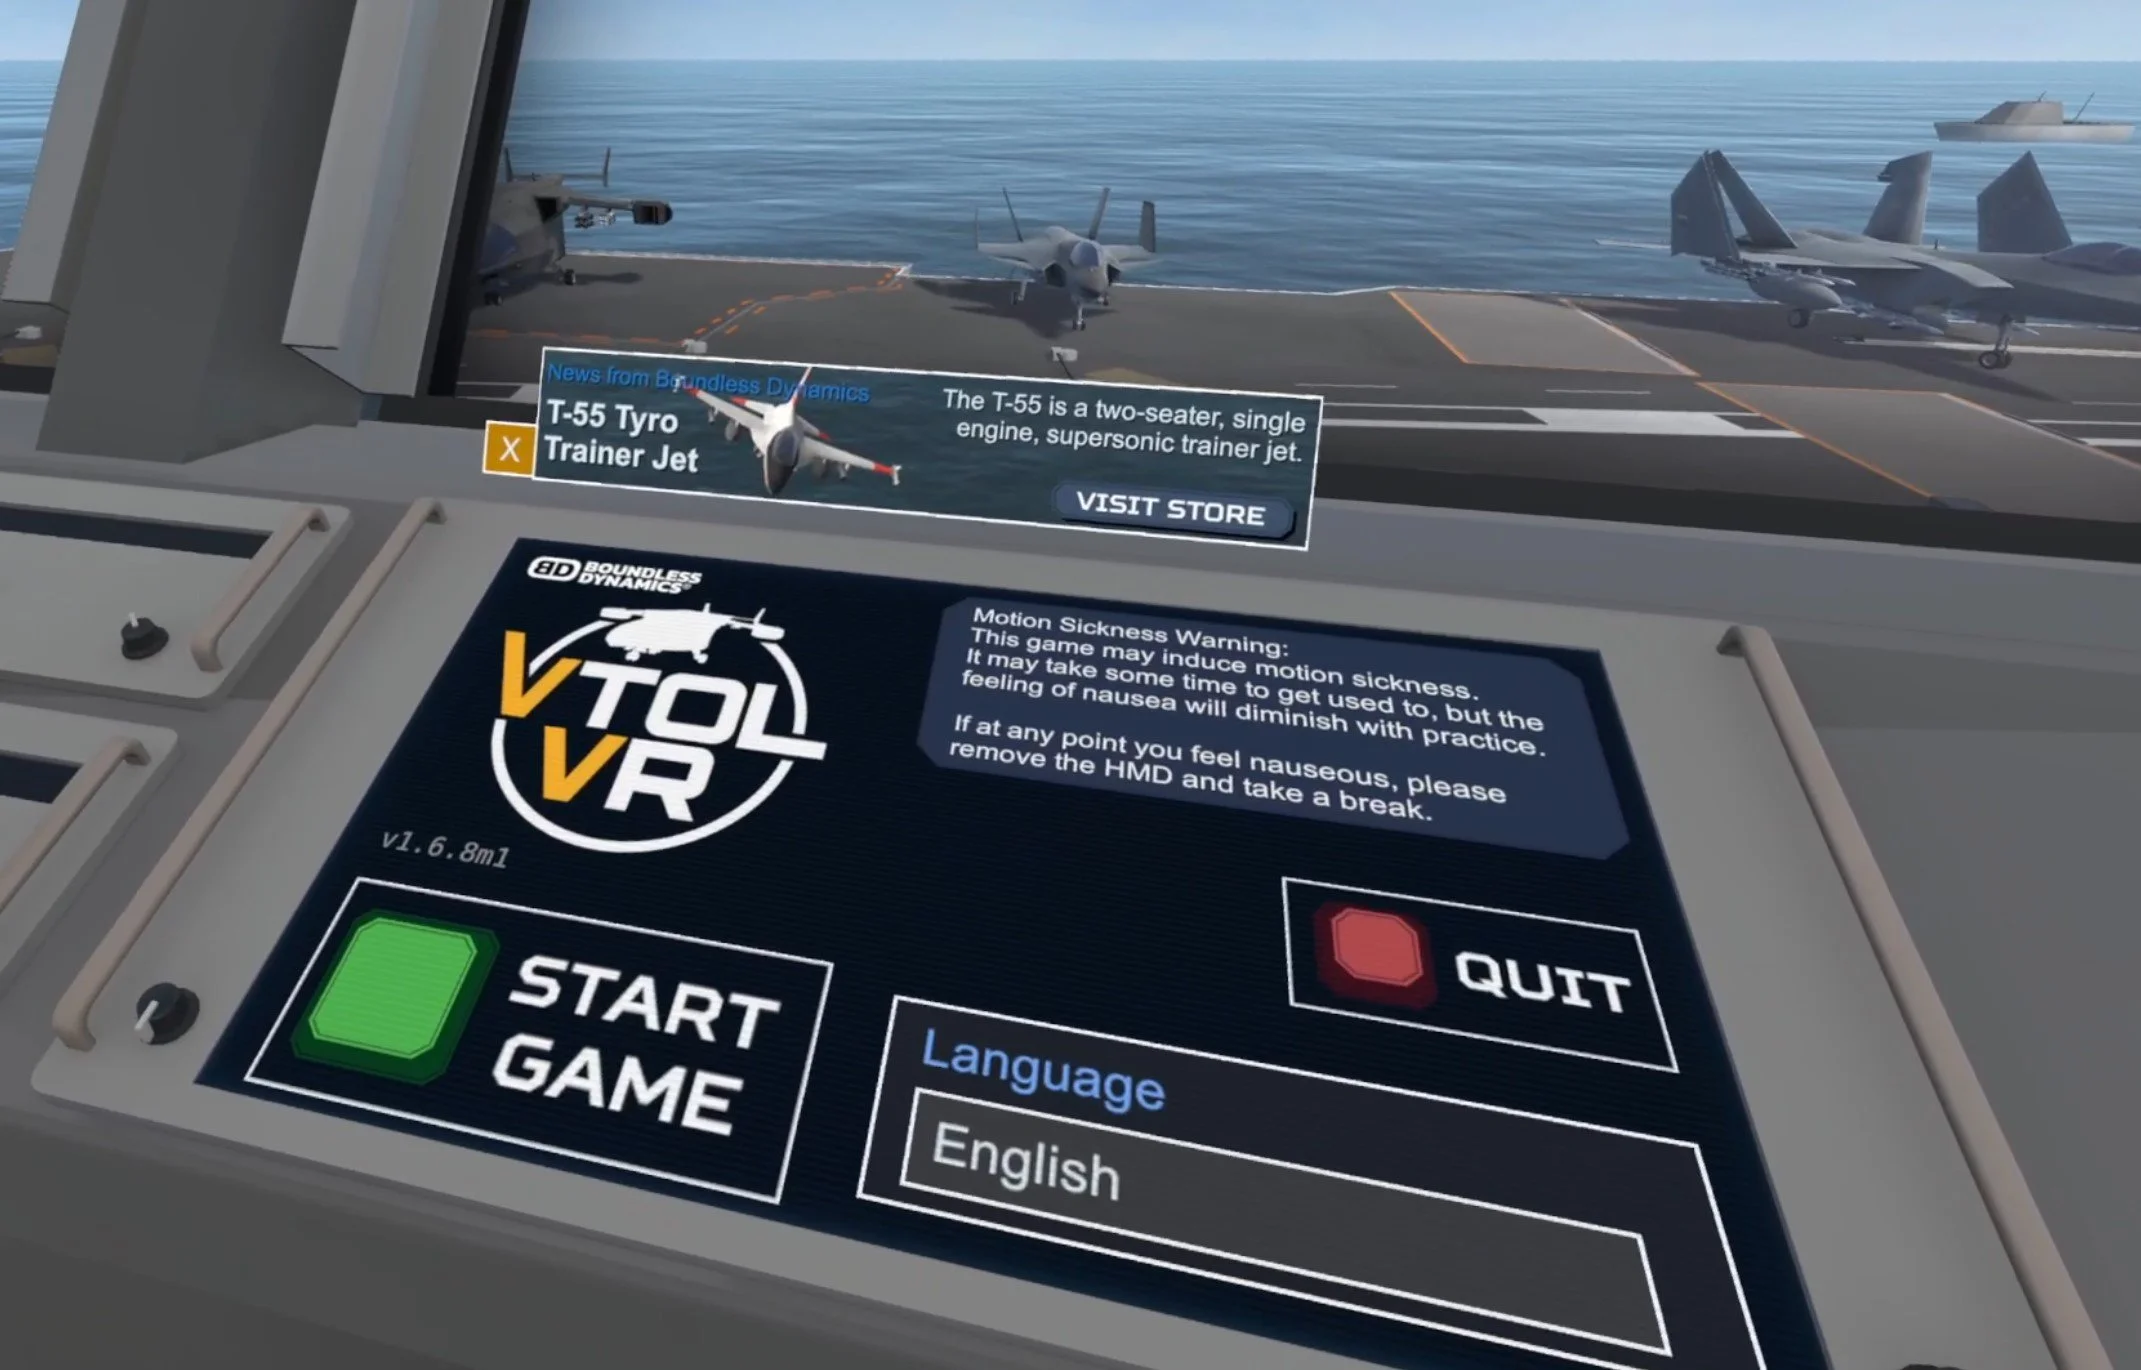
The VTOL VR main menu
If you experience problems during this process try restarting the Oculus App, restarting your headset, or restarting your PC. Preferably all at the same time, before trying again. Alternatively VTOL VR might run better if you run it from SteamVR home instead of starting it from your Steam library.
You can also contact Meta Quest Support if Quest Link isn’t working as expected.
How to Get VTOL VR on the Oculus Quest 2 Using Air Link
So you either don’t have a USB 3 cable that you can use for Air Link, or you don’t want to use a link cable, or you’re just wondering what other options you have to play VTOL VR on the Meta Quest 2.
Well you’ve got another option that is pretty great, Air Link. Air Link works a lot like Oculus Link using a cable, except instead of using a cable all of the data is sent from your PC to your headset via your local WiFi network.
Of course that’s a lot of data that needs to be sent and received very quickly. So just like everything else there are some recommended requirements to using Air Link on your Oculus Quest 2.
If you don’t meet these requirements Air Link might still work… but it might be unbearably choppy. So make sure your setup has the following before getting started:
A 5GHz WiFi Network (You can check your router settings, see this article for some details if you want to know more.)
A playspace for your Quest 2 that is in the same room as the PC or laptop you will be using to run VTOL VR.
An ethernet cable connecting your computer to your Modem/Router.
Your Quest 2 is connected to the same WiFi network as the computer.
You don’t necessarily have to have a 5GHz network, especially if your computer is connected to your WiFi network via an ethernet cable.
Keep in mind that even if you meet all of the above setup criteria, Air Link can still be temperamental. You can always contact Meta Quest Support if you run into bugs or problems with it after following the setup steps here.
Also before we get deep into how to set up Airlink you could also try a possibly quicker and easier alternative with Steam Link, which is an app that runs directly on your headset and skips a lot of the steps here.
If you want to try Steam Link then check out the Steam Link setup guide.
Anyway now that you’re ready to start let’s begin by installing the Oculus App that you can download from the Meta Quest website (you’ll need to scroll down a bit to see the download link).

Downloading the Oculus PC Application
The setup process for the Oculus software is pretty straightforward.. We won’t go into detail on it here, but don’t worry you’ll have that covered on your own.
One important thing to note is that if you do have an SSD hard drive on your computer it is better, just like with other gaming software like Steam, to install the Oculus App on that drive as any games installed via Oculus will be installed in the same folder.
This isn’t required, and if you don’t know what an SSD drive is or don’t have one then don’t worry about it.
So now that you’ve got the Oculus Desktop Application installed it’s time to connect your Quest device to your PC with Air Link. Make sure the Oculus app is running on your PC and put on your headset.
Go to Settings in your Quest 2, and then on to System and then Quest Link. After ensuring that the “Quest Link” slider is turned on hit the “Launch Quest Link” button and you should see a “Use Air Link” slider at the top Turn it on.
A text box will appear showing you more about the Air Link Requirements. Double check that you meet these requirements and press “Continue”.

Enabling Air Link in the Quest Link menu
Select the computer on your WiFi network you want to connect to and press “Pair” at the bottom.
You will be prompted to enter a code on your Quest 2. That code will appear in the Oculus PC application. It may take a minute or two to pop up.
Once the code is entered you should see the Oculus Link menu appear in your headset.

The Quest Link Library Menu
If you’ve made it this far then congratulations! You’ve connected your Quest 2 to your computer wirelessly and can run SteamVR or other PCVR games directly to your headset.
If the Oculus Link menu doesn’t appear or you get an infinite loading screen, press the Oculus button on your right controller and Quit the Link application. Then restart your headset and computer before trying again. If you still run into problems then make sure your PC and WiFi network meet the requirements that were listed above, or contact Meta Quest support.
Air Link can be finicky, and so it’s not guaranteed to work, but is generally pretty reliable. You can also check out this article from Meta with some more details, though we’ve covered most of it here.
Once you’ve got airlink running, and hopefully without an insane amount of lag, start SteamVR from your steam library, or start VTOL VR from your steam library.
If you run SteamVR first you’ll load into your Steam Home and can start VTOL VR from there. However you run VTOL VR you should see the main menu appear.

The VTOL VR main menu
Sometimes VTOL VR will work better when you run it from SteamVR home rather than just running VTOL VR itself directly. So try that as well if you run into problems.
If the game is extremely choppy or laggy, then connect your PC to your WiFi network with an ethernet cable, or get that Quest 2 Link Cable for a direct connection.
Anyway once you see the VTOL VR main menu you’re all set to play the game and enjoy this fantastic combat flight simulator in Virtual Reality! That’s how to play VTOL VR on the Quest 2. Have a fantastic time in the virtual skies.