

Sea Power Review – A Cinematic Jump Into Cold War Naval Strategy
Sea Power: Naval Combat In The Missile Age offers a dramatically different experience offers an experience that is slow-burning, deeply methodical, and rich in military detail. Developed with an unmistakable reverence for late Cold War naval tactics, this game invites players to assume command of advanced fleets, orchestrating tense cat-and-mouse engagements across the high seas.
Sea Power: Naval Combat In The Missile Age offers a dramatically different experience offers an experience that is slow-burning, deeply methodical, and rich in military detail. Developed with an unmistakable reverence for late Cold War naval tactics, this game invites players to assume command of advanced fleets, orchestrating tense cat-and-mouse engagements across the high seas.
For those wondering if this complex simulator is worth your time and money, this Sea Power review aims to explore the game’s mechanics, strengths, and current shortcomings, especially as it continues to evolve.
A Cold War Theater of Conflict

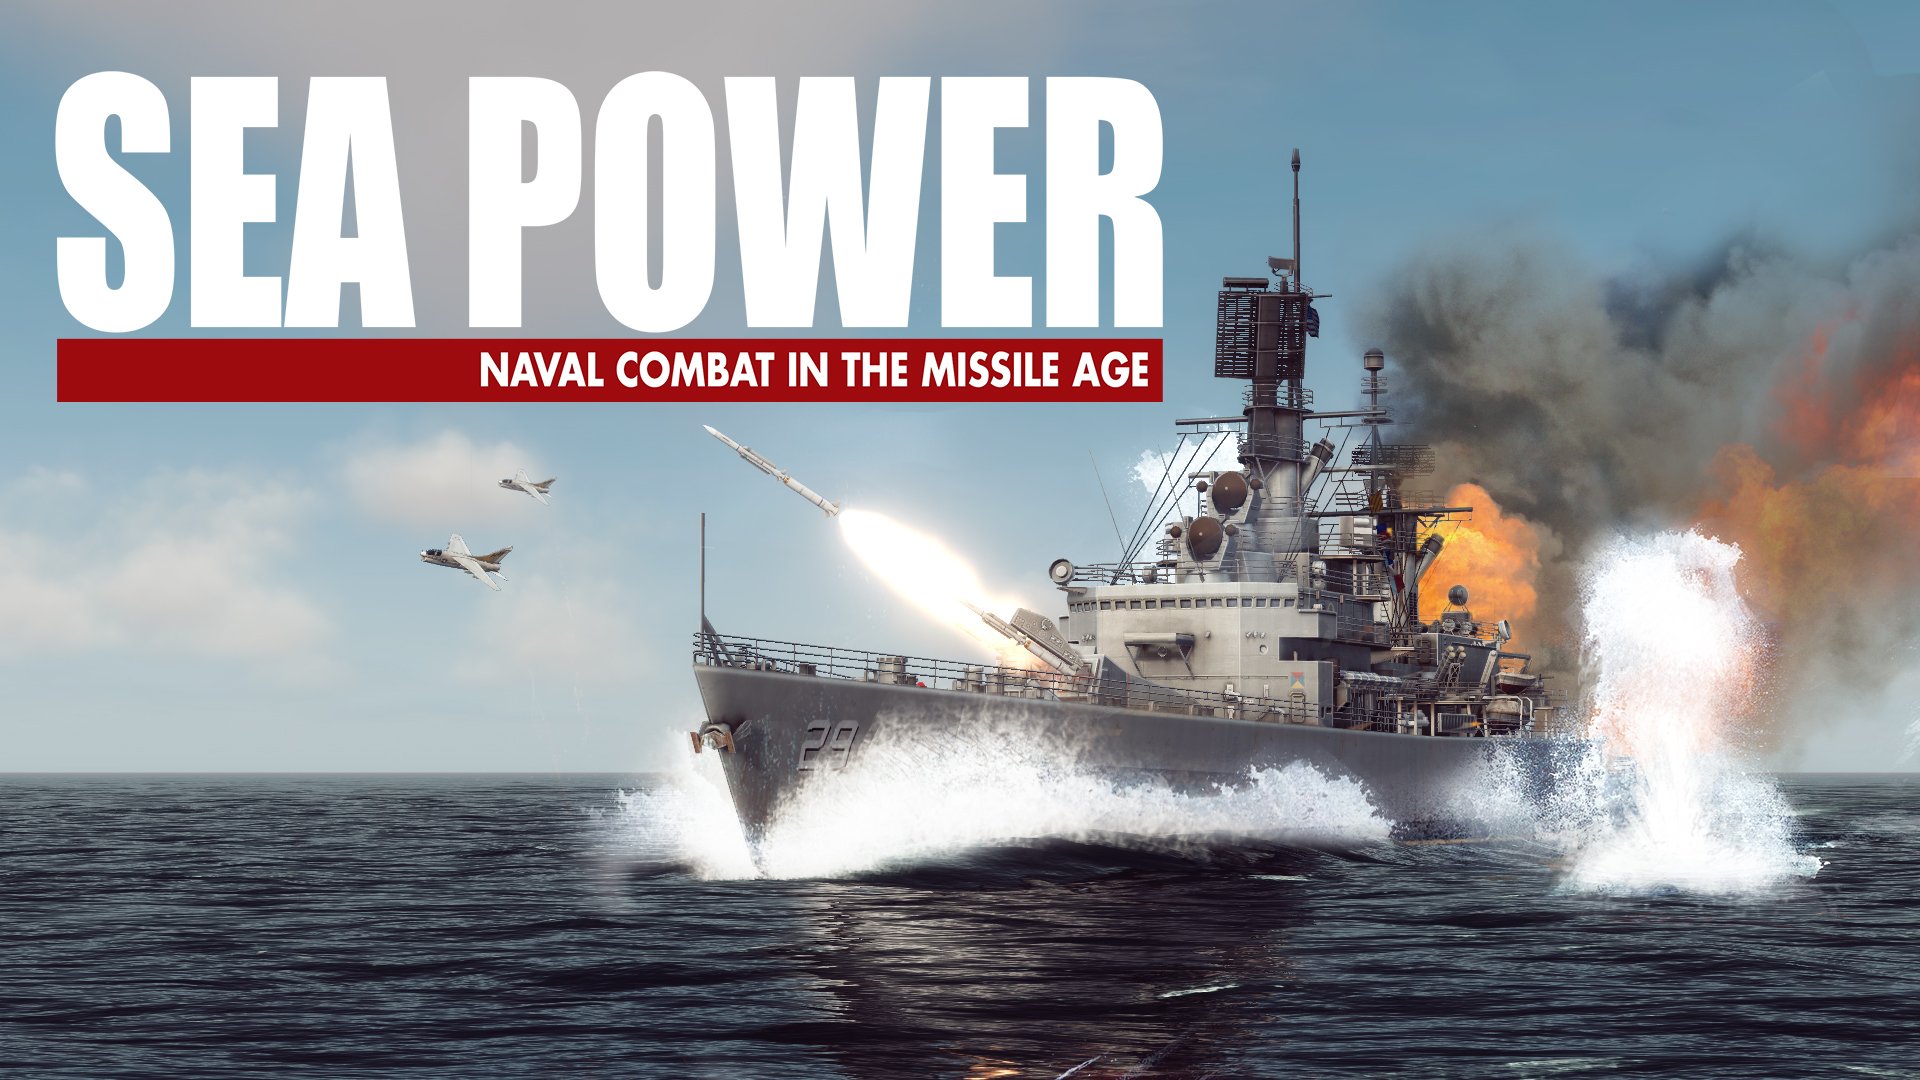
An Iowa Class Battleship launching a cruise missile in Sea Power.
Set between the 1960s and 1980s, Sea Power: Naval Combat In The Missile Age recreates a believable, data-rich simulation of maritime warfare between NATO and Warsaw Pact forces.
This title is unapologetically serious. You’ll manage entire carrier strike groups, oversee sonar sweeps for enemy submarines, and launch coordinated air strikes with precision.
The game includes over 150 naval units, 60 aircraft types, and multiple geographical theaters — including the North Atlantic, Gulf region, and parts of the Mediterranean. Whether you're deploying reconnaissance aircraft, engaging enemy fleets, or patrolling with nuclear submarines, each mission plays out like a high-stakes military chess match.
Gameplay Mechanics: Depth Over Speed
Sea Power: Naval Combat In The Missile Age is a real-time strategy game with pause and fast-forward capabilities, offering players immense control over pacing. Most missions follow a tactical rhythm: search, identify, engage. You can toggle radar signatures, command aircraft decks, launch missiles, and monitor sonar and radar feedback.
In this Sea Power review, it’s important to emphasize that the game doesn’t hand-hold. There’s a steep learning curve, and although there are tutorial videos available, in-game guidance is minimal. This can be a hurdle for newcomers, but for seasoned strategists, it adds to the immersion.
Luckily compared to other games in the genre, like Command: Modern Operations, Sea Power is much easier to grasp when starting out. Though that doesn’t make it easy. Since this is a little closer to a military simulation than a game some understanding of precision weapons, radar, sonar, aircraft, and ships makes the game much easier to grasp.
Tactical Displays and Interface

The tactical maps and displays are amazing in Sea Power and are much more accessible than other games in the genre.
A hallmark of Sea Power is its dual-interface approach. Players can operate from a 3D perspective to appreciate stunning visuals — including torpedo trails, phalanx CIWS engagements, and carrier landings — or they can switch to a tactical 2D map for command decisions. Most of the game unfolds via the tactical screen and event logs, where alerts inform you of enemy radar pings or missile launches.
While graphically impressive, the UI has its issues. As noted in this Sea Power review, user feedback mechanisms are lacking. At times, it’s unclear why a unit is not responding, or why specific orders are not being executed. This can be frustrating, especially when managing multiple units during large-scale confrontations.
Submarine Warfare and Sensor Mechanics
Submarine warfare in Sea Power is not just a feature — it’s a full-blown discipline. Using active and passive sonar, deploying sonobuoys, and patrolling under thermal layers adds another layer of realism. It's a slow, deliberate process where one wrong ping could give away your position or miss an approaching torpedo.
Detection mechanics rely heavily on sensor range, atmospheric conditions, and stealth, creating a paranoia-laced environment. Will you go dark to avoid being spotted, or risk lighting up the radar to locate the enemy first?
This Sea Power review finds that these mechanics capture the tension of real Cold War naval standoffs better than any game since Harpoon or Command: Modern Operations, albeit in a more accessible package.
Combat Engagements and Realism
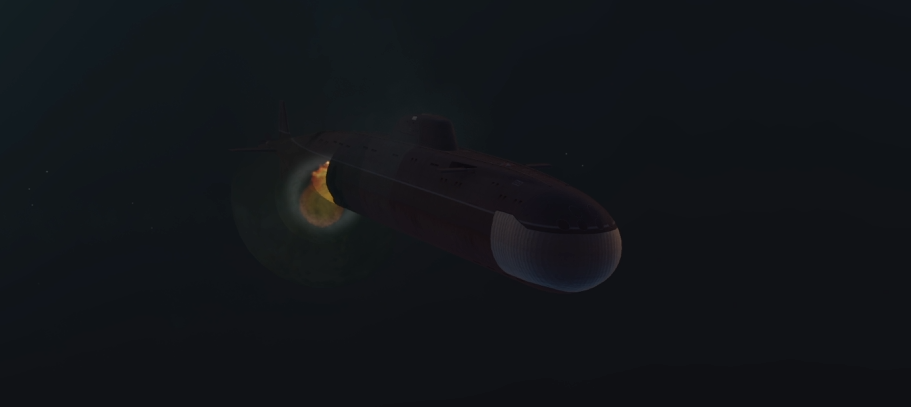
Sub Combat is a huge part of Sea Power.
When missiles fly, Sea Power becomes a spectacle. Dozens of projectiles arc across the sky, anti-aircraft systems roar to life, and countermeasures are deployed in real-time. It’s as thrilling as it is overwhelming.
But combat here isn't only about launching. You’ll need to manage ammunition, consider the angle of your ships for optimal CIWS coverage, and utilize electronic countermeasures effectively. Decoys, chaff, and infrared noise-makers all come into play, especially against heat-seeking or radar-guided threats.
The game also offers a full unit encyclopedia, allowing players to study everything from missile types to radar frequencies — a testament to the developer’s commitment to authenticity.
Modding, Mission Editor, and Community Content
Another standout in this Sea Power review is the game’s mission editor and robust mod support. Players can tweak scenarios, add units, or simulate historical confrontations. The Workshop community is already flourishing, with new campaigns, realism enhancements, and rebalanced weapon behaviors.
If you’re the kind of player who values community-driven longevity, this feature alone may be worth the price of admission.
Bugs, Limitations, and Early Access Caveats

Craft even down to small patrol boats are modelled in Sea Power: Naval Combat In The Missile Age.
Despite its strengths, Sea Power is not without flaws. AI behavior can be inconsistent — sometimes ignoring orders or halting entirely.
At £41.99 (or ~$50), the Early Access price feels steep. While we recognize this Sea Power review evaluates a work-in-progress, the lack of campaign, incomplete tutorials, and occasional bugs mean the game might not be ready for everyone just yet. However, if does seem that the team behind this game is in it for the long haul with consistent and meaningful updates.
The Dynamic Campaign on the Horizon
Looking ahead, the most exciting promise is the addition of a dynamic campaign, planned for late 2025. This feature could transform Sea Power from a sandbox of individual missions into a grand, evolving narrative experience.
Imagine orchestrating a series of interconnected naval battles where unit loss, resource management, and political decisions matter. It’s a tantalizing prospect for fans of complex strategy games.
Visuals, Audio, and Presentation
Graphically, Sea Power strikes a strong balance between utility and style. Submarine views, missile trails, and ocean dynamics are visually satisfying, even if some ship models could use texture improvements. Sound design is decent, with the soundtrack contributing to the game’s suspenseful atmosphere, although occasional audio glitches persist.
There’s a lot of potential here to elevate the immersion further — like adding crew animations or more detailed environmental audio cues.
Who Is This Game For?

Land units are also in Sea Power as well, like this airbase that is being carpet bombed.
If you’re a military sim enthusiast, naval history buff, or a fan of Cold War tension, Sea Power: Naval Combat In The Missile Age is probably already on your radar.
However, if you're new to the genre or unsure about real-time tactics and micromanagement, you may want to wait until more polish and accessibility features are added — especially given the current price point.
The Final Verdict - Sea Power Review
Sea Power is not a game for everyone — and that’s exactly why it matters. In a landscape filled with generic shooters and strategy-light management games, it carves out a unique niche. Its dedication to authenticity, tactical depth, and player control is unmatched.
As this Sea Power review has shown, the game is already a formidable naval warfare simulator. With continued development, bug fixes, and the highly anticipated dynamic campaign, it has the potential to become a genre-defining masterpiece.
Until then, it remains an Early Access gem — rough around the edges, but glittering with promise.

The Best Armor in Helldivers 2: Passive Effects and Tiered Defense Breakdown
In Helldivers 2, your armor choice is far more than a cosmetic decision—it’s a vital piece of your survival kit that can determine whether you make it back from a mission or become cannon fodder for the Aliens.
In Helldivers 2, your armor choice is far more than a cosmetic decision—it’s a vital piece of your survival kit that can determine whether you make it back from a mission or become cannon fodder for the Aliens.
Each armor set in the game comes with specific passive perks and protection ratings, making it essential to choose gear that aligns with your playstyle and mission goals. This guide explores the best armor passive effects and their durability across light, medium, and heavy armor categories.
You may also be interested in:
Light Armor: Speed and Specialization
Light armor in Helldivers 2 is better for players who prioritize mobility. While it offers the lowest protection but the fastest running speeds. Light armor passives often support specialized playstyles. Moving more quickly also means that you are much faster at collecting samples than more heavily armored Helldivers.
Top Light Armor Picks:
SC-34 Infiltrator
Passive Effect: +10% Movement Speed
Armor Rating: Light
Why It’s Great: Ideal for solo players or squads using hit-and-run tactics, the Infiltrator allows for agile repositioning and evasion.
CE-07 Demolition
Passive Effect: Explosive Damage Boost
Armor Rating: Light
Why It’s Great: Perfect for players using grenade-heavy builds or satchel charges, this armor turns you into a mobile bomb dispenser.
SC-17 Courier
Passive Effect: Reload Speed Increase
Armor Rating: Light
Why It’s Great: Faster reloads benefit players using slow-reload weapons like shotguns or LMGs, giving them an edge in frantic firefights.
Best Use Cases for Light Armor: Large maps, using stratagems to quickly hit a target and then fleeing, farming samples and super credits, or any situation where evasion is more important than endurance.
Medium Armor: The Balanced Backbone
Medium Helldivers 2 armor is the most versatile, offering a middle ground between speed and protection. It’s the go-to choice for most missions and playstyles. You really can’t go wrong with Medium armor in Helldivers 2.
Top Medium Armor Picks:
TR-7 Ambassador of Pain
Passive Effect: Increased Stratagem Throw Range
Armor Rating: Medium
Why It’s Great: The increased stratagem range is invaluable for safe deployments of turrets, ammo drops, and orbital strikes.
CE-29 Excavator
Passive Effect: Explosive Resistance
Armor Rating: Medium
Why It’s Great: Useful in missions with high explosive risk, especially against Automatons or when friendly fire is a concern.
SC-25 Vigilant
Passive Effect: Enhanced Radar Range
Armor Rating: Medium
Why It’s Great: Provides early warning of enemy threats, making it ideal for strategic squad play.
Best Use Case for Medium Armor: All-purpose missions, squad-based operations, or when flexibility is key. If you are unsure what sort of armor to take, go with medium.
Heavy Armor: Tanks on Two Legs
Heavy Helldivers 2 armor is built for players who don’t flinch under pressure and need to tank hits in prolonged engagements. While Helldivers 2 heavy armor slows you down, the benefits in survivability are unmatched.
Top Heavy Armor Picks:
FS-55 Devastator
Passive Effect: Damage Reduction from All Sources
Armor Rating: Heavy
Why It’s Great: This armor provides an all-around defensive boost, making it perfect for frontline roles or defensive objectives.
CE-77 Bombardier
Passive Effect: Explosive Damage Boost
Armor Rating: Heavy
Why It’s Great: If you're carrying rocket launchers or mortars, the Bombardier significantly ups your firepower while allowing you to tank splash damage.
TR-9 Veteran
Passive Effect: Stagger Resistance
Armor Rating: Heavy
Why It’s Great: Reducing the impact of enemy hits allows you to keep firing even under heavy assault.
Best Use Case for Heavy Armor: Defense missions, swarm-heavy missions, and supporting slower squad members with firepower and resilience.
Matching Armor to Playstyle and Mission Type
Choosing the “best” armor in Helldivers 2 isn’t about picking the one with the highest rating. It’s about synergy—between your weapon loadout, your role in the squad, and the type of mission you’re undertaking.
Speed-Focused Players should favor light armor with mobility or reload perks.
Tactical and Support Roles thrive with medium armor and utility passives like radar enhancements or stratagem boosts.
Frontline Tanks and Heavy Weapon Specialists excel in heavy armor, especially those with damage mitigation and explosive amplification.
You may also be interested in:

10 Underrated Spells In Baldur’s Gate 3
In the world of Baldur’s Gate 3, players have access to a vast arsenal of magical spells, each with varying amounts of value in and out of combat. While many players gravitate toward popular, high-damage options like Fireball or Magic Missile, there are numerous lesser-known spells that can tip the tide of battle or solve complex narrative puzzles. These underrated gems offer subtle advantages, creative flexibility, and unexpected synergies. Here are ten underrated Baldur’s Gate 3 spells you should absolutely consider adding to your spellbook.
In the world of Baldur’s Gate 3, players have access to a vast arsenal of magical spells, each with varying amounts of value in and out of combat. While many players gravitate toward popular, high-damage options like Fireball or Magic Missile, there are numerous lesser-known spells that can tip the tide of battle or solve complex narrative puzzles. These underrated gems offer subtle advantages, creative flexibility, and unexpected synergies. Here are ten underrated Baldur’s Gate 3 spells you should absolutely consider adding to your spellbook.
1. Create or Destroy Water
Often overlooked because of its seemingly mundane utility, Create or Destroy Water is an elemental sleeper hit. Besides extinguishing flames or creating water surfaces, it plays a strategic role when paired with lightning or cold damage. Casting this spell can create puddles that help trigger status effects like Electrified or Frozen. In elemental-heavy zones, especially in Act 2 and 3, this spell can transform the battlefield into your playground.
2. Command
Simple but devastating, Command allows you to force enemies to drop weapons, flee, or fall prone with a single word. The spell’s versatility is often underestimated; forcing a powerful melee opponent to drop their weapon or fall prone can buy your party a critical round. Against humanoid enemies who rely on positioning or weapon attacks, Command often serves as a pseudo-stun, granting allies advantage in combat. Among Baldur’s Gate 3 spells, few offer this much control for such a low cost.
3. Silence
Most players think of Silence as a niche counterspell, but it is an essential tool in many combat and stealth strategies. Dropping a zone of silence can entirely neutralize enemy spellcasters or shut down magical alarms and traps in sneaky infiltrations. In tight dungeon corridors, a silent zone also prevents enemies from rallying or calling reinforcements. With increasing arcane threats throughout the game, this spell gains more relevance the deeper you go.
4. Enlarge/Reduce
Far more than a novelty spell, Enlarge/Reduce opens up a range of combat and exploration tactics. Enlarge boosts melee damage and reach, turning rogues and rangers into surprising brutes. Reduce, on the other hand, is fantastic for slipping through tight spaces, disarming traps, or weakening enemies. It also works on objects, allowing you to manipulate the environment in clever ways. Creative players can get a lot of value from this underused tool among Baldur’s Gate 3 spells.
5. Grease
While it looks silly at first glance, Grease is a classic battlefield control spell with surprising tactical merit. When paired with fire or lightning, it becomes a damage-dealing hazard, while on its own it can force enemies prone, consuming their movement and giving your allies advantage. It’s ideal in choke points, doorways, and narrow caves. If your party has lots of elemental synergies, Grease is an easy setup spell that can trigger cascading effects. Especially in the early game it is great to manage choke points by causing enemies to slip on it, or creating a zone of fire by setting the grease on fire.
6. Minor Illusion
Don’t underestimate this cantrip just because it doesn’t do damage. Minor Illusion is a sandbox spell for clever players. You can use it to distract guards for pickpocketing or sneaking, lure enemies into traps, break line of sight, or even escape combat entirely. In dialogue-heavy or stealth-driven quests, this spell offers countless ways to gain the upper hand. While flashy offensive magic grabs attention, this subtle spell is a true utility powerhouse in the Baldur’s Gate 3 spells catalog.
7. Protection from Evil and Good
This spell doesn’t receive enough love, yet it offers tremendous defensive benefits against many of the most dangerous enemy types in the game — including fiends, fey, aberrations, undead, and celestials. It gives your ally protection from being charmed, frightened, or possessed, and attackers of those types have disadvantage. In boss fights or when facing mind-controlling foes like Mind Flayers, this spell can protect your most vital party member at critical moments.
8. Feather Fall
Falling damage in Baldur’s Gate 3 can be brutal, especially in vertical environments. While Feather Fall might seem like an out-of-combat tool, it can be used during combat to gain dramatic repositioning without risk. Send your rogue diving off a cliff to flank enemies from below. Leap down from a tower mid-fight to escape danger. Some puzzles also require high vertical mobility, making this spell invaluable. Many of the best Baldur’s Gate 3 spells are about movement, and Feather Fall is often overlooked for just that.
9. Tasha’s Hideous Laughter
Crowd control is king in tough encounters, and Tasha’s Hideous Laughter delivers on that front with style. It incapacitates a creature with laughter, rendering them prone and unable to act. Unlike Hold Person, it works on any creature with Intelligence 4 or higher, making it more broadly applicable. It’s especially useful early on when action economy matters most. Neutralizing a tough foe for even two rounds can swing an encounter in your favor.
10. Enhance Ability
This spell doesn’t just buff stats — it enables exploration, dialogue success, and clever roleplay. Use Cat’s Grace for dexterity boosts during traps and stealth, or Eagle’s Splendor before a persuasion attempt. It’s invaluable in long dungeons where multiple ability checks await. When paired with Guidance, you can stack your chances at skill checks across the board. In a game as reactive and nuanced as Baldur’s Gate 3, spells that support narrative flexibility should not be ignored.
These ten spells might not boast the flashy effects of Meteor Swarm or Cloudkill, but they offer meaningful, often decisive utility in both combat and narrative. Whether you’re trying to bypass a tricky encounter, control the battlefield, or unlock new story options, leveraging these spells can redefine your experience. The next time you prepare your spellbook or level up, take a second look at the options you might have dismissed. Sometimes the most underrated Baldur’s Gate 3 spells are the ones that help you win without ever drawing your sword.

How To Install Arma Reforger Mods
Installing mods in Arma Reforger enhances gameplay with new weapons, maps, and mechanics. Whether you're jumping into multiplayer or customizing a solo session, the process is simple thanks to Bohemia's built-in Workshop and Mod Manager. Here's how to do it.
Installing mods in Arma Reforger enhances gameplay with new weapons, maps, and mechanics. Whether you're jumping into multiplayer or customizing a solo session, the process is simple thanks to Bohemia's built-in Workshop and Mod Manager. Here's how to do it.
You May Also Be Interested In:
The New Arma Reforger Antistasi: Arma Reforger Overthrow Mod
10 Amazing Arma Reforger Mods That Take Realism & Gameplay to the Next Level
Installing Arma Reforger Mods in Multiplayer
When you join a multiplayer server with custom mods, Arma Reforger automatically prompts you to download the necessary content.
Find a Modded Server: Servers that use mods will show a jigsaw icon in the server list.
Join the Server: When you attempt to join, the game will notify you of any required mods.
Auto-Download: Click to confirm the download. The game will automatically fetch and install all necessary mods and their dependencies.
Play: Once downloaded, you'll be dropped into the game with the mods fully enabled.
This streamlined process means you don’t have to manually search for mods—just let the game handle it when joining a modded server.
Installing Arma Reforger Mods for Singleplayer
To use mods in singleplayer—especially in the Game Master mode—you'll need to use the in-game Workshop and Mod Manager.
Access the Workshop: From the main menu, click the "Workshop" button at the bottom left.
Browse and Download Mods:
Sort by popularity or search directly.
Click on a mod (e.g., weapon packs like M4 or MK18).
Hit the download icon. Confirm if prompted.
If the mod requires other mods (dependencies), the system will prompt you to download those too.
Enable the Mod:
Navigate to the “Mod Manager” tab at the top.
If the mod is not auto-enabled, move it from the “Disabled” column to the “Enabled” column using the arrow.
Verify:
The top-right corner will show a jigsaw icon with a number, indicating how many mods are active.
Test the Mod:
Launch Game Master, spawn your character and objects like weapon crates.
You should see new modded content (e.g., custom weapons with attachments).
With mods enabled, you can now build immersive, customized solo missions.
You May Also Be Interested In:

Helldivers 2 Mechs: The Ultimate Power Armor Experience
When it comes to futuristic firepower and dominating the battlefield in Helldivers 2, few tools of destruction are as awe-inspiring or strategically versatile as the mechs. These towering exo-suits—officially known as EXO-45 Patriot and EXO-49 Emancipator—bring a unique blend of mobility, heavy weaponry, and vulnerability to the fight for Super Earth.
When it comes to futuristic firepower and dominating the battlefield in Helldivers 2, few tools of destruction are as awe-inspiring or strategically versatile as the mechs. These towering exo-suits—officially known as EXO-45 Patriot and EXO-49 Emancipator—bring a unique blend of mobility, heavy weaponry, and vulnerability to the fight for Super Earth.
You may also be interested in:
The Powerhouses: EXO-45 Patriot and EXO-49 Emancipator

The Helldivers 2 Emancipator Mech
The EXO-45 Patriot is a fan favorite for good reason. Outfitted with dual weapons—a Gatling gun and a missile launcher—it is a crowd-control specialist. This mech excels at mowing down waves of enemies, especially the insectoid Terminids. It also packs a punch against armored foes, though its limited ammunition requires some trigger discipline.
On the other hand, the EXO-49 Emancipator is a more generalized combat platform. It’s fitted with high-caliber autocannons that give it adaptability across both organic and robotic threats. While not as specialized as the Patriot, its versatility means it can hold its own in most combat situations. Both units are mechanically fragile, with light armor on the limbs and medium armor on the torso, meaning sustained enemy fire can turn these power suits into mobile coffins.
Tactical Considerations and Vulnerabilities
Despite their brute strength, Helldivers 2 mechs are not invincible. A major concern is armor penetration. The arms and legs have low armor ratings, making them susceptible to small arms fire and environmental hazards. Once a limb is destroyed, your mech becomes nearly useless—especially if you lose both arms, leaving you unable to fire your weapons. The mechs, despite looking intimidating, can be surprisingly squishy.
Additionally, positioning is everything. Mechs are loud, slow, and highly visible targets. Enemies like Bile Titans, Impalers, Chargers, and especially Autobot tanks can obliterate these mechs if approached recklessly. Urban maps do offer better cover for mechs, helping to mitigate their vulnerability by allowing players to break line of sight and retreat for repairs or repositioning.
Strategic Enhancements: Shield Generator Pack
A major game-changer for mech survivability is the Shield Generator Pack. This stratagem continues to function even while you're inside the mech, providing a crucial buffer against heavy-hitting enemy attacks. In rigorous field tests, the shield consistently absorbed high-damage projectiles that would otherwise result in instant destruction.
This addition allows Helldivers 2 mechs to absorb direct hits from factory turrets, cannon towers, and elite automatons—making them exponentially more effective in high-difficulty missions. However, players must still be cautious of positioning; the shield does not cover exposed limbs, which remain a significant liability.
Combat Effectiveness in Different Environments

The Helldivers 2 Patriot Mech
Helldivers 2 mechs truly shine in missions involving swarms of soft targets. Against the Terminids and Illuminate forces, these exo-suits can wipe out hordes with relative ease. Their AOE firepower and suppression capabilities turn chokepoints and objectives into killing fields.
In contrast, fighting the Automatons requires a different approach. Their precision fire, explosive weaponry, and armor make them especially dangerous. Still, with smart use of cover and a proactive playstyle, players can use mechs effectively even in these challenging scenarios. Knowing enemy weak points and anticipating volleys of enemy fire can mean the difference between a glorious victory and a smoking wreckage.
A New Era of War Machines
Recent updates have improved mech accessibility by reducing the cooldown timer from 15 minutes to 10. This has made it easier for squads to incorporate multiple Helldivers 2 mechs into their strategy, opening up new opportunities for coordinated assaults and base sieges. Furthermore, enhanced visual detail and mech animations add an immersive flair that complements their powerful presence on the battlefield.
Whether you’re crushing aliens underfoot or trading salvos with robotic death machines, Helldivers 2 mechs add a visceral and satisfying layer to combat in Helldivers 2. While they are far from indestructible, with the right support and smart tactical use, these armored behemoths become the centerpiece of any successful mission.
You may also be interested in: