

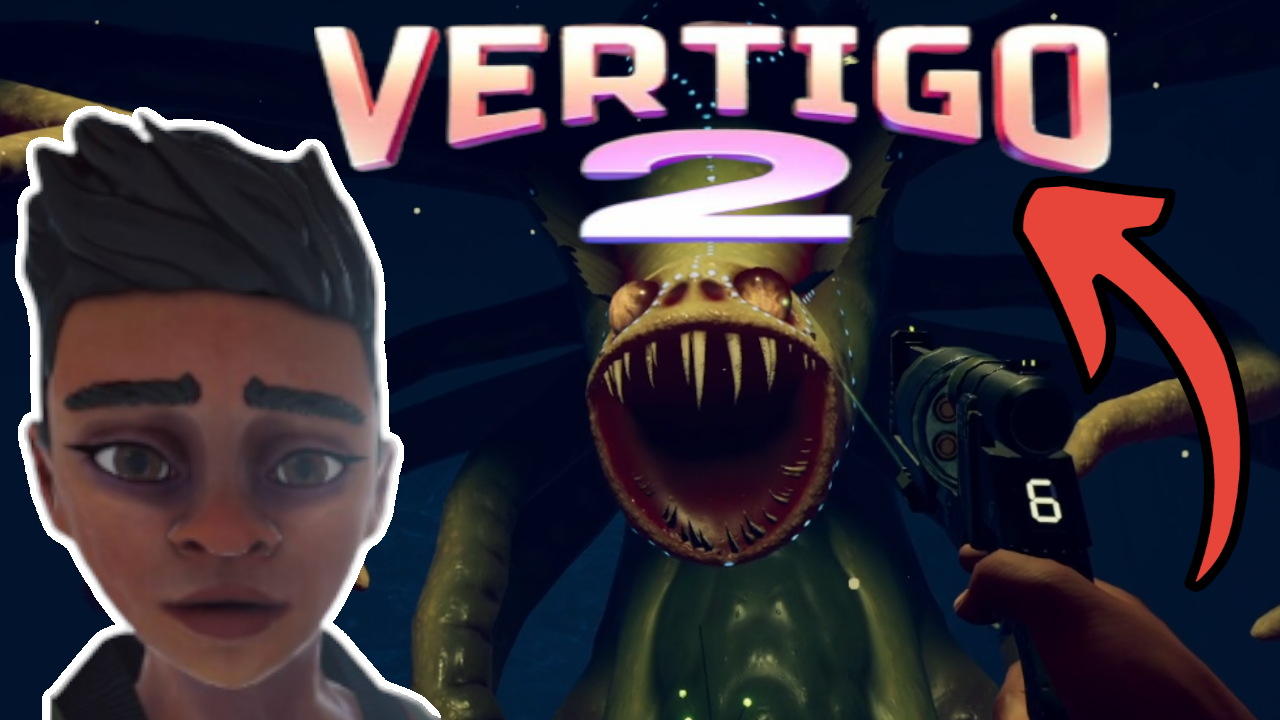
Vertigo 2 VR Review - The Best Singleplayer VR Game of 2023
You might wonder how an Indie game made by a solo developer, a VR game made by a solo developer even, managed to get almost 1000 reviews on Steam with an Overwhelmingly Positive rating, and little marketing other than articles like this one talking about how great it is.
You might wonder how an Indie game made by a solo developer, a VR game made by a solo developer even, managed to get almost 1000 reviews on Steam with an Overwhelmingly Positive rating, and little marketing other than articles like this one talking about how great it is.
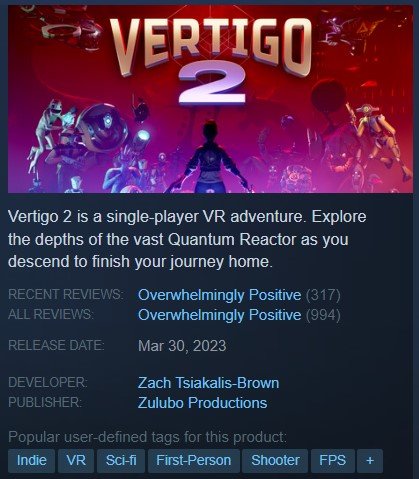
The 5/22/2023 reviews for Vertigo 2
Well I'll tell you, because Vertigo 2 is one of the most finely made VR singleplayer games out there. Here we'll go through a few of the big categories that, combined, make for a great singleplayer VR game when done well, and exactly just how Vertigo 2 knocks them out of the park.
Vertigo 2 Review - Weapons
Let's start with the weapons, and since Vertigo 2 is primarily a shooting game, weaponry is one of the most important categories. Vertigo 2 has a wide variety of weapons that fill different roles.
A revolver that functions as a long range precision weapon, a shotgun that does a lot of damage and is easy to aim but can only be used up close, and quite a few others that you collect over time. There are a lot of different weapons to choose from, and even some secret weapons that you can find if you're careful or google a guide. What's truly revolutionary though is how your ammunition works.

The antimatter shotgun is very effective at close ranges
You regenerate more over time. So you don't have to constantly be looking for ammo in your surroundings, and you can choose which weapon you want to use in any given situation without depending on what the game gives you. Since it takes time for ammo to regenerate though, you'll be forced to switch weapons in a prolonged fight. This keeps you from overly relying on a single weapon. You're forced to switch between them when one runs out of ammo.
Still, most of the weapons are pretty versatile at different ranges, and so you'll never find yourself completely out of ammunition for an effective weapon in any given fight. While I tend to overuse the shotgun whenever possible. I've been forced a bunch of times to change to an alternative simply because I ran out of ammunition, or the fight became longer ranged. You can still completely ignore some weapons if you want to, and that's a good thing, because you'll still have choice.

Storming a castle with an AK-47
Not having to rely on ammunition pickups gives you that choice, and you have even more ability to decide how you want your weapons to work, and which favorite weapons to focus on, through the upgrade system. You'll find a few upgrades to improve weapons as you go on through the game, and which ones you choose to upgrade and which way you choose to upgrade them further defines and refines your playstyle.

There's a perfect balance struck here between your ability to choose how you want to play, and you not being able to play constantly in a single way by using a single weapon, which would inevitably make you bored with the game.
Vertigo 2 Review - Enemies
What enemies you face and how encounters are designed also reinforces this notion. Vertigo 2 does tend to focus on close to medium range encounters, thus why the shotgun is so easy to rely on for me, but it also switches things up and moves enemies further away by giving them powerful ranged attacks so that you can't rely on an up close fighting strategy all of the time, even if you try and close the gap with your teleportation ability.
Some enemies are dangerous up close too, and so you'll never fully be focused on keeping your distance or trying to close the gap. You can play one or the other way if you like too, risking it all by dashing more closely, or carefully taking aim from cover and winning a battle of accuracy.

A naval based gunfight
Sometimes you are forced to fight up close or far away by the enemies you face and the environments they are in, sometimes you have to fight from afar, but mostly you have a choice of which way to play it. Balancing your decisions, and occasionally getting you out of your comfort zone, is a careful balancing act that Vertigo 2 pulls off very well.
The look of the enemies is also constantly interesting, and in Vertigo 2 you run into new types of enemies all of the time, from different assortments of robots to a massive variety of aliens. None of them outstay their welcome either, and the opponents that you face change constantly as you proceed from place to place to match your environment.

A secret weapon
The different creatures of Vertigo 2's quantum reactor feel like a part of the strange world they are in, and will fight each other just as quickly as they'll fight you if they are hostile to one another. The enemy encounters are interlaced with the story of the game to not only vary what you're fighting, but where you're fighting and why you're fighting.
Vertigo 2 Review - The Story
The story of Vertigo 2 is strange, there's really no denying that, with some humor mixed in. Not everyone will like the story itself. It is a very overall pulp science fiction sort of story, but there is more character drama built in then you would usually find in a video game.
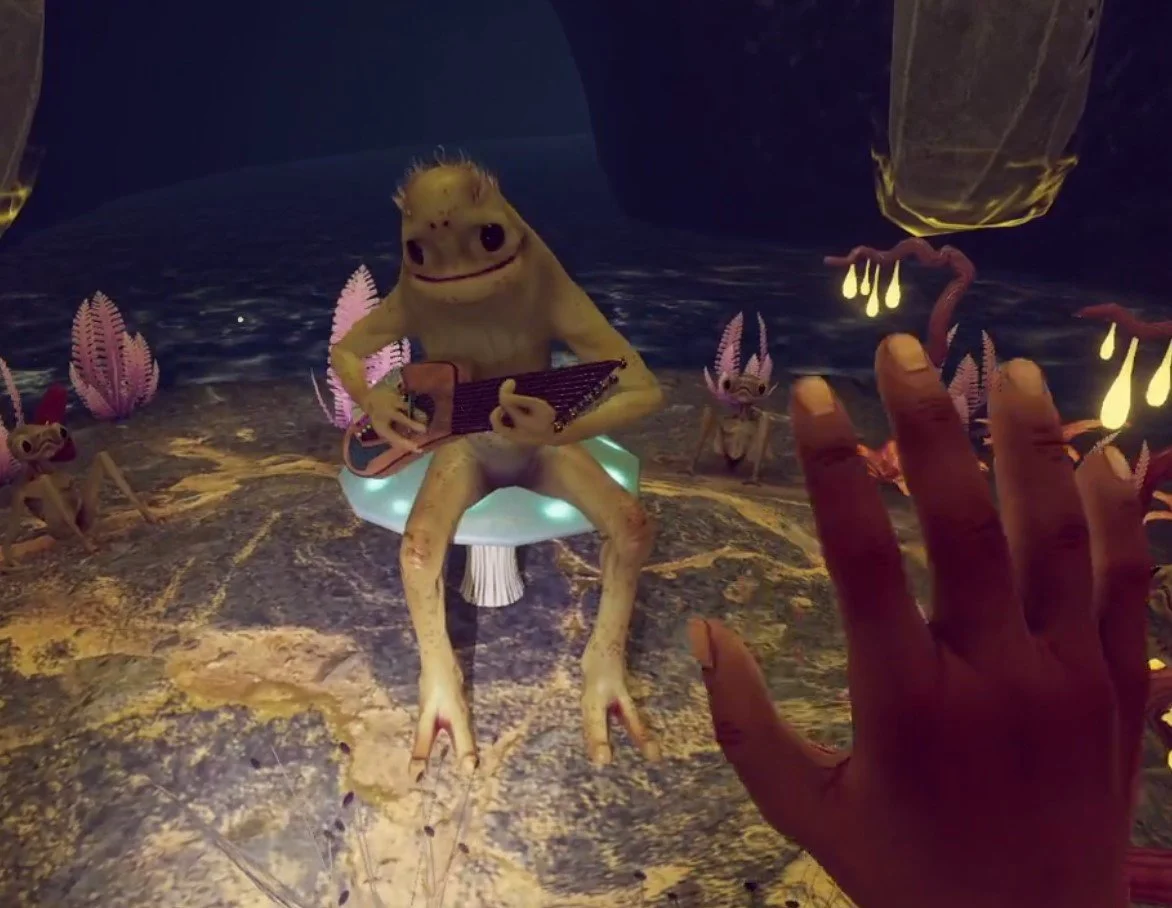
Nani
There were multiple occasions where I felt real emotion at what happened to different characters, especially those that helped me as the player. Not to mention you're not completely a character in the story that is purely acted upon. You have some moments of agency just like the other characters in the story do, and can make choices that affect what challenges you face, and what happens in sections of the story.
If you've got no tolerance for a little silliness then you might not like the story and just roll your eyes through it, and that's okay, because the story of Vertigo 2 not only creates reasons for why you're fighting, but also reasons for the constant changes of scenery.

A beautiful vista to introduce a new setting
There are some really truly impressive setpieces scattered throughout the game, usually to introduce a new area with new challenges, enemies, and weapons to acquire. Each place feels really unique, though there is occasionally an overreliance on industrial robotic corridors. Still, you're taken from different locaton to different location a lot. Not too often to get overwhelmed with constant change, and not too little that you get bored of fighting the same enemies in the same place.
Vertigo 2 Review - Pacing
That leads us to our final component of what makes Vertigo 2 a fantastic singleplayer VR game. This is a very well paced game with highs and lows all over. Combat is intersperced with periods of quiet, of rest. There is hardly ever too little or too much action. It can be hard to notice while playing, but Vertigo 2 is a very well paced game. It even is in terms of these other categories.

Brian is a crazy man
Enemy types don't stay around too long until they get old, and what sort of opponents you are fighting change often. The story moves fast enough to change the scenery often enough, and you acquire new weaponry at a pace that gives you time to get used to the new piece in your arsenal before you get a new one. Pacing in a video game is a very fine balance, and Vertigo 2 strikes it very well.

A Game By Solo Developer Zach Tsiakalis-Brown
These are the reasons why Vertigo 2 is such a fantastic singleplayer VR game, and you can tell that a lot of creativity and a lot of love went into making this experience. So, my hat is off to Zach Tsiakalis-Brown for the monumental effort and skill it must have taken to create this masterpiece.
If you liked this, you might also be interested in:

How To Install BONELAB Multiplayer - How To Install BONELAB Fusion
Playing multiplayer BONELAB is really amazing, and BONELAB multiplayer is even better than ever with the BONELAB Fusion mod. BONELAB Fusion is a revolutionary BONELAB mod, now you can create a BONELAB multiplayer server directly in the game.
Playing multiplayer BONELAB is really amazing, and BONELAB multiplayer is even better than ever with the BONELAB Fusion mod. BONELAB Fusion is a revolutionary BONELAB mod, now you can create a BONELAB multiplayer server directly in the game. No more need for discord invites!
BONELAB Fusion is also more stable than ever, with far fewer glitches and bugs than previous versions. Now is a great time to get into BONELAB multiplayer. So here’s how to do that by installing the BONELAB Fusion mod, because BONELAB is much more fun with friends.
BONELAB Multiplayer On the Oculus Quest 2
Unfortunately if you’re hoping to install the BONELAB multiplayer mod and have a great time with your friends on the Quest 2 standalone, well the bad news is that BONELAB multiplayer with BONELAB Fusion is currently not supported on the Quest 2 standalone.

Supported BONELAB Fusion Platforms for BONELAB Multiplayer
However there is work being done to try and support the BONELAB multiplayer mod on the Quest 2. This article will be updated when support for the Quest 2 is added. So for now if you can only play BONELAB standalone on your Meta Quest 2 or Quest Pro, then you’ll have to wait for a while. You can also install other BONELAB mods without a PC by following this guide, so there’s still plenty of other fun BONELAB mods you can try.
If you have a Quest 2 and want to play BONELAB on PCVR then you could set up and use Oculus Airlink. The thing about Airlink is that it can drop a ton of frames and be unplayably choppy if your internet connection to your PC is slow. If you want to use Oculus Airlink then make sure that your PC is connected to your Router or Modem with an ethernet cable. Oh, and if you own BONELAB on the Quest 2 then you already own it for PCVR, just download it through the Oculus PC App.
If you can’t or don’t want to use Airlink then you’ll need to be able to connect your headset to your PC directly. This is possible with an Oculus Quest 2 using an Oculus Link Cable or comparable USB 3 cable. If you don’t have a link cable there are plenty online that are cheaper than the official Link Cable, but are possibly not as good.
Installing BONELAB Multiplayer For PCVR - BONELAB Beta Versions
Alright let’s get into how to play BONELAB Multiplayer with BONELAB fusion on PCVR! This is a step by step guide, so make sure not to skip around or over any sections. You’ll run into the fewest problems by reading every section and making sure you’ve completed all of the steps. BONELAB Fusion can be finicky the first time you’re setting it up, and there are quite a few places things can go wrong if you’re not careful.
At the time of writing BONELAB Fusion is only supported using the latest beta version of BONELAB (Version 3). To check which version of BONELAB is required for BONELAB Fusion to work, check the “How To Install (PCVR)” section on the Thunderstore page for BONELAB Fusion.

Current BONELAB Version Required
The rest of the installation steps will basically outline what’s in this article… just lacking a lot of detail and potential things that can go wrong. If you need to update your BONELAB game to a beta version, such as patch 3, then go to your Oculus app and open up the store page for BONELAB, scroll down to “Additional Details” and click the dropdown next to “Version” to select the Public Beta Version. Then make sure to update your game before continuing.

Changing to Beta Version in the Oculus App
If you’re playing BONELAB through Steam then right click on BONELAB in your Steam library and select “Properties” then go to the “Betas” tab to view and select any beta version you may want. Make sure to update your game afterwards.
Installing BONELAB Multiplayer For PCVR - Melon Loader
Once your BONELAB version is correct the next step is to download and install a program called Melon Loader. You can get the installer for Melon Loader on their wiki page which you can find here at melonwiki.xyz/#/. Scroll down to the “Automated Installation” section and download MelonLoader.Installer.exe.

The Melon Loader Wiki Automated Installation Section
Don’t run the Melon Loader installer just yet. You’ll need to make sure you have a few things installed on your computer first. To run properly Melon loader needs the .NET Framework 4.8 Runtime and .NET Framework 6.0 Runtime as well as Microsoft Visual C++ 2015-2019 Redistributable 64-bit. Just go to those links and click the download button if the .exe doesn’t automatically download and run it. The installers are very straightforward. If you already have one of them installed when you run the installer, then the installer will tell you.
Once all of the .NET and Visual C++ things are installed it’s time to run the Melon Loader installer! Once you run it for the first time you’ll get this window.

Running Melon Loader for the First Time
The first thing you’ll want to do is hit the “SELECT” button next to “Unity Game”. This will bring up a file explorer window. Here you’re going to want to find and select your BONELAB application .exe. If you run BONELAB through Steam you can find the application .exe at C:\Program Files (x86)\Steam\steamapps\common\BONELAB. If you run BONELAB through the Oculus app then you can find and select the BONELAB Application .exe at C:\Program Files (x86)\Oculus\Software\Software\stress-level-zero-inc-bonelab\BONELAB_Oculus_Windows64. (Your filepath might be a little different depending on where you have Steam or Oculus installed, just find the “Steam” or “Oculus” folder and follow the rest of the path from there).
Now that you’ve found and entered your BONELAB application path into Melon Loader, you can change the version of Melon Loader if you like. At the time of writing BONELAB Fusion would crash at startup using the Latest version (v0.6.1), so you may want to downgrade by deselecting the “Latest” button and clicking the version dropdown and selecting the last version (v0.5.7). If your version numbers are different then go with the Latest version first. If BONELAB crashes later on then you can reinstall Melon Loader using this same process, selecting the previous version, and selecting the “Downgrade” button. This may fix any potential crashes.
Otherwise just hit “Install” and Melon Loader will do it’s thing. Once the installation is complete, run BONELAB once. You’ll see a terminal appear on your computer, and a window with a loading bar. Don’t worry, this is expected. When you get to the main BONELAB menu then just exit out of the game. You need to do this so that the “Mods” and “Plugins” folders we’ll be using next are created by Melon Loader.

The Terminal That Opens when Melon Loader is Installed
Installing BONELAB Multiplayer For PCVR - Bonelib and BONELAB Fusion
Now for the final step before you can play BONELAB multiplayer! First you need to download Bonelib and BONELAB Fusion. Fusion won’t work without Bonelib. You can download Bonelib from Thunderstore by clicking “Manual Download”. You can download BONELAB Fusion from Thunderstore as well.
Once both .zip files are downloaded, unzip and extract them. Once the files are extracted open a new file explorer window and go to your BONELAB installation folder. This is the same folder you found your BONELAB application .exe in earlier when installing Melon Loader. (C:\Program Files (x86)\Steam\steamapps\common\BONELAB for Steam and C:\Program Files (x86)\Oculus\Software\Software\stress-level-zero-inc-bonelab for Oculus).
Now there will be two new folders, “Mods” and “Plugins”. This part is easy, just take all of the files from the “Mods” and “Plugins” folders in the extracted Bonelib and BONELAB Fusion folders and move them to the folder with the same name in your BONELAB installation folder.

Complete BONELAB Plugins Folder
Once you’ve filled the “Mods” and “Plugins” folders with the contents of the extracted zip folders there’s one last step. Make sure you have Steam Installed. The BONELAB Fusion mod page lists it as a requirement. If you don’t already have Steam installed then check out this how to page and install Steam
Playing the BONELAB Multiplayer Mod
Now that you’ve got everything installed, start BONELAB! If you’ve followed this guide it should run no problem, and that same Melon Loader terminal window should show up. If the game doesn’t launch properly or crashes when you run it go back through this guide. Make sure you installed all of Melon Loader’s prerequisites, make sure your BONELAB version is correct, and try downgrading Melon Loader to an older version.
If you need to downgrade Melon Loader then make sure you move the files out of the “Mods” and “Plugins” folders first, run BONELAB with the downgraded version of Melon Loader, and then move the files back.
Once you’re back in game you can start BONELAB multiplayer by selecting “Quick Play” from the game start screen.

BONELAB Fusion Quick Play
This will automatically join an open game. You can switch servers by going to the “Preferences” menu and selecting the “BONEMENU” button then “BONELAB Fusion” to open the BONELAB Fusion menu.

The BONELAB Fusion In Game Menu
You can create a server of your own or join a Public Lobby here. A whole world of BONELAB multiplayer fun is now at your fingertips! Enjoy!

5 Great Gorilla Tag Tips and Tricks
Trying to improve your Gorilla Tag game? Want to be the best Gorilla Tag monke you can be? Well here are some great Gorilla Tag tips and tricks that will make you a faster and more clever monke. You’ll get tagged less, and get more tags yourself if you keep reading. Check out these 5 Great Gorilla Tag Tips and Tricks.
Trying to improve your Gorilla Tag game? Want to be the best Gorilla Tag monke you can be? Well here are some great Gorilla Tag tips and tricks that will make you a faster and more clever monke. You’ll get tagged less, and get more tags yourself if you keep reading. Check out these 5 Great Gorilla Tag Tips and Tricks.
Get Off Of The Ground
When you’re new to Gorilla Tag the easiest way to move around is on the ground level of any map. All you have to do is slam your monke palm into the ground and forward you go. It’s easy to do nothing but stay on the ground level because it’s so easy to do, and at first climbing up and wall climbing are going to be really hard.
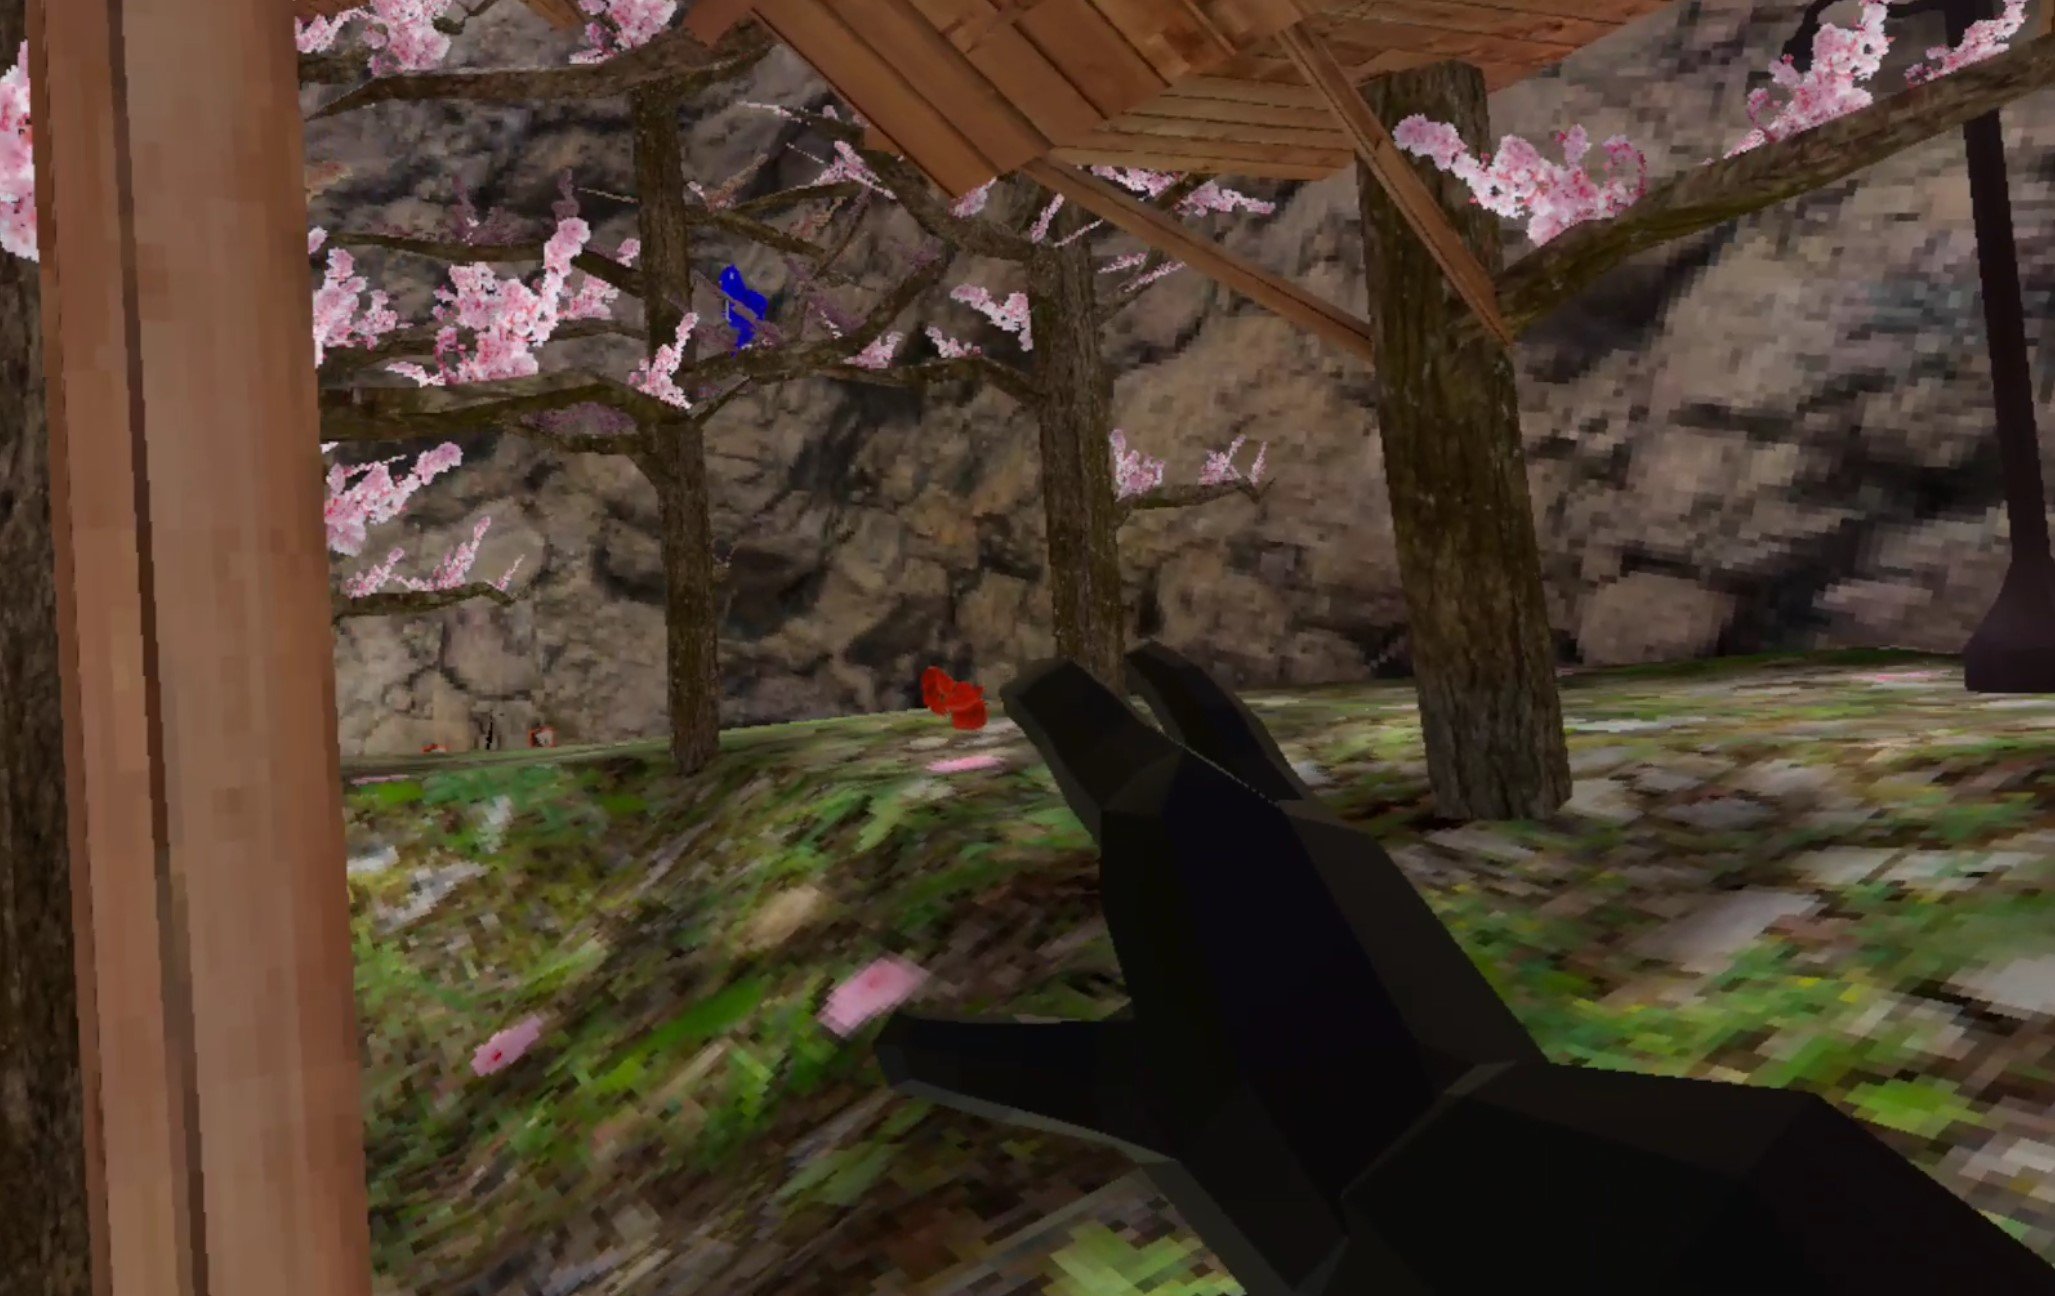
Some monkeys having a good time getting up a tree
Well, the most important tip for a new player is to get out of your comfort zone and not just try to avoid lava monkeys by running along the ground. Any Gorilla Tag player who is any good at the game will be able to catch up with you. Even if you’re really good at ground running, they can always get above you and jump down on you for an easy tag.
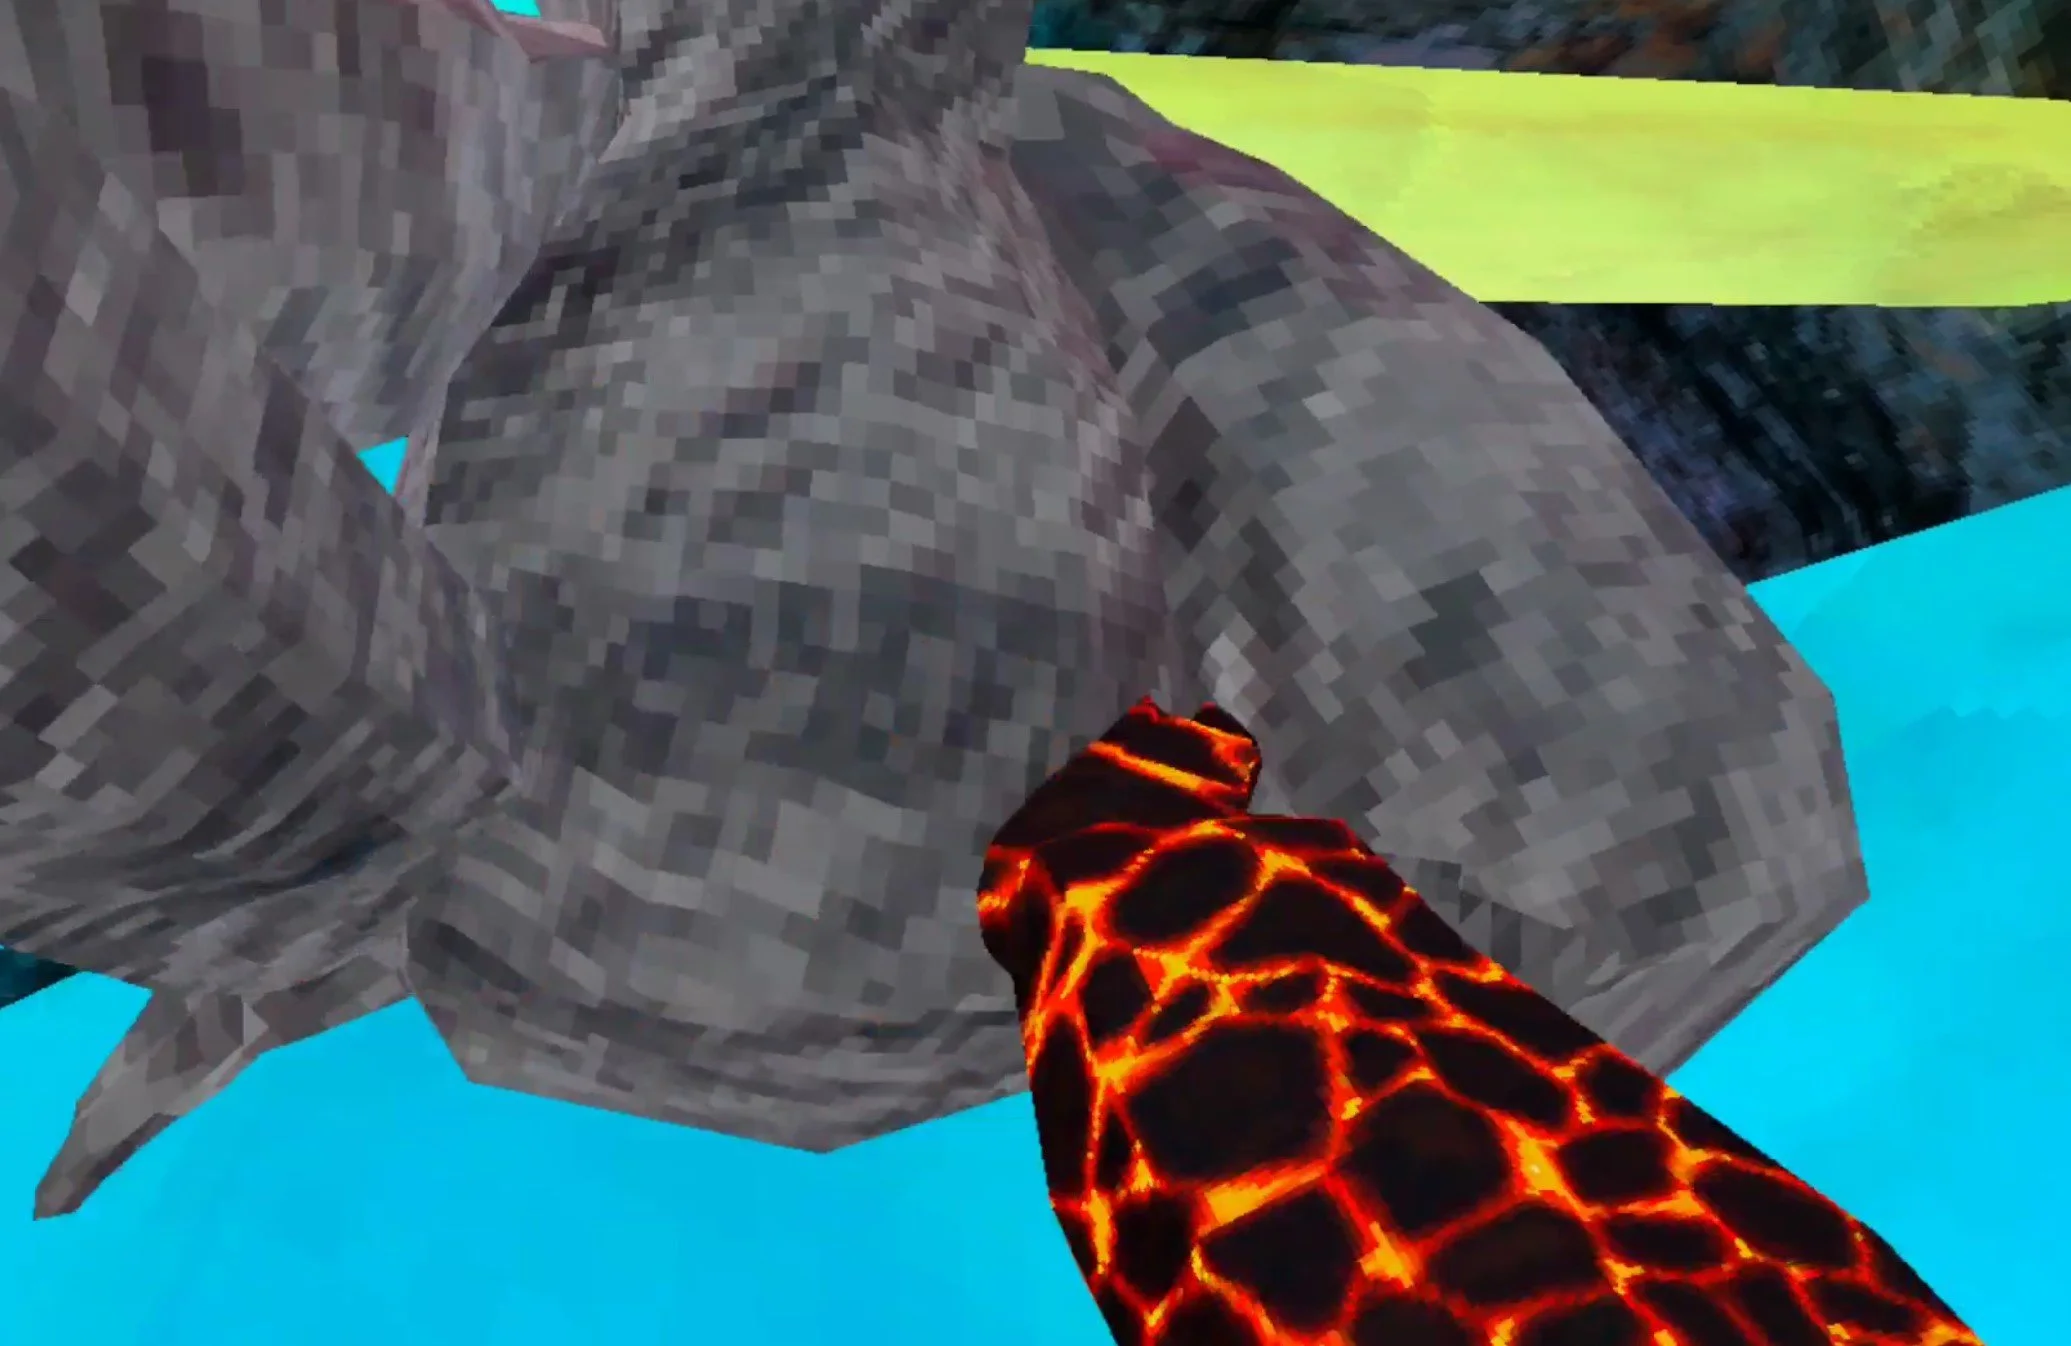
This monke didn’t get high up before getting tagged
It might be hard for you at first, but if you haven’t already, learn how to jump up and get higher. Jumping into spots that are harder to get to gives you way more options for running away, and if you’re a lava monkey you’ll be able to chase anyone who gets up there. So start practicing now. The only way to get good at climbing is to figure it out and do it.
Hide
If you’re trying to avoid getting tagged… well you don’t have to do that by running away. You can just hide! While it can be kind of boring, just hiding is totally viable in Gorilla Tag. If you know how to get to a spot that most players don’t know how to get to, then you can just go there and hang out while they look for you or try to figure out how you got there.

These monkeys had a seriously good hiding place
This is great if you really want to win. The downside is that it can be kind of boring. Just sitting around high up and listening to the lava monkeys have fun bouncing around isn’t really what makes Gorilla Tag a good time. That is, if your spot is really good. Most hiding spots aren’t that hard to get to, so you can always give yourself a break by hiding out for a bit until you get spotted.

Watching a monke get tagged from a hiding place
Still, if you really want to win, or just love seeing other players get frustrated trying to get to you, then you can always figure out some extremely good spots to hide and wait the round out until you get bored, or the lava monkeys find you. Either way, hiding is a huge part of Gorilla Tag, and so you might as well get good at it.
Avoid Getting Tagged By Juking
“Juking” is a really common gaming term that you might not have heard before if you are new to Gorilla Tag. Basically, juking means suddenly going in a direction the other player doesn’t expect you to go in. So if it looks like you’re about to go straight up a tree, instead push yourself off of it so that you’re flying away from the tree in a completely different direction.
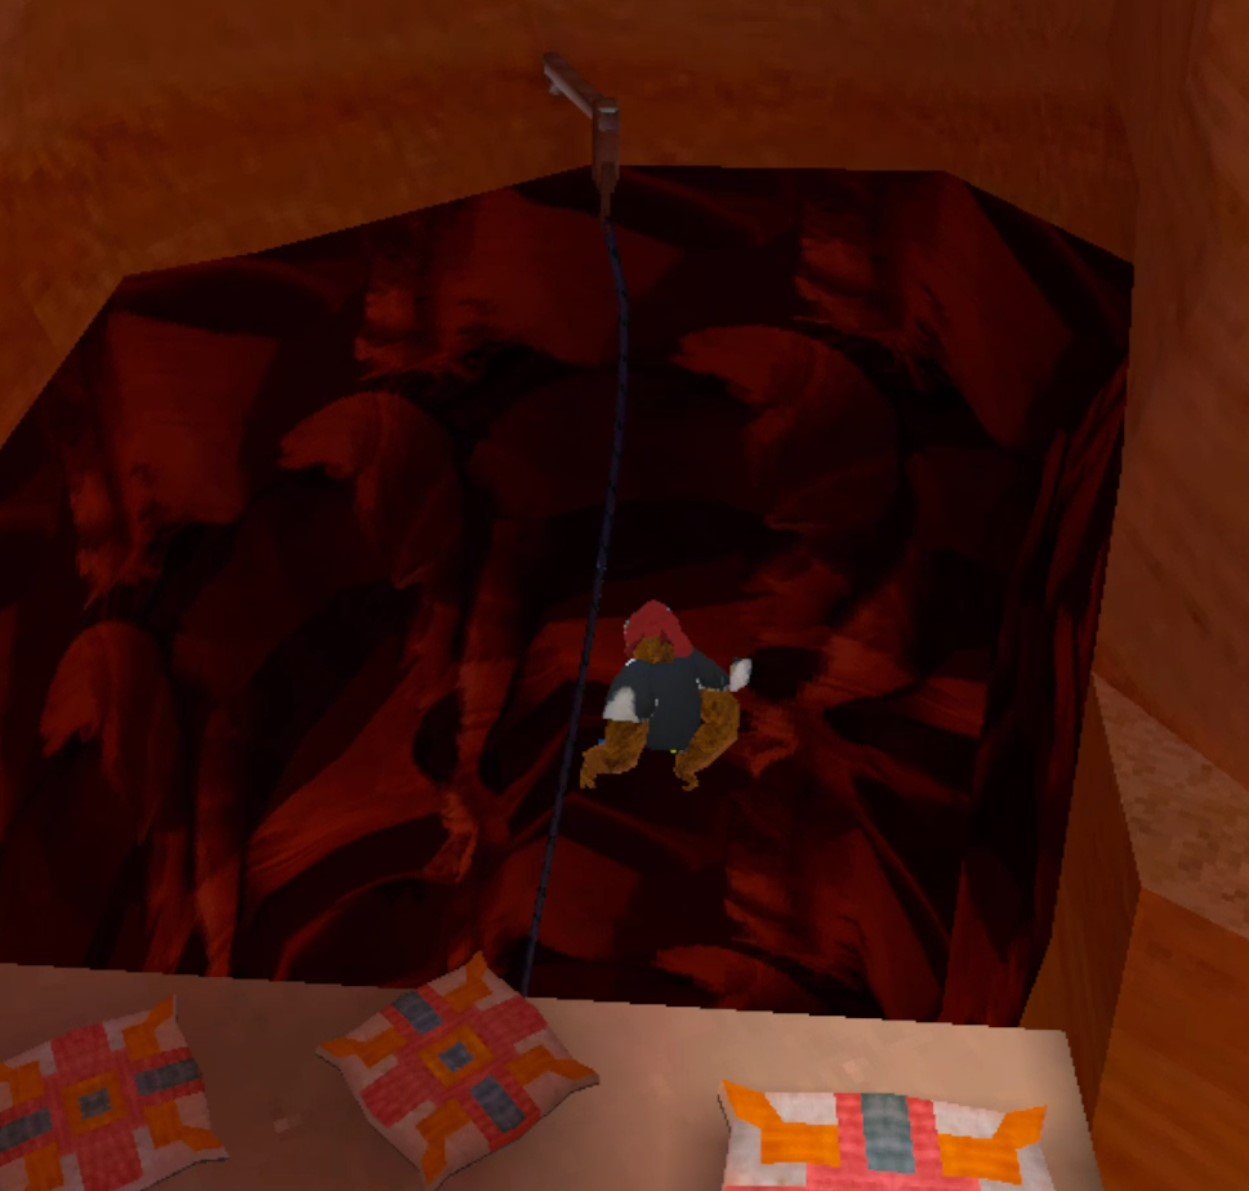
Could not catch this monkey because they kept juking
Juking is a great Gorilla Tag trick to avoid getting tagged when a lava monke has you in their sights and is chasing you down. That second or so of confusion when you go somewhere they didn’t expect you to go can give you the time you need to get away or find a new spot to hide for a little bit.
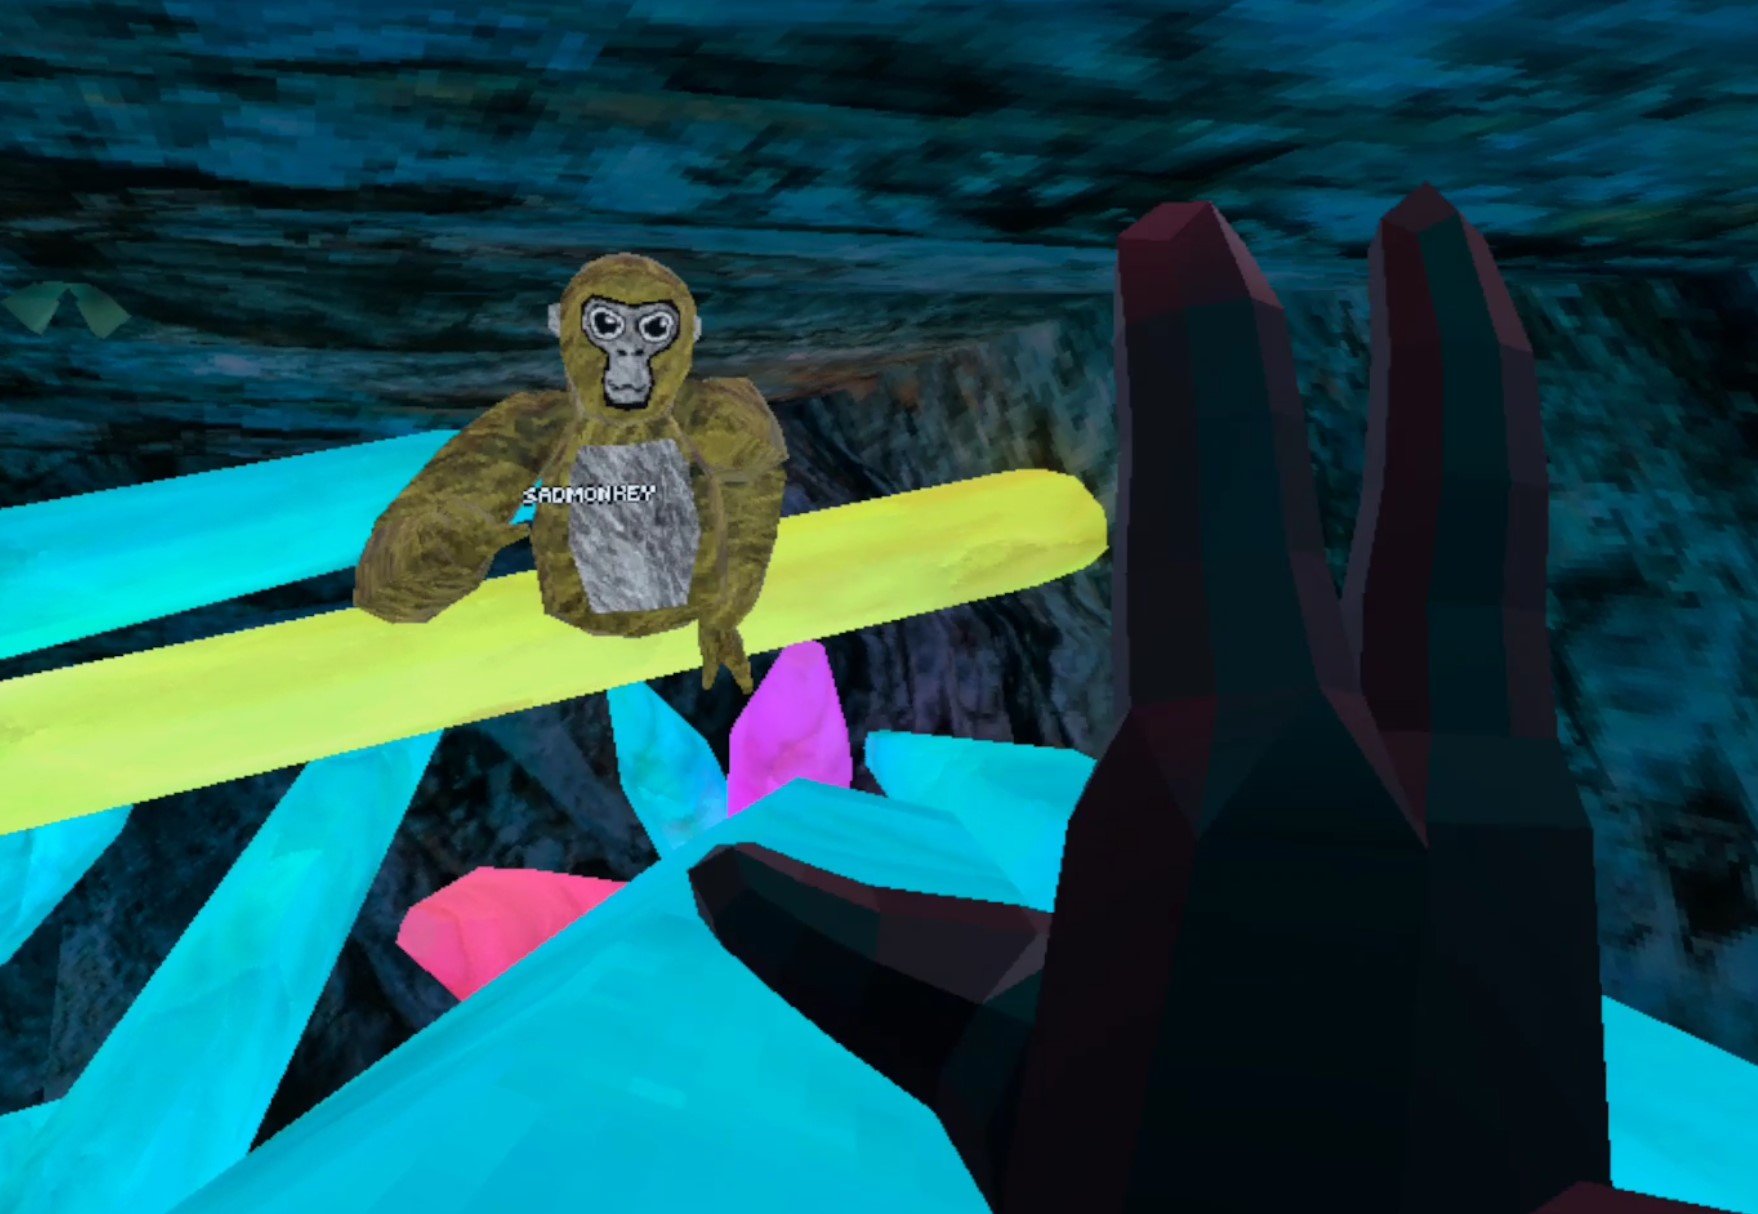
Another monke joins the hiding spot
To juke it can also help to turn your whole body around physically as you do it to quickly reorient yourself. It can be hard to get the hang of juking, but if you get good at it you can get away, at least for a little while, really easily from one or two monkeys chasing you.
Move Your Hands Parallel To The Ground
Alright, so you might be wondering what this Gorilla Tag tip means exactly. Basically, Gorilla Tag physics works kind of like real life physics, except you, as a gorilla, are really light and your hands are really bouncy and strong. So, the way your hand hits a surface like the ground or a wall changes the way you move a lot.
Practicing moving fast is crucial to catching and avoiding being caught
Pretty simple stuff, right? Also kind of obvious if you’ve played Gorilla Tag for more than five minutes. What’s not quite so obvious is the best way to move fast, keeping how your hands work in Gorilla Tag in mind. So, let’s say you want to run along a flat surface really fast and straight. The best way to move fast is to have your palm hit the ground so that it’s parallel to the ground, like if you laid the palm of your hand on a table.

Ran fast, got a great tag
So that’s how you want your palm to hit the ground, but the motion of your arm while your hand is hitting the ground also matters. You want to hit the ground so that you go forward, not up. So don’t push against the ground too much if you just want to go fast and straight. Instead swing your arm so that it’s swinging backwards, and so when it hits the ground you will be pushed forward. Don’t push down and away from the surface you’re moving on or you’ll launch yourself up and away instead of going forward.
This goes for any surface. If you want to move along it instead of bouncing off of it make sure your motion and the palm of your monkey’s hand is matching the surface you’re hitting. So you don’t want to punch a wall if you’re trying to wall climb, you want to push yourself up it, not away from it.
Put Your Wrist Straps On
Our final Gorilla Tag tip for you is really simple, but it can save you a broken controller, or a broken wall, or a broken TV, or a broken nose. If there’s one thing you should always do when playing Gorilla Tag, it’s putting your controller’s wrist straps on. Most people play Gorilla Tag on the Oculus Quest 2, and the Quest 2 controllers come with great wrist straps. Use them.

Waving to a pinch climbing monkey
If they feel weird on your wrists don’t worry, you’ll get used to them really quickly. It’s way easier than accidentally throwing your controller across the room and breaking it. New controllers are expensive, and you might break something else or hurt someone if you launch your VR controller across the room.
Also, having a firm grip on your controllers will keep you from dropping them and potentially getting tagged because you were busy picking them up. So wearing your wrist straps will make you a better player too.
Those are all the Gorilla Tag Tips and Tricks here. Still, we’ve got some other great Gorilla Tag articles like how to install mods, or how to wall climb, or how to make your arms longer on the Quest 2, or how to make a sweet gorilla tag profile picture easily, or how to look really stylish with some great color codes.

Cyber Ninja Added In HUGE Zenith: The Last City Update
The time has finally come. The biggest VRMMORPG Zenith: The Last City has added a third class to their game, the Cyber Ninja! The Cyber Ninja class has been something players of this VR MMORPG have been looking forward to for a long time alongside a number of other additions the developers over at RamenVR have worked on since release like Player Housing and PvP, which are also included in this newest patch alongside the new Cyber Ninja class!
The time has finally come. The biggest VRMMORPG Zenith: The Last City has added a third class to their game, the Cyber Ninja! The Cyber Ninja class has been something players of this VR MMORPG have been looking forward to for a long time alongside a number of other additions the developers over at RamenVR have worked on since release like Player Housing and PvP, which are also included in this newest patch alongside the new Cyber Ninja class!
New Cyber Ninja Class

Making a Cyber Ninja Character
The Cyber Ninja class is very unique in Zenith, because unlike the other two classes, the Blademaster and Essence Mage, the Cyber Ninja is completely focused on dealing damage, and this class deals damage in entirely new and interesting ways.
Unlike the Blademaster and Essence Mage, the Cyber Ninja deals damage both with a bow from range, and with melee weapons up close. You can switch between bow mode and melee mode with the click of a trigger and don't have to actually swap weapons, a single object morphs from one into the other. It's pretty cool and very slick. You get sweet ninja gadgets too, like the ability to throw smoke bombs that put you into stealth mode, more on that in a bit.

Going into Stealth with the Smoke Bomb
Most of all it feels good to know exactly what the Cyber Ninja class is meant for, dealing damage. This is a purely DPS (Damage Per Second) based class. There's no wondering if you're using the right subclass like with the previous two classes. Having a very limited class selection and trying to make those classes good at everything was kind of a dubious design decision. The choice between Blademaster and Essence Mage basically boiled down to whether you want to swing your arms a lot or point and pull the trigger a lot. Having a class totally devoted to one playstyle gave the designers room to give it more entertaining mechanics, like Stealth.

Hitting an Enemy With Melee
Sneaking up on an enemy and backstabbing them is pretty fun. Going into stealth mode opens up a whole bunch of new gameplay choices. Stealthily evading enemies is now an option that never existed before, and so is stealithy ambushing them for big backstab damage. This sort of stealth mechanic wouldn't make any sense with a class that was also able to tank, unless enough additional gadget options were added, like a shield bomb or something, that would be better off being part of a different class altogether.

Shooting a huge enemy
So overall the Cyber Ninja is a fun and focused new way to play Zenith: The Last City, and starting a new character is even better now with a revamped tutorial sequence that was added a while ago, and a whole new starting area that also adds base building, and focuses more on gathering and crafting than the previous early game areas.
Zenith: The Last City Updates Are Getting Better
All of the other new features are big improvements as well. Some of these features, especially PvP, are considered to be must have parts of an MMO, and so it's great to see that Zenith is finally living up to the hype and consistently adding more core pieces of the MMO genre to their game.

Crafting some armor in Zenith
While there's still an omnipresent feeling of jank when playing Zenith, especially during the rubberbanding and floaty combat, the consistent improvements have made the current version of Zenith feel like a completely different game than it was at release.
It would be nice if the diverse movement and verticality in the game was actually used in combat instead of just as a more fun way to explore than just slide move sprinting around, but Zenith is still definitely improving for the better despite the limitations of its combat and enemies. The new building and crafting systems as well as the Cyber Ninja class have breathed some new life into this game for the casual player.

Mining some ore in Zenith
If the people over at RamenVR can make their combat stable then they'll undoubtedly end up with a massive hit on their hands. Still, rolling a new Cyber Ninja is a great reason to play Zenith again. Oh, and if you want more about the classes in this VRMMORPG, then check out our Zenith: The Last City class guide here.

Easily Install H3VR Mods - Install Hot Dogs, Horseshoes & Hand Grenades Mods
Welcome to this step by step guide on how to install H3VR Mods! Hot Dogs, Horseshoes & Hand Grenades is an extremely fun VR game, and it’s even better with mods. So keep reading to find out how to install Hot Dogs, Horseshoes & Hand Grenades mods as easily as possible.
Welcome to this step by step guide on how to install H3VR Mods! Hot Dogs, Horseshoes & Hand Grenades is an extremely fun VR game, and it’s even better with mods. So keep reading to find out how to install Hot Dogs, Horseshoes & Hand Grenades mods as easily as possible.
Thunderstore Mod Manager for H3VR Mods
The best way to download and install H3VR mods is by downloading and installing the Thunderstore Mod Manager. The Thunderstore Mod Manager is a useful program that you can use on your PC to install H3VR mods. Since most Hot Dogs, Horseshoes and Hand Grenades mods are stored on Thunderstore you can access most mods available through this mod manager. To download it go to this link. Once you’re there press the red download button.
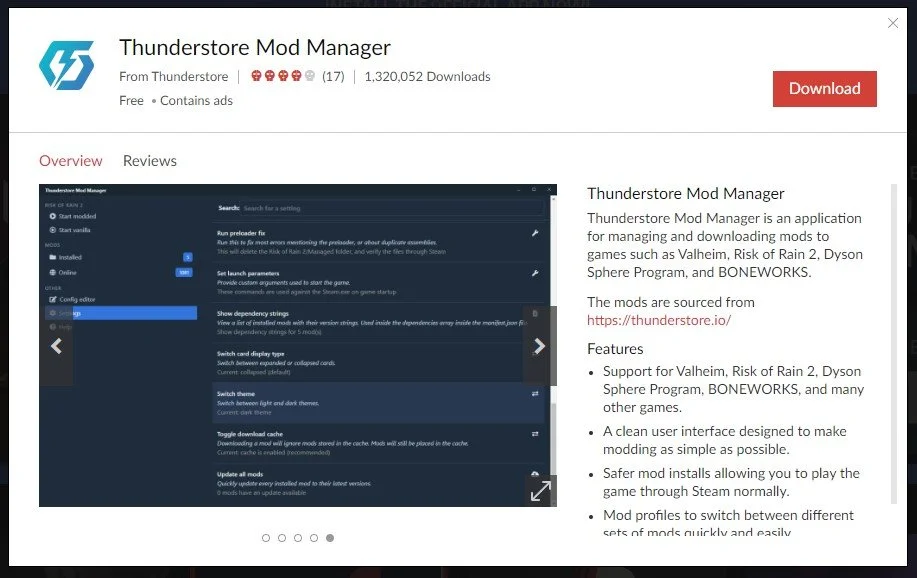
The Thunderstore Mod Manager Download Page
Once the Thunderstore mod manager installer is downloaded, run it and this page will appear.

Thunderstore Mod Manager Installer
Press the red “Next” button before continuing on and going through the installer steps, which are pretty standard. You can change the installation folder to be whatever you please, or just use the default that is filled in for you. When you press the red “Next” button a second time the installer will begin. Give it a few minutes to complete installation until you see the “Successfully Installed” page.
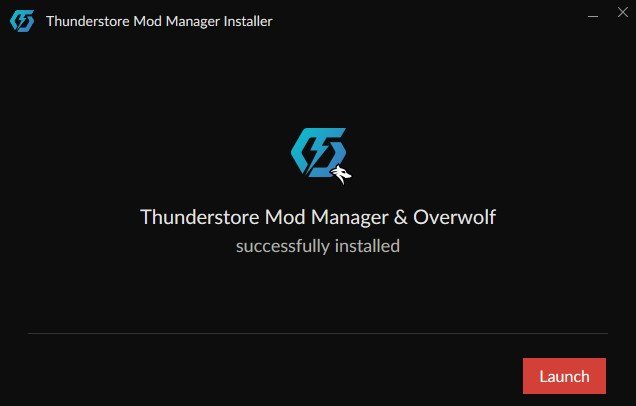
Now that the Thunderstore mod manager is installed, hit the red “Launch” button. Since this mod manager is used for more games than just H3VR you’ll have to search for Hot Dogs, Horseshoes & Hand Grenades in the games search bar. Luckily since there aren’t any other games on Thunderstore that involve hot dogs, just typing in “Hot Dog” will bring up H3VR.

Searching for Hot Dogs, Horseshoes & Hand Grenades
Now mouse over the game logo and hit “Select Game”. This will bring up the profile selection for the game. Profiles are great because you can put mods into different categories and easily switch between selections of mods. For instance, if some H3VR mods have compatibility issues with others, or you want to quickly change between groups of mods you like to use. For now just hit the “Select Profile” blue button to use the Default profile.

Now it’s finally time to look for some fun H3VR mods to install! You’ll see your mod menu for H3VR, and no mods will currently be installed, so hit the “Get Mods” button on the left hand side to look for some mods to install. You can search for a mod by name, or filter by a number of categories.
In this example we’ll be installing the All_American_Fallout_NV mod to add the All American carbine from Fallout: New Vegas. Just click on the mod title to open the submenu for it, and then press the “Download” button.

Downloading the All American Fallout NV H3VR Mod
You’ll be prompted to select which version of the mod you want to install. It’s best to go with the latest version unless you want a specific one already, and then hit “Download with dependencies”. Once the download is complete hit the “Mod Mods” button on the left hand side and see your beautiful new mods. A lot of H3VR mods, like the All_American_Fallout_NV mod, require other mods to function properly. So you might see a lot of additional mods installed, don’t worry about those.

Successfully Installed Mods!
You can disable mods that you’ve installed by clicking the blue slider next to them, but beware that disabling some mods might affect others. Anyway now that your shiny new mod is installed time to launch H3VR by pressing the “Modded” play button in the top right corner.
Hot Dogs, Horseshoes and Hand Grenades will run through SteamVR like usual, and you can put on your headset and check out your new mods in the game. Where your mods will be in the game depends on what kind of mod you’ve installed. For weapons mods like the All_American_Fallout_NV mod, you’ll find them in the spawning menu underneath its weapon type. In this case, Carbine.

The installed mod in the game!
Now go nuts and have fun with your new H3VR mods!
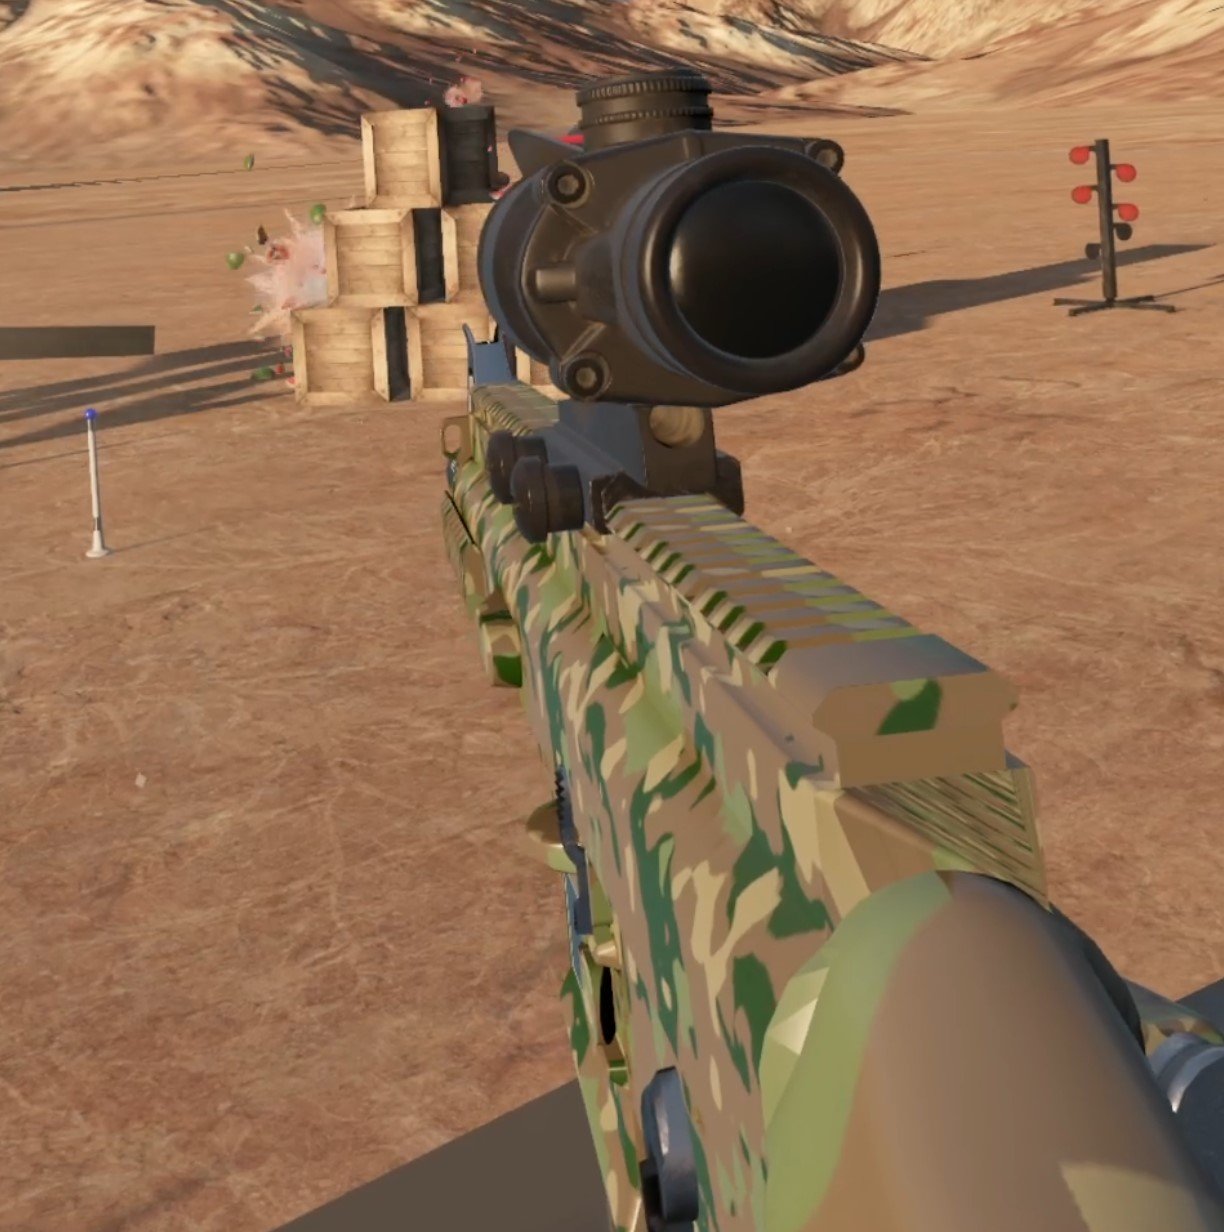
You can also download and install H3VR mods through the Thunderstore website here at h3vr.thunderstore.io using the mod manager. You can also download mods from there manually to import through the Thunderstore application.
If you want an alternative to Thunderstore you can also use the r2modman mod manager. Thunderstore is probably the easiest way to go though. Anyway enjoy your H3VR mods and have fun!