

9 Essential The Light Brigade VR Tips and Tricks to Survive and Win
Having trouble making progress in The Light Brigade? Keep running through the same levels and not making it any further? Well you’ve come to the right place to improve your The Light Brigade gameplay and make better progress. Here are 7 Essential Tips and Tricks for The Light Brigade.
Having trouble making progress in The Light Brigade? Keep running through the same levels and not making it any further? Well you’ve come to the right place to improve your The Light Brigade gameplay and make better progress. Here are 7 Essential Tips and Tricks for The Light Brigade.
Inspect Items and Tarot Cards

A lot of new information is thrown at you all the time when you first start playing The Light Brigade, and a lot of it can be very confusing. What does “Break Chance” mean? What does this attachment for my gun do? Make sure you’re well informed before making any decisions by using the inspection button.
When you hold an item in a hand, hold down the B button if it’s in your right hand or the Y button if it’s in your left hand. As long as you hold it down a little text window will pop up and tell you more details about that item. You can also inspect by turning the item over so that it’s upside down and your wrist is facing outwards. The Light Brigade has a lot of items that can be really hard to understand if you don’t use this feature.
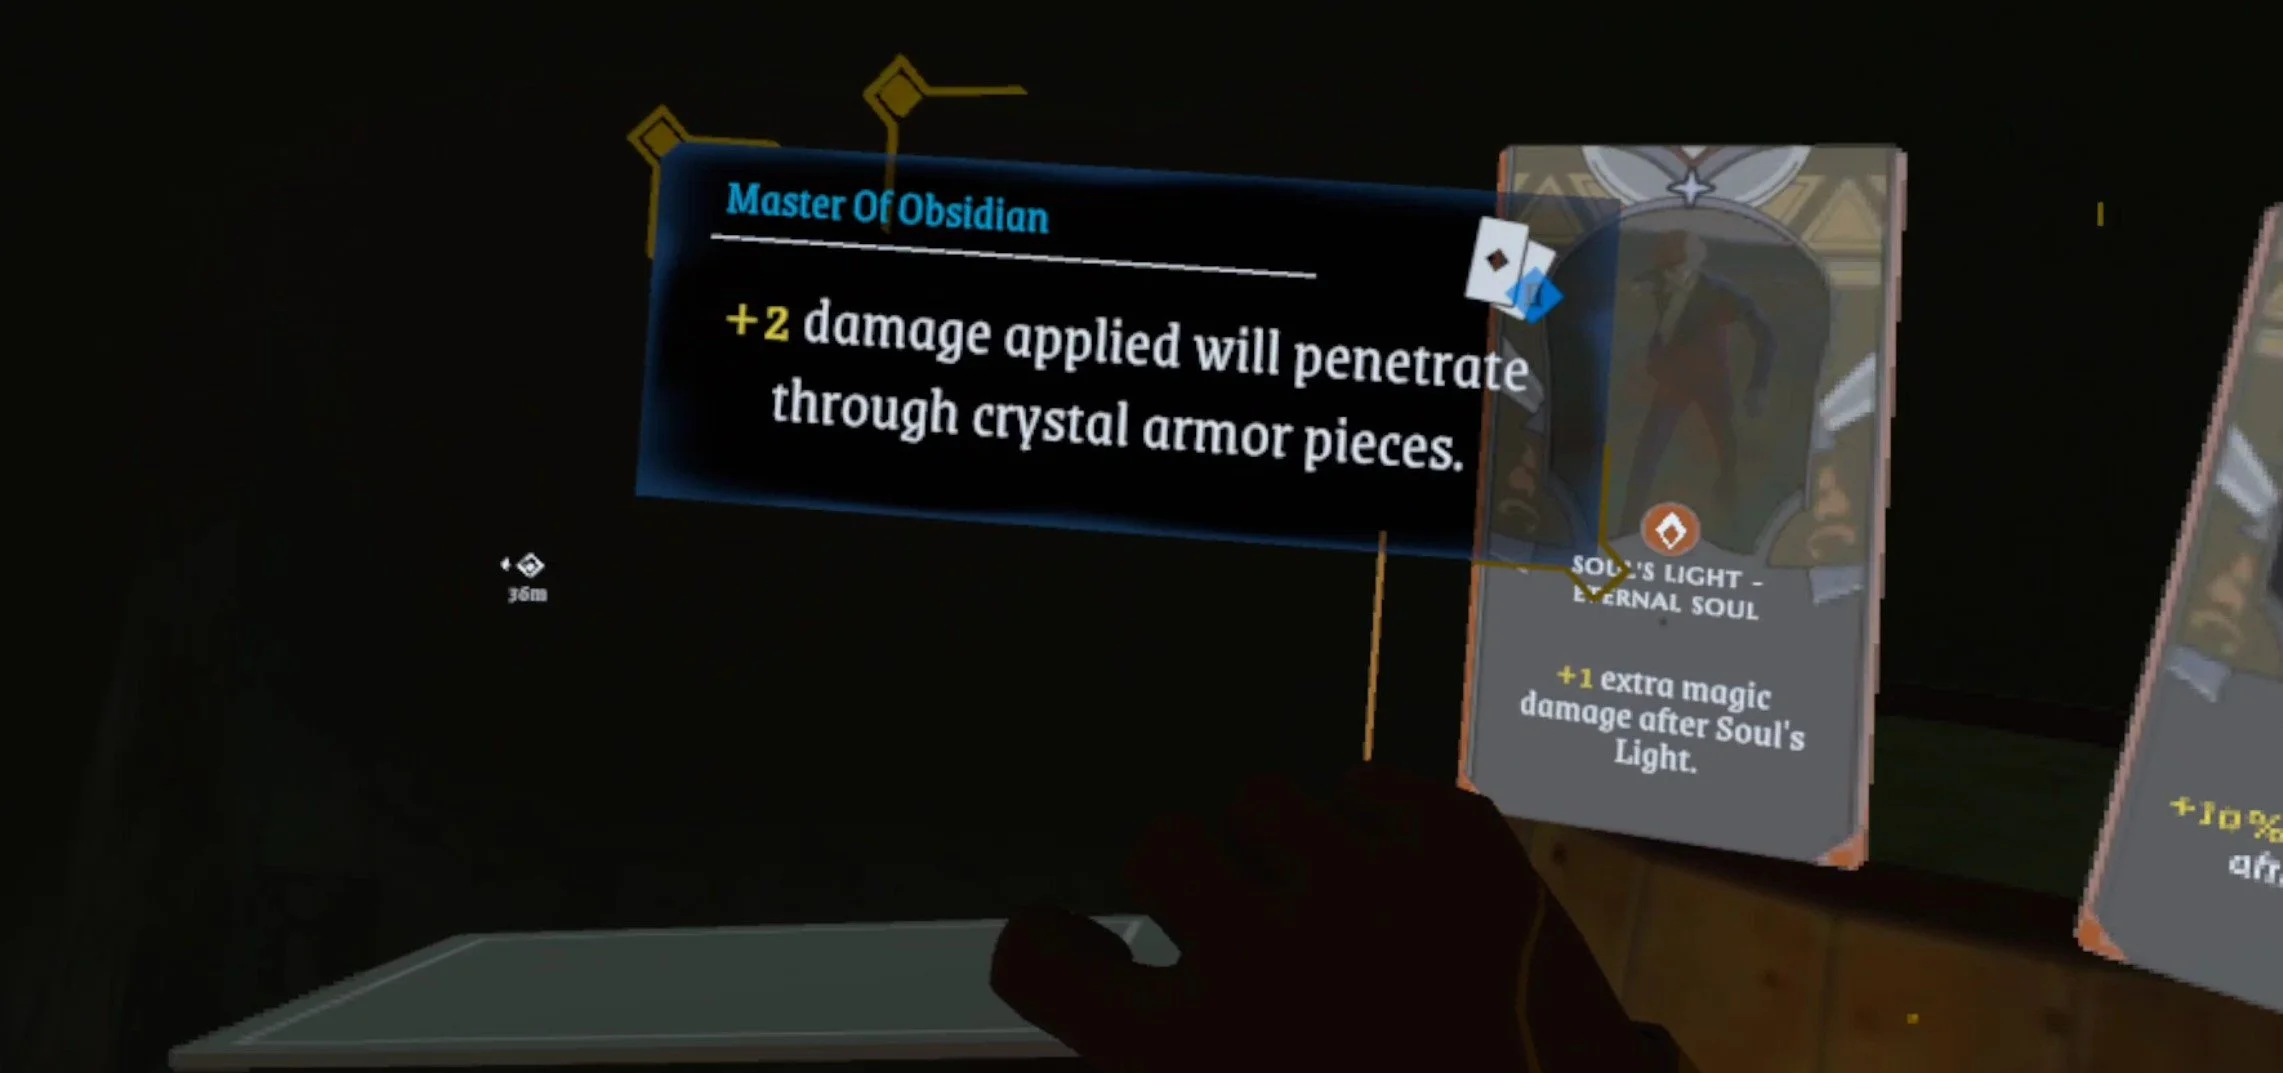
This works for Tarot cards too, so make sure you inform your Tarot decisions with the inspect button. Now speaking of Tarot cards.
Pick Your Tarot Cards Carefully
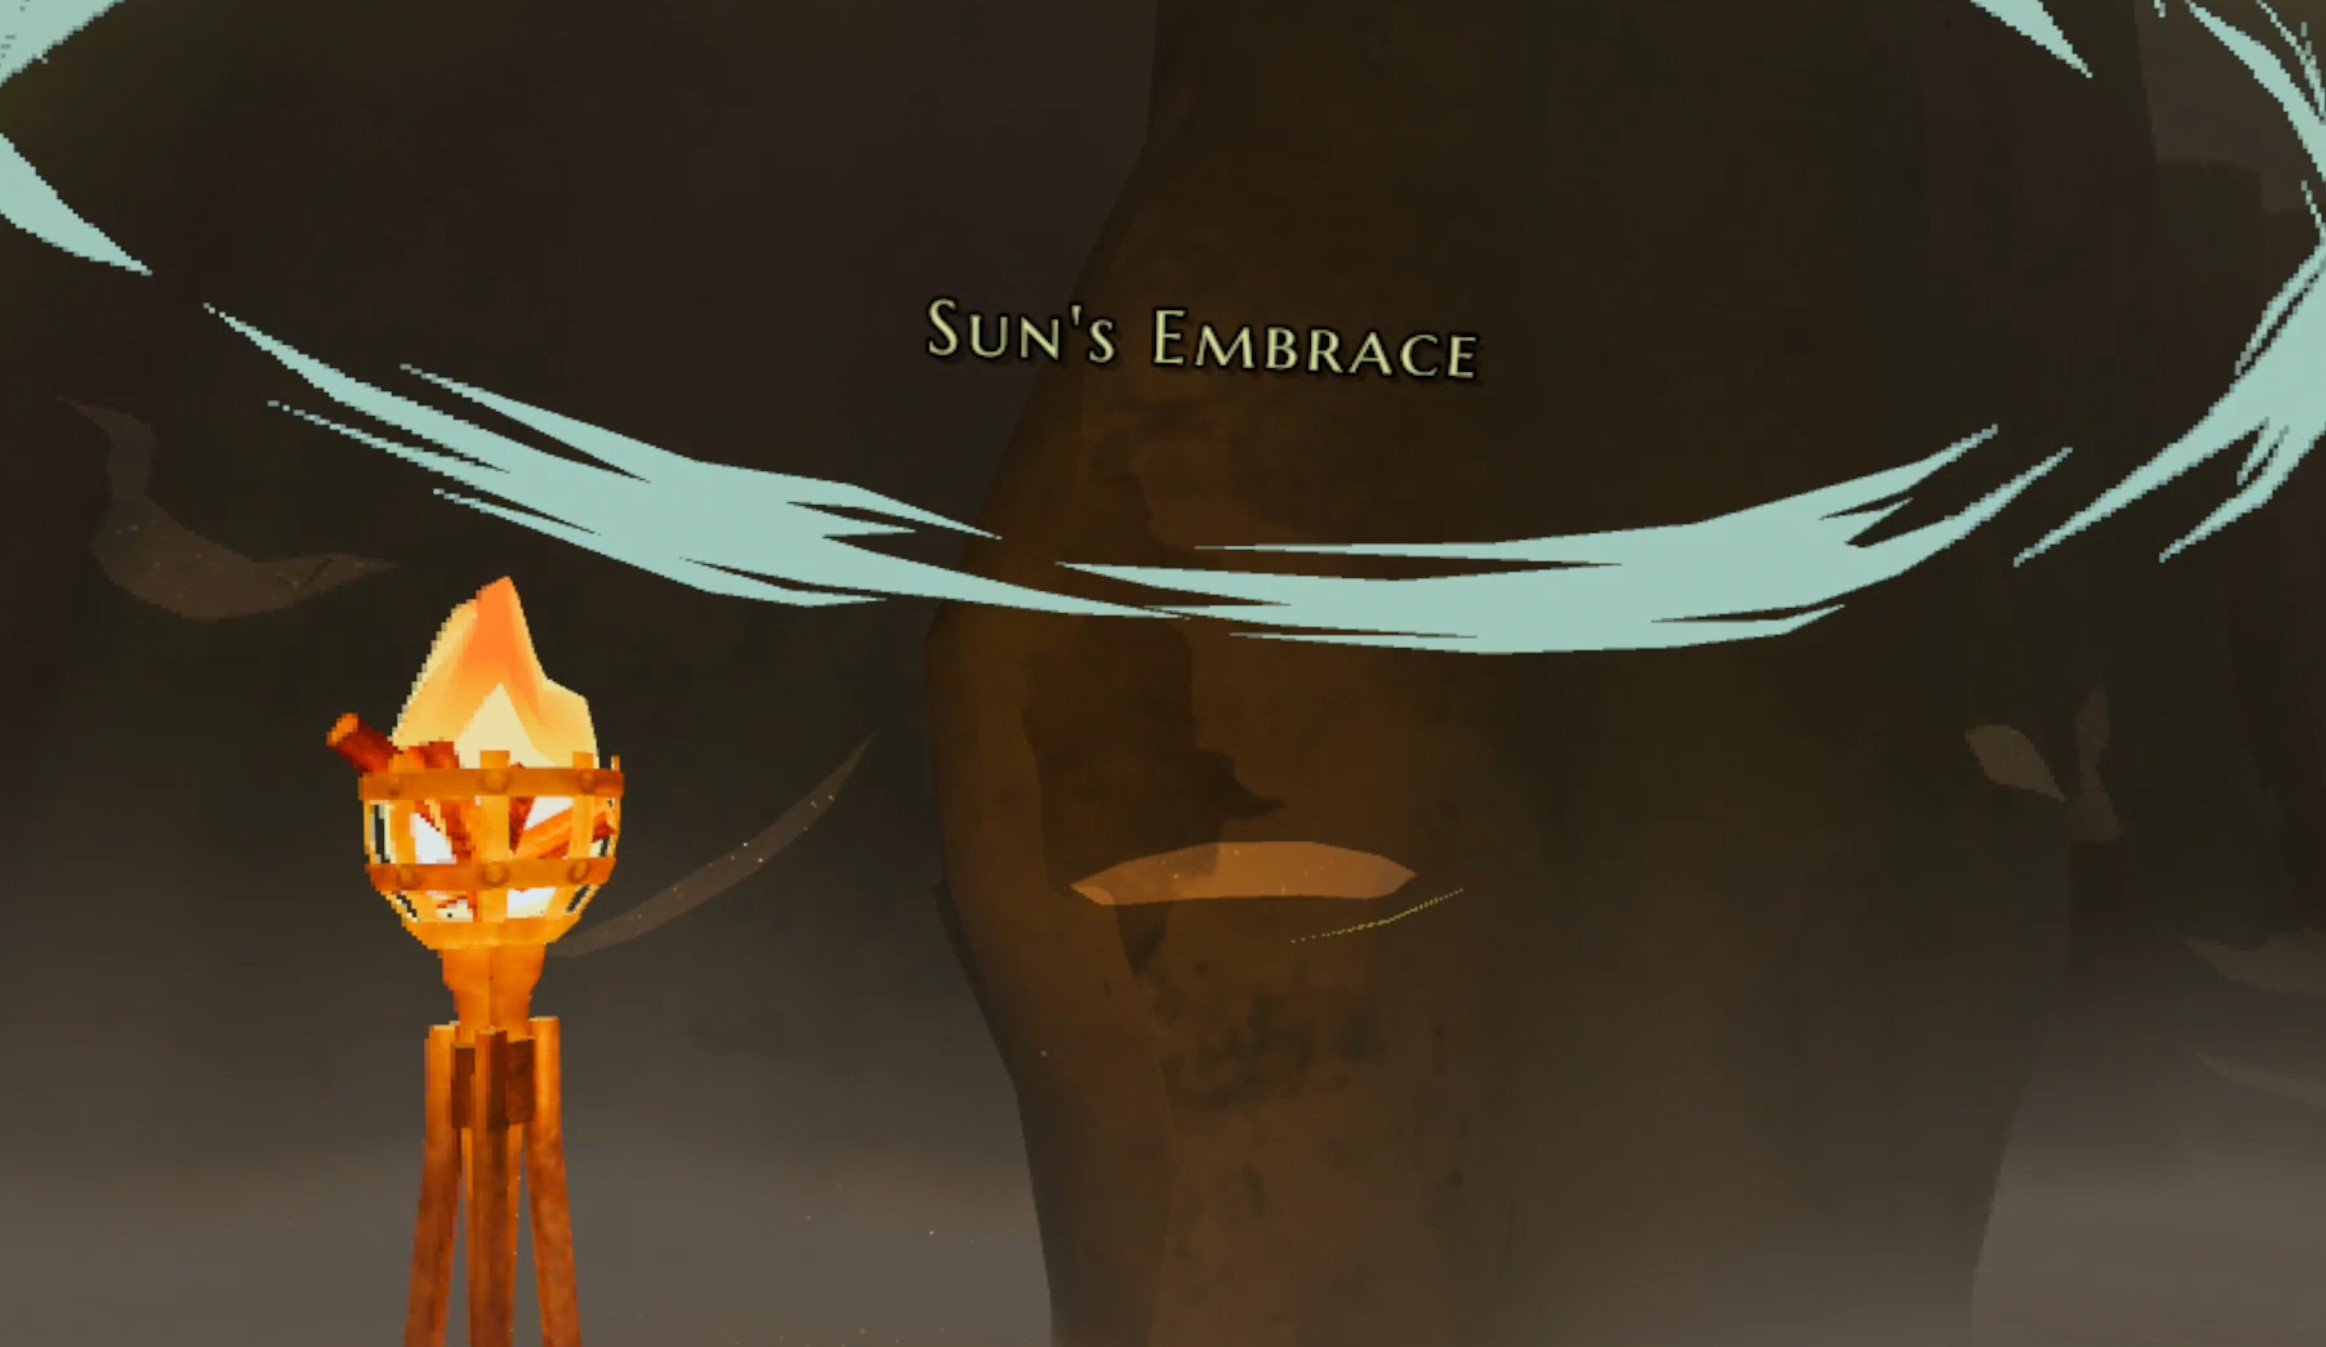
Often you’ll hear a tinkling noise in the distance, and see gold streamers coming out of a particular chest. These chests often contain three tarot cards, (sometimes it will be rare items instead) and you can pick one to have as an upgrade. Make sure to pick your tarot cards carefully. Some are much more powerful than others depending on what you’re facing.

If you feel really confident that you’ll make it further, pick a card that give you more souls. If you’re taking a lot of hits take cards that give you more resistance to damage. Cards that pierce enemy armor are good too, and Sun Strike cards are always a solid choice.
You’ll also notice that some cards are more rare and powerful than others, denoted by the amount of stars at the top of the card. Generally the more stars the better.
Use Teleport To Move Quickly
Movement is huge in The Light Brigade. If enemies spot you out in the open then you’ll want to get into cover as quickly as possible if you can’t shoot them down before they open fire. Unfortunately movement can be very restrictive in this game, and even holding a weapon in one hand slows your movement speed down noticeably when using Slide movement. Holding your weapon in two hands slows your movement speed to a crawl.

So instead of throwing your weapon down and trying to book it to the nearest piece of cover with just your movement joystick, use teleport. Yep, even if you selected Slide movement as your movement option you can still use the teleport by pressing your right stick up and pointing it at the ground.
You can even use teleport if you have a weapon in your hand. So you can keep ahold of your weapon and quickly use teleport to dart into cover. This is also especially good for some classes, like the Scout and Pistoleer, which can deal a lot of damage quickly when up close to enemies. Instead of slowly walking up to an enemy with a weapon drawn, you can teleport from cover to cover until you’re right next to them and start blasting.

While teleports are instant, there is about a half-second delay between how often you can teleport, so you can’t just constantly move around instantly, but utilizing teleports when using slide movement will make you much faster overall.
Enemies Telegraph Attacks
Every enemy in The Light Brigade telegraphs their attacks. They’ll glow red for a moment and then fire their weapon a set number of times. For instance enemies with bows will fire a single arrow, and enemies with rifles will fire twice. This means that you should always keep an eye out for when an enemy telegraphs their attack and get into cover when they do.

You can attempt to dodge enemy attacks by ducking, running, or teleporting if you’re out of cover, though this can be very hard to time properly and it is especially hard to avoid attacks from guns as their projectiles travel really quickly. There’s also a faint audio cue when an enemy prepares to attack, so always keep an eye and ear open for enemy attacks and be prepared to either take them out quickly or avoid their projectiles.
This even applies to bosses, though their attacks are generally more varied than normal enemies.

Get a Backup Weapon ASAP
Out of all upgrades you should get for the starting Rifleman class first is a Pistol. Unlike other classes you will unlock later, the Rifleman doesn’t start with a pistol, but you should get one as soon as possible.

It only costs a single point and can be vital if you’re in a tense situation and run dry on your rifle. Switching quickly to your pistol is faster than reloading, and it can get you out of a jam that you might not otherwise make it out of. You’ll still be able to carry just as many magazines for your rifle, so you’ll have more bullets on hand overall. The pistol might not be the best weapon, but it’s far better than not having one.

Oh, and while you’re at it getting a wand is also great. It’s not as necessary because you can buy them during your run, but investing a single point to have one from the start can be very helpful in earlier levels.
Traps Can Kill You Easily
The first traps you’ll notice in The Light Brigade are bear traps in the cold forests and mountains, and shortly after that some basic and pretty visible swinging and falling traps strung up between trees. They’re pretty easy to avoid if you see them before you wander into them, so make sure to always keep an eye out for traps when you’re traveling.

It can be especially easy to forget about them when you’re in the middle of a fight. They do a lot of damage and can easily kill you if you’re not at full health. Even if you use teleport movement your teleport can be interrupted by a trap. The upside is that some traps, like bear traps, are highlighted on the ground when you use your teleport. The downside is that you can teleport right into them.

Later traps are even deadlier, like the blades that pop out of the wall in a tight hallway, so always watch out for and be wary of traps, they’re a really lame way to lose a life.
Try Out and Level New Classes
This one might seem obvious, and you may be tempted to just try to complete all your runs with just the Rifleman class, but give other classes a try. Rifleman is pretty strong, and for a while will be your best class for long range combat by far. You can change your class at this shrine with the crystals hanging from it.

After you defeat the first boss, you’ll unlock the Scout class. It’s not so great at range, but has an automatic weapon right off the bat that can shred enemies from close range. It also has a pistol for medium range fighting.
Using other classes like the Scout will unlock more new Classes when you defeat more bosses, and changing up your gameplay with some new weapons keeps things fresh and fun. You might even get even further using a new class, you never know what you might like.

Look Out For Lootable Objects
Since The Light Brigade is a roguelite (or roguelike if you prefer) game, you’ll need consumables and upgrades as you progress through your run to keep up with the more powerful enemies you will run into. The main source of these are lootable objects you find around. Little boxes, chests, pots, and vases that you can tell are full of loot by their gold handles.

The more of these you find and loot, the better a chance you’ll have of making it further. They not only give gold that you can use later on to buy upgrades and Tarot cards (more on them in a moment) from vendors, but also consumables like grenades and medkits. They also all contain souls that you can turn in to get more levels.
Oh, and don’t forget to loot the glowing orb things that enemies drop. They might not only drop things like ammo and items, but will also give you souls every time, so if you want to keep gaining levels don’t leave loot behind.
Save Souls

This tip for The Light Brigade is basically another looting tip. You’ll often see little ghostly figures with their hands clasped together in pray and a name floating above their heads. There are also the bodies of light brigade members around without these ghostly figures hanging near them, or pinned to trees with arrows.

Whenever the area is clear, make sure to pray in front of these figures, because you’ll get souls for doing so, and later some might come back as allies that will help you clear the level on later runs. There’s no downside, so make sure to save all the souls you can.
There’s 9 Tips and Tricks to help you get further than before in The Light Brigade. Good luck out there.

Easily Install Gorilla Tag Mods Step by Step
Welcome to this step by step guide on how to install Gorilla Tag Mods! Gorilla Tag is an extremely fun VR game, and it’s even better with mods. So keep reading to find out how to install Gorilla Tag mods as easily as possible.
Welcome to this step by step guide on how to install Gorilla Tag Mods! Gorilla Tag is an extremely fun VR game, and it’s even better with mods. So keep reading to find out how to install Gorilla Tag mods as easily as possible.
Installing Gorilla Tag Mods on the Oculus Quest 2
A quick note for all Oculus Quest 2 lovers that are wondering how to get mods directly on your Quest 2. Unfortunately Gorilla Tag mods can no longer be installed on the Quest 2. There are also currently no plans to bring Quest 2 modding back to Gorilla Tag. Sorry, but if you want to mod Gorilla Tag then you’ll have to do it on PCVR. Look at this screenshot from the Gorilla Tag modding discord.

If you see a guide that says you can install mods, probably using the QuestPatcher tool, then they won’t tell you that you won’t be able to play Gorilla Tag on your Meta Quest 2 after using QuestPatcher. It simply won’t work, and will constantly tell you that you have an outdated version of the game that has to be restored to the newest version.
If you have a Quest 2 and want to play Gorilla Tag on PCVR then you could set up and use Oculus Airlink. The thing about Airlink is that it can drop a ton of frames and be very choppy and look horrible if your internet setup to your PC isn’t very good. If you want to use Oculus Airlink, then make sure your PC is connected to your Router or Modem with an ethernet cable.
If you can’t or don’t want to use Airlink then you’ll need to be able to connect your headset to your PC directly. This is possible with an Oculus Quest 2 using an Oculus Link Cable or comparable USB 3 cable. If you don’t have one there are plenty online that are not as expensive as the official Link Cable, but are possibly not as good.
Monke Mod Manager for PCVR Gorilla Tag Mods
The first step in installing PCVR Gorilla Tag mods is downloading and installing the Monke Mod Manager. This is a useful program that you can use on your PC to install Gorilla tag mods. Go to the Monke Mod Manager github page that you can find at this link. Click on the MonkeModManager.exe link under “Assets” to download the installer.

After Monke Mod Manager is downloaded, launch it to start the installer. You might get a prompt like the one you see here if the installer can’t find where your Gorilla Tag launcher is.

That’s alright. If you run Gorilla Tag through Steam click OK and then find and select GorillaTag.exe at C:\Program Files (x86)\Steam\steamapps\common\Gorilla Tag. If you run Gorilla Tag through the Oculus app then you can find and select GorillaTag.exe at C:\Program Files (x86)\Oculus\Software\Software\another-axiom-gorilla-tag (your filepath might be a little different depending on where you have Steam or Oculus installed, just find the “Steam” or “Oculus” folder and follow the rest of the path from there).
Whether Monke Mod Manager found the path automatically or you had to find it yourself, it will start up and you’ll see a menu with a bunch of check boxes. Scroll up and down the mods available and check whichever mods you want to install. Then hit “Install/Update” in the bottom right corner, and in a couple of seconds the mods will be installed.
This example here shows how to install the Gorilla Cosmetics mod, which you can use to add a bunch of great new cosmetics to your monke from a little cosmetics selector in your treehouse in Gorilla Tag.

You can also highlight a mod by clicking on its text, and then selecting “View Mod Info” in the bottom middle to open that mods github page, which you can manually download the mod from or read the README about it.
A great mod to install is “Monke Map Loader” which lets you load custom Gorilla Tag maps through the Computer in your treehouse in game. Just select the “Monke Map Loader” program on the ingame computer and you can select from all the maps you have installed. You can find more custom maps to download at this link.
You can install these new custom maps by moving them into your game's BepInEx/plugins/MonkeMapLoader/CustomMaps folder. If you don’t want to go looking for your game folder, just select the “Game Folder” button in the Monke Mod Manager Utilities tab.

Avoiding Bans
Be careful to disable mods that affect gameplay by selecting their checkbox and hitting “Disable Mods” before joining Public Lobbies. Most will disable automatically on joining a public Gorilla Tag lobby, but there might be a bug that keeps some on and your account might get banned by using them in a public lobby.
How To Get More Gorilla Tag Mods
If the mods that come with Monke Mod Manager aren’t enough for you, you can find more in the Gorilla Tag modding discord at this link. There are also a bunch of github repositories for Gorilla Tag PC Mods.
Some mods are a little different in how you should install them, so make sure to read the README for the mod. For most you can just download the mods .zip and extract it to a regular folder, then move that folder to your Gorilla Tag game folder. If the mod is just .dll files, then you should move them to the BepInEx/plugins folder.
7 Best VR Escape Room Games on the Oculus Quest 2
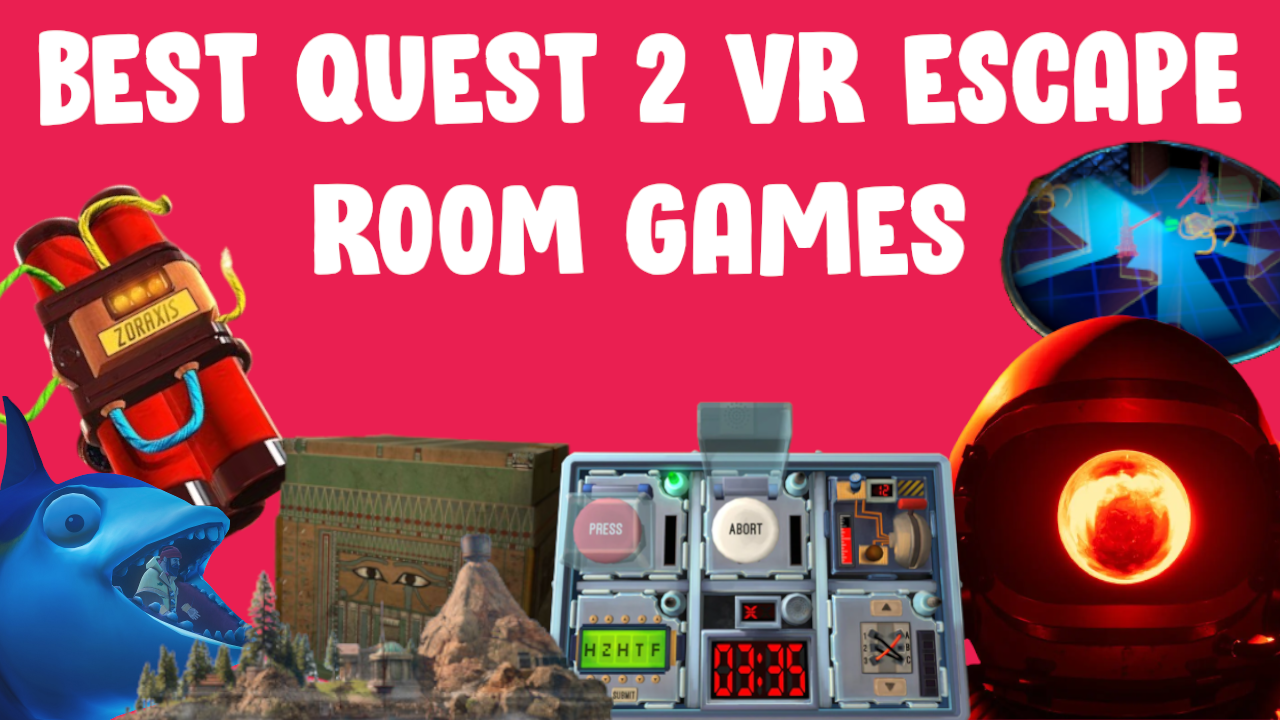
VR Escape Rooms are a ton of fun, and a great extension of the VR Puzzle Game genre. If you really love escape rooms, escape games, or VR Puzzle and Adventure Games in general, but can’t make it to one of the physical escape rooms, then the 7 Best VR Escape Room Games will give your problem-solving skills a great test in a virtual environment. If you want a great VR escape room virtual reality experience then keep reading.
Oh, and if you don’t own a Meta Quest 2, don’t worry, all of these games are available on a wide range of VR headsets or VR Devices, such as on the Oculus Rift via PCVR. Some might even be around in some VR arcades.
Table of Contents:
A Fisherman's Tale
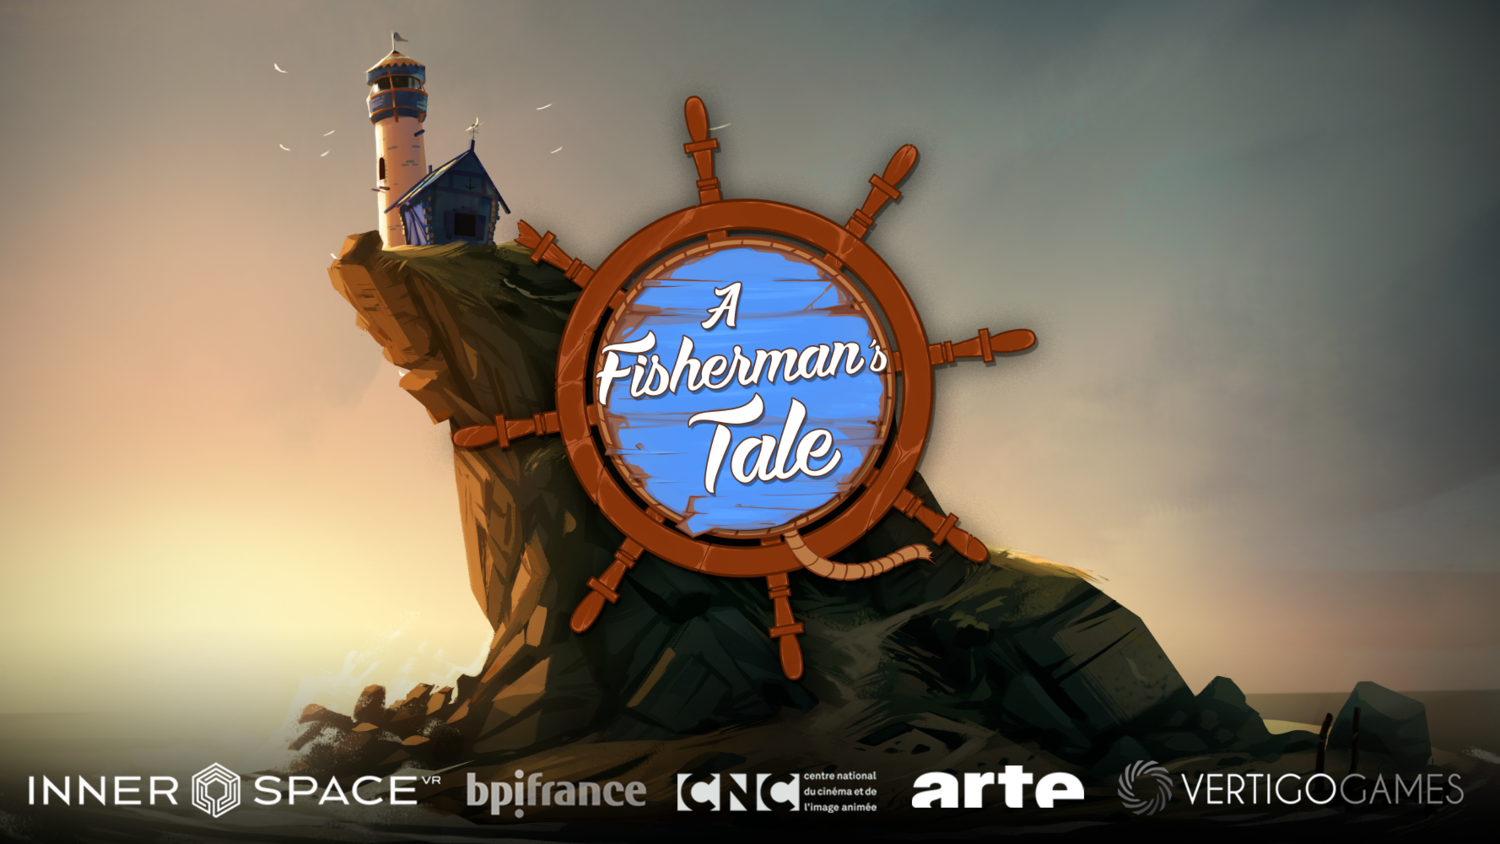
In A Fisherman’s Tale you are a little wooden puppet of a fisherman who lives out every day in the same way, but one day the skies outside begin to storm, and you need to light the lighthouse you live inside to warn the lone fisherman out at sea. Along the way you meet all sorts of characters to help you on your journey like a hermit crab, and even a picture of your dad.
A Fisherman’s Tale doesn’t have the most complex puzzles, and like many games on this list all these puzzles revolve around doing what you need to do to escape the room you are in and advance to the next level. What it has more than any other game is a very fairy tale atmosphere, both in its puzzles and solutions and its tone and storytelling.
A Fisherman’s Tale is a touching and heartfelt tale with a lot of whimsy and magic to it. If you want an escape room VR game that feels like puzzling your way through a fairy tale, then A Fisherman’s Tale delivers a fun narrative and some interesting puzzles.
Red Matter and Red Matter 2

Red Matter and its sequel, Red Matter 2, take place in a fictional future where not only has humanity started to establish bases and outposts across the solar system, but also where the cold war never truly ended. In both games you take the role of an agent investigating what exactly each side in this conflict is up to, and what the plans for the mysterious “Red Matter” are.
These games play out like a series of Virtual Reality Escape Rooms. They also take full advantage of VR to recreate the stunningly beautiful and wondrous environments of outer space. Each new area you enter is essentially a small escape room of its own, with a new puzzle or mystery to solve to continue on as you uncover the mysteries of the Red Matter and the people involved in its discovery and use.
If you’re a fan of space travel and sci-fi, then you’ll love the gorgeous visuals and setting of a slightly more advanced humanity that has taken to outer space. Even the more mundane and industrial settings are so gorgeous and well made that they practically look like real life. This makes the Red Matter games some of the most immersive experiences.
The puzzles are great and the game is also one of the most beautiful to look at on the Quest 2. If you love a good mystery, or just a fun outer space setting with an interesting story and a series of great escape rooms, then try these games.
Keep Talking and Nobody Explodes

One room to escape from, and inside one person, you, and a bomb. Defuse the bomb before it explodes so you can escape. The thing is, you have no idea how to defuse the bomb, but your partner who isn’t wearing a VR headset does. They have the manual, and their job as the expert is to talk you through how to defuse the bomb before it goes off. This is Keep Talking and Nobody Explodes.
This game is very literally a virtual reality escape room. You need to complete the puzzles on the bomb and defuse it to escape, and it is a very welcome addition to the Quest 2 VR Escape Room catalog because it is inherently a cooperative game.
A lot of the escape room and puzzle games on the Quest 2 are singleplayer experiences, so Keep Talking and Nobody Explodes gives you a great way to enjoy a fun escape room with a friend, even if they don’t own an Oculus Quest 2. If you want a multiplayer game that is also an escape room you won’t find a better option on the Quest 2.
The Room VR: A Dark Matter
In The Room VR: A Dark Matter you are a detective trying to solve the mystery of a disappearing Egyptologist. When you start to dig further and further into the work that your quarry did you are drawn further and further into arcane and otherworldly secrets.
The Room VR: A Dark Matter is another very good looking virtual reality puzzle game with a wide variety of locations ranging from victorian academies to ancient tombs buried beneath the sands that looks like the inside of some lost pyramid. The detailed and immersive environments are not the only draw of this game. The puzzles you solve range from simple machines of the early 20th century, to mysterious curios and magical contraptions.
If you love a victorian style mystery full of ancient curses, magical artifacts, and the mysteries of ancient cultures, then this game might be for you. There are a couple of puzzles that you might have to look at a guide or walkthrough for, but they are generally very manageable and intuitive.
The only real downside to The Room VR: A Dark Matter is that you can only use teleport movement and snap turning, which by now are very outdated for VR, but serviceable.
I Expect You To Die 1 and 2
In I Expect You to Die and its sequel I Expect You To Die 2, you are a secret agent who must undertake a variety of missions, and most likely die in a funny and interesting way in the process. More than any virtual reality escape game, the need to escape is never more obvious and important than in I Expect You to Die.
Each mission is a single short escape room scenario, where you must achieve your goal (i.e. Stealing a high tech car and driving it out of the back of a moving cargo plane) while also avoiding all of the hilarious hazards of each puzzle piece in your way (i.e. A retinal scan laser and a bomb made of sticks of dynamite).
If you want a more goofy and also fast paced VR Escape Room, then I Expect You To Die 1 and 2 both deliver. It’s got tongue in cheek humor and a wide array of interesting and silly puzzles to solve. The fun comes from figuring out exactly what you need to do to avoid the silly traps and complete the mission alive.
A Rogue Escape

Want a mixture of supply management and survival elements with your escape room VR experience? Then A Rogue Escape might be for you. In this game you are alone on a dangerous planet while trapped inside of a giant mech that is not only the room you must escape from, but your greatest tool in navigating the dangers around you.
In A Rogue Escape you are restricted to the few control and maintenance rooms inside of your mech, and you must learn how to control this machine and keep it running as you explore the planet around you. Unlike a lot of these escape room games, it’s actually possible to lose in A Rogue Escape.
There are plenty of ways to lose with different endings, like your mech running out of fuel or overheating. If this happens you retain some of your progress, like supplies you might have collected, but have to start all over again. This makes A Rogue Escape a more replayable escape room VR game than most, with a lot of different ways to complete your goals or lose.
The biggest fun in this game comes from learning how your mech works and how to pilot it on the fly. Very little is explained, and you need to figure out how to do very basic operations with the computer screens and physical buttons, switches, and dials in each room.
If you want a less conventional escape room experience with some more traditional roguelike and video game elements thrown in, then A Rogue Escape will offer you one of the most unique vr experiences that is part escape room puzzle and part survival game.
Myst
Want to experience the classic game Myst in VR? Well it’s available on the Meta Quest 2! In this game you are an explorer on the strange island of Myst. The island is a place full of secrets and mystical intrigue, where everything is not quite as it seems. Puzzle your way through a series of rooms to continue your adventure through the island and discover the secrets of Myst.
The original Myst was released in 1993 and became a classic for puzzle and digital escape room lovers. It is one of the most revered puzzle titles of all time. VR adds the element of using your actual hands to manipulate objects in this classic experience. The puzzles are strange and not quite rooted in the logic of the world we all know.
As you uncover the story of the island and of your role on it Myst presents a series of not only interesting rooms full of puzzles for you to solve, but a mystery of betrayal and consequence. The puzzles are excellent, though maybe not as easy to solve as some of the other games on this list.
If you love VR Escape Rooms and mystery in general, Myst is a classic for a reason, and is faithfully recreated in this Quest 2 port. The only downside is that some of the visuals aren’t as impressive as in other games on this list, with some textures being very bland and not too fun to look at. Though the puzzle elements themselves are finely detailed enough so that you’ll have no trouble reading notes or understanding what the various contraptions on the island are meant to be.
There you have it, the 7 Best Escape Room VR Games on the Oculus Quest 2. There’s something here for all fans of escape room games in this list of virtual reality escape room games.

Easily Change and Replace Your Oculus Quest 2 Controller Batteries
When the battery level of your Oculus Quest 2 controllers gets low you’ll need to change the batteries. If you want to know the best way to change your Oculus Quest 2 controller batteries and replace them, then here’s how. After all, you can’t enjoy Virtual Reality with no Oculus Controller battery power.
When the battery level of your Oculus Quest 2 controllers gets low you’ll need to change the batteries. If you want to know the best way to change your Oculus Quest 2 controller batteries and replace them, then here’s how. After all, you can’t enjoy Virtual Reality with no Oculus Controller battery power.
What You’ll Need to Replace the Battery
First you’ll want to grab a couple of single AA batteries. The Meta Quest 2 controllers take alkaline batteries, disposable or rechargeable. Luckily the alkaline battery is the kind most commonly used in all sorts of appliances, and is what you’d call a typical AA battery.
Unlike the Quest 2 headset itself or the Meta Quest Pro controllers, the Quest 2 touch controllers don’t have an internal battery or integrated battery that can be charged with a usb-c cable. Hopefully a built-in rechargeable battery will be included in future Quest models.
If you use your Oculus Quest 2 a lot then you might want to consider getting some rechargeable AA batteries that come with battery chargers, so that you won’t have to throw away old disposable batteries and constantly have to buy more. It’s a good idea to keep your controller battery life from ruining your best Quest 2 experience.

If you have fragile nails or simply don’t want to use them to remove the battery, get a thin tool like a pair of tweezers or thin spatula. You’ll either need to use that or one of your fingernails to remove the battery from the compartment.
Change the Oculus Quest 2 Controller Battery: Short Version
The short version of how to replace your Oculus Quest 2 controller batteries is this: Remove the battery cover on your Quest controller. It’s on the grip of it on the side that doesn’t have the grip button. Then take out the old battery, dispose of it or recharge it, and replace it with a replacement battery before slipping the battery compartment cover back on. For a longer explanation with details and pictures, keep reading this article.
Replace the Oculus Quest 2 Controller Batteries: Long Version
Once you’ve got your batteries it’s time to open the battery covers on the Quest 2 controllers so that you can remove the old AA batteries and replace them with new ones. Since there’s no latch or indentation in the controller it’s not immediately obvious how to do this, so we’ll go through it step by step.
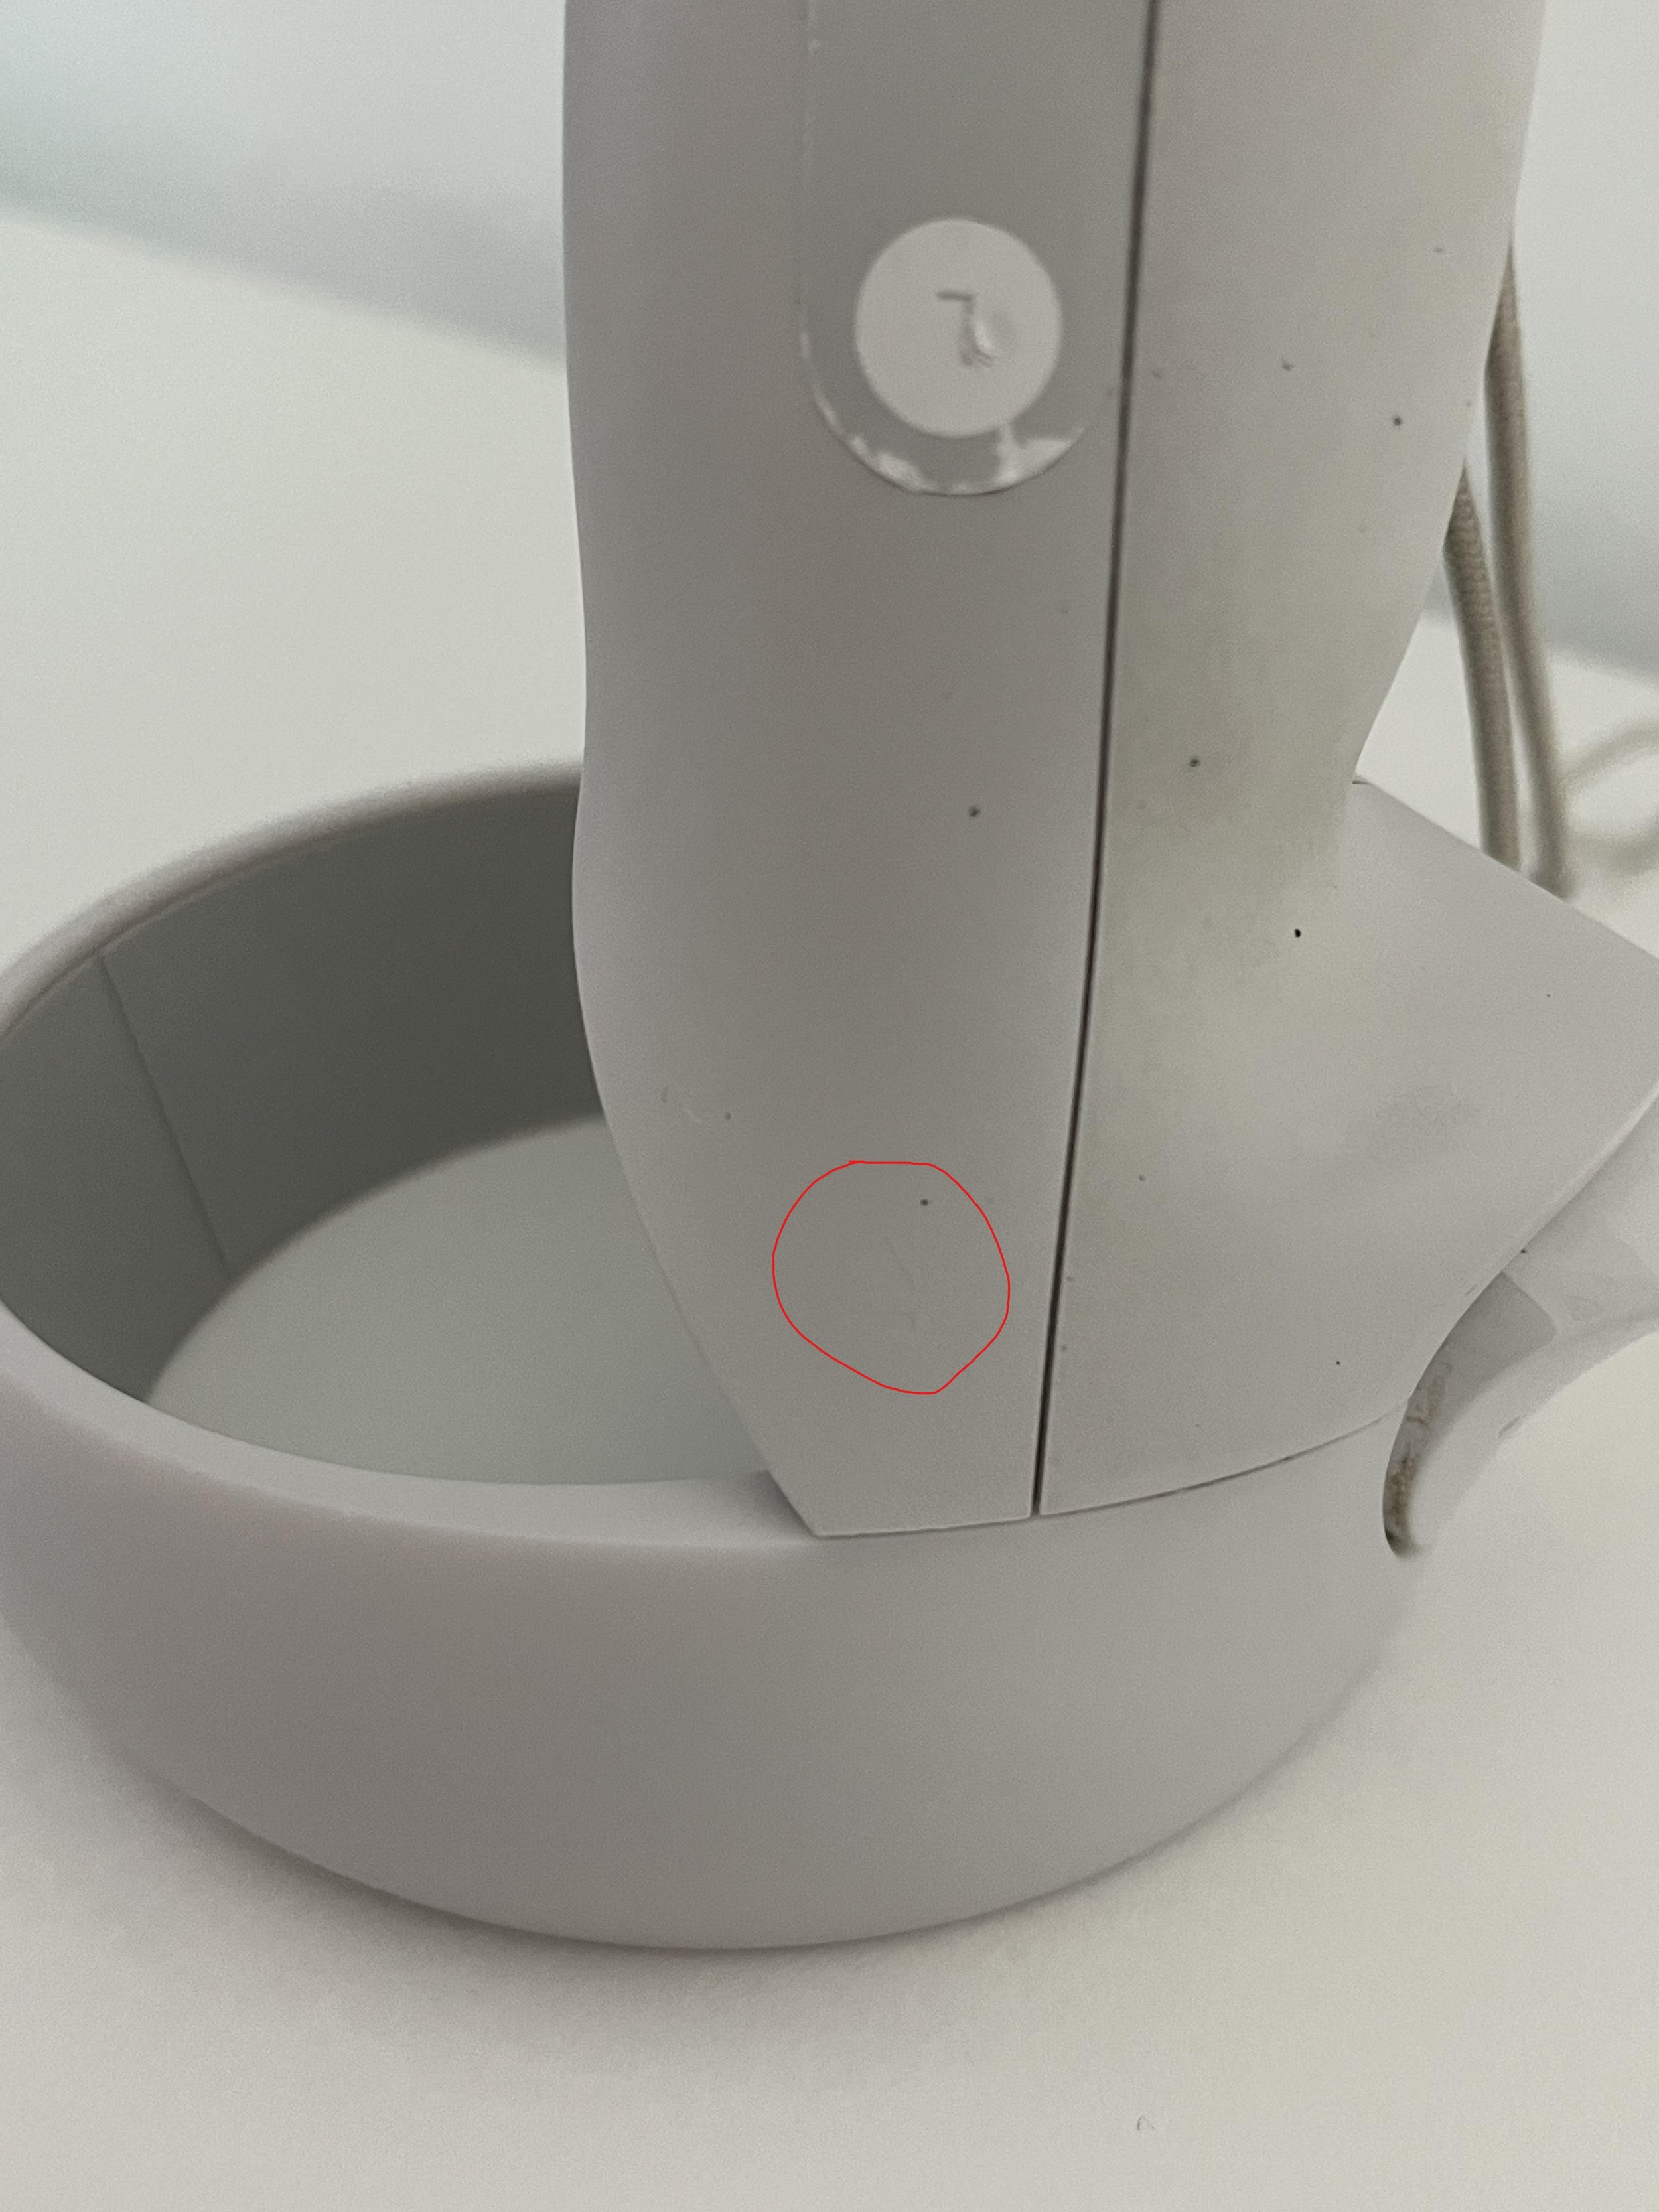
First locate where the cover is. That will be on the outer side of the grip of the controller, the side that does not have the grip button and is completely smooth. If you haven’t removed the stickers indicating which hand to hold the controller in, that will be the side with the “L” or “R” sticker.

At the top of the battery compartment cover you’ll also see a little downwards arrow indented into the plastic, right below the ring at the top of the controller. This small eject icon shows you the direction to push to unlatch the battery cover. It can be hard to see, but easier to feel with one of your fingers.
Once you’ve located the cover, hold the controller in both hands and gently press your thumbs down in the center of the compartment. Then push the cover out towards the bottom of the controller. The goal here is to push the cover slightly inwards and outwards, unlatching it and also moving it away so that you can place in your new AA battery. This can be a little tricky your first few times doing it, and new quest controllers can be a little more stiff and difficult, but keep at it and you’ll get it.

Leave the cover somewhere you won’t lose it for now. It’s time to remove the old battery and replace it. This can also be a little tricky and stiff the first couple of times, but once you get used to this it will be easy. As you can see in the little battery diagram inside the battery compartment, the positive end of the battery is the end that is pointing to the bottom of the controller grip. The negative end is pointed towards the ring.

To remove the battery wedge one of your nails between the top of the battery on the positive end (or a thin tool that can fit in the gap). Then press down on the battery so that the top part of it comes away from the inside of the compartment. This will give you room to pull the battery towards you and out of the controller.

Once the covers are removed make sure to dispose of the old batteries. Googling “nearby battery recycling” can show you some potential locations to dispose of old AA batteries.
Now that the battery compartment is empty get your new battery and determine the positive and negative ends. The positive end will have a little nub on top, there should also be + and - signs on each side that show which end is positive and negative.

Grab a single AA battery, making sure the positive end is up, and slip the negative end into the bottom of the compartment (when the grip is pointed upwards as in these pictures). You can push down on the battery so that you have room to slip in the positive end facing upwards. If you’re still confused on which way the ends should go, there is a little diagram inside of the battery compartment which shows which way the positive end of the battery should go.

Once the new battery is inside, push the battery cover back down over the compartment. When you start up your Meta Quest 2 again, you will see the battery life percentage of your controllers update to reflect the charge of the new battery. It is recommended that you change the batteries of both controllers at the same time.

It is also very easy to just use rechargeable batteries, like those found here on amazon. If there are four then you can just recharge the two old ones using the battery charger after replacing them with two new batteries. This means you don’t have to constantly buy new AA batteries and throw out old ones. It’s also good to reduce your environmental impact, and is just an overall win-win.
If you’re still experiencing power issues with your Oculus Quest controllers like the battery percentage not updating, or the controllers still showing as being low power even with new batteries, then you should contact the Meta support team and possibly get replacement controllers.

All Swordsman VR Bosses and How to Defeat Them
Having trouble with a Boss in Swordsman VR? Maybe you’re just wondering what bosses are out there in this great sword fighting game on the Oculus Quest 2. Well look no further, the complete list of Bosses in Swordsman VR is right here.
Having trouble with a Boss in Swordsman VR? Maybe you’re just wondering what bosses are out there in this great sword fighting game on the Oculus Quest 2.
Well look no further, the complete list of Bosses in Swordsman VR is right here.
Table Of Contents:
Yagami The Warchief

Yagami The Warchief is the boss of the Samurai levels in Swordsman VR. He has a very impressive helmet and a deadly and poisonous looking sword.
You’ll notice just by looking at him that of all the bosses he is the least armored. His legs and crotch are completely exposed and vulnerable to bladed weapons, as are his arms and the sides of his torso.

Yagami, like all Swordsman VR bosses, will always have one of his soldiers join him in the fight and respawn after a short delay if you kill them. He is also arguably the easiest to take out due to how unarmored he is, but he can hit quickly with his sword.
The best tactic is to lunge forwards to strike him in his unprotected areas and then back up if he tries to counter attack. It can be easy to stunlock him for a little while if you keep dealing good damage, though he can also parry quickly, so be ready to step back before a counterattack comes.
Occasionally circles will appear around the edges of the arena with little green bubbles popping up inside of them.
Standing in these circles will poison you for relatively minor damage, but still it is better to avoid them by staying in the center of the arena.

Defeating Yagami awards you his weapon, Kodoku.
It does great damage and is very light and easy to strike quickly with, especially on undefended legs. It will apply a poison effect on its target pretty regularly, and so is a pretty great weapon for boss fights.
Batu The Executioner

Batu The Executioner is the boss of the Saracen levels in Swordsman VR. He strikes an imposing figure with his huge Mace and plain but menacing armor.
Fortunately that armor doesn’t cover much of his body. His thighs are completely exposed as is his stomach and upper arms. This makes Batu also vulnerable to bladed weapons.

Batu, like all Swordsman VR bosses, will always have one of his soldiers join him in the fight and respawn after a short delay if you kill them. Dealing damage to Batu is not hard if you focus on his legs and stomach with the point of a sword.
Though he hits extremely hard with his huge mace. So be careful, hits with that mace are very hard to block, but easier to avoid. Just like with Yagami the best tactic is to lunge in and out of stabbing range to hit exposed sections without taking a hammering on the face in return.
Ocassionally Batu will raise his mace above his head and slam it into the ground, causing the ground to shatter around him and in lines in multiple directions.
The best thing to do when Batu does this is back away and strafe a little so that you might avoid some damage, being anywhere the ground shatters will hurt you. It’s also best to not already be hurt and recovering when Batu does this, or you might die.

Defeating Batu awards you his weapon, Tombstone. Tombstone is the best mace in the game, easily, and deals incredible damage per hit. It’s a hard hitter that can smack around and stagger heavily armored opponents easily.
Once the special on it charges you can shatter the earth around you and deal damage in a wide area just like Batu does.
Baltok The Disgraced

Baltok The Disgraced is the boss of the Knight levels in Swordsman VR. Baltok wears very menacing and bulbous black armor along with a huge two handed sword.
While he might seem very well armored it is still possible to hit his flesh in his upper thigh and elbows. Cutting his legs is definitely the easiest way to deal damage, as he moves his arms around a lot.

Baltok, like all Swordsman VR bosses, will always have one of his soldiers join him in the fight and respawn after a short delay if you kill them.
Baltok will attack pretty consistently, but his swings are slow and don’t deal an incredible amount of damage compared to some other bosses like Batu. Baltok’s attacks are easy to block, though he does a decent job of defending himself with that sword if you give him the chance.
More than any other boss, Baltok is very easy to stagger and stun, giving you the opportunity to get more hits in. As long as you stay on top of Baltok and keep hitting him he won’t be able to counter attack very often as he’ll keep staggering.
So be very aggressive with Baltok and only back away if you’ve taken a lot of damage. Keep hitting him, alternating between his upper body to stagger him and exposed legs to deal damage.
After Baltok takes some damage he will sometimes kneel and a circle of light will appear around him. You won’t take any damage being near him when he does this, but it does heal him.
To avoid prolonging the fight, hit Baltok whenever he does this as soon as possible and he will immediately stop healing.

Defeating Baltok awards you his weapon, Solis. It’s a pretty decent sword that can be wielded with both hands, and gives you some extra HP. It also increases your HP recovery rate, meaning you’ll start regenerating health faster.
Solis is a great weapon to use in your off hand if you want more survivability in a fight
Bjorn The Savage

Bjorn The Savage is the boss of the Viking levels in Swordsman VR. Bjorn wears an intimidating suit of black plate with a fearsome horned helmet and glowing blue axe.
Of all the bosses in Swordsman VR, Bjorn is the most armored. At first it might even seem like there is no way to hit his flesh. The only somewhat reliable way is the little exposed area over his armpits. The back of his legs also seem exposed, but he will rarely give you a chance to attack them.

For this reason it’s best to use a mace or axe, like Tombstone, to hit Bjorn in his armor and stun him so that you have a chance to stab him in the armpit with a stabbing weapon.
It’s very hard and a little frustrating at times, but if you keep stunning him and trying to stab his armpit he will die eventually. You might find trying to hit the back of his legs easier as well, it’s up to you.
Back off after you get a stab or two in. Bjorn will recover and it is hard to keep him staggered for long. So let him swing his axe at empty air for a bit before you go back in to smack him with your big weapon and try to poke him in an exposed area.
You can stunlock Bjorn for a little while, but not dependably. Fighting Bjorn generally takes a very long time due to this, but if you persevere you can beat him easily. Bjorn, like all Swordsman VR bosses, will always have one of his soldiers join him in the fight and respawn after a short delay if you kill them.
Bjorn will also sometimes raise his axe in the air, and a second later lighting will come down from the sky and hit random points in the arena. Being under this lighting deals a decent amount of damage.
The best way to avoid it is by being near Bjorn when he calls it down. Even better, when Bjorn raises his arm it gives you a perfect chance to stab him in the armpit.

Defeating Bjorn awards you his weapon, Stormbringer. If you like axes then Stormbringer is great. It’s easy to swing and does good damage. The increased crit rate is also a huge bonus.
When the special of Stormbringer is charged point it at an enemy and press the trigger to release a stream of lighting that does a great amount of damage.
The Jotunn
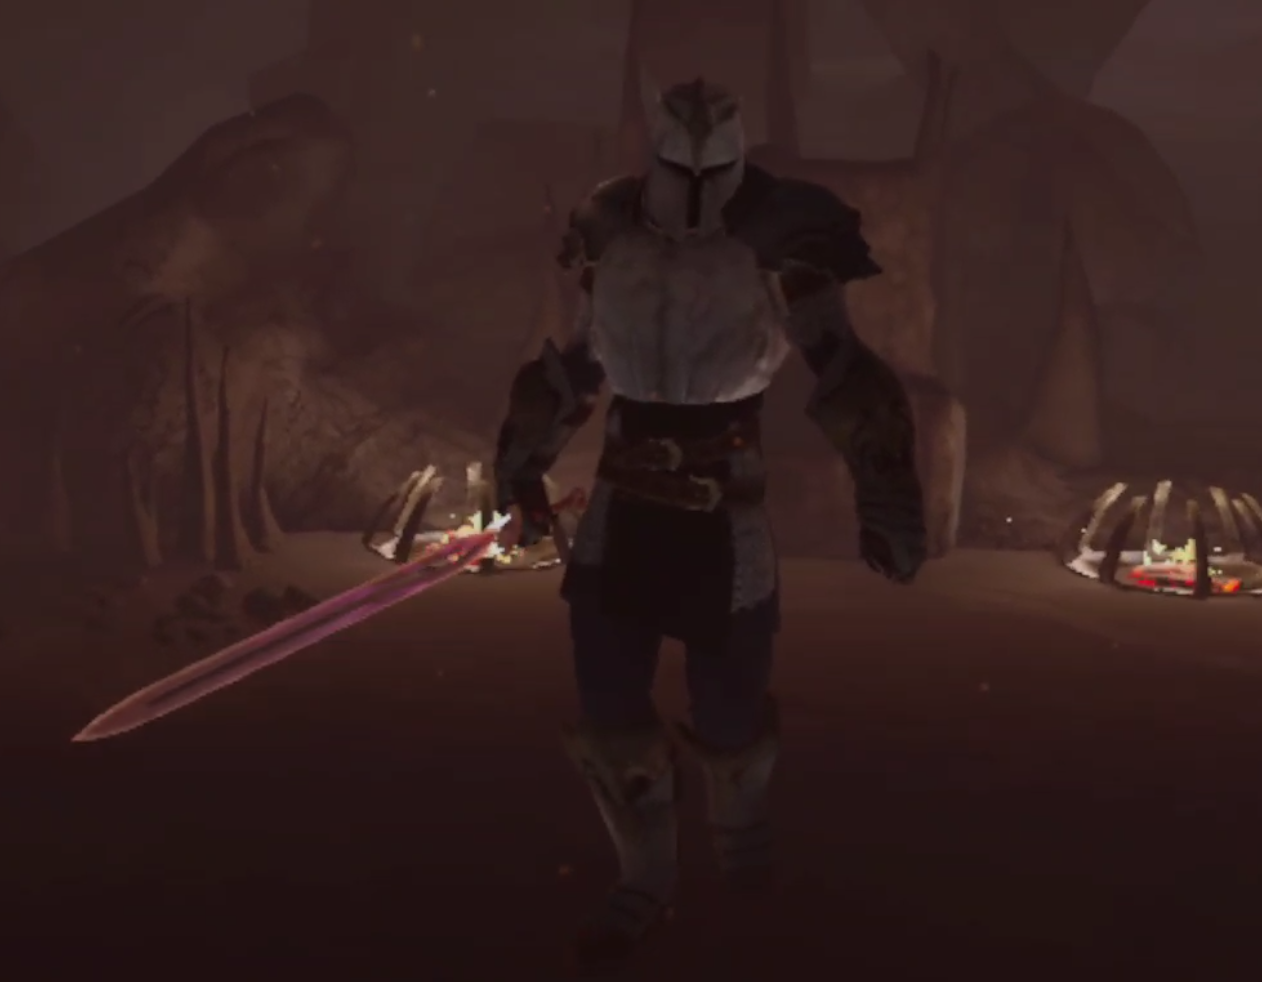
The Jotunn is the final boss of Swordsman VR and can only be fought after you defeat all 4 other bosses. Bjorn stands very tall and towers over most players with his bright red sword. Even his voice is menacing and creepy and otherworldly.
With all the armor he’s wearing it might seem hard to hit Jotunn, but it’s actually pretty straightforward. His legs are open from the bottom of his skirt to the top of his boots. His elbows are also slightly exposed.

If you’re aiming to hurt Jotunn just stab him in the legs, but watch for his sword. He will counter attack you very quickly, though he’s not very good at blocking. He doesn’t really have to be though because he has a massive amount of health and will take a lot of hits to kill.
Still, it’s not hard to do damage to him, you can stun him briefly by smacking him in the head, giving you a chance to stab him in the legs. Still, the Jotunn won’t stay stunned for long and can do a lot of damage to you really quickly.
Once you do some damage to him Jotunn will float in the air and his eyes in his helmet will start to glow. You might notice him attack more quickly after this, but more importantly he will sometimes lift his sword in the air and slam it into the ground.
This will send a wave of fire through the ground in front of him. Don’t get caught in this, it’s practically a death sentence.
To avoid getting hit with The Jotunn’s special attack, always strafe around him, even when you are attacking. It is possible to interrupt it if you hit him when he starts the attack animation, but you can’t rely on that.
Keep moving in a circle around the Jotunn to stay alive. Also be sure to watch out for his companion. The Jotunn will always have a warrior from one of the four nations join him, if you kill the warrior another from a different nation will take his place.
When The Jotunn is close to death he will float in the air again, and this time he grows wings made of fire. If he does this you are very close to defeating him, and he doesn’t gain a new attack or anything, so keep doing what you’re doing.
As long as you avoid getting hit by his special attack and make sure to back away and regenerate if he hits you with his sword then you’ll make it.

Defeating The Jotunn gives you his weapon, Hellfire.
It is the highest damage dealing sword in the game, and when it is charged you can use it to release some hell of your own.
Bonus Bosses
There are also a few bonus bosses that you can fight for additional gold, experience, and their unique weapons.
They can be found by hitting the arrow in the top right corner of the “Main Story” menu. They’re a ton of fun and give some great and powerful weapons as rewards for defeating them.

The pirates section also comes with four additional levels of pirates of fight before you get to go up against their boss, Brownbeard. They all take place in the Caribbean map that also features a deadly Kraken that you’ll need to shoot with one of the cannons on deck before it devours the ship.
Brownbeard

Brownbeard is the final boss of the Pirates levels in Swordsman VR. He walks with a swagger and looks every little bit a tall and imposing pirate with his big brown overcoat, tricorn hat, and Gun Sword.
Though Brownbeard isn’t nearly as imposing as he looks. Well that’s because he has no armor. You can hit him practically anywhere and expect to do impressive damage. Most importantly he’s got no helmet and so you can hit him right in the face and head.

So you can hit Brownbeard practically anywhere. He also doesn’t really counterattack you much, though he will occasionally slowly slash at you with his Gun Sword, or try for a slow stabbing attack.
Brownbeard will mostly edge away from you and try to keep his distance, though he doesn’t move very quickly, and you’ll be able to catch up even in the heaviest of armor.
Just keep attacking Brownbeard, preferably in the head, and he will hardly ever attack you. Leave him alone for too long and he might even shoot at you with the guns on his Gun Sword. If his shots land then they’ll do an insane amount of damage, but even stepping slightly to the side will throw off his aim and cause him to miss.

Defeating Brownbeard gives you his weapon, the Gun Sword.
It does pretty good damage, but is outshone in that department by some of the other boss weapons. What’s so great about this weapon is the gun part. It charges very quickly compared to other boss weapons, and while it isn’t very accurate is devestating when its bullets hit an enemy.
The Gun Sword is currently the only firearm in Swordsman VR, and boy is it fun.
Claus

Claus is the christmas themed boss of Swordsman VR, he’s sort of like Santa Claus gone mad. His eyes glow blue and look very scary. He holds a wicked looking two handed sword and wears menacing red robes.
Still, like Brownbeard, Claus isn’t actually as scary as he looks. He’s got some armor on him but not much. Most importantly his head is totally unprotected.

So when you attack you’ll want to go straight for his head. Stabbing is generally the easiest way to deal fast damage to him, and you’ll want to deal damage quickly.
Pretty often Claus will summon a ring of frost around him in a very large area. If you’re caught in it you will be slowed for a couple of seconds. This sounds like it might be bad, but it really isn’t.
Claus might deal a lot of damage when he hits you, but he doesn’t really attack all that much, and when he does it’s usually heavily telegraphed attacks with his giant sword.
He also doesn’t defend himself very well, leaving his head almost constantly exposed to attacks. So just keep stabbing him in the head.
Though the fight is complicated a little bit by the arena of ice you’re standing on crumbling at the edges, so don’t fall off. Though if Claus falls off he’ll just teleport back into the center of the arena.
So watch for Claus’s attacks, as few as they are, and keep hitting him in the head for massive damage. He’ll go down well before the arena becomes worringly small. His constant use of his ring of ice ability will also leave him even more vulnerable to your attacks.

Defeating Claus unlocks his awesome two handed sword, Frostbite.
Frostbite is great, though it doesn’t do as much damage as other boss weapons like Solis, and though it charges relatively quickly it’s ability doesn’t do damage. Instead it slows enemies in a wide circle, making them move in slow motion for a few seconds.
While Frostbite isn’t the most powerful boss weapon it is definitely a very entertaining one.
Hel

Hel is not only the only female boss in Swordsman VR, but also the only boss with an arena that has multiple rooms. You’ll start the fight against her on a big bridge leading up to a massive door. She wields two daggers that she wields expertly.
Hel also has more armor than it seems she has. Her face is completely covered, and so is her chest, upper torso, and most of her arms. She does, as usual, have a huge gap in protection on her upper legs and thighs. Though critically she completely lacks protection on the back of her head.
In the first phase she will come towards you quickly and attack with her dual daggers. After attacking you a few times or taking a few hits she will disappear and then reappear a few moments later to attack you again.
It’s very easy to whack her on the back of the head with a slashing weapon, or stab her in the legs with a pointed one. Though her attacks are rapid and deal decent damage to you, and she tends to move around quickly.
Be careful when Hel teleports and make sure she doesn’t sneak up behind you. You won’t have to deal a ton of damage to her to cause her to give up and teleport away.
When Hel gives up the big doors at the end of the bridge will open, so go through them. After a long walk you’ll find yourself in another room with a huge giant in it.

This big guy will smash you with his fists or swat you with the back of his hands if you get close, so don’t.
He’s very slow and you should be able to outpace him easily if you aren’t wearing super heavy armor, though you can still always stay a little ahead of him if you do and hug the four pillars around the room from time to time.
You’ll also notice four crystals on the sides of the room. One of them will glow. That’s your target. Immediately go to the glowing crystal and hit it a bunch of times to break it.

The giant will roar, and a few seconds later another crystal will start glowing. Keep destroying the glowing crystals until there are none left.
Then the giant will keel over and you can close in and stab him in the head to take him down.
After another creepy voiceline a bunch of red lines will appear, avoid those, that’s Hels special attack for her final phase. Shortly after they appear daggers will pop out of thin air and fly forward wherever the red lines were.
They deal pretty big damage, so it’s best to not get hit by them. After using this ability for the first time Hel will appear and attack you. She will function much like the first time you fought her, and so the same tactics still apply.
Hel doesn’t take a lot of hits to bring down, her main protection is her speed. If you can close and get a bunch of solid hits to the back of her head or her legs, then you’ll have won!

After defeating Hel in Swordsman VR you’ll unlock her dagger, Reaper.
While the game won’t allow you to dual wield it, this is a great dagger and one of the most powerful weapons in the game. It’s very short, sure, but each hit with it does a ton of damage.
You can stab really quickly with this thing and it’s a ton of fun to use. Not to mention its special ability that lets you “Dimension Jump.” This basically means you’ll phase out of existence for a few moments and move very quickly. This lets you move behind enemies, who will look dumbfounded at where you were last, or escape to heal very easily.