


How To Play Animal Company On the Meta Quest 2 And 3
So you want to play Animal Company and enjoy a super fun Virtual Reality game.
Here you’ll learn how to play Animal Company for free on the Meta Quest 2 or Meta Quest 3 (or any other Meta Quest device).
Let’s show you how to install the game on your headset.
So you want to play Animal Company and enjoy a super fun Virtual Reality game.
Good idea and welcome! Animal Company is a great VR game. I can say that Animal Company is really unique in how it lets you move just like in Gorilla Tag, but also adds amazing items, traps, and monsters to make the game so much more interesting.
Oh, and Animal Company is free to play on Meta Quest VR headsets! So you don’t need to spend any money to enjoy it.
Here you’ll learn how to play Animal Company for free on the Meta Quest 2 or Meta Quest 3 (or any other Meta Quest device).
Let’s show you how to install the game on your headset.
How To Install and Play Animal Company On A Meta Quest 2 or 3
If you don’t know where to get the game in the first place for free then keep reading. Here’s how to get Animal Company on the Meta Quest 2 or 3.
It’s really easy, just start by putting your headset on.
When you’re in the home screen then you can open the store by hitting the orange button at the bottom. The one with the shopping bag on it. When you point your controller pointer at it a popup will show up saying “Store.”
Definitely make sure your Quest is connected to a WiFi network by the way. If you aren’t connected then get some WiFi on your Quest. You have to have an internet connection to download Animal Company.

The Meta Quest Store, where you can get Animal Company.
Click on the search icon at the top of the score screen.
A keyboard will appear. Start typing “Animal Company” into the search bar and then hit the blue arrow to search for it.
Once you see it pop up click on the Animal Company icon under “Apps.”

Searching for an downloading Animal Company on the Meta Quest 3.
The window will change and show you some more information bout the game.
Just click the “Install” button on the bottom right.

Downloading Animal Company.
Now Animal Company is installing. If your WiFi connection to your headset isn’t very good it might take a while, but not too long. If you take the headset off it should keep going.
To see how long Animal Company is taking to install, and how to run it, click the button in the bottom right that looks like a grid of 9 squares to go to your app library.
Now you can see all of the apps you have installed on your headset.
You should see Animal Company there near the top, and you can also search for it with the search bar just like you did in the Store.
When it’s installed you can play the game by clicking on it!
There you go. That’s how to play Animal Company On the Meta Quest 2 or 3 VR headset. Easy as that, enjoy the game!

Easily Install CitraVR To Play VR 3DS Games on Meta Quest
If you’ve ever wanted to play VR 3DS games on your Meta Quest 3 or 2 then you might have heard of the app CitraVR. It’s a version of the popular emulation application Citra built specifically to run on Oculus Quest devices.
Once you have CitraVR installed on your Quest then you can play Nintendo 3DS games on your Quest headset without having to keep it connected to a PC. All for free!
Citra VR even has special settings that make 3DS games even more immersive in VR by wrapping the view of the game around your Virtual Reality 3D perspective. Essentially putting you inside of your favorite 3DS games using the magic of Virtual Reality.
So in this article, we’ll get into how to set up and install CitraVR so that you can play 3DS games on your Oculus Quest 2 or 3 device. Here’s how.
How To Install CitraVR On Your Meta Quest Device - Prerequisites
Before we get into the installation process here are a few things that you will need before you get started. There’s no point wasting your time attempting to install CitraVR before you meet these prerequisites:
A PC.
A cable that can connect your PC to your Quest, aka a “Link cable”: If you don’t have one there are official Oculus LInk Cables. Though if you don’t want to spend as much money there are third party cables available from amazon.
Emulation game files for the games you want to play in VR on your PC. CitraVR will only work with these filetypes: .rom, .cci, .3ds (.cia files did not work with this method). Some games may not work well and unfortunately, there is no reliable compatability list to check before you try.
Enough storage space on your Oculus Quest device to fit all of the game files you will be moving to it.
SideQuest, the popular sideloading application for the Quest. Installing it is very straightforward, but will not be covered in this article. Luckily there is a complete guide already.
If you have all of these things then you have everything that you need to install CitraVR on your Oculus Quest 3 or 2. Here’s how to download and install CitraVR.
How To Install Citra VR On Your Oculus Quest Device - Add Your 3DS Game Files
You’ve got all of the prerequisites and are ready to install CitraVR, so let’s get started.
First, you’ll need to connect your headset to your PC with your link cable. Once one end of the cable is connected to your computer then put the other into the charging port on the side of your headset.
Make sure you have your headset on, or put it on quickly, after you connect the cable. There may be some popups asking you to allow USB debugging, but most importantly a little prompt that asks you whether you want to allow access to files on the newly connected device.
This prompt will appear just above your home menu bar, so make sure that you are looking at your home menu and click it in time.

Unfortunately the popup text did not show up in recording, but it will appear here.
If you miss this popup then you’ll have to disconnect the cable from your headset and reconnect it again so that it will appear once more.
When you click it successfully a new file explorer window will appear on your PC. It contains all of the files in your Quest. Open in up and you’ll see every folder inside of your Meta Quest.
Create a new folder on your PC. Name it whatever you like. In the example, it’s named “ROMs.” Move all of your 3DS game files into the ROMs folder.

Add a folder to here, like the “ROMs” folder you see here.
This is the folder where Citra VR will both be set up and access your game files. Once all of your 3DS games are moved over to your Quest disconnect the cable. You won’t need it or your PC for the rest of this guide.
How To Install CitraVR On Your Oculus Quest Device - Installing Citra VR
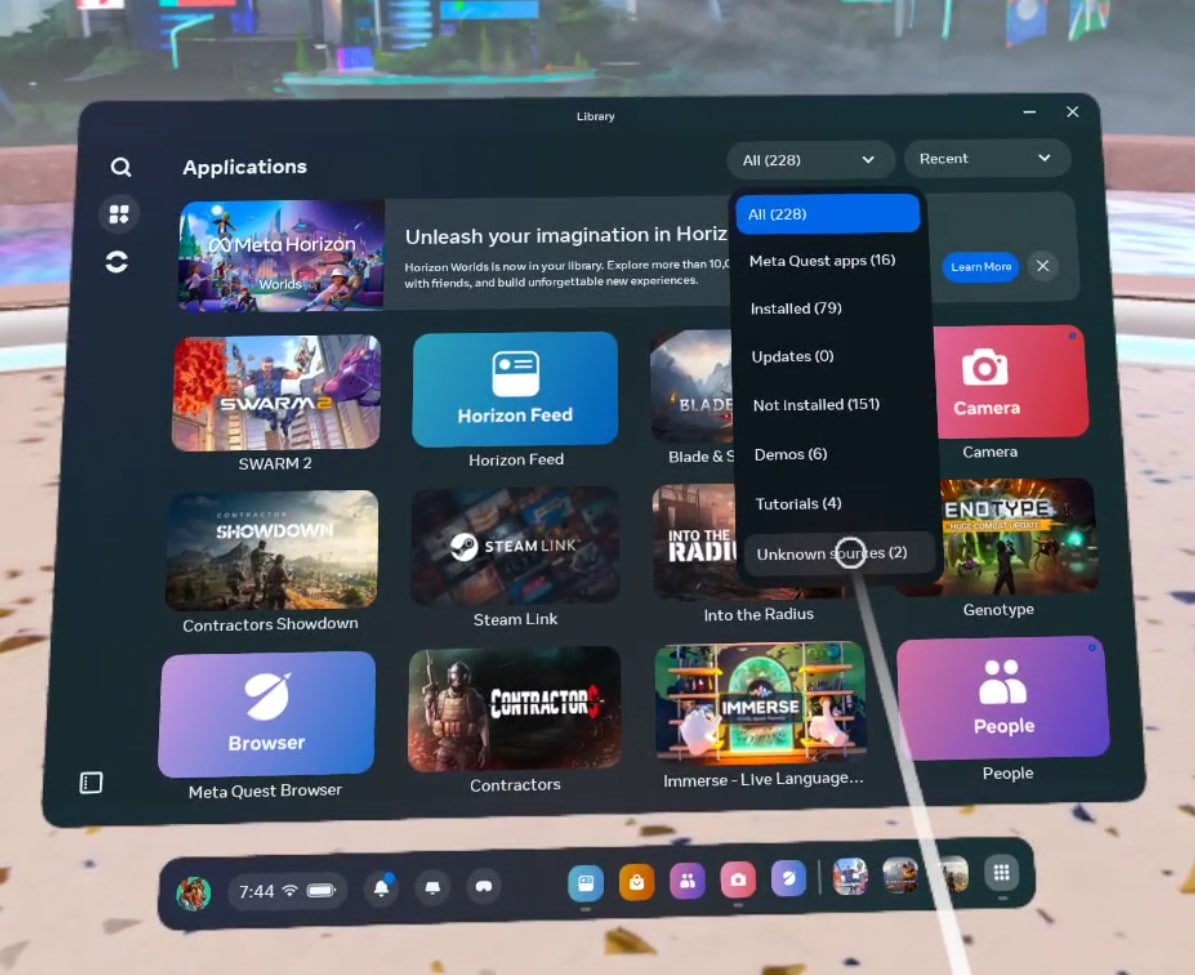
Put your Oculus Quest on and go to the “Unknown Sources” section of your app library.
To do this open your app library like you normally would to play a game on your Quest and then click on the “Applications” button in the top left to open your applications page. Once this menu is open click the dropdown button in the top right that is set to “All” by default. A dropdown menu will appear, click on it and then click on “Unknown Sources”.

SideQuest will download and install CitraVR for you, easy peasy.
From thee “Unknown Sources” menu launch SideQuest. As mentioned in the prerequisites you’ll need SideQuest installed to follow this guide.
Once SideQuest loads go to the search bar and search for “citra” or “citravr” and the CitraVR application will pop right up. Click on it to open the CitraVR SideQuest page and press the download button.
Just as with downloading any other SideQuest app you’ll soon see a popup in the bottom right of the SideQuest window stating that CitraVR has been installed successfully. Exit SideQuest once Citra VR is installed.
How To Install CitraVR On Your Meta Quest Device - Setting Up CitraVR
Go back to the “Unknown Sources” page in your app library and launch new the CitraVR app.
Click the dropdown in the top right to go to the Unknown Sources menu.
When you first launch CitraVR you’ll get a menu asking you to set up the application. When you see this hit the big green “Get Started” button.
Then it will prompt you to grant Citra VR permission to use your microphone and camera. Give CitraVR every permission that it asks for and once each step is completed hit the “Next” button in the bottom right corner of the app.
After granting permissions, you’ll get a new prompt asking you to select your User folder. Luckily you already have a folder ready to go, the one you created in the first step of this guide.
Just hit the big green “Select” button and in the following menu select the folder you created earlier. After selecting the folder hit the blue “Use This Folder” button at the bottom of the page, hit “Allow” when asked to confirm, and hit “OK” on the final popup.

Use the folder you created earlier as the User and Game folders.
Next, you will be prompted to select your Games folder, which is done in exactly the same way as selecting your User folder. We’ll also be using the exact same folder, so just repeat what you just did for the User folder.
Once that’s done you have successfully installed, configured, and run CitraVR! Congratulations.
Using Citra VR
Once you’re presented with the Citra VR main menu you’ll get a few popups telling you that games may experience stutters and that all games may not work well. Keep this in mind. Not all VR 3DS games will work as well as you might hope, but many do.

CitraVR will run with some stutters at first, but they get better.
Once you’re done with these popups you’ll be presented with your games folder, which should have all of the games that you previously moved over to your CitraVR folder.
If some or all of your 3DS games do NOT appear:
Check the file types of the game files. These are the compatible filetypes: .rom, .cci, .3ds (.cia files did not work with this method)
Go to the Settings menu by pressing the gear icon in the top left and check that your Game folder directory is set correctly to the folder containing your game files
Restart CitraVR
Restart your Quest headset
Keep in mind that not all 3DS games will work well, or at all, with Citra VR. This is third party software and so they can’t guarantee full compatibility with all 3DS Nintendo games.
Once you launch a 3DS game in VR successfully it will appear in front of you as two large mixed reality screens, one for the top screen and one for the bottom. You can interact with the bottom 3DS screen by clicking it with one of your controller pointers, and the top screen by using your touch controller’s buttons and joysticks.
In the settings menu, you’ll also find an “Immersive Mode” which will wrap the upper screen around your view when you play a game. It might not look fantastic on all 3DS games but it is definitely worth a try to get the most out of Virtual Reality 3DS gaming. There are also a ton of options to increase the graphical fidelity of your Virtual Reality 3DS games, but these may cause performance issues.
Well, hopefully, this guide helped you to get started in the wonderful world of 3DS VR games with the CitraVR emulator. Enjoy!

Easily Install SideQuest To Sideload Games On the Meta Quest For Free
So you want to install SideQuest VR on your Oculus Quest 2 or 3 so that you can Sideload a huge number of games to play directly on your Meta Quest 2 or 3 headset.
SideQuest truly is a remarkable application that lets you play even more Virtual Reality games on your Meta Quest device for free.
In this article, I’ll show you how to install SideQuest on your Oculus Quest 3 or 2 step by step with screenshots and everything.
So you want to install SideQuest VR on your Oculus Quest 2 or 3 so that you can Sideload a huge number of games to play directly on your Meta Quest 2 or 3 headset.
This is an extremely good idea. Not only does Side Quest give you access to a huge amount of modded content and applications, but a lot of them are completely free, and so is SideQuest! You won’t have to pay a single penny to install and use it.
SideQuest truly is a remarkable application that lets you play even more Virtual Reality games on your Meta Quest device for free.
In this article, I’ll show you how to install SideQuest on your Oculus Quest 3 or 2 step by step with screenshots and everything. Once you’re done installing SideQuest VR you will be able to install new games and apps on your Quest directly on your headset without having to connect it to a PC again.
So here is how to easily install and use Side Quest to Sideload games on the Meta Quest for free.
How To Install SideQuest On The Oculus Quest - Prerequisites
So before we get going with the installation process there are a few things you’ll need to install SideQuest VR:
A PC that is connected to the same WiFi network as your Oculus Quest 3 or 2 headset.
A link cable to connect your PC to your headset: You can get the official Oculus Link Cable on the Meta website here. If you’re looking for a cheaper option there are third party cables available from Amazon like this one here.
With these two things, you have everything that you need to install SideQuest VR on your Oculus Quest headset. Here’s how to download and install Side Quest.
How To Install SideQuest On The Meta Quest - Download SideQuest
To start you’re going to have to get on your PC, go to the SideQuest installation page, and download the Easy Installer.
Once you hit the download button the file will download to your Downloads folder.

The SideQuest VR downloads page. Download the Easy Installer on the left.
Once the SideQuest installer file is finished downloading, run it.
How To Install SideQuest On The Oculus Quest - Install SideQuest

The first screen you will see when installing SideQuest. You need to connect your Oculus Quest headset to your PC to start the installation process.
The SideQuest installer makes the whole process very easy by explaining exactly what to do step by step. All you have to do to get started is click that big “OPEN SETUP INSTRUCTIONS” button in the center.
Once you do that three steps will appear in the installer. These will detail how to create a Quest developer organization, enable development mode on your Quest device, and finally, it will tell you to connect your Quest headset to your PC.
Unfortunately, there’s no way to Sideload games or applications to your headset without going through this first. This is the most annoying part of installing SideQuest, but there is no way that you can skip it.

The setup page of the SideQuest installer.
Just follow the instructions in the Side Quest VR installation window. The instructions are very good and will tell you everything that you need to know to complete these three steps. Once you create your organization click on the next step and enable development mode in the Oculus app.
I also recommend that you restart your headset after enabling development mode, or it might not function as intended.
After you’ve set up your Meta Organization and enabled developer mode you should also create a SideQuest account while you’re at it. After you complete the installation you’ll need an account to link your headset to in order to use the SideQuest application.
Now that you’ve done the first two steps in the SideQuest installer you will need to connect your Meta Quest 2 or 3 headset to your computer using that Link Cable mentioned in the prerequisites.
Just connect the larger rectangular shaped USB end to a USB port on your PC and then connect the smaller end to the charging port of your Oculus Quest device. Be careful to make sure that the cable doesn’t come out while you’re installing SideQuest.
Once your headset is connected you will get a prompt in your headset asking you to give your PC permission to access files on the device and allow USB debugging. Click the blue allow button when you see this prompt. When your Quest is linked to your PC the installer should pick it up and the red circles with text next to them stating that you haven’t connected a headset should turn green. All of the circles on the right side of the Side Quest installer window should be green.
If the circles aren’t green then double check the steps you took previously and disconnect your Quest from your PC before restarting the Quest device and reconnecting it to your computer.
Once all of the circles are green hit the “Home” button on the left side of the installer and then click the big “INSTALL SIDEQUEST IN YOUR HEADSET” button in the center. After a brief wait, you should see some confetti in the installer window.

Once you see the confetti then you’ve successfully installed Side Quest on your Meta Quest 3 or 2.
Congratulations! You’ve installed SideQuest VR directly onto your Quest headset. You can now disconnect the Link Cable from your Quest and put your headset on. However, you will need your PC for one final step.
In your headset open your game library and click the search bar at the top. A dropdown should appear in the top right of the App Library window click on the one that says “All” and then click on “Unknown Sources” in the dropdown menu.

How to open the Unknown Sources app page on a Meta Quest headset.
The Unknown Sources page contains all third party applications installed on to your headset. This includes SideQuest and also games and applications that you will later sideload using Side Quest, so make sure you remember how to get to the Unknown Sources page.
Once you’re there you will see a new button for the SideQuest app. Click on it to open it.
Once you’ve started SideQuest in your headset you will see a six digit code telling you to go to sdq.st/link and enter the code. Remember the code before taking your headset off. Then go back to your PC and go to the website so that you can enter your six digit code. Hopefully, you made that SideQuest account earlier because you’ll have to log into one now on your PC.
If you haven’t made a SideQuest account already then you can make one on their website. It’s free. If you’re having trouble linking your headset, for instance, if the sdq.st/link page isn’t working, then connect your headset to your PC again with the link cable as you did before. Then try the website again.
Once your account and Oculus Quest are linked then put your headset back on and the SideQuest app will start shortly. You will get a lot of popups and prompts asking you to give SideQuest permissions. Hit the “Allow” button on all of them.

Make sure to allow permissions for SideQuest or it won’t work.
You also might get a popup at the bottom, like in the screenshot above, to Update SideQuest. You might as well do it now, so click on the “UPDATE SIDEQUEST” button. Once you do another popup will appear saying that “your phone currently isn’t allowed to install unknown apps from this source.”
If you see that then hit the “Settings” button in that popup. Another screen will appear that looks like the one in the screenshot below. In this window enable the slider for “Allow this source.”

If you see this settings page then enable the slider so that SideQuest VR can update.
If nothing is telling you to update SideQuest then don’t worry about it. However, if you do update and the Side Quest window closes just relaunch it. That’s just a part of the update.
How To Use SideQuest VR On The Meta Quest
Since you installed the SideQuest VR application directly onto your headset then you won’t have to worry about using that Link Cable anymore.
Now that all of the installation and permissions setting is finished you can just scroll through the SideQuest library to find new games to sideload. Most are completely free!
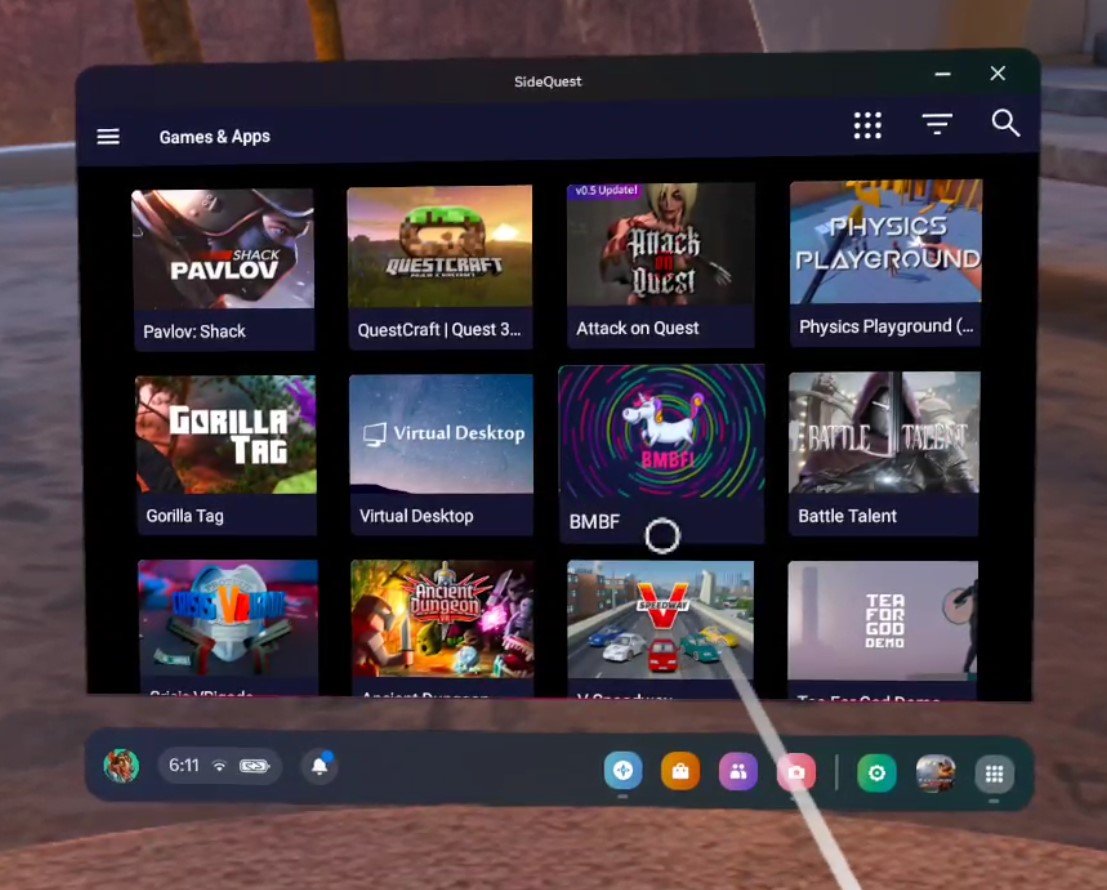
There are a ton of new (and free) games for you to install with SideQuest.
I hope you enjoy using SideQuest. It really opens up a whole new world of VR games for you to play and enjoy outside of what Meta has allowed to be on their store.
Keep in mind that this means that a lot of the games you will see on SideQuest might be very experimental or early on in their development, and so will be low quality.
That being said, there are still a ton of high quality games on SideQuest VR for you to sideload to your Oculus Quest 2 or 3. A lot of really great VR games got their start on SideQuest before making it to the official Meta Quest store. Enjoy!
Awesome Gorilla Tag Color Codes and How To Use Them
Want some great looking Gorilla Tag color codes? Maybe you’re wondering how to change your Gorilla Tag color code and make your Monke whatever color you want it to be? Well time for you to enjoy customizing your Monke with Gorilla Tag color codes. Here’s some color codes you can use, and below them in “How To Change Your Gorilla Tag Color Code” you can find out how to use them if you don’t know how.
Want some great looking Gorilla Tag color codes? Maybe you’re wondering how to change your Gorilla Tag color code and make your Monke whatever color you want it to be? Well time for you to enjoy customizing your Monke with Gorilla Tag color codes. Here’s some color codes you can use, and below them in “How To Change Your Gorilla Tag Color Code” you can find out how to use them if you don’t know how.
Some Great Gorilla Tag Color Codes You Can Use
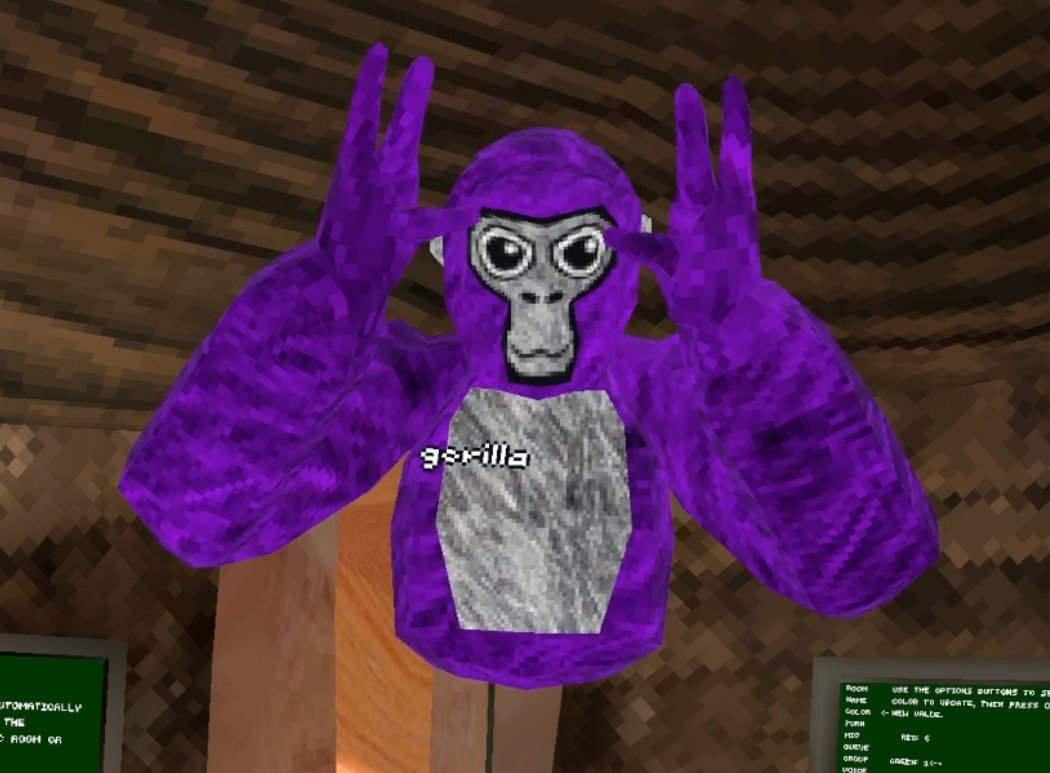
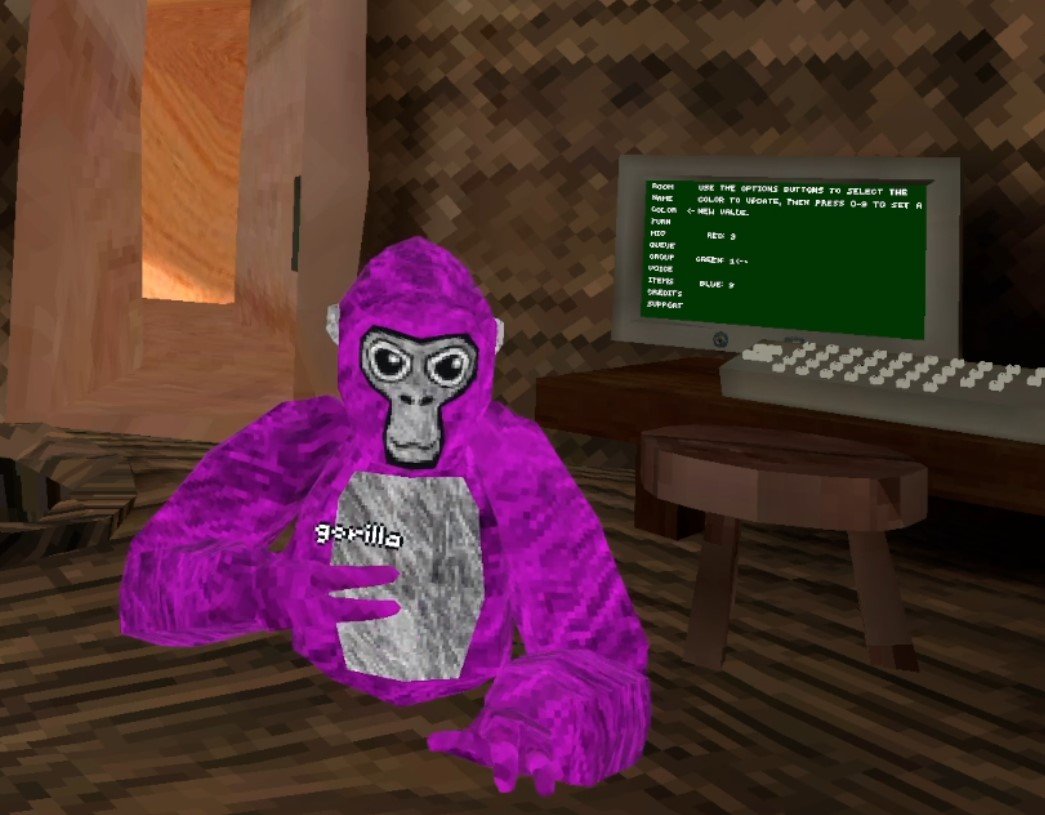
Purple - 4 0 9
Purple is such a classic color. It really stands out and oozes luxury. Purple used to be the color of Emperors and Kings back since Roman times. So if you want to feel like royalty 4 0 9 might be the color code for you.
Red - 9 0 0
Alright so this might not be the most complicated color code, but red monke just looks great. Just looking so red must make you go faster, right? Red is a really aggressive color, and is kind of intimidating. Also if a tagged player just glances at you and doesn’t look closely, you look a bit like a tagged lava monke and they might think you’ve already been infected in the infected game mode.

Teal - 1 9 9
This color code is a nice light teal, almost blue even. If you’re a really chill monke this is a nice calming color. Maybe if you’re just enjoying some mini games and don’t want to go really hard and just have a relaxing time, then this could be the relaxing color code for your monke.

Black - 0 0 0
Black is what you get when all colors are gone, so setting all color codes to 0 makes black. Black is the fur color of a lot of actual gorillas, and so if you want to really be like a lot of real gorillas out there go simple and go with black. Black has always looked good.

Yellow - 9 9 0
Red and Green make yellow, so full red and full green makes a really bright yellow color. Yellow is a color that reminds of vibrant nature. You’re going to stand out with yellow as your color, and that’s alright.

Pink - 9 1 9
It’s Pink, who doesn’t like a nice pink? Pink is the color of harmony and friendship, so if you want to make some friends in Gorilla Tag, don’t be afraid to be pink.
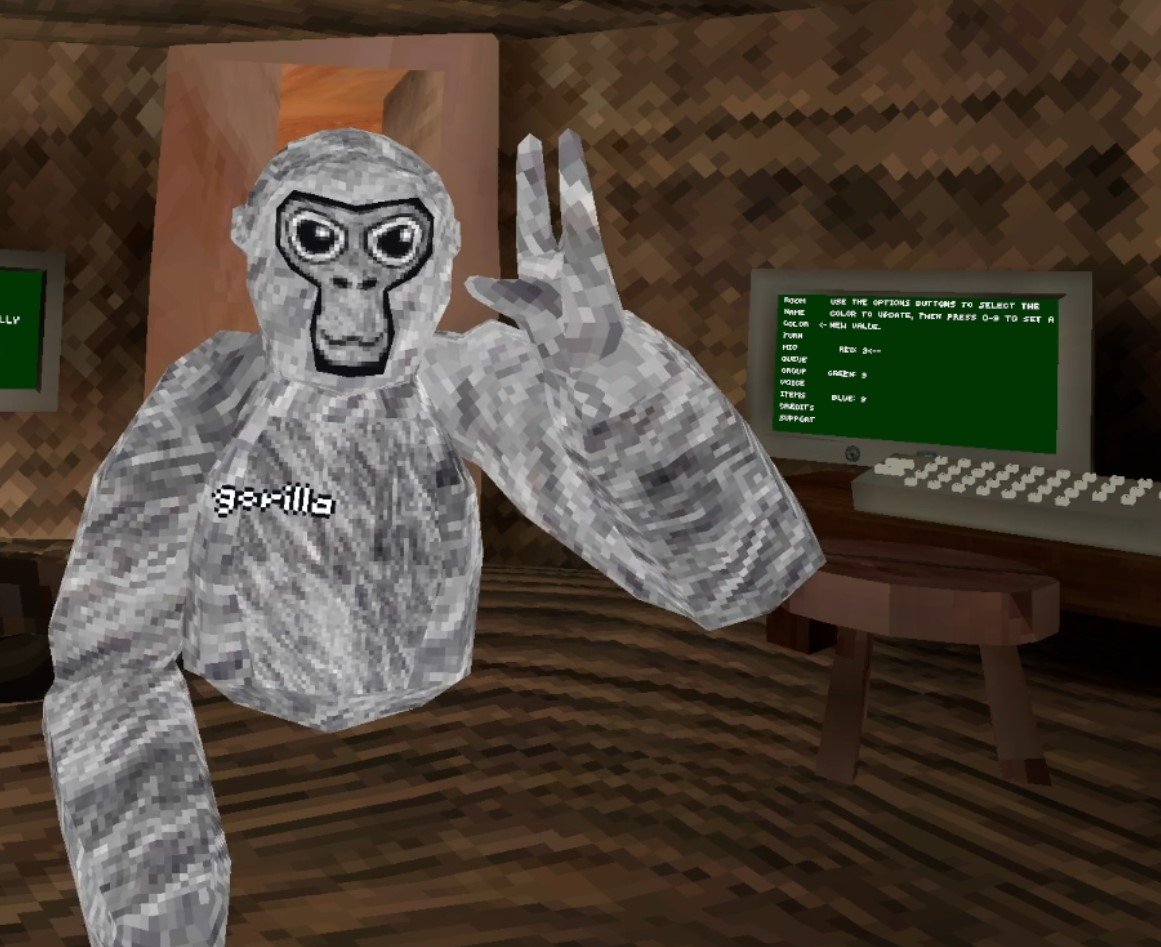
White - 9 9 9
White monke, aka old monke, is another classic. White is actually just all colors combined together and so if you set all the colors to 9 then you get white. You can crack jokes about “back in my day” or try to sound like an old geezer with this color code on. Otherwise it looks pretty great on it’s own, and blends in with the fur your monke always has on their chest and face.
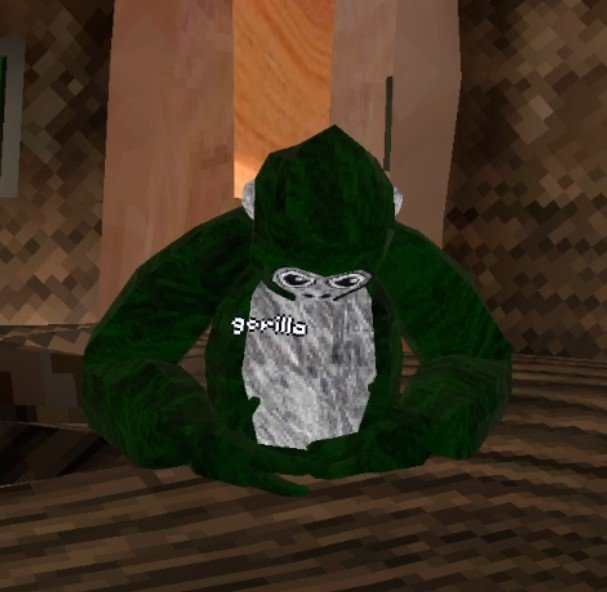
Dark Green - 0 2 0
Ah, the camouflage color. If you set your color code to 0 2 0 you’ll basically blend in with the scoreboard. Kind of a meme, but then again maybe blending in with the environment can give you a split second of an advantage when someone is trying to tag you.
How To Change Your Gorilla Tag Color Code
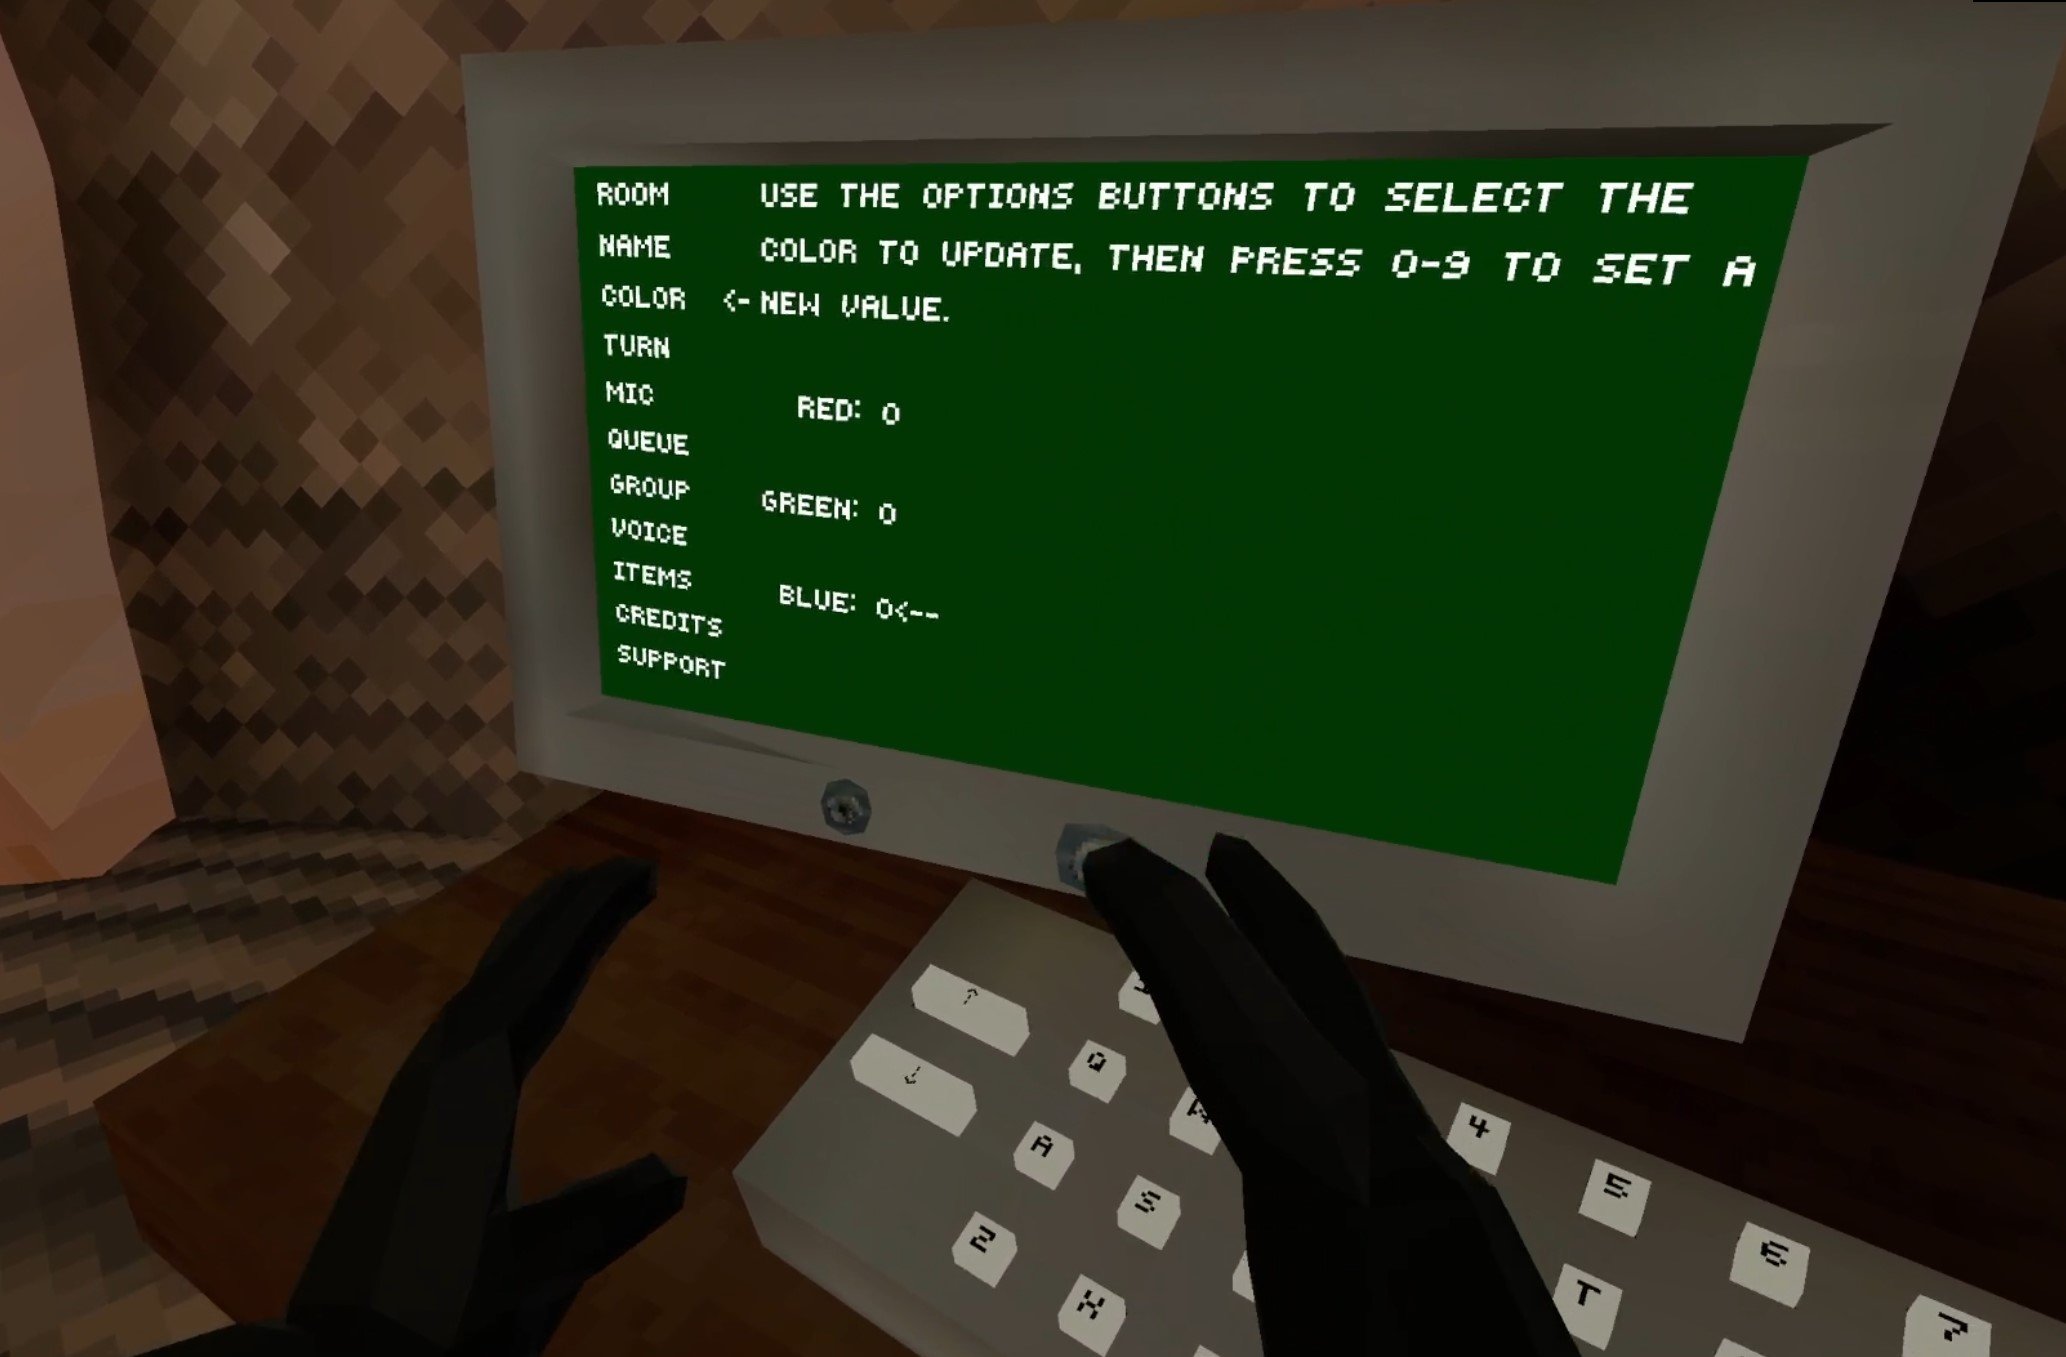
Changing your Gorilla Tag color code is easy! Just start the game. You’ll be in your treehouse as always. Then go across the room to the PC.
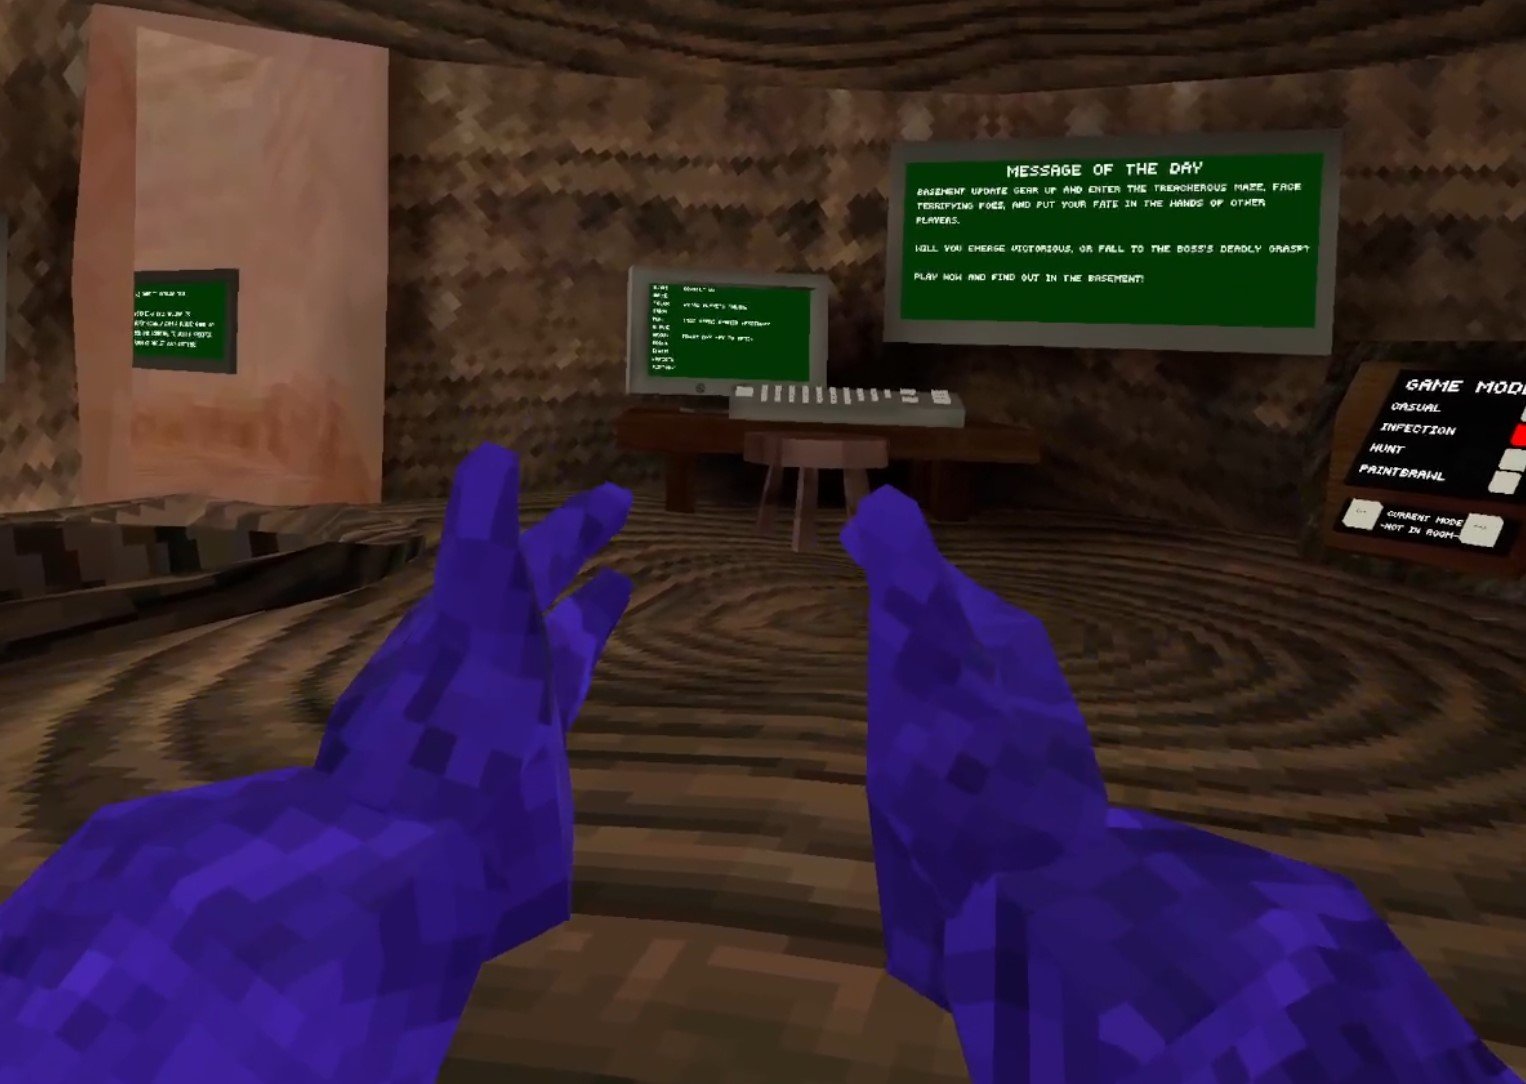
When you’re there use the arrows on the left side to scroll down to “Color” and you’ll see the three color Code settings. They are Red, Green, and Blue. Press Option 1 to select Red, and then hit a number to change your red number. The same goes for Green and Blue, except Green is Option 2, and Blue is Option 3.

There you go, some awesome Gorilla Tag color codes and how to change them so that your Monke can look however you like. Enjoy!