

How to Make Metal Weapons and Tools Solo at the Blacksmith in A Township Tale
If you’ve followed our guide on how to Play A Township Tale Solo on the Oculus Quest 2 then you’re definitely at the point where you have unlocked the Blacksmith building and can finally make metal Weapons and Tools. The best and most durable weapons in A Township Tale are made at the Blacksmith, while there are some that you can find out in the wild, you’ll need to know how to make your own to have a consistent source of weapons and tools while exploring A Township Tale Solo.
This guide assumes that the Blacksmith on your server has not been used by other players, and directly follows our previous Solo Guide for A Township Tale.
Settle In
After strutting up your newly constructed staircase you will see the Blacksmith directly in front of you, which you can recognize by the giant forge, training dummy, and anvil shaped sign.

It’s been a long time since anyone was here, so all of the doorways and windows are overgrown with vines so thick you can’t walk through them. Use a tool to smash the vines to pieces. If you don’t have a tool or weapon on you, a rusty hammer is on the anvil in front of the forge.

Now that you can enter the Blacksmith freely you can get down to the real business of making your own weapons and tools. When you take a look around you’ll see various parts and pieces lying around, in addition to some rusty tools. There will also be some other useful pieces on shelves. We won’t be using any of that for our first creation. Instead we’ll create something from scratch using recipes that will be available to anyone when they first unlock the Blacksmith.
Smelting Ingots in the Smelter
First things first, in order to make something out of metal, we will need metal ingots. Gather all of the coal and copper ore you have. Even if you don’t have any there should be enough already in the Blacksmith to create a few copper ingots. Just look on the shelf immediately to your left after you come in through the entrance that is next to the training dummy.

Once you’ve got your copper ores and coal together, it’s time to use the huge black smelter in the center of the building to make some bars of copper (aka, ingots). You’ll notice a hopper right in front of that shelf which has the ores and coal on it. Open it up, and throw all of your copper inside. Once it’s all nestled in there close it completely. That will put your copper ore inside of the smelter.
If you are wondering how many ingots will be made from your ores, every three ores creates a single ingot.

If you mess up and put something in the hopper that you don’t want in the smelter, you can always pull the lever next to it and everything you put inside will appear on the little table to the left of it.
Once your ore is inside of the smelter, you will need some fuel to heat it up and turn it into ingots. To fuel up your smelter go a little to the right of the hopper, and open the grate you will find at floor level. Throw all of your coal inside the grate, and the smelter will instantly start smelting ore into bars.

Smoke will start to billow from the smelter, and you will see flames inside of it, so you know it’s working. Still, each bar takes a few seconds to smelt. To speed up the smelting process you can push down on the bellows next to the Coal Grate. You know the bellows are working when great gouts of flame start appearing in the smelter window in front of you.
When the smelter stops working you are either out of ore or out of coal. If you’re in a pinch and don’t have enough coal, you can also use wood to fuel the smelter. You could also always go back into the mines for more too.
To collect the fruit of your labors go to the output hopper to the right of the bellows.

Turn Ingots Into a Blade
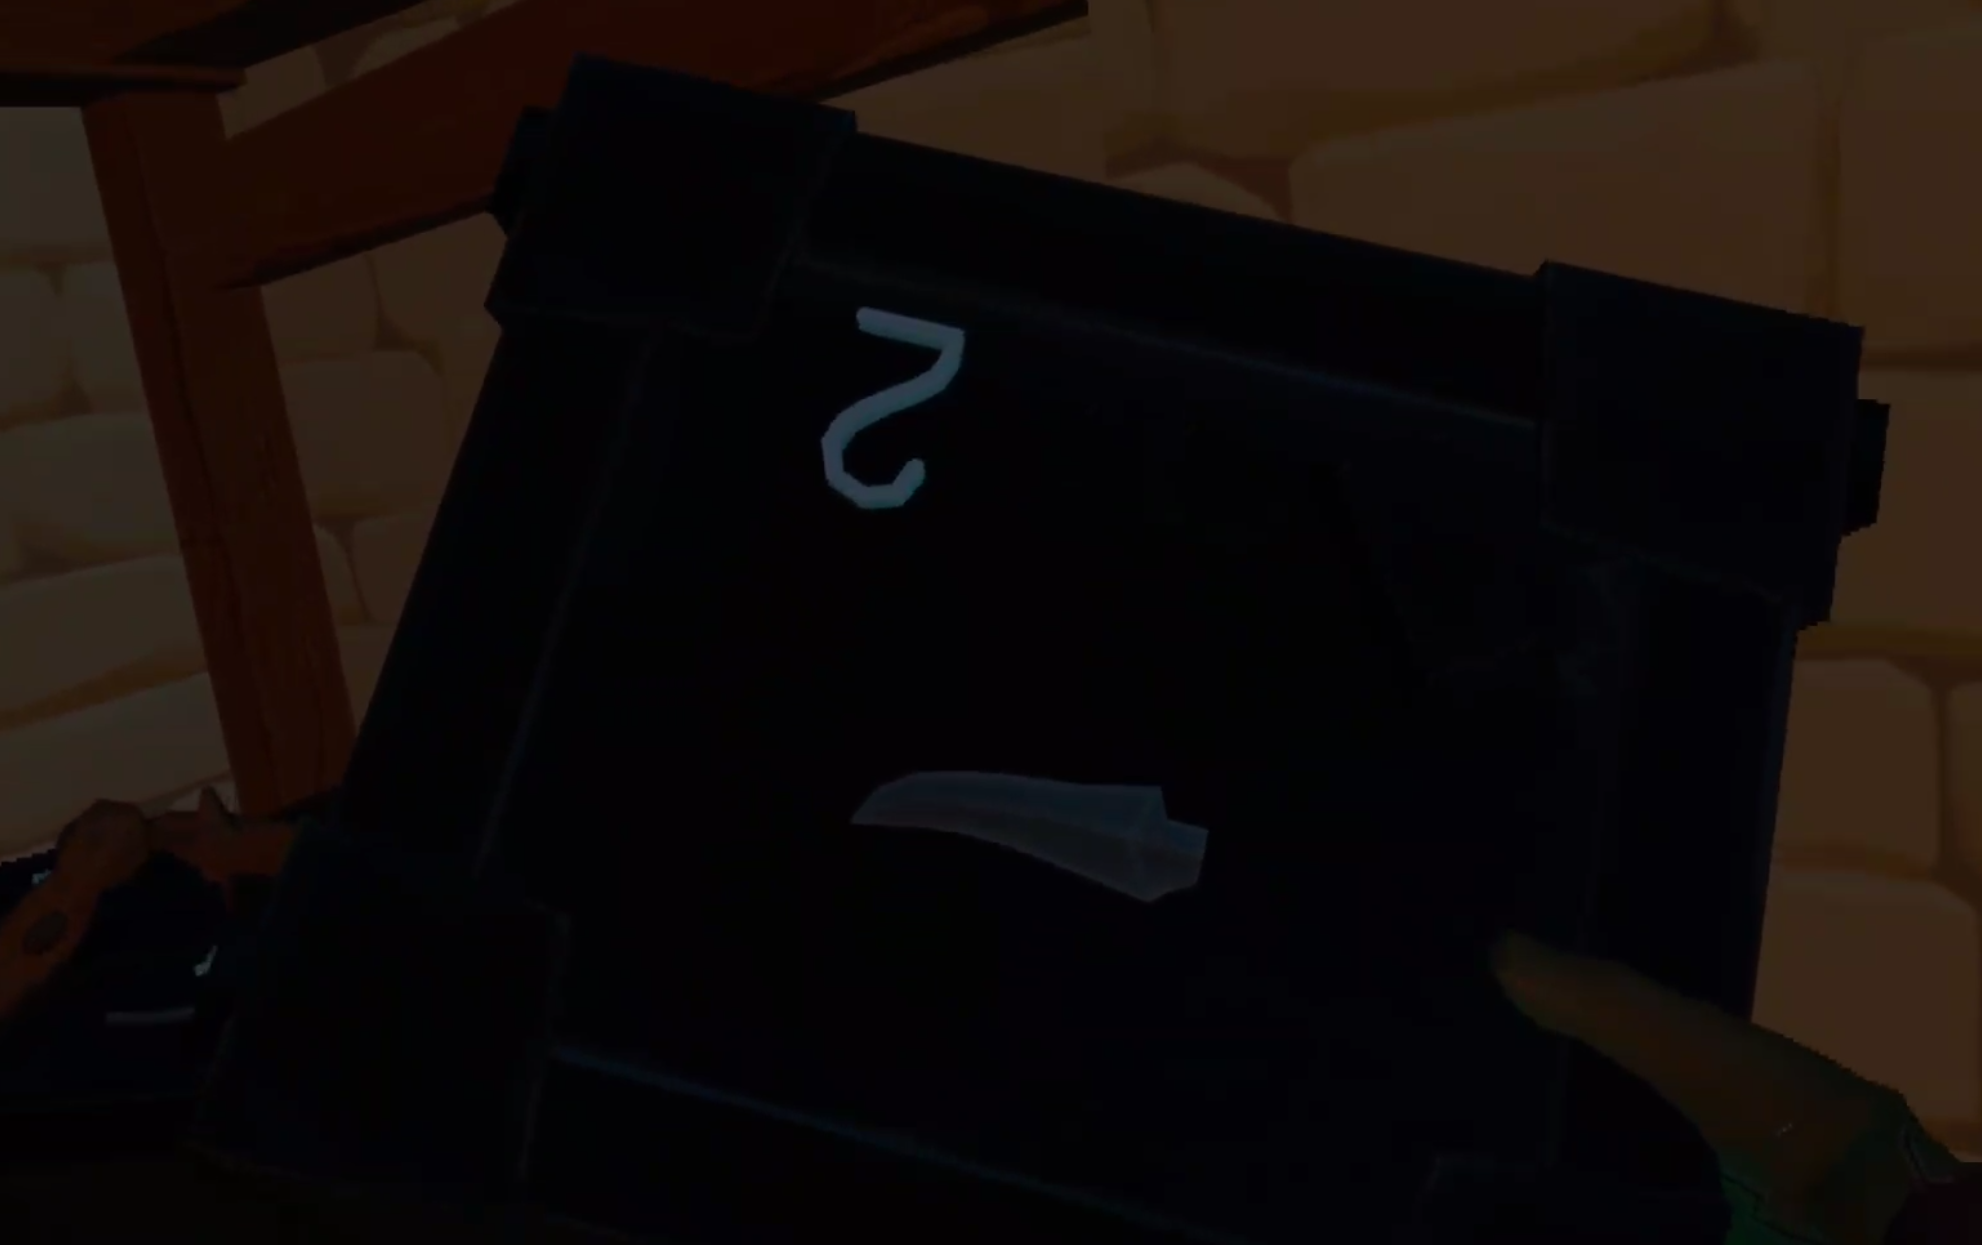
So now that you have some ingots it’s time to make our Dagger blade. By now you’ve probably noticed these black rectangles lying around with silhouettes of tool pieces on them. There’s one with a hammerhead on it right beside the smelter, and a few more on the table right behind the output hopper you just retrieved your ingots from.

These are blacksmithing moulds, and they go in the slot on the side of the furnace right above where the hammer mold spawns. You can find more of these moulds in chests throughout the world and in the mines. Luckily the game gives you a few here to start with, and it gives you an easy way to organize them all.
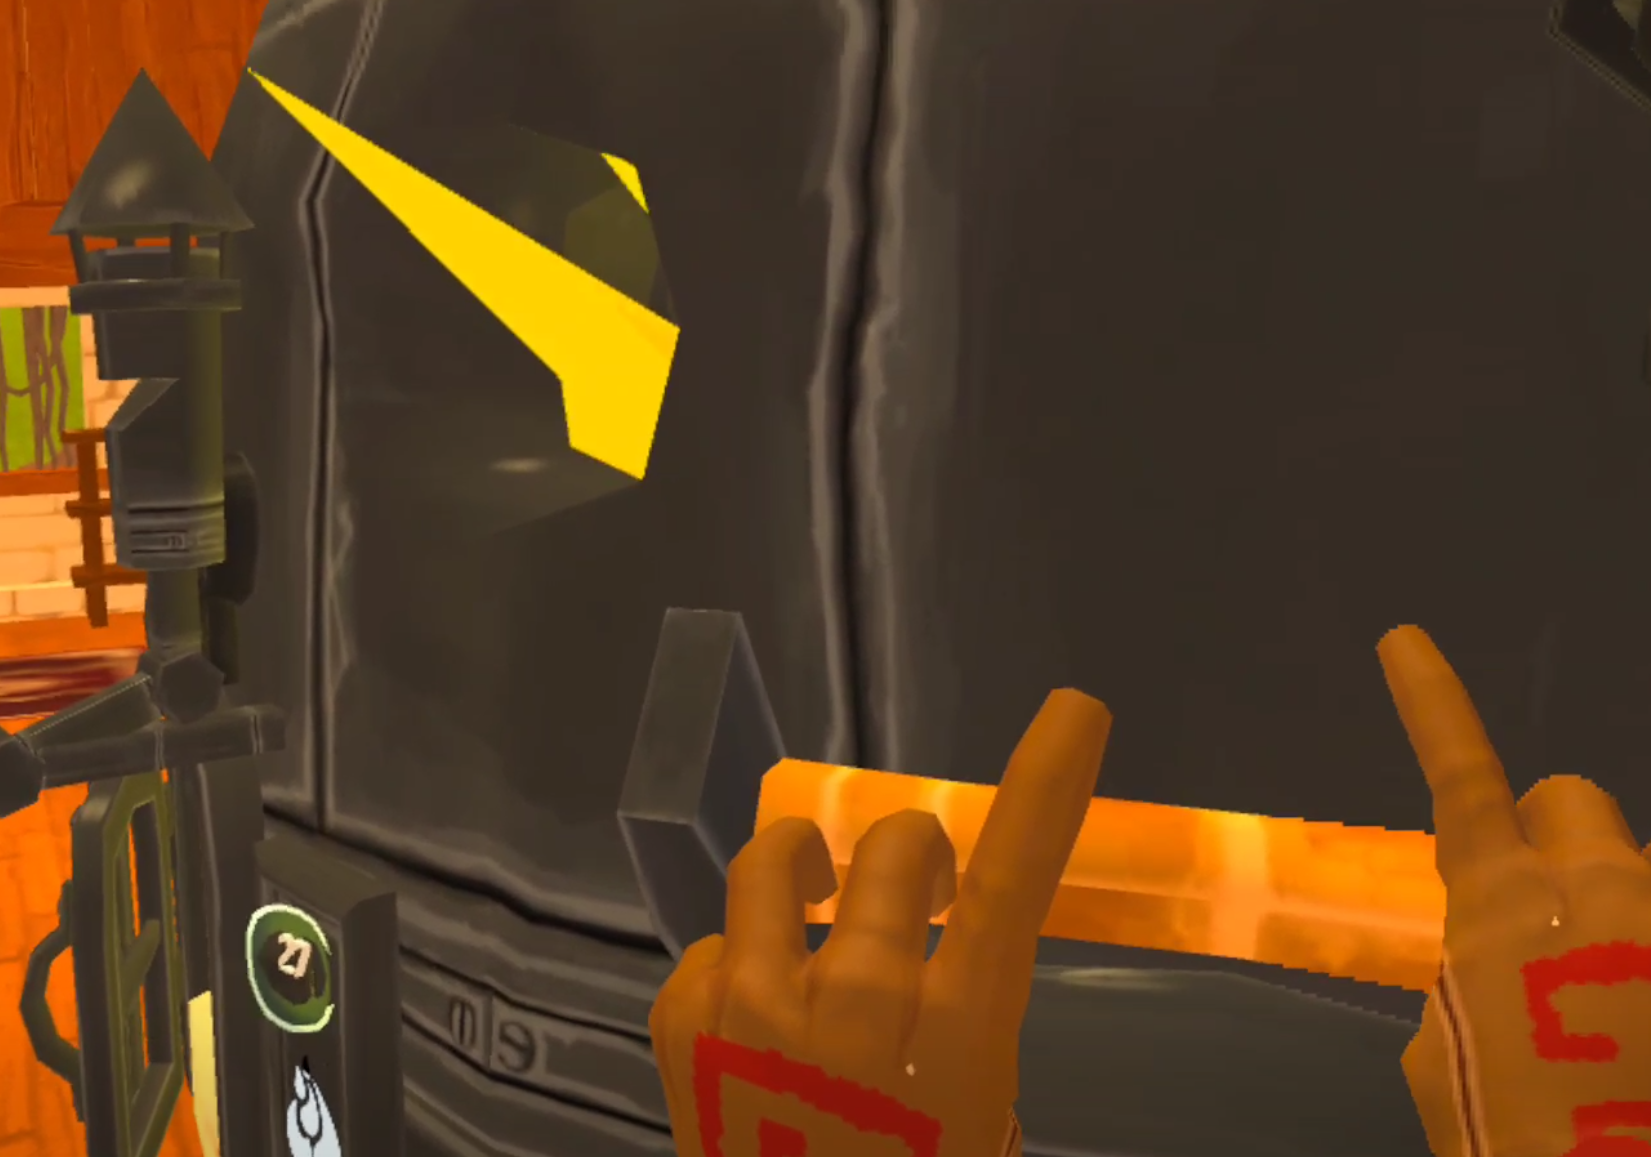
On the other end of the Smithy you’ll see a tall black metal cage with a rope on the side. This device stores Moulds in each of the brackets inside of it. You can also peruse your collection of moulds by pulling the rope on the side of it. To put a mould inside of this device take the mould in your hand and hold it up to one of the brackets, then let go.
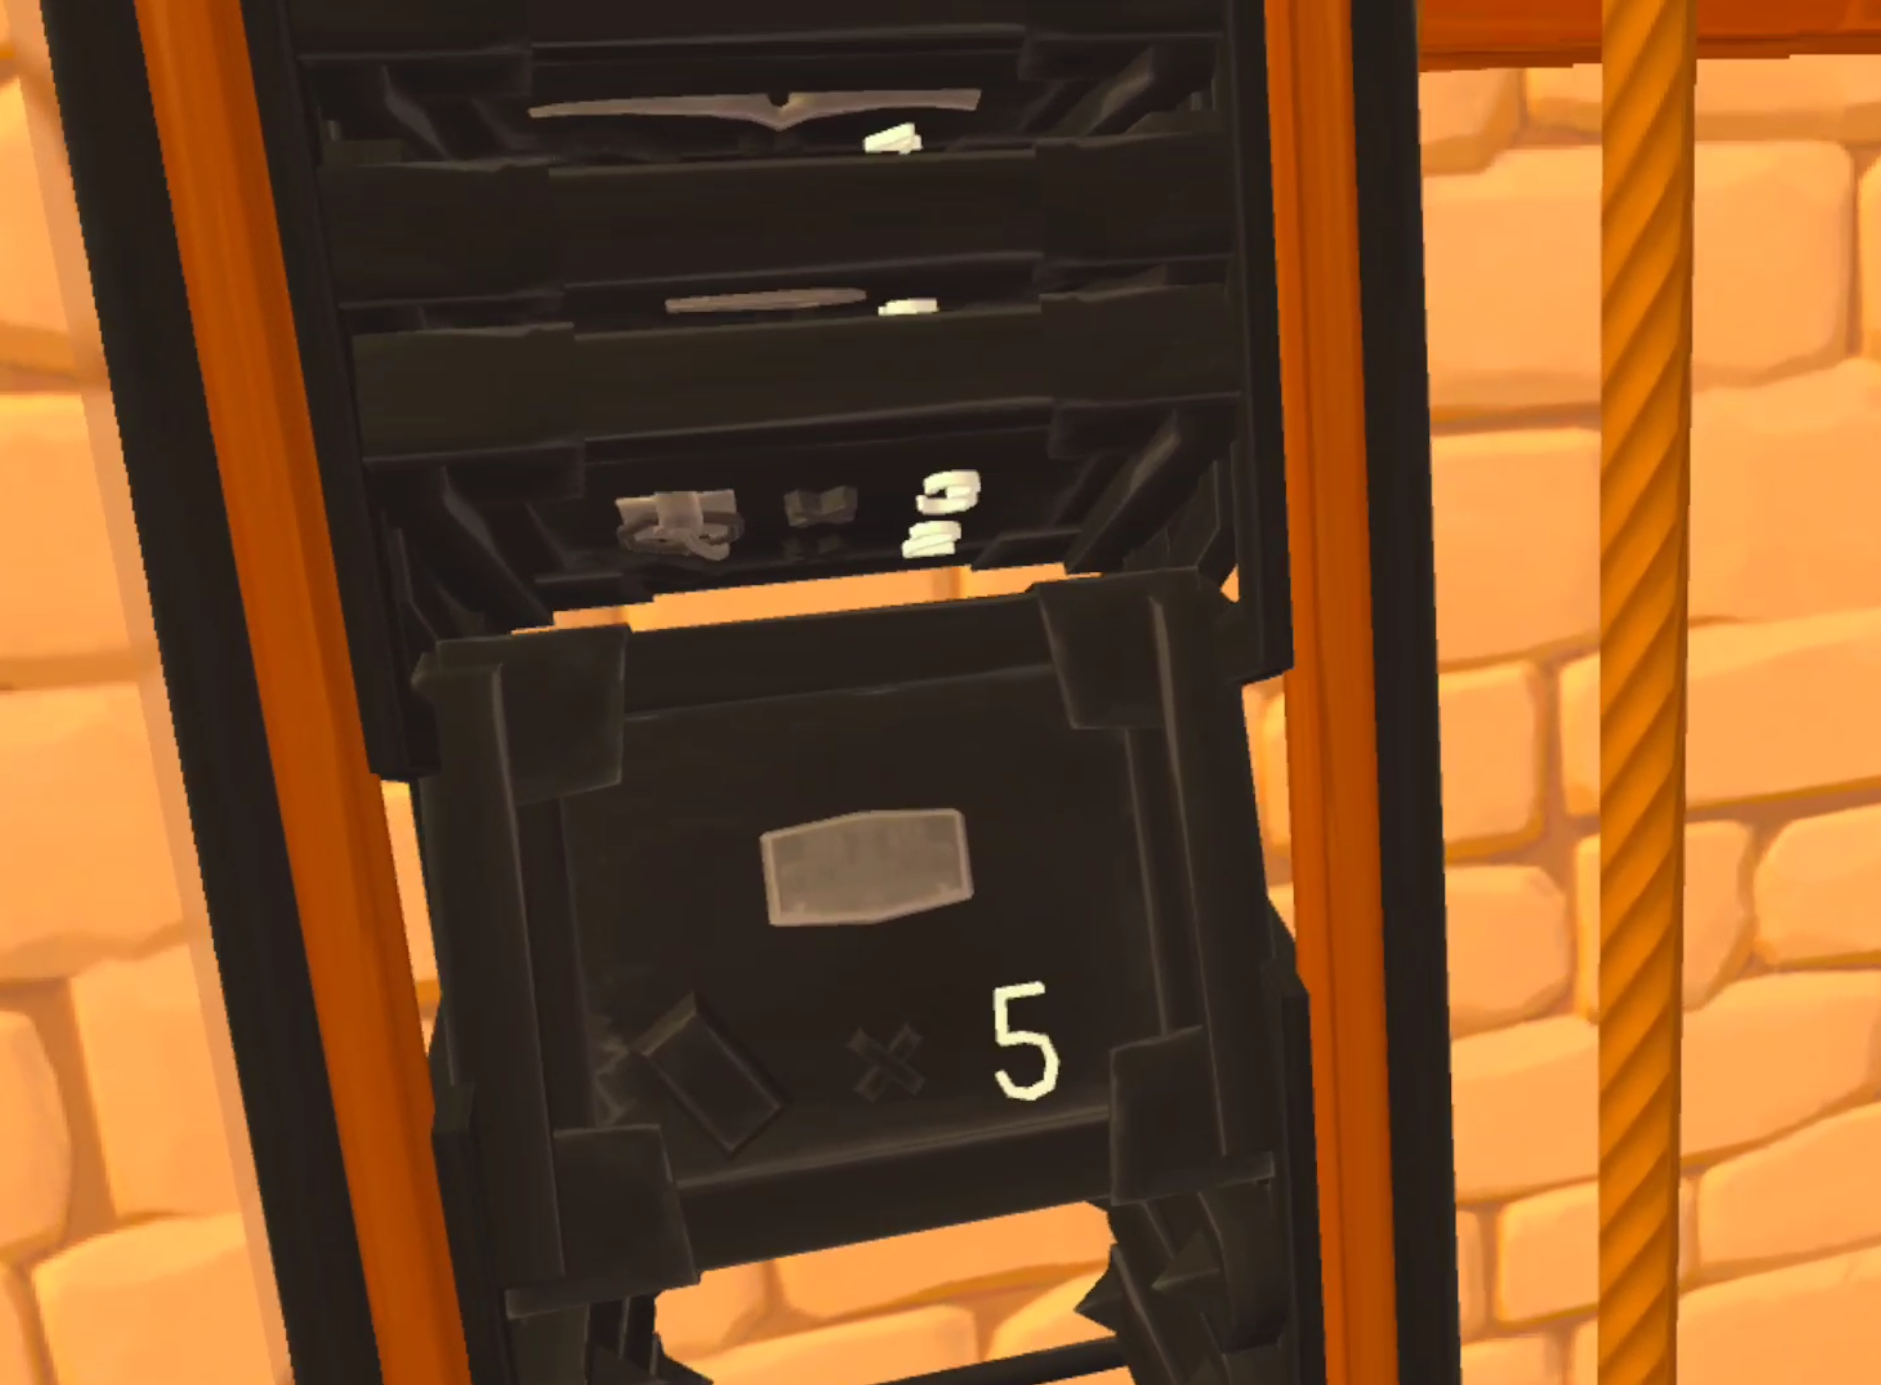
Once you’re done storing your Blacksmith Moulds, locate the mould that looks like a short curved blade. This is the curved dagger mould, and will be our first metal weapon that we make ourselves.
Once you’ve got the mould put it in the slot right above the spot on the side you found the Hammer mould. Once it’s nestled in there any ingots that you put into the smelter will then be turned into whatever mould is in that slot. In this case, a curved dagger blade. The number on the mould also indicates how many metal bars are needed to make that metal item. In this case, two.

Now go back to the input hopper and put in exactly two of your newly minted copper bars. You can put in more if you like, but if you do the smelter will not stop making curved dagger blades until it runs out of bars or fuel. So only put in two bars in order to make a single dagger blade.
Once the bars are in smelting will begin automatically as long as there is fuel in the smelter, just like when smelting the ores into ingots. Once the smelting is done the finished dagger blade will drop into the output hopper.

Firing Your Blade at the Forge
When you pick up your new dagger blade you might notice that it’s a little… bulky. A little dull even. That’s because this blade has yet to be forged, and is just in the rough shape of the end product. It’s not sharp at all. Now it’s time to bring it outside and get to the coolest part of Smithing at the Township Tale Smithy, forging.

Forging is straightforward. Take the thing you need to forge, and put it into the hot fire. In this case that is your dagger blade. There’s a little piece of stone that you can lay it on next to the coals that is very convenient. Don’t stick your hand too far into the forge or you will take damage.
In a few moments the metal piece will become hotter and glow orange. Then little wisps will start to float out of it. When you see those wisps the blade is ready to be smashed into shape.

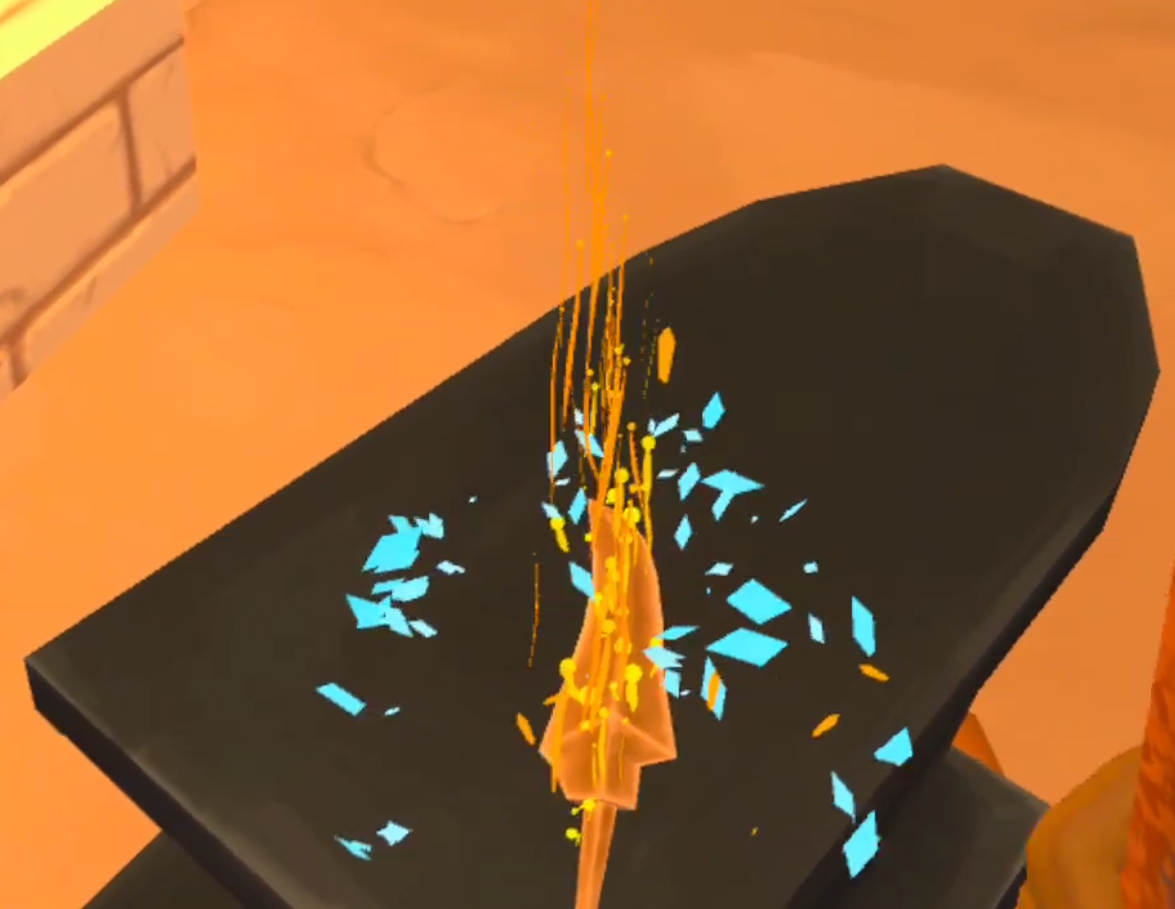
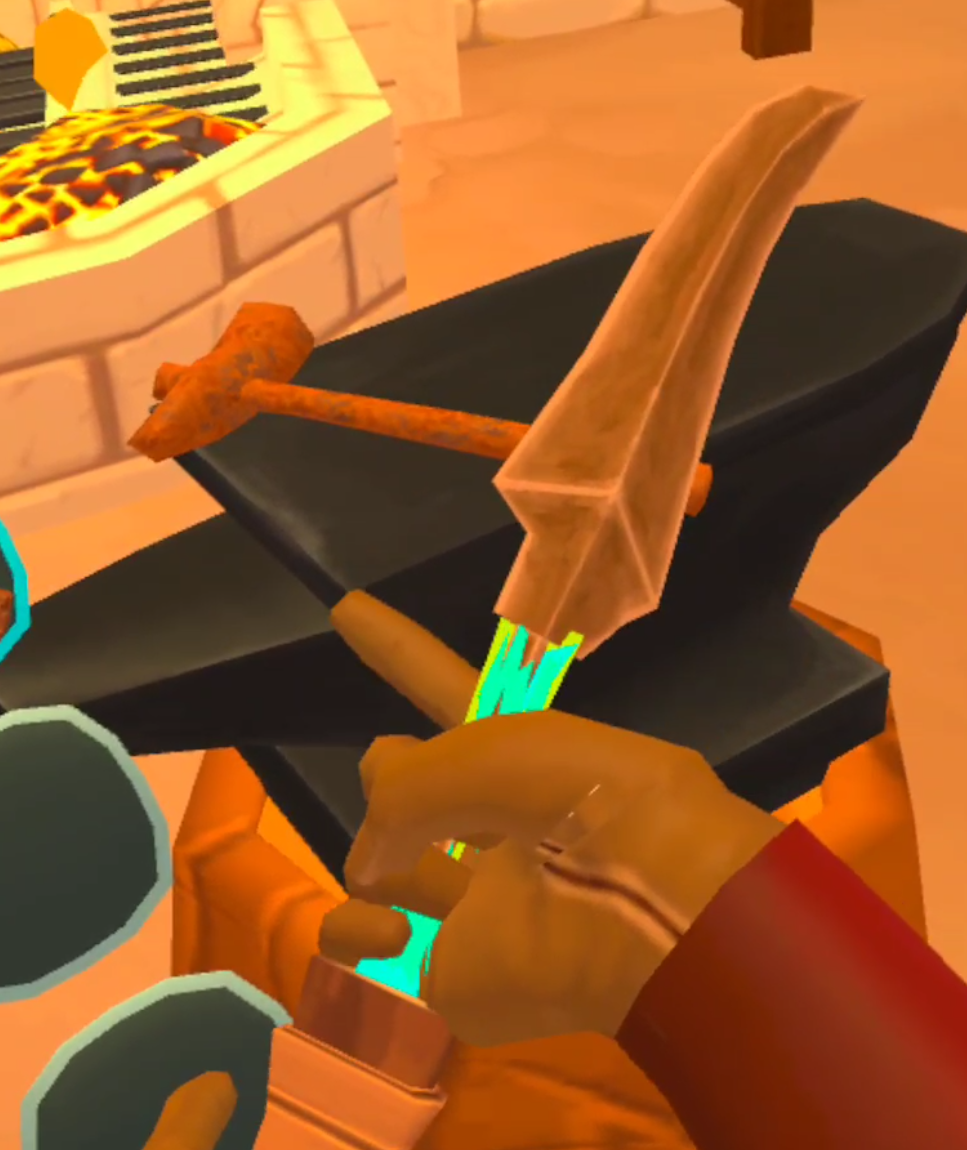
Take the blade out of the furnace and put it on the anvil next to it. Use the rusty hammer that spawns on the anvil to start smashing at the blade. If you’re hitting it dead on there will be a satisfying sound, as well as a small burst of sparks. You will also notice the shape of your blade change as it flattens out and becomes sharper. Keep hammering until the blade loses it’s orange glow.
When the blade is cool put it back in the forge until the orange wisps come out of it again. Keep doing this until a flash of blue sparks and a triumphant noise signal that the blade is finished!
Creating a Handle | Basic Carpentry
Now that the smithing and forging is done up at the Smithy, the final part you will need for your dagger is a handle to attach the blade to. You’ll be able to find handles in chests or in the mines, and there are even a few that spawn in the Smithy, but for this example we will make our own.
So let’s leave the Smithy with our new blade, and go down the stairs to the Carpentry Workshop.

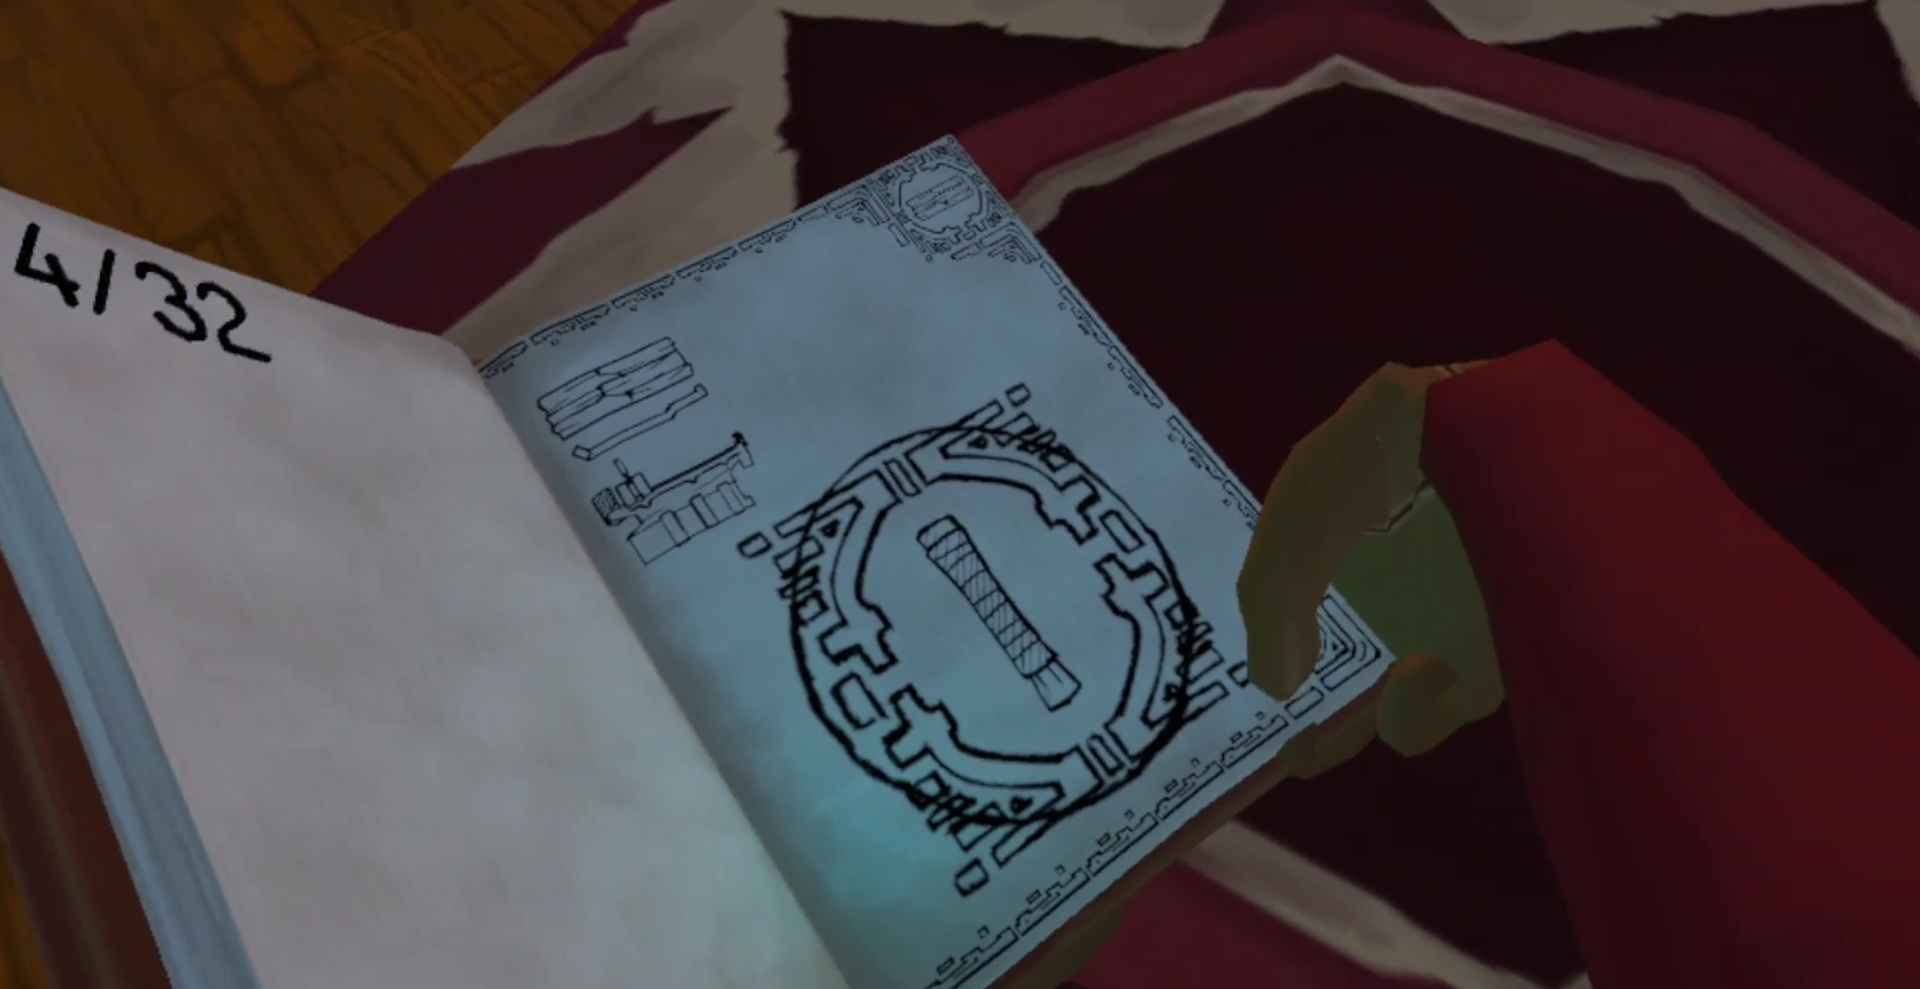
To make the handle you will need six pieces of wood and a hammer. Some extra pieces of wood wouldn’t hurt either, in case you make a mistake. Past the Carpentry Workbench in the center of the room (aka the Wood Turning Table) you will see a book on a pedestal in the back of the building. Pick up that book and leaf through it until you find the short handle recipe page. Rip that page out of the book.
Then take the page you ripped out and put it into the page holder next to the workbench in the center of the room.

Once the page is in the workbench it is time to add your wood. Put the pieces of wood in between the two sections of the workbench and move the sliding section inwards to capture the pieces. You will need to place six in total to make the one solid block of wood needed to make the handle.
Once the pieces have been placed in between the two sections successfully you will see that one part of the wooden block becomes highlighted.

There should be a chisel nearby on a table, take that chisel in one hand and your hammer in the other. This part can be difficult to get the hang of. Place the Chisel at a 45 degree angle to the piece of highlighted wood, and then strike the back of the chisel with the hammer. If you did it right you will see wood chips fly off of the piece of wood, hear a wooden clapping noise, and see the piece of wood you are chiseling move slightly.

Keep doing this until the highlighted section of the wood block flies off, and a new section is highlighted. Make sure to only chisel off the highlighted sections, the order is important. If the piece you need to chisel is on the bottom of the wood block, grab the handle on the top of the moveable section of the table and pull it downwards to flip the block of wood upside down.
When you chip off all of the outer pieces of wood you’ll be left with just the inner section. Once you make it that far order doesn’t matter, just chip away at it however you want to.

Keep chiseling away at the center until your handle is revealed. Now you’ve got every piece needed to create your dagger!

Combining The Pieces
The last part is by far the easiest. Just take your finished short handle in one hand and your finished blade in the other. The places where you can combine the two will be highlighted. Then just smash them together and voila! Your dagger is complete.
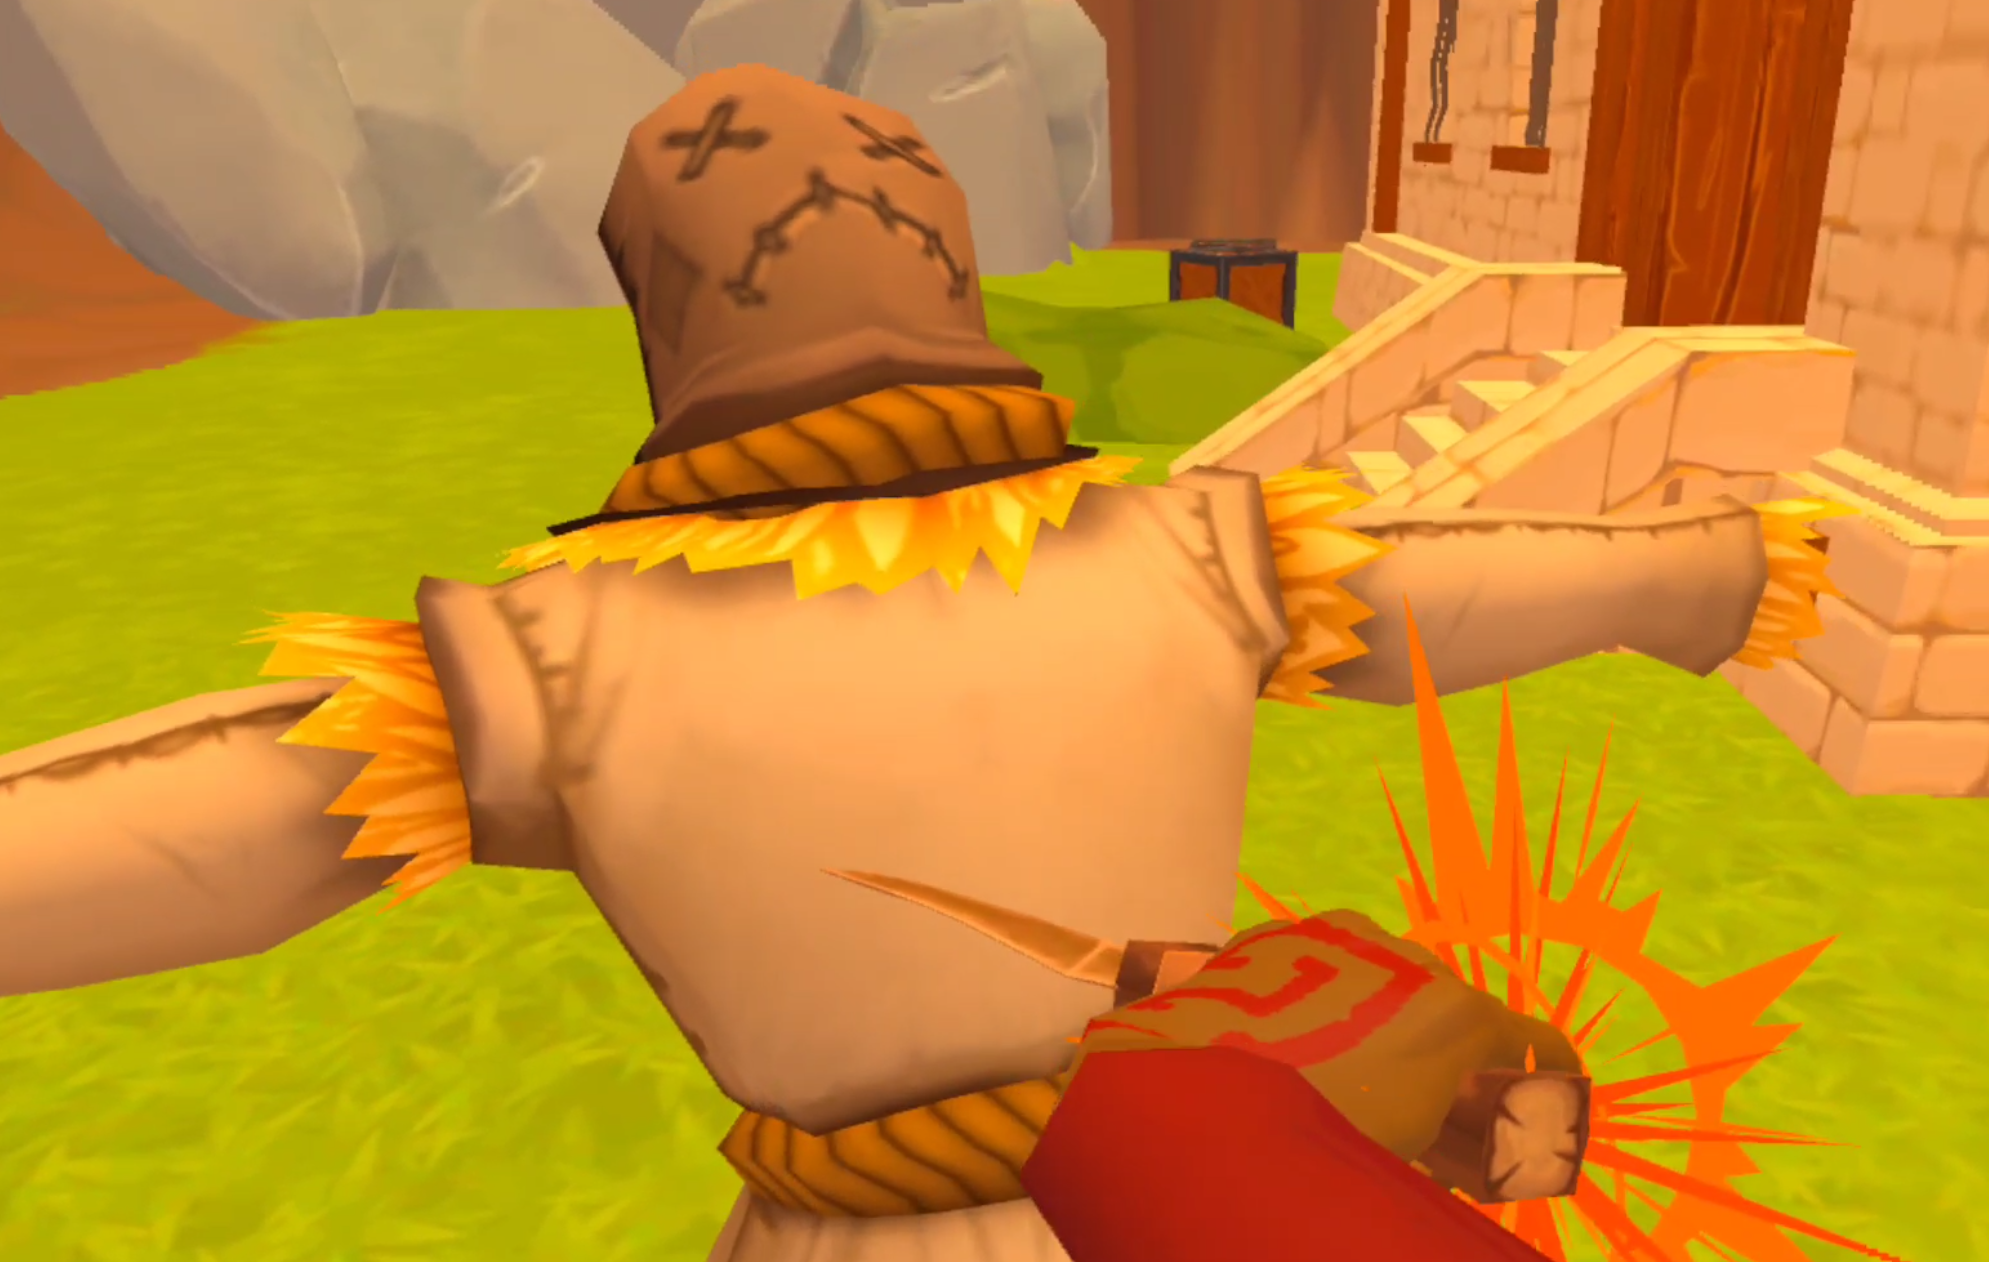
Feel free to test your new weapon out on the dummy right in front of the Blacksmith.
Now that you’ve made one Weapon Solo every the next ones will only get easier. For your next weapon you might find, or have the mould for, a pommel or blade guard to increase the durability or damage of the weapon. There are tons of variations and combinations of pieces that you can combine into various tools and weapons. Some use longer handles, like pickaxes and hammers.
Next you can make a pickaxe or hammer using the moulds you start with and the long handle found on one of the Smithy shelves. The more you explore and the more crafting recipe pages and moulds you find, the more interesting combinations you will be able to make. That’s a big part of the fun of A Township Tale. Now that you know the basics the sky is the limit for crafting Solo.
A Township Tale can be found for free on PCVR via Alta’s Website or for the Oculus Quest via the Oculus store for 9.99$. It’s a ton of fun, even by yourself, and well worth the price if you don’t mind doing a lot of gathering and crafting yourself. Good luck out there and have fun!